The $15 DIY Rain Gutter Bookshelf Hack for a Gorgeous Nursery Library
Oh, sweet mama, I see you. You are in the thick of the nesting phase, that magical and sometimes frantic time where every corner of your home feels like it needs a little extra love before your tiny human arrives. You want a nursery that feels like a sanctuary—a place of soft light, gentle whispers, and the sweet smell of a newborn’s head. But let’s be real: between the high-end cribs, the organic mattresses, and the endless boxes of diapers, the budget can get a little tight. That is exactly why I am so excited to share one of my favorite ‘doula-approved’ secrets for a nursery that looks like a million bucks but costs less than a fancy brunch.
We are talking about the $15 DIY Rain Gutter Bookshelf Hack. This isn’t just about saving money; it’s about creating a functional, front-facing library that encourages your little one to fall in love with stories from day one. In this guide, I’m going to walk you through every single step, from the hardware store aisles to the final styling of those adorable board books. Grab a cup of red raspberry leaf tea, put your feet up, and let’s build something beautiful together.
The Nesting Instinct Meets Practicality: Why Rain Gutters?
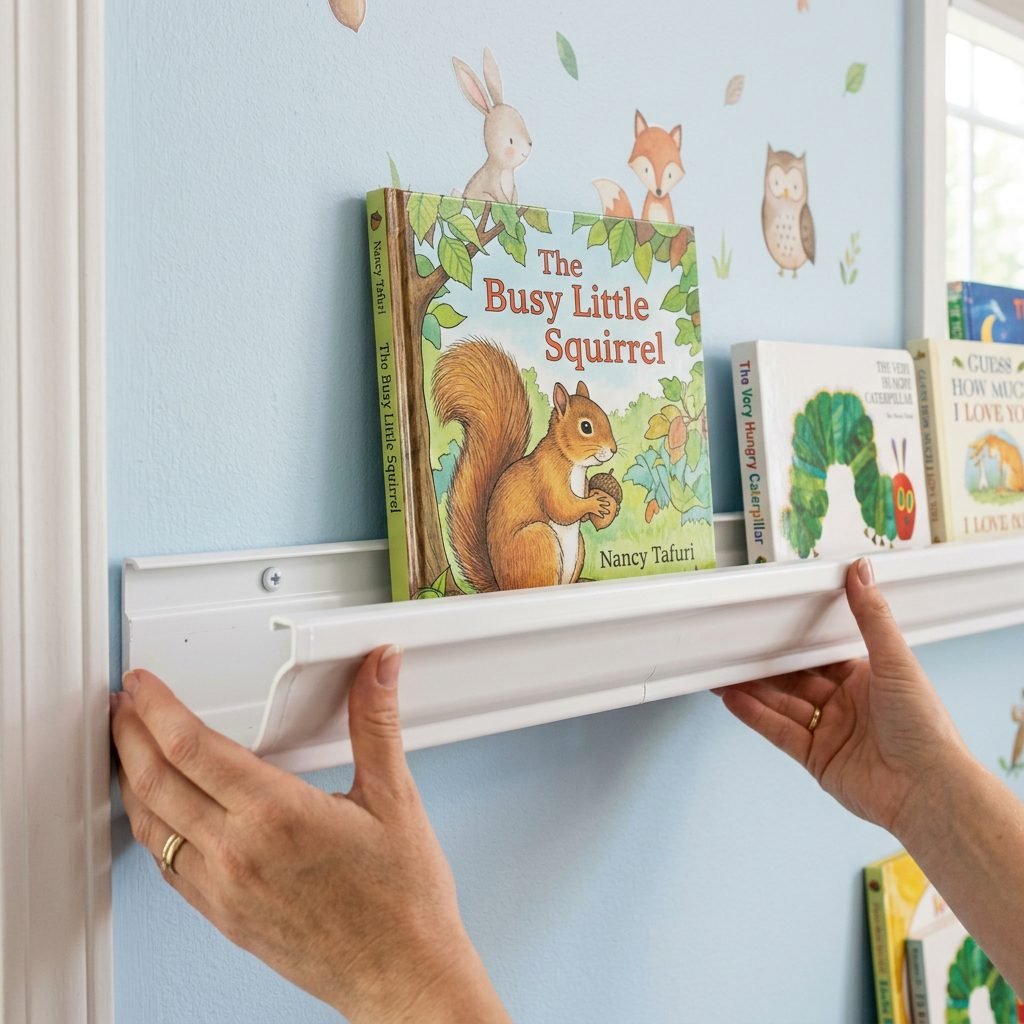
When we think of nursery shelving, we often think of heavy, expensive wooden bookcases that take up precious floor space. As a doula and an organizer, I always advocate for vertical storage, especially in smaller nurseries. Rain gutters are the ultimate secret weapon for several reasons:
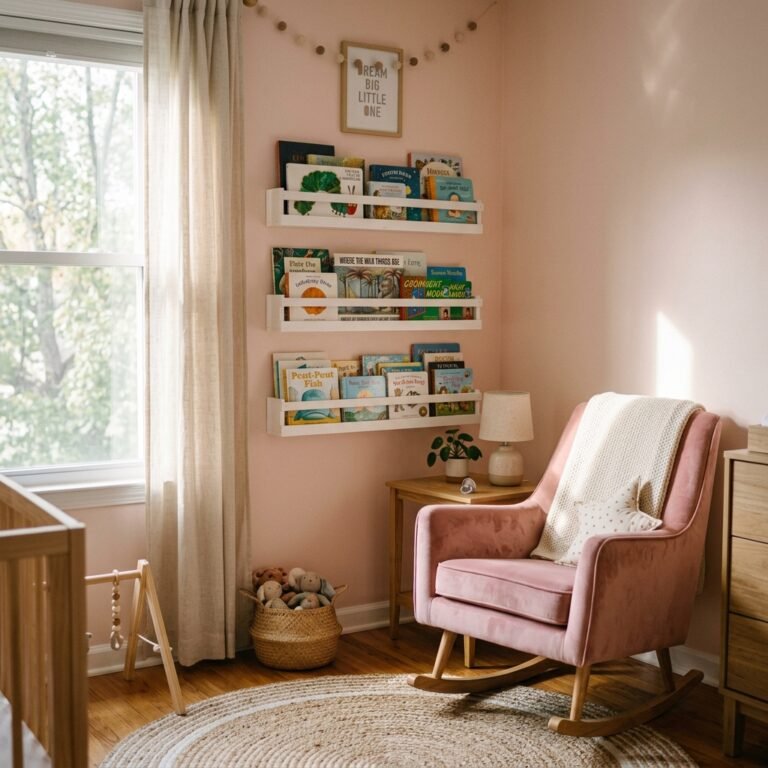
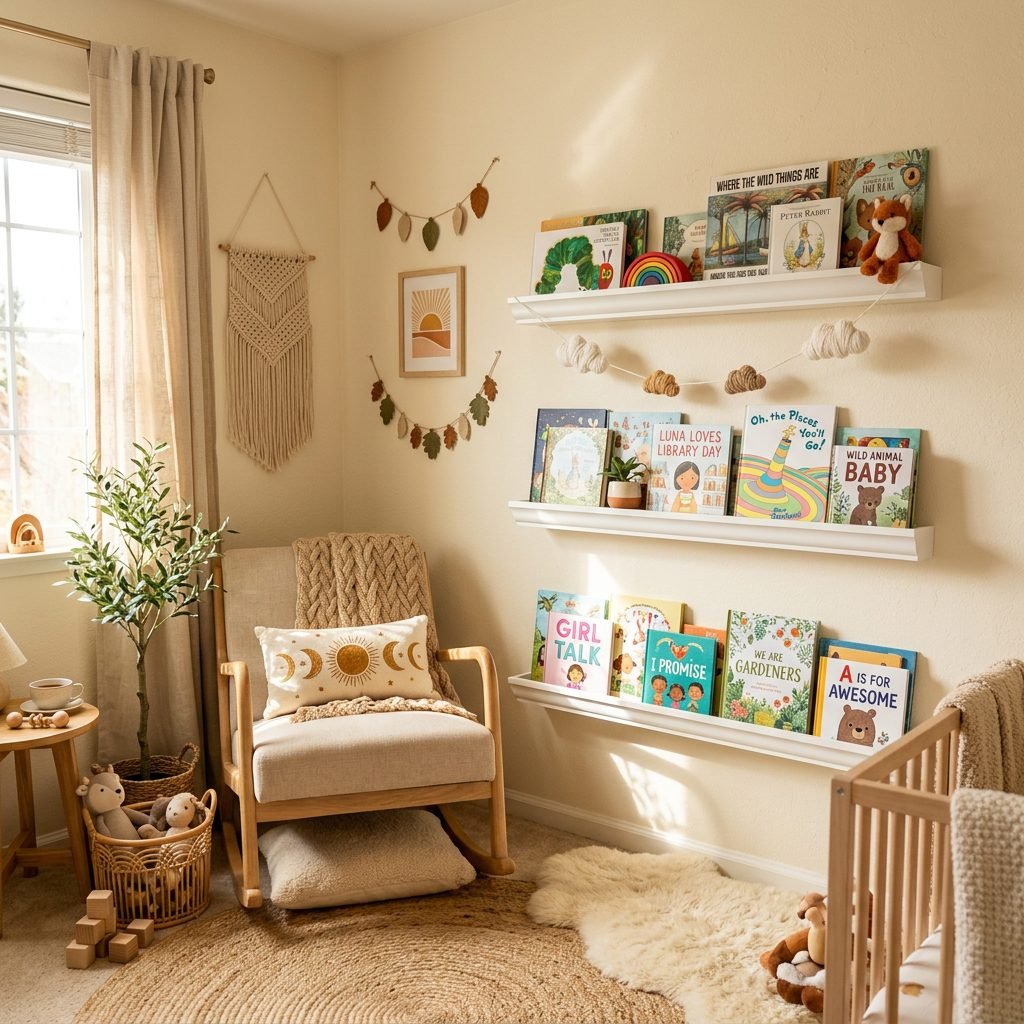
- Front-Facing Display: Unlike traditional shelves where only the spines are visible, rain gutters allow books to face forward. For a toddler, seeing the bright cover of ‘The Very Hungry Caterpillar’ is much more engaging than a thin spine.
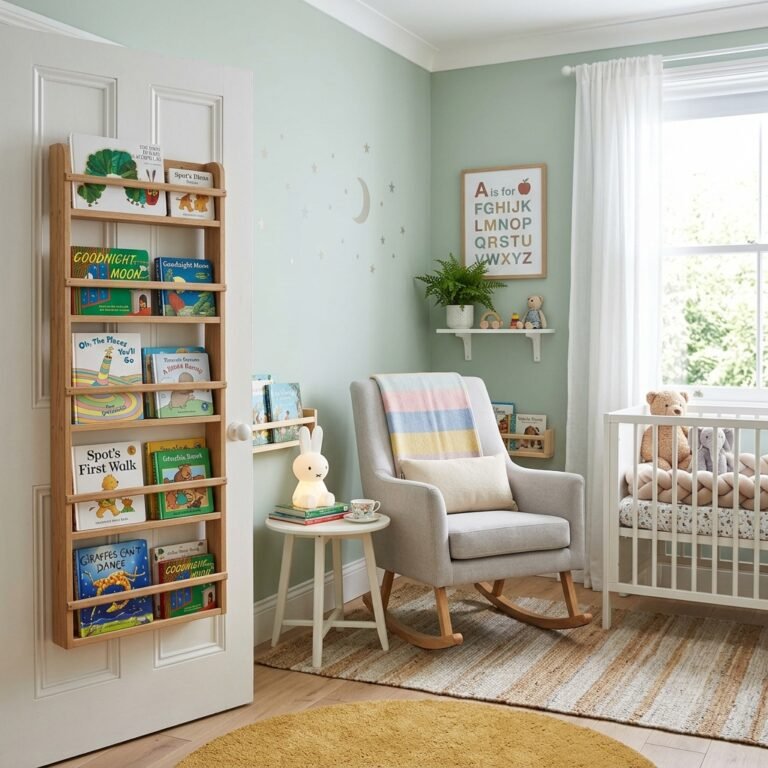
- Space-Saving: They have a very slim profile, protruding only about 4 to 5 inches from the wall, making them perfect for that narrow space behind a door or next to a glider.
- Safety: When properly anchored, these lightweight shelves are much less of a tipping hazard than a heavy floor-standing unit.
- Affordability: You can often find a 10-foot section of vinyl rain gutter for under $10.
By choosing this DIY route, you’re not just being ‘thrifty’—you’re being a savvy, intentional mother who prioritizes accessibility and visual stimulation for her child. Let’s look at how the costs break down compared to high-end alternatives.
| Shelf Type | Estimated Cost | Visibility | Space Usage |
|---|---|---|---|
| High-End Acrylic Floating Shelves | $150 – $300 | High | Minimal |
| Solid Wood Bookshelf | $200 – $500 | Low (Spines only) | High (Floor space) |
| DIY Rain Gutter Hack | $15 – $25 | High | Minimal |
Your $15 Shopping List & Budget Breakdown
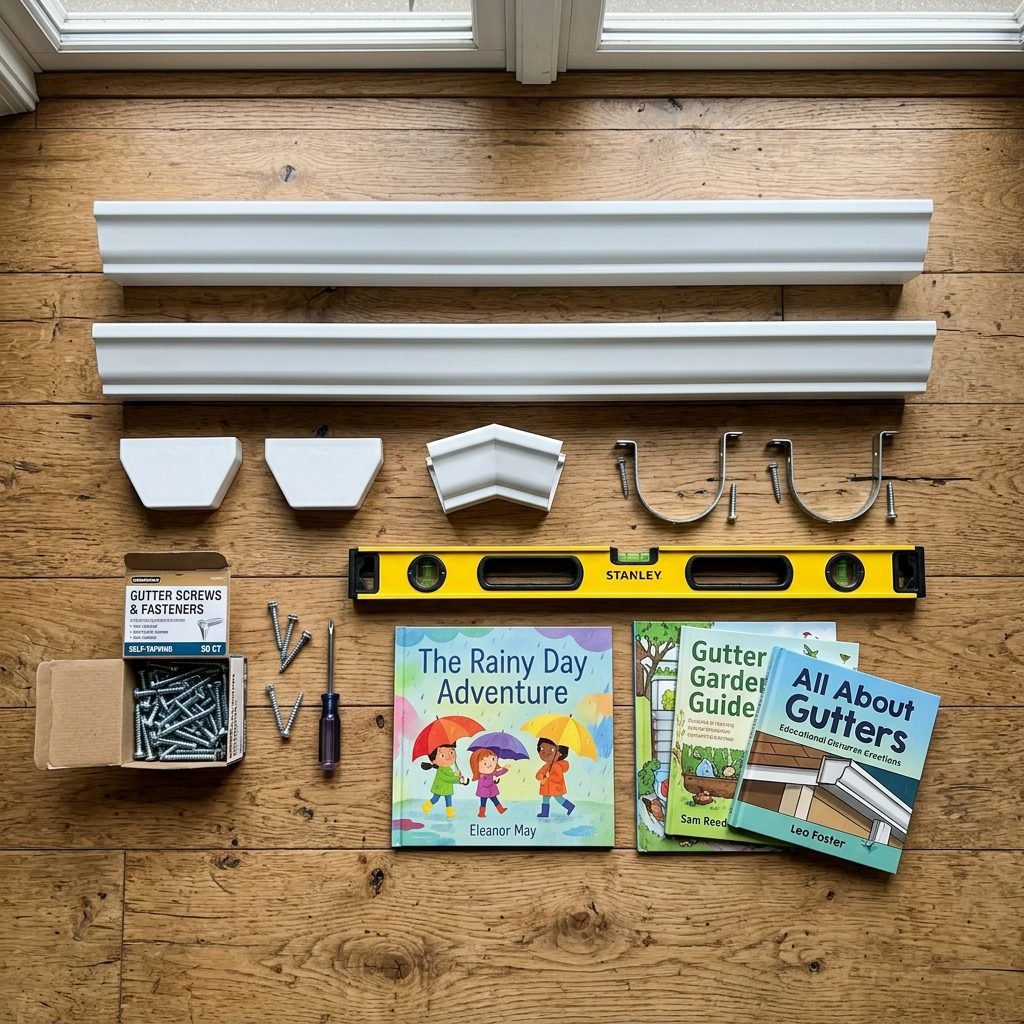
Before you head to the local hardware store (I personally love a mid-morning trip when the lighting is good and the aisles are quiet!), let’s make sure you have your list ready. You don’t need a fancy workshop for this—just a few basic tools and a little bit of ‘can-do’ spirit. Here is exactly what you need to grab for a standard two-shelf setup:
| Item | Quantity | Estimated Price |
|---|---|---|
| 10-foot Vinyl Rain Gutter (White) | 1 | $8.50 |
| Vinyl Gutter End Caps (Pairs) | 2 | $6.00 |
| 1-inch Wood Screws or Drywall Anchors | 1 small pack | $4.00 |
| Sandpaper (Fine Grit) | 1 sheet | $1.00 |
| Total Estimated Investment | – | $19.50 |
Pro-Tip from your DIY Sister: If you want a more ‘custom’ look, you can also pick up a can of spray paint specifically designed for plastics (like Krylon Fusion) in a soft gold, matte black, or even a pastel mint. This might add another $6 to your total, but it elevates the look instantly!
Remember, mama: The goal isn’t perfection; it’s a space made with love. If the end caps are a little snug or the line isn’t 100% straight, your baby will only ever see the wonderful books you read to them.
The Step-by-Step Transformation Guide
Preparation and Cutting
First things first, we need to size these gutters to your specific wall. Most gutters come in 10-foot lengths, which is usually too long for a single run. I recommend cutting them into 3-foot or 4-foot sections.
- Measure Twice, Cut Once: Use a measuring tape to mark your desired length on the vinyl.
- The Cut: You can use a simple hacksaw or even heavy-duty kitchen shears if the vinyl is thin enough. Don’t worry if the edge is a bit jagged; we will cover it!
- Smooth it Out: Use your sandpaper to smooth the cut edges. This ensures there are no sharp bits for curious little fingers later on.
- Cap the Ends: Snap your end caps onto each side. These usually just slide on, but you can add a bead of plastic glue if you want them extra secure.
Installation
Now comes the part where we secure your library to the wall. If you can find a stud, that’s wonderful! If not, always use drywall anchors. We don’t want a heavy ‘hardcover’ book pulling the shelf down during naptime.
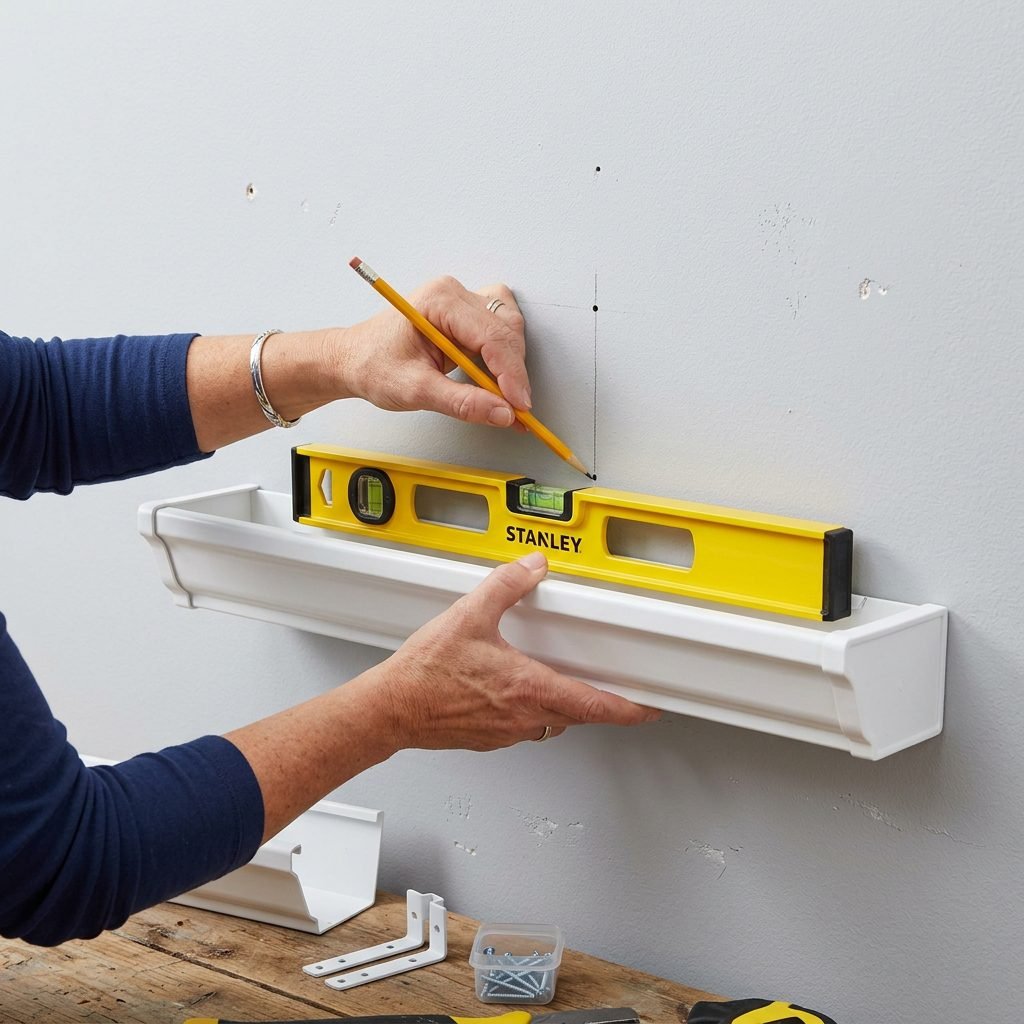
- Leveling: Hold the gutter against the wall and use a level to ensure it’s perfectly horizontal. Mark your screw holes with a pencil.
- Pilot Holes: Drill small pilot holes through the back of the gutter and into the wall.
- Mounting: Drive your screws (and anchors if needed) through the gutter into the wall. I recommend three screws per 4-foot section: one on each end and one in the middle.
Safety Standards for Your Little One’s Sanctuary
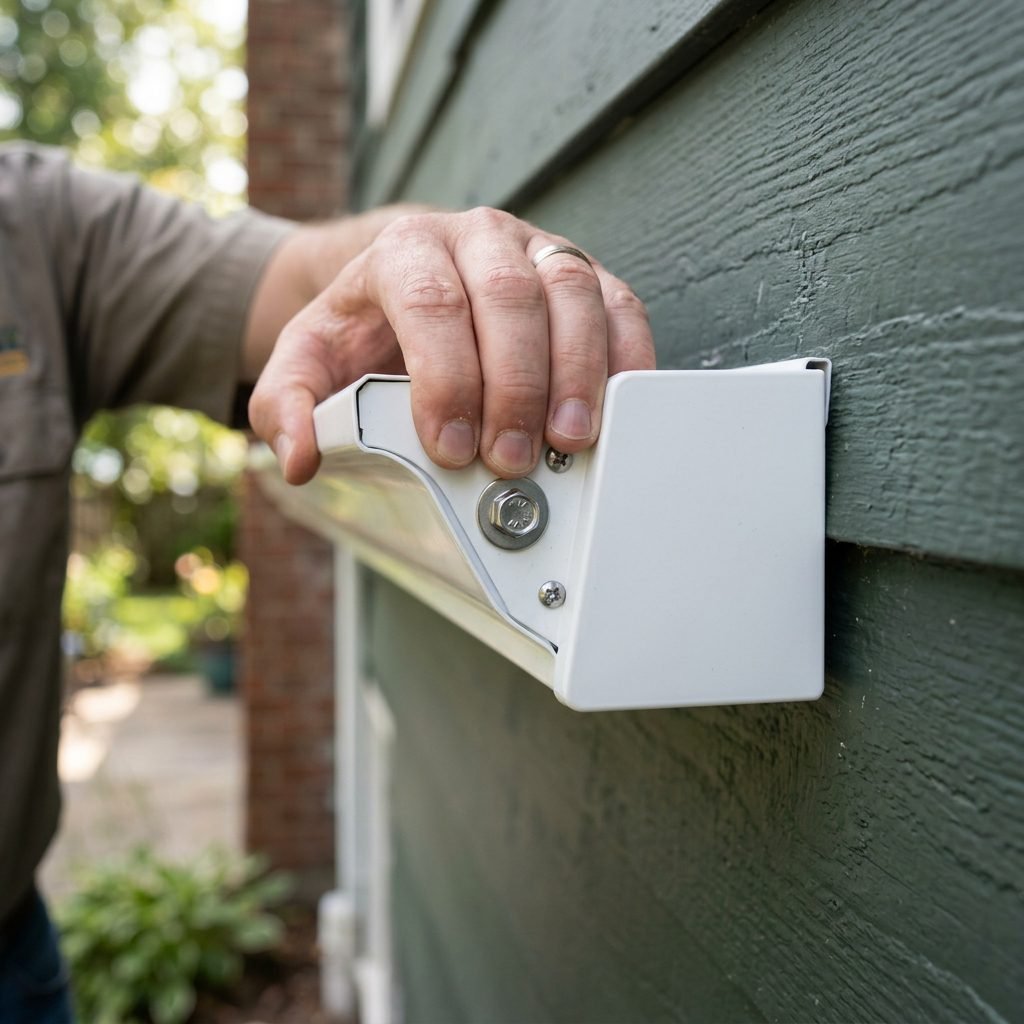
As a doula, safety is my middle name. While these shelves are lightweight, we have to consider the ‘toddler factor.’ Eventually, your sweet baby will be a climbing, pulling, curious whirlwind. We want to ensure these shelves stay exactly where they belong.
| Safety Feature | Why It Matters | Action Step |
|---|---|---|
| Drywall Anchors | Prevents the shelf from pulling out of the wall. | Use anchors rated for at least 20 lbs. |
| Sandpaper Edges | Prevents scratches on delicate skin. | Sand all cut edges until smooth to the touch. |
| Height Placement | Ensures accessibility while managing risk. | Mount the lowest shelf at least 12 inches off the floor. |
| End Cap Security | Prevents small parts from being pulled off. | Use a dab of superglue to keep caps permanent. |
A Note on Height: I love placing the bottom shelf low enough so a crawling baby can reach for a board book. This promotes independence and motor skills. However, make sure the top shelf is high enough that it doesn’t become a ‘ladder’ for an adventurous two-year-old!
Styling for Sensory Success & Aesthetic Joy
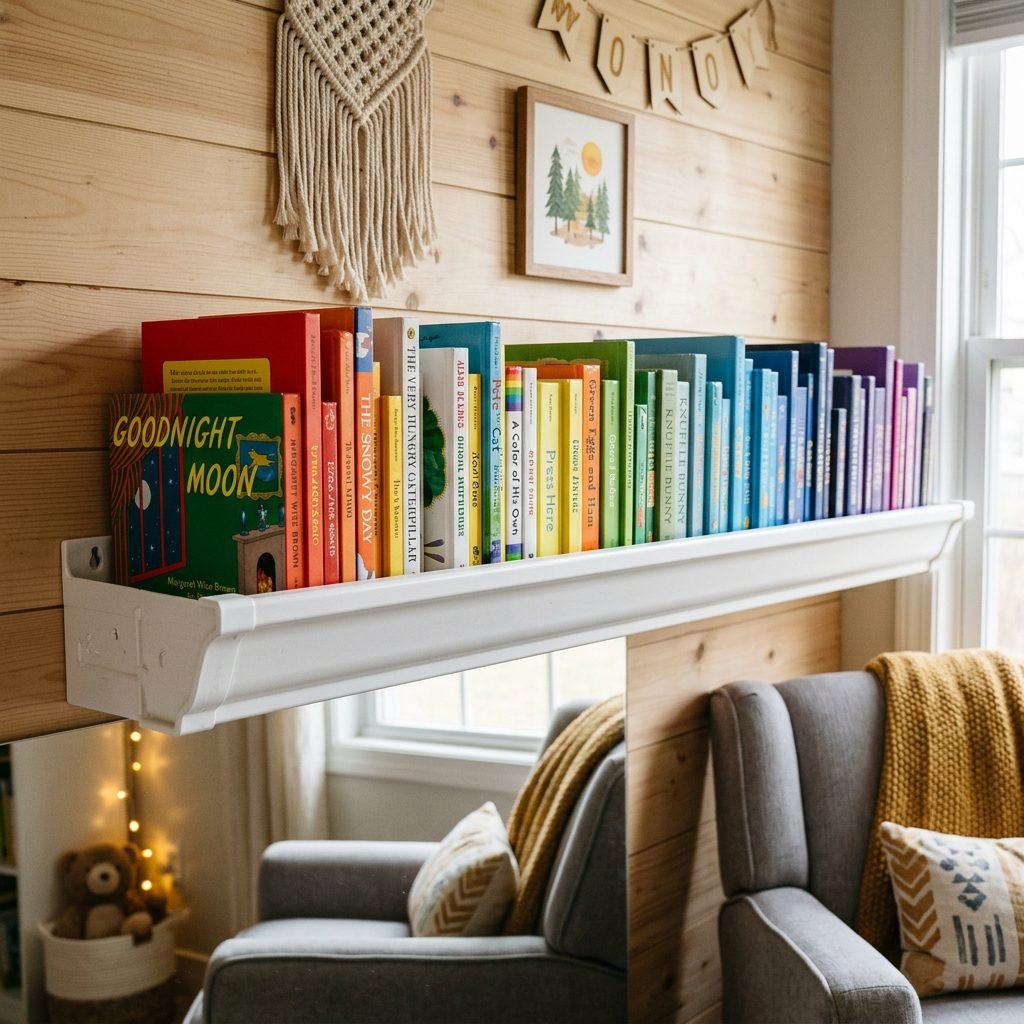
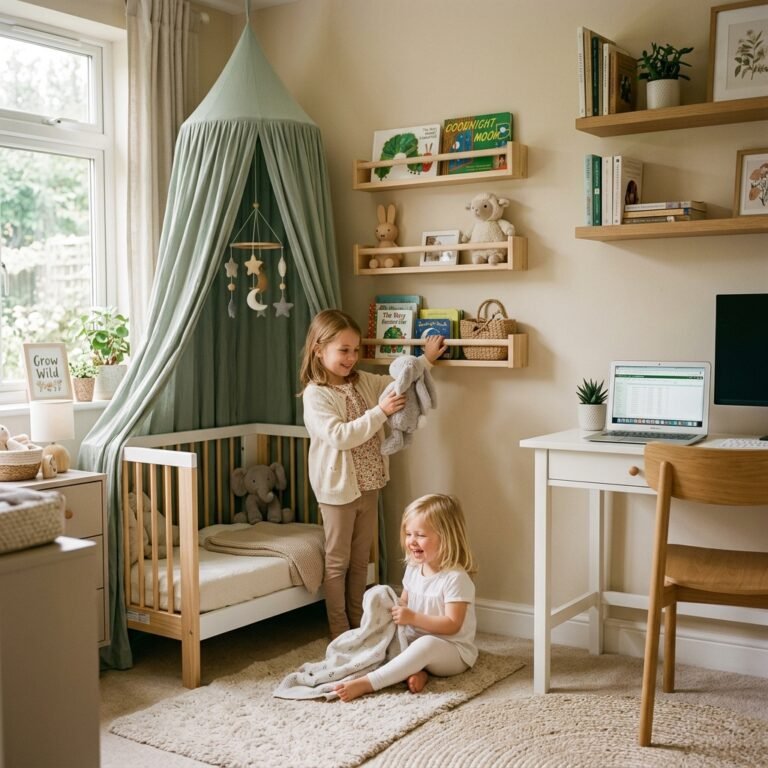
Now for the fun part! Styling your library is where you can really let your personality shine. Since the books are front-facing, they act as functional art. Here is how to curate a library that is both beautiful and developmentally stimulating:
- Color Coding: Try a ‘rainbow’ look by grouping books by their spine/cover color. It creates a stunning visual impact that looks professionally designed.
- Vary the Heights: Mix tall picture books with smaller board books to create a dynamic ‘skyline’ on your shelf.
- Seasonal Rotation: Don’t feel like you have to put every book out at once. Keep a small basket in the closet and rotate books every month. This keeps ‘reading time’ fresh and exciting for your baby.
- Texture and Sensory: Include ‘touch and feel’ books on the lowest shelf where baby can easily reach them.
Affirmation for the Crafty Mom: ‘I am creating a world of wonder for my child. Every book on this shelf is an invitation to dream, and every minute I spend on this nursery is a labor of love.’
The Lifelong Gift of a Nursery Library
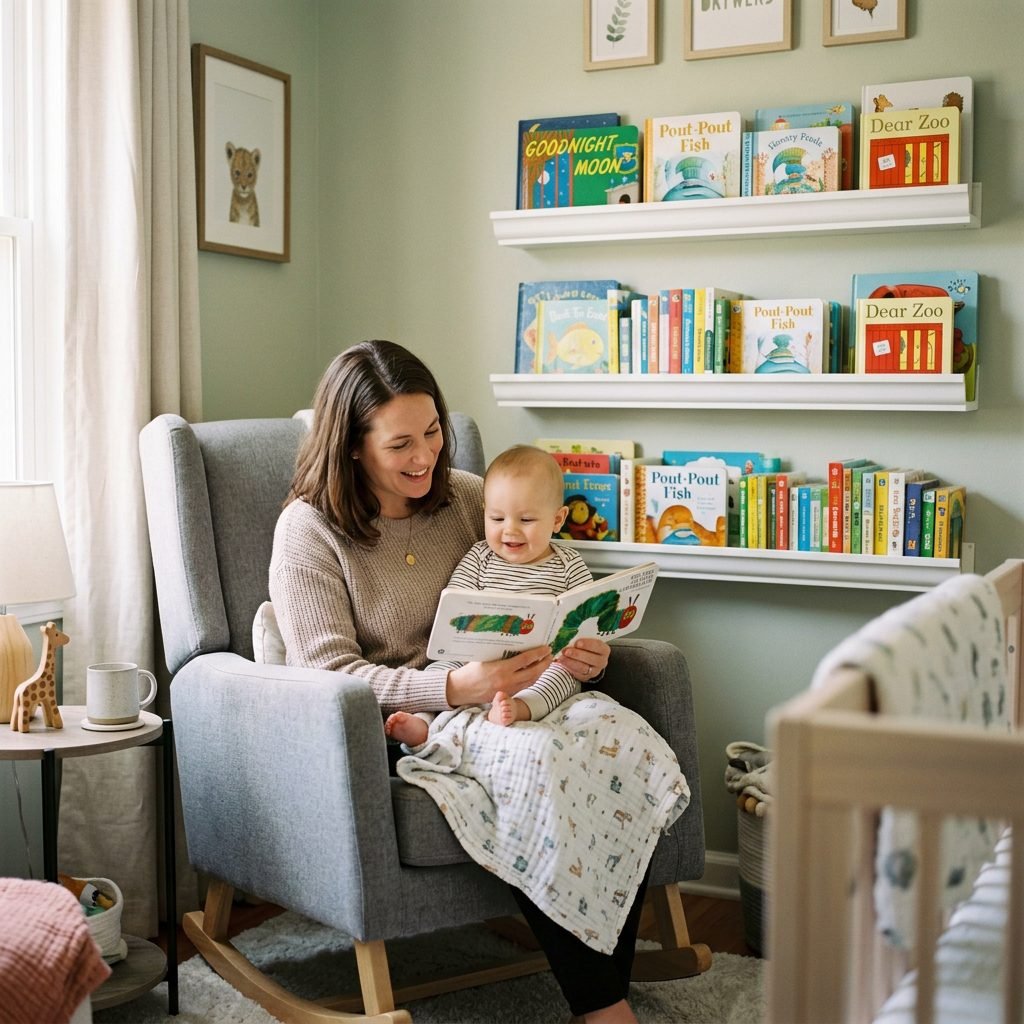
Beyond the $15 price tag and the cute aesthetic, what you are really building is a foundation for literacy. Research shows that children who grow up in homes with at least 50 books have significantly better educational outcomes. By making books a central, accessible part of the nursery decor, you are telling your child that stories matter.
As your child grows, these shelves can grow with them. They can transition from holding crinkle books to early readers, and eventually, they can even be used in a craft room to hold paint bottles or in a ‘big kid’ room to display LEGO creations. This $15 investment truly is the gift that keeps on giving.
Doula Tip: The Bedtime Ritual
Once your shelves are up and filled, start the habit of ‘choosing a book’ as part of your evening wind-down. Even a newborn benefits from the rhythm of your voice and the high-contrast images in many infant books. It’s a beautiful way to bond after a long day.
Conclusion
And there you have it, mama! A gorgeous, designer-look library for the price of a few lattes. You’ve saved money, saved space, and created a focal point in your nursery that will spark joy for years to come. I am so proud of you for taking the time to create a space that reflects the warmth and care you already have for your little one. Don’t forget to take a photo of your finished project and share it—you never know which other mama might need this little bit of inspiration today. Happy nesting, and even happier reading!