DIY IKEA Lustigt Shelf Hack: How to Paint and Style It for a Playful Nursery Wall
Embracing the Nesting Instinct with a Touch of Whimsy
Hello, sweet mama. If you are reading this, chances are you are in the thick of the ‘nesting’ phase, that beautiful, sometimes frantic, biological urge to prepare a safe and enchanting space for your new arrival. As a doula, I’ve seen many mothers find peace and grounding in small, creative projects. There is something deeply therapeutic about working with your hands to create a piece of the world your baby will soon inhabit. The IKEA Lustigt shelf, with its tiny ladders and modular levels, is the ultimate canvas for this creative energy. It’s not just a shelf; it’s a miniature stage for your baby’s first treasures.
The Lustigt is beloved for its playfulness, but in its raw state, it can feel a bit plain for a vibrant nursery. Today, we are going to walk through a complete transformation. We’ll talk about non-toxic paint choices (because we want those lungs healthy!), styling secrets that grow with your child, and the practical safety steps every mama needs to know. Whether you are 32 weeks pregnant and looking for a seated project or a postpartum mama reclaiming a bit of ‘me-time’ while the baby naps, this hack is designed to be gentle, rewarding, and absolutely stunning.
“Your nursery is the first gallery your child will ever visit. Make it a place of wonder, one small shelf at a time.”
The Magic of the Lustigt Shelf in a Baby’s World
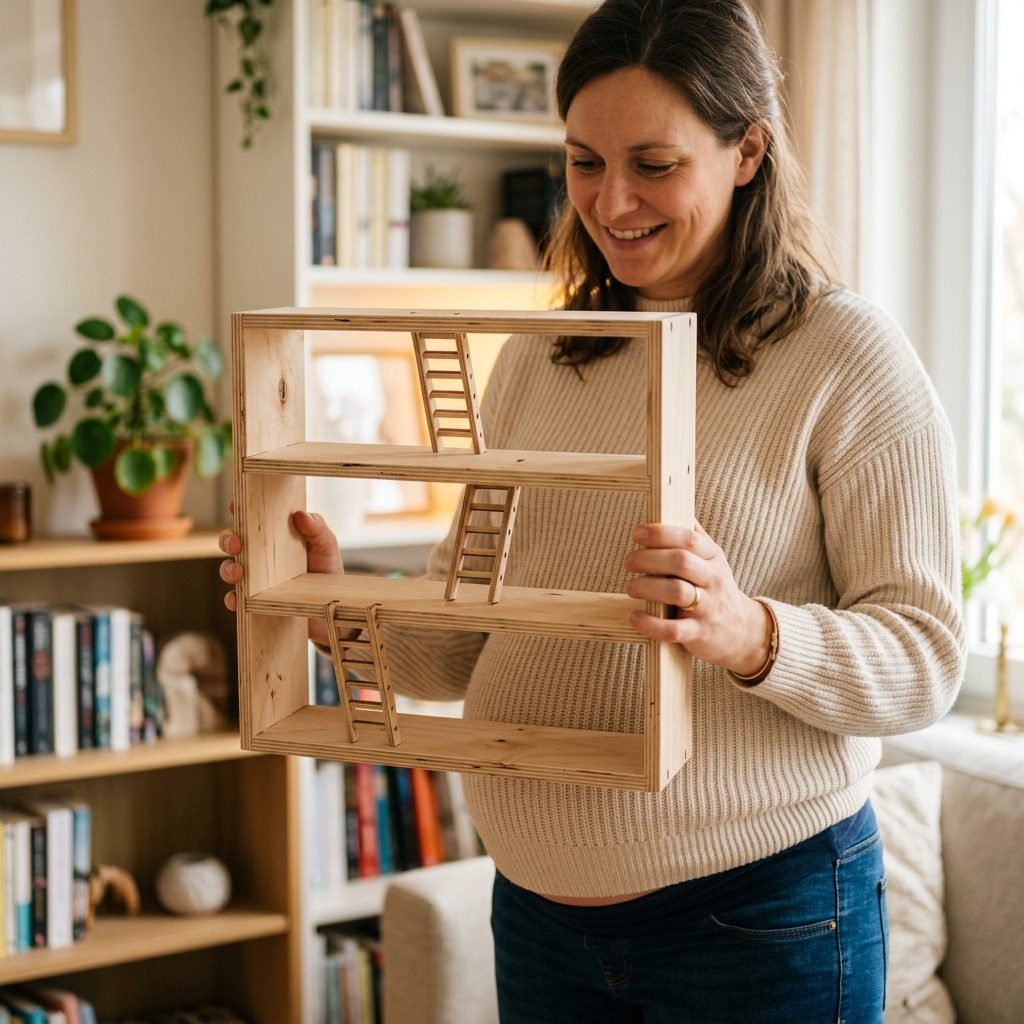
Why do we love the Lustigt shelf so much? In the world of nursery design, we often focus on the big things: the crib, the glider, the changing table. But the magic often lies in the micro-details. The Lustigt shelf is specifically designed for small items, making it the perfect home for those tiny keepsakes that might otherwise get lost in a large toy box.
Why It’s a Nursery Essential
- Scale: It’s perfectly sized for small hands to eventually reach (when they are older) and for tiny decor items like Maileg mice, Toniebox characters, or heirloom rattles.
- Interaction: The movable ladders allow you to change the ‘story’ of the shelf as often as you like, which is great for visual stimulation.
- Affordability: At a low price point, it allows you to splurge more on high-quality, organic bedding or a professional birth photographer.
As a doula, I often recommend ‘visual anchors’ in a nursery—items that catch your eye during those 3:00 AM feedings and remind you of the joy and creativity you poured into this space. A custom-painted Lustigt shelf serves as exactly that.
Gathering Your Non-Toxic Toolkit
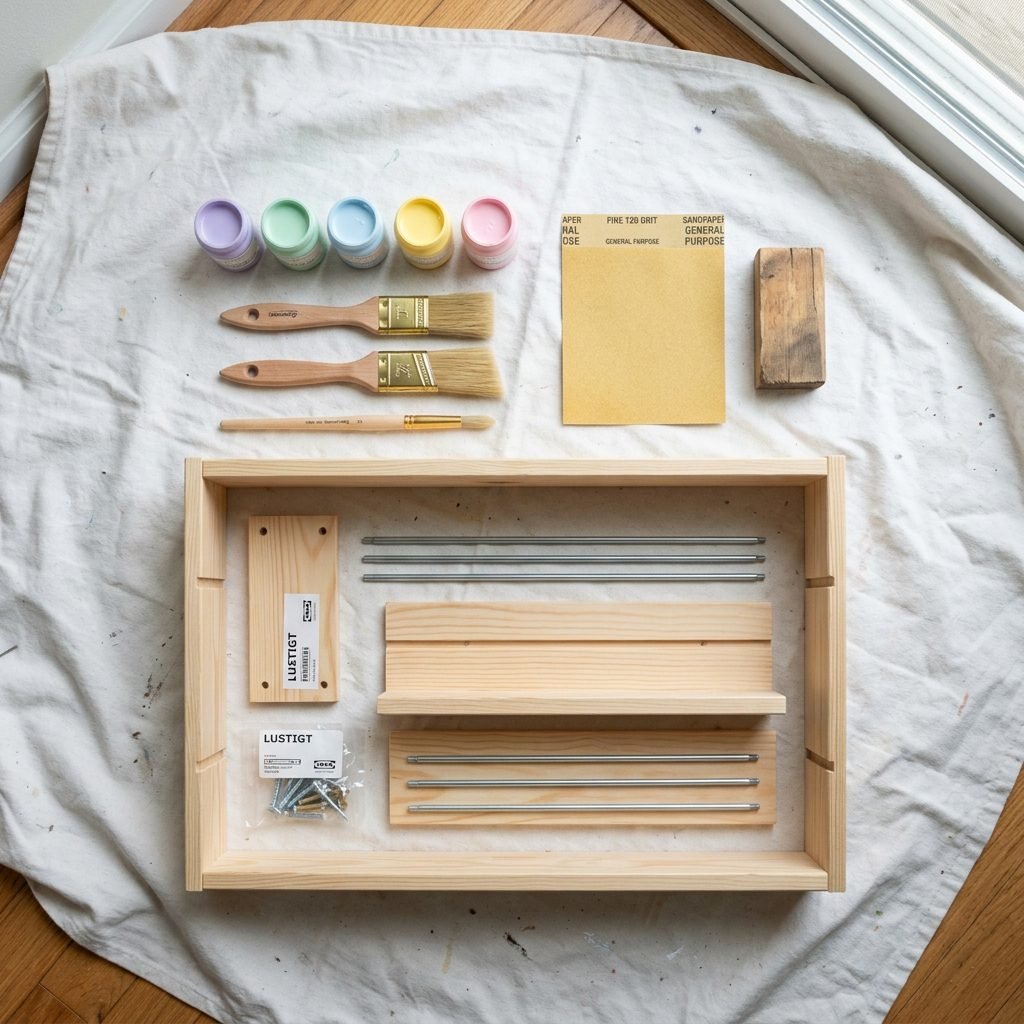
When you are preparing a space for a newborn, safety is our North Star. Traditional spray paints and oil-based finishes can off-gas Volatile Organic Compounds (VOCs) for weeks. Since your baby will be spending 12 to 18 hours a day in their room, we want to choose materials that are as pure as possible.
The DIY Supply List
Before we start, let’s look at the budget and materials. I always suggest opting for ‘Toy-Safe’ certified paints (look for the EN71-3 standard).
| Item | Approximate Cost | Purpose |
|---|---|---|
| IKEA Lustigt Shelf | $10 – $15 | The base of the project. |
| VOC-Free Acrylic Paint | $12 – $20 | Coloring the frame and ladders. |
| Fine-Grit Sandpaper (220 grit) | $5 | Smoothing the wood for a professional finish. |
| Small Detail Brushes | $8 | For the tiny ladder rungs. |
| Water-Based Sealer | $10 | Protecting the paint from dust and tiny fingers. |
Pro-Tip: If you are currently pregnant, please ensure you are working in a well-ventilated room, or better yet, take your project outside on a beautiful day. Wear a mask if you are sensitive to smells, even with low-VOC options, and remember to take frequent water breaks!
Step-by-Step: Painting Your Lustigt Masterpiece
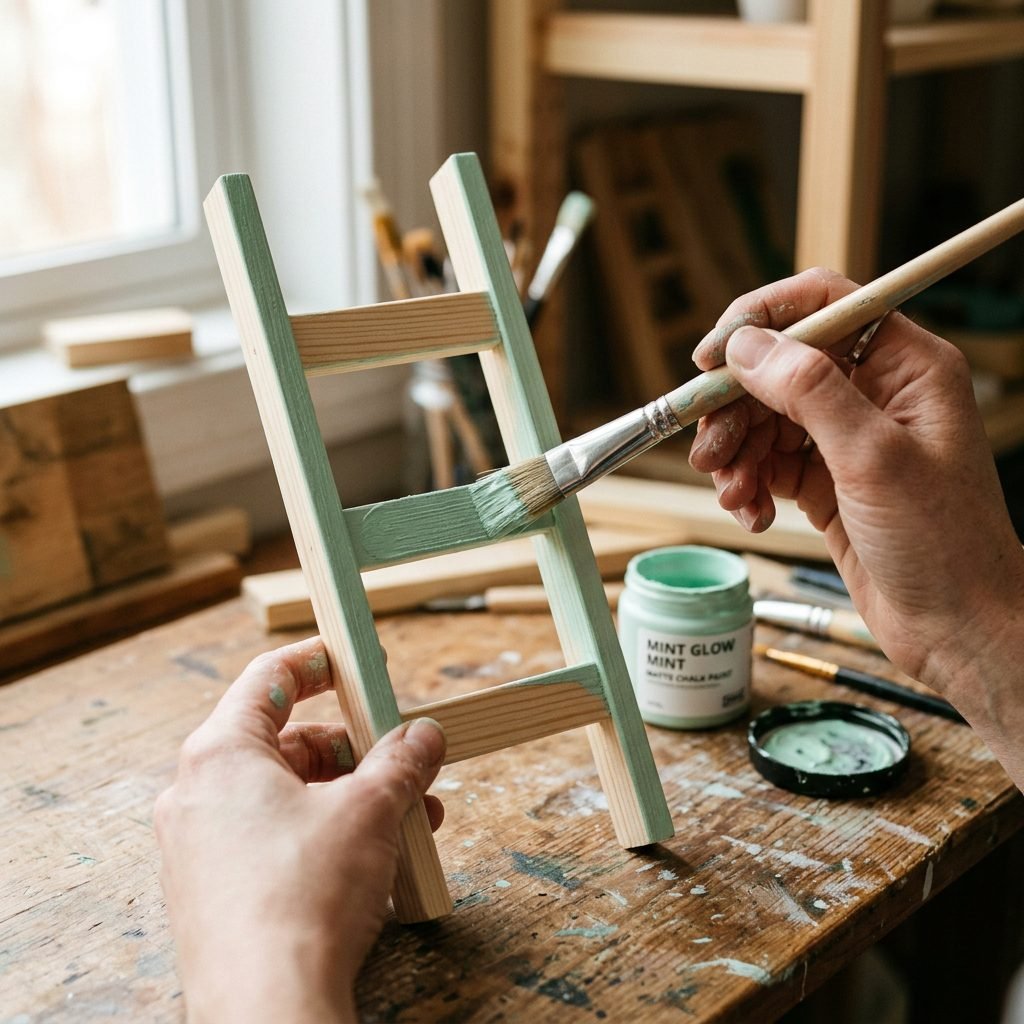
Ready to get your hands a little colorful? This process is straightforward, but taking your time with the prep work will make the final result look like a high-end boutique find.
The Transformation Process
- Disassemble: Take the shelf out of the box but do not assemble it yet. It is much easier to paint the individual plywood pieces and ladders while they are flat.
- Light Sanding: Use your 220-grit sandpaper to gently scuff the surface of the wood. You aren’t trying to remove wood; you’re just creating ‘tooth’ for the paint to grip onto. Wipe away all dust with a damp cloth.
- The Base Coat: Apply a thin layer of your chosen color to the shelves. Thin coats are better than one thick coat to avoid drips. Let it dry for at least 2 hours.
- Painting the Ladders: This is where the ‘playful’ part comes in! Many moms love painting each ladder a different rainbow or ombre shade. Use a small brush to get into the corners of the rungs.
- Second Coat & Seal: Apply a second coat for full opacity. Once fully dry (usually 24 hours), apply a thin layer of water-based, non-toxic sealer to prevent chipping.
While you wait for paint to dry, use that time for a gentle prenatal yoga stretch or a quick snack. You’ve earned it, mama!
Whimsical Styling Ideas for the Playful Nursery
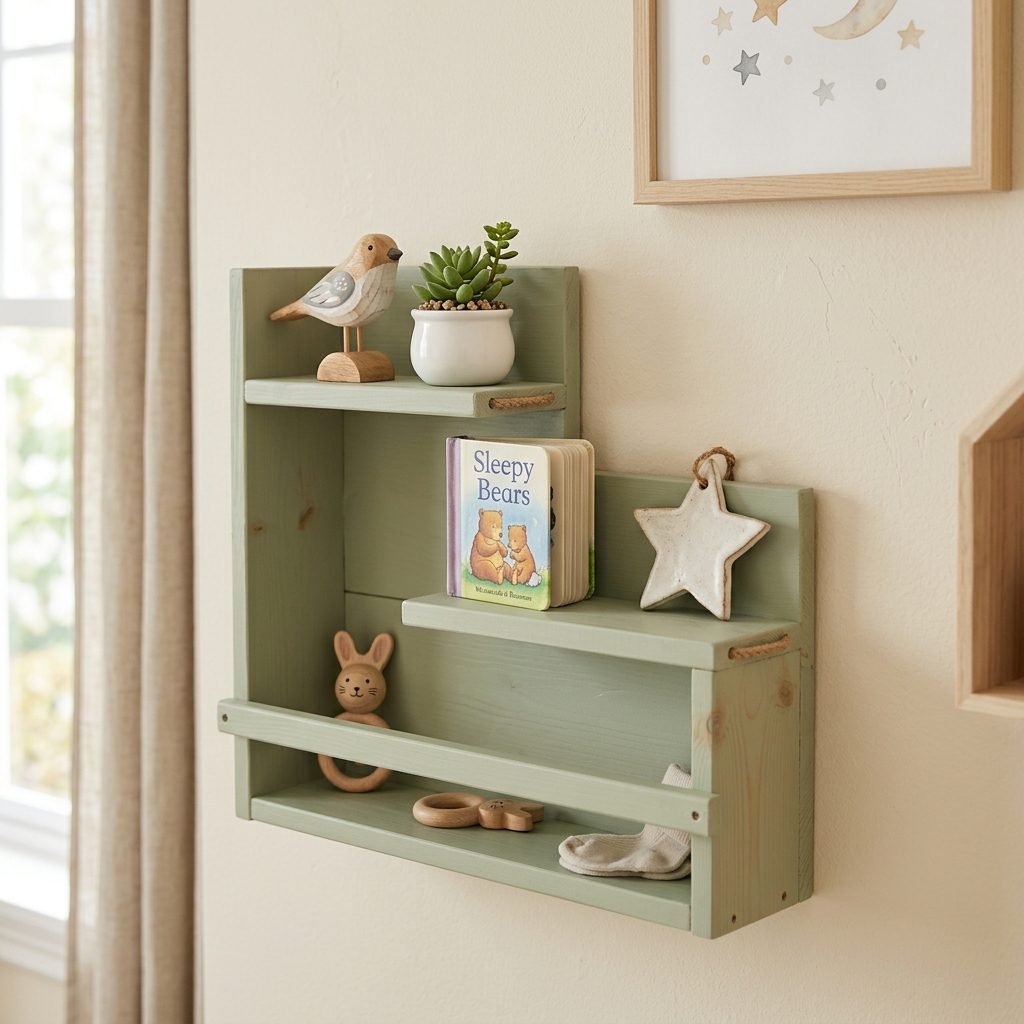
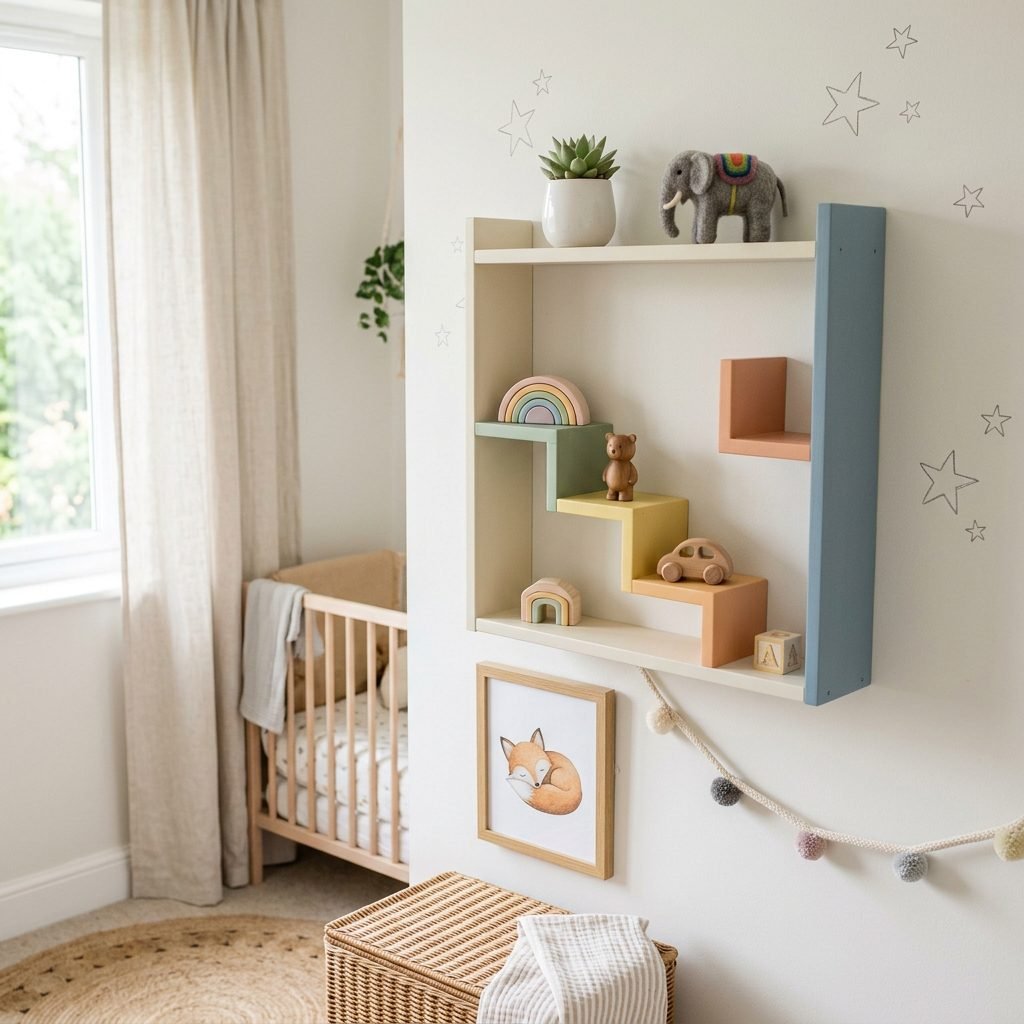
Now for the most rewarding part: styling! The Lustigt shelf is like a tiny dollhouse for your wall. How you style it can reflect your nursery’s theme—whether it’s woodland, celestial, or modern minimalist.
Curating Your Tiny Gallery
- The Heirloom Corner: Place a pair of your own baby shoes or a silver rattle from a grandparent on the top shelf. It bridges the generations.
- The Modern Tech: If you use a Toniebox, the Lustigt ladders are the perfect ‘climbing’ spot for the magnetic characters.
- Nature’s Touch: A small, non-toxic succulent (like a Haworthia) or a wooden forest animal adds a grounding element.
- Visual Milestones: Prop up a sonogram photo or a ‘milestone card’ to celebrate how far you and baby have come.
Don’t overstuff the shelf. The beauty of this hack is the negative space. Let each item breathe so your baby’s developing eyes can focus on individual shapes and colors.
Safe Installation: Protecting Your Little Explorer
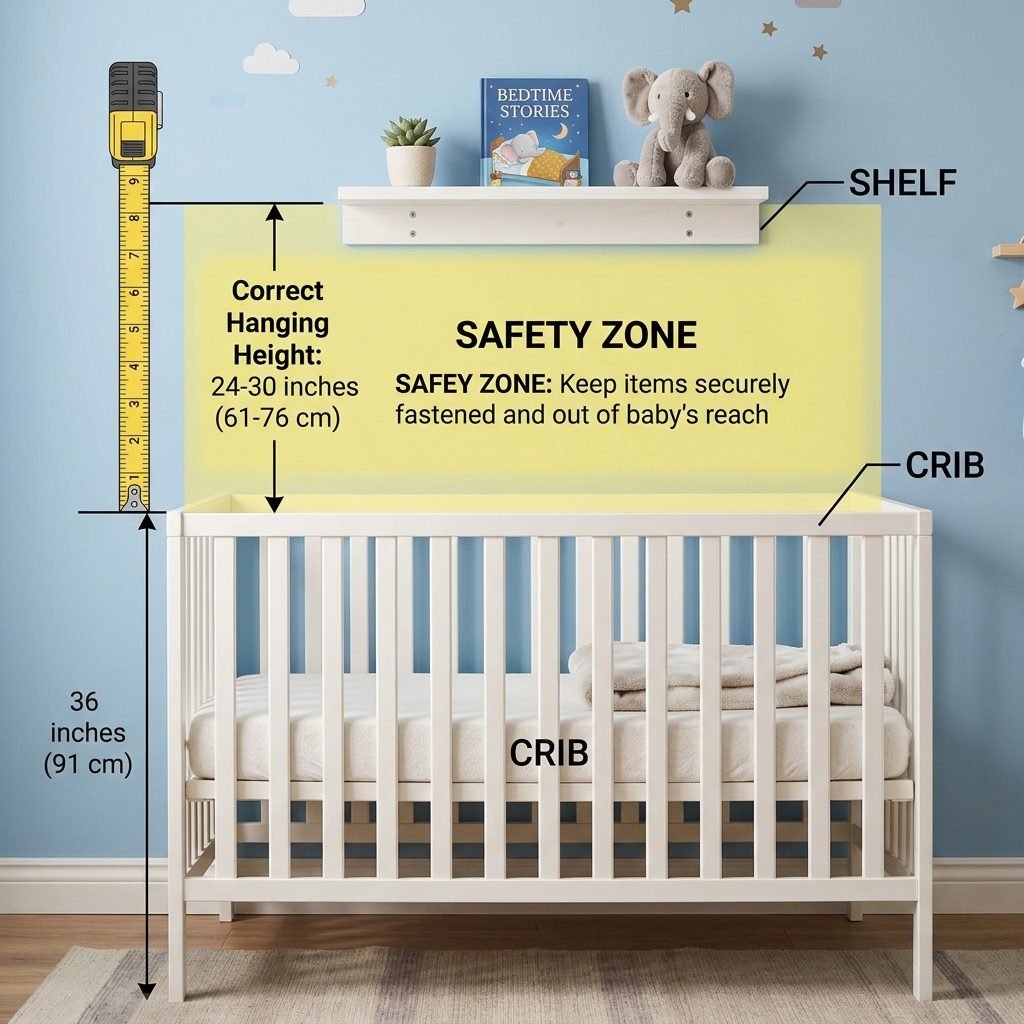
As a doula and safety advocate, I cannot stress this enough: installation is the most important step. Once your baby starts pulling up or crawling (which happens in the blink of an eye!), anything on the wall becomes a potential curiosity.
Safety Guidelines for Wall Decor
- Anchor to Studs: Always try to screw the shelf directly into a wall stud. If that’s not possible, use heavy-duty drywall anchors rated for at least 20 lbs.
- Height Matters: Mount the shelf high enough that a standing toddler in a crib cannot reach it. A good rule of thumb is at least 3 feet above the mattress top at its lowest setting.
- Avoid the ‘Crib Zone’: If possible, avoid hanging shelves directly over where the baby sleeps. Even the most secure shelf can be a risk during an earthquake or accidental bump.
- Check the Ladders: Ensure the ladders are clicked in securely so they don’t fall if the wall is vibrated by a closing door.
“A safe nursery is a peaceful nursery. When you know everything is secure, you can truly relax during those quiet moments with your baby.”
The Nesting Mindset: Why DIY Projects Heal
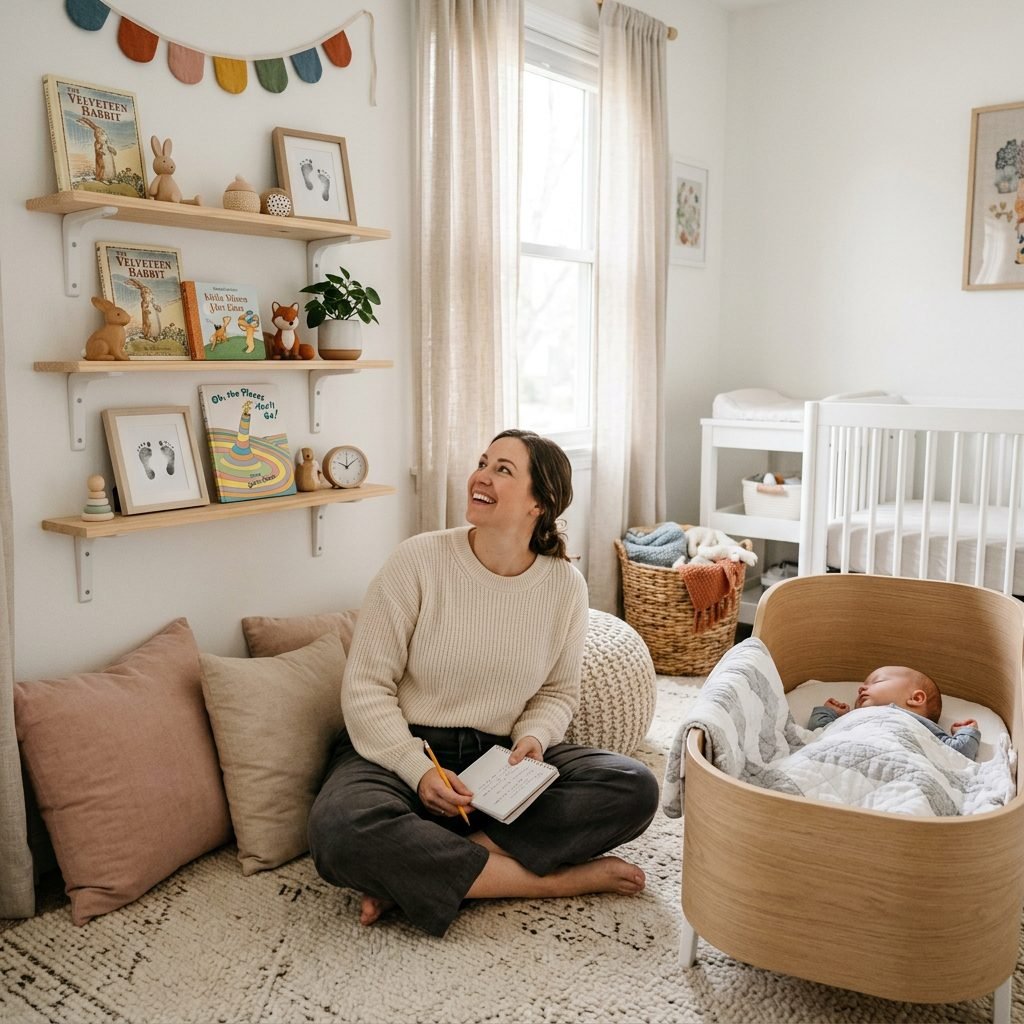
In my years of supporting families, I’ve noticed that the ‘mental load’ of motherhood can be heavy. Engaging in a creative project like this IKEA hack allows you to shift from anxiety to agency. You are taking a mass-produced item and making it uniquely yours, just as you are taking the universal experience of motherhood and making it your own unique journey.
If you are in the postpartum period, don’t rush this. If it takes you three weeks to finish one shelf, that is okay. The goal isn’t a perfect shelf; the goal is the joy of the process. Let this project be a reminder that you are capable of creating beauty, even in the midst of the messy, wonderful chaos of new parenthood.
Conclusion
Your Handcrafted Sanctuary Awaits
You’ve done it, mama! You’ve taken a simple piece of wood and turned it into a whimsical focal point that radiates love and care. This IKEA Lustigt hack is more than just a storage solution; it’s a testament to your creativity and the beautiful life you are building. Every time you glance at those tiny ladders and colorful shelves, I want you to remember the strength and tenderness you possess. Your nursery is now a little bit brighter, and your heart is a little more prepared for the adventures ahead. Happy nesting!