How to Make DIY Wooden Milestone Blocks for Your Baby’s Monthly Photos
Cherishing Every Tiny Change
Oh, mama, I see you. Whether you are currently nesting and waiting for that sweet babe to arrive, or you are in the thick of those hazy, beautiful postpartum weeks, you know just how fast time moves. One day they are a tiny bundle in your arms, and the next, they are pushing up on their elbows and flashing you that first gummy smile. As a doula, I always tell my families that while the days can feel long, the months are incredibly short. That is why capturing those monthly milestones is more than just a trend—it is a way to freeze time.
While you can certainly buy milestone markers, there is something deeply grounding and soulful about making them yourself. These DIY wooden milestone blocks are not just photography props; they are heirlooms. They are made with your hands, infused with your love, and designed to be safe for your little one to eventually grasp and explore. In this guide, we are going to walk through the process of creating a set of blocks that are stylish, non-toxic, and perfectly suited to your nursery’s aesthetic. Let’s roll up our sleeves and create something beautiful together.
The Heart of the Craft: Why Wood and Non-Toxic Materials Matter
When we create for our babies, safety is our first priority. As a doula and a proponent of sensory play, I always lean toward natural materials like wood. Wood has a weight, a warmth, and a texture that plastic simply cannot replicate. It provides a rich sensory experience for a developing baby. However, because these blocks will likely end up in a curious mouth at some point, we must be incredibly intentional about our finishes.
Choosing Your Wood Base
You want to look for solid, untreated hardwoods. Maple, birch, and beech are excellent choices because they are dense and less likely to splinter. You can find pre-cut 2-inch or 2.5-inch wooden cubes at most craft stores or online. Ensure they are sanded smooth to the touch before you even begin painting.
Safe Paint and Sealants
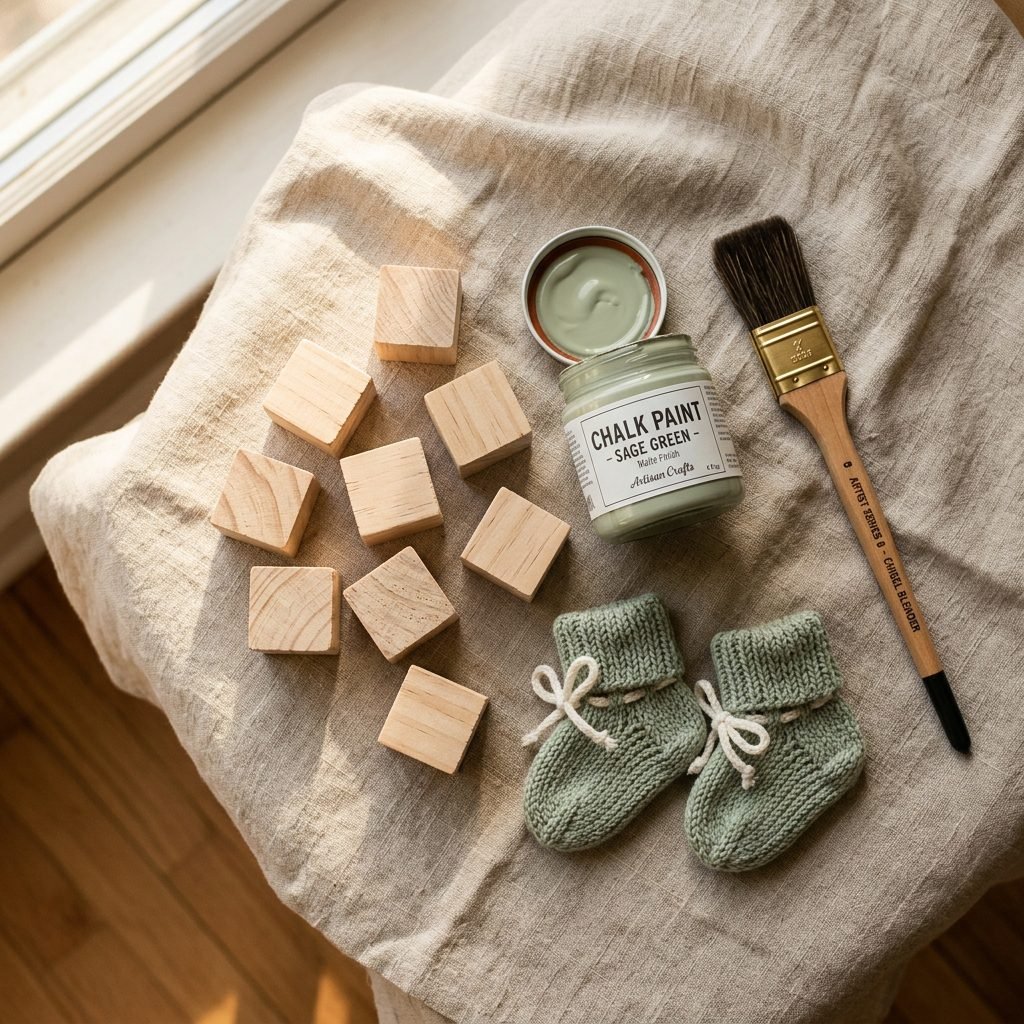
Traditional spray paints and acrylics often contain VOCs (volatile organic compounds) that we want to keep away from our nurseries. Instead, look for Milk Paint or Chalk Paint labeled as ‘Zero VOC’ or ‘Toy Safe.’ For the final seal, a simple mixture of organic beeswax and olive oil or food-grade mineral oil is the gold standard for a baby-safe finish.
| Material | Why We Love It | Estimated Cost |
|---|---|---|
| Untreated Hardwood Cubes | Durable, natural, and safe for grasping. | $10 – $15 |
| Zero-VOC Chalk Paint | Beautiful matte finish, no toxic fumes. | $8 – $12 |
| Beeswax/Oil Sealer | Food-grade and brings out the wood grain. | $5 – $10 |
| High-Grit Sandpaper | Ensures a buttery-smooth surface. | $3 – $5 |
“The items we bring into our baby’s environment should be as pure as the love we have for them. Choosing non-toxic materials is a quiet act of protection and care.”
The Logic of the Numbers: Mapping Your Blocks
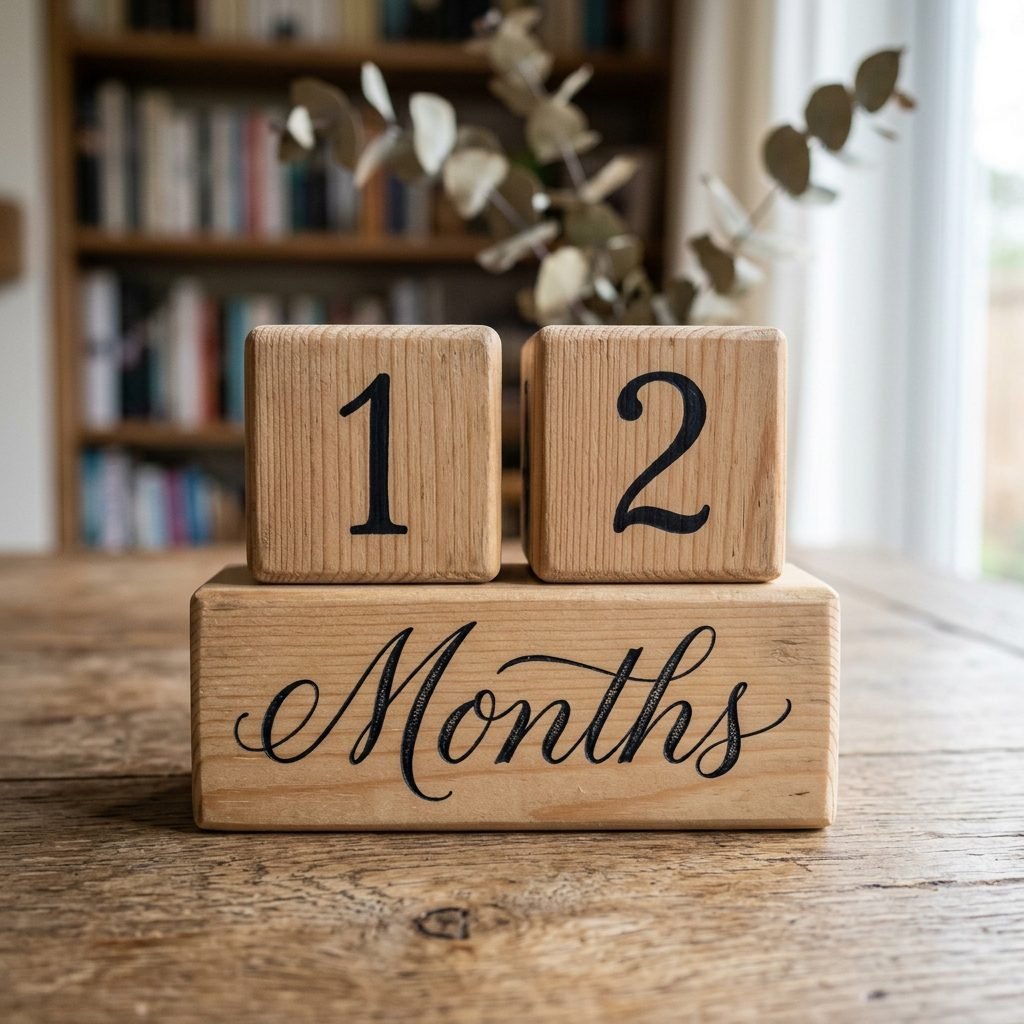
This is where many DIYers get stumped! To be able to count from 01 to 12 months (and even up to 32 for those who want to track weeks or older milestones), you need a specific configuration of numbers on your cubes. You will typically need two small cubes for the numbers and one longer rectangular block for the words (Days, Weeks, Months, Years).
The Secret Number Formula
Because you need to be able to make ’11’ and ’22’, and you need a ‘0’ for those early months, the numbering isn’t just 1-6 on one block and 7-0 on the other. Follow this guide to ensure your blocks are functional:
- Block 1: 0, 1, 2, 3, 5, 8
- Block 2: 0, 1, 2, 4, 6, 7 (Note: The 6 doubles as a 9 when flipped!)
By following this specific mapping, you can display every single number from 01 through 32. This covers the most critical first year and beyond! For the larger rectangular block, you will want to paint: Months, Weeks, Days, and Years on the four long sides.
| Block Face | Block 1 (Small Cube) | Block 2 (Small Cube) | Block 3 (Rectangle) |
|---|---|---|---|
| Side 1 | 0 | 0 | Months |
| Side 2 | 1 | 1 | Weeks |
| Side 3 | 2 | 2 | Days |
| Side 4 | 3 | 4 | Years |
| Side 5 | 5 | 6 (or 9) | [Baby’s Name] |
| Side 6 | 8 | 7 | [Heart or Star] |
Step-by-Step Crafting: Bringing Your Vision to Life
1. Preparation and Sanding
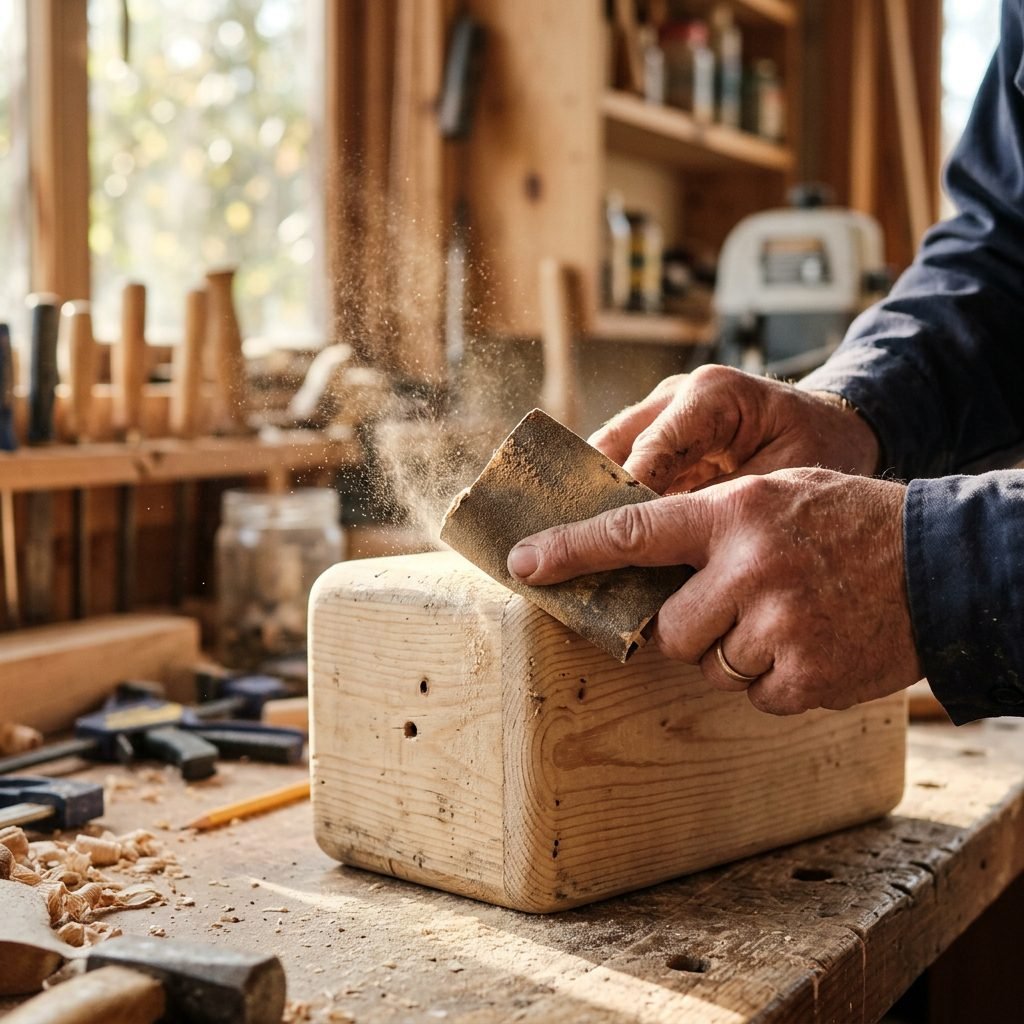
Even if the blocks feel smooth, give them a quick once-over with 220-grit sandpaper. Focus on the corners and edges to ensure there are no sharp points. Wipe away all dust with a tack cloth or a slightly damp microfiber towel. This ensures your paint adheres perfectly.
2. Applying the Base Coat
If you want a natural look, you can leave the wood raw and only paint the numbers. If you want a pop of color, apply two thin coats of your chosen chalk paint. Pro-Tip: Use a makeup sponge to ‘pounce’ the paint on for a streak-free, professional finish. Let the blocks dry completely for at least 4 hours between coats.
3. Adding the Numbers and Words
You have three beautiful options here depending on your comfort level:
- Hand-Painted: Use a fine-tip brush and a steady hand for a whimsical, ‘perfectly imperfect’ look.
- Stencils: Use adhesive stencils to ensure clean, crisp lines. This is the best option for a modern, minimalist aesthetic.
- Vinyl Decals: If you have a cutting machine (like a Cricut), you can cut permanent vinyl. Just remember that if baby is chewing on them, vinyl can eventually peel, so paint is often the safer long-term choice.
4. Sealing for Longevity
Once the paint is 100% dry (I recommend waiting 24 hours), apply your wood sealer. Rub the beeswax mixture into the wood using a clean cloth. Let it sit for 15 minutes, then buff it to a soft sheen. This protects the wood from moisture and makes it easy to wipe clean.
Mastering the Monthly Photoshoot: Styling Tips for Tired Mamas
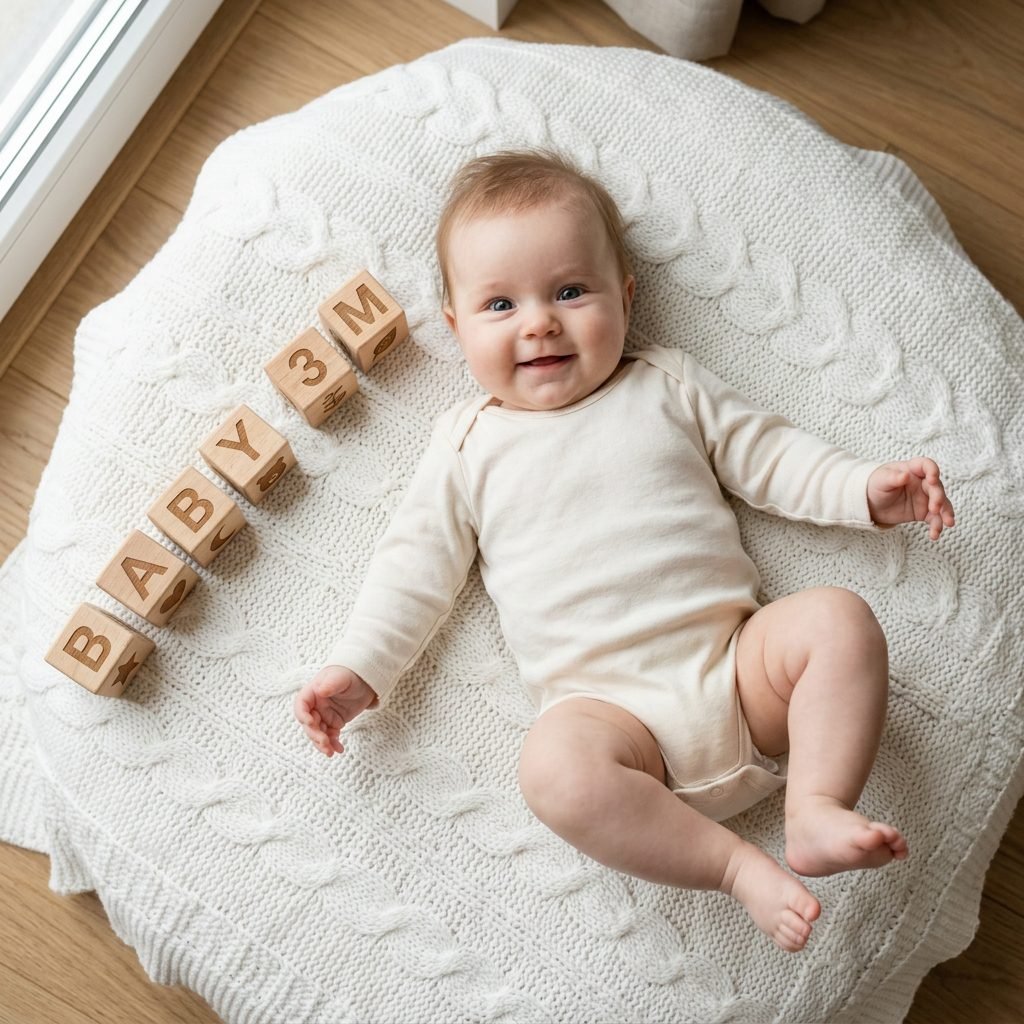
I know, mama—getting a baby to stay still for a photo can feel like herding cats. But these photos will be some of your most treasured possessions. Here is how to make the process stress-free and stylish.
Lighting is Everything
Forget the flash. Find a spot in your home with indirect, natural light. A large window with a sheer curtain is perfect. Aim to take the photos in the morning when the light is soft and baby is usually at their happiest after a full tummy and a fresh diaper.
The Background Setup
Keep it consistent! Using the same background every month allows the focus to remain on how much your baby has grown. A simple white linen sheet, a sheepskin rug, or a consistent spot on the nursery rocking chair works beautifully. Place the blocks near the baby’s feet or off to the side where they are visible but not blocking those sweet little toes.
| The “Do” List | The “Avoid” List | ||||
|---|---|---|---|---|---|
| Shoot from directly above (Flat lay). | Avoid harsh overhead yellow lights. | Use a favorite toy to get baby’s attention. | Don’t stress if they aren’t smiling; crying faces are real life too! | Take the photo at the same time each month. | Avoid busy, distracting patterns in the background. |
“Don’t aim for Pinterest-perfect. Aim for a memory. The little rolls, the messy hair, and the way they grab their toes—that is the magic you are capturing.”
Beyond the First Year: Repurposing Your Milestone Blocks
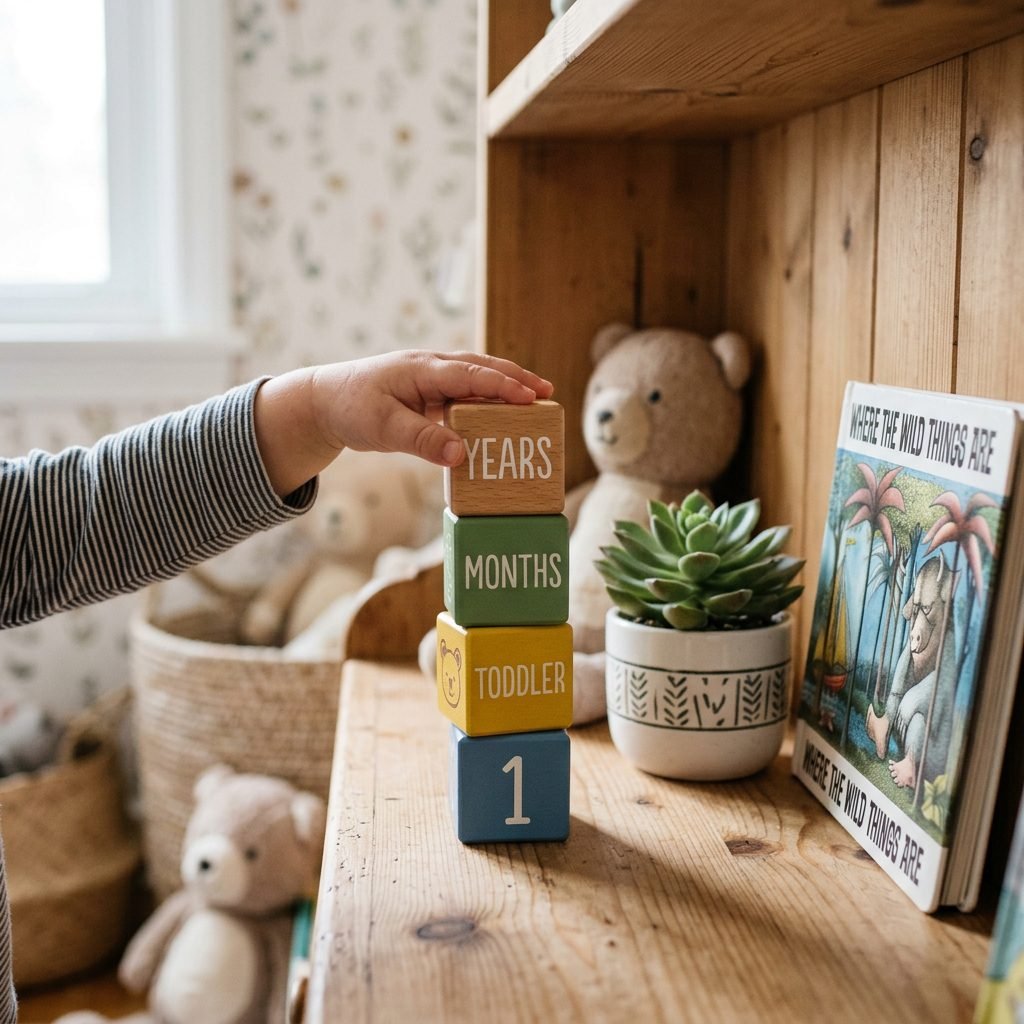
One of the reasons I love this project is that it doesn’t end at the 12-month mark. These blocks can transition through many stages of your child’s life. As your baby grows into a toddler, these blocks become valuable learning tools.
- Number Recognition: Use the cubes to help your toddler identify numbers 0-9.
- Fine Motor Skills: Stacking the blocks helps develop hand-eye coordination and grip strength.
- Language Development: Use the ‘Days, Weeks, Months, Years’ block to start explaining the concept of time as they get older.
- Nursery Decor: When not in use, they look stunning on a floating shelf or tucked into a wooden crate.
Because you used non-toxic, durable hardwood, these can withstand years of play. They might get a few dings and scratches along the way, but those are just marks of a well-loved childhood. If they ever look dull, simply re-apply a little bit of your beeswax sealer to bring them back to life.
Conclusion
A Legacy of Love
Creating these DIY wooden milestone blocks is a beautiful way to slow down and connect with the journey of motherhood. From the careful selection of the wood to the final buffing of the wax, every step is an investment in your family’s history. When you look back at that 12-month photo and see those blocks—the ones you sanded while waiting for labor to begin, or painted during a rare afternoon nap—you won’t just see a photo prop. You will see the love, patience, and creativity that defined your baby’s first year.
You are doing an amazing job, mama. Whether your blocks are perfectly straight or have a little bit of character, they are perfect because they were made by you. Happy crafting, and may this first year be filled with more joy than you ever imagined.