How to Make a Flower Petal Ice Melt Sensory Bin for Summer Play
Welcome to Your Summer of Sensory Wonder
Hello, sweet mama. As the sun begins to stretch its golden arms across our afternoons, we often find ourselves looking for ways to keep our little ones cool, engaged, and quietly captivated while we catch a much-needed breath. There is something truly magical about the intersection of nature and play, and today, I want to walk you through one of my absolute favorite summer rituals: the Flower Petal Ice Melt Sensory Bin. This isn’t just a craft; it is a gentle invitation for your child to explore the changing states of matter, the delicate textures of spring blooms, and the soothing relief of ice on a humid day.
As a doula and a mama, I know that your time is precious and your energy is often spread thin. That is why this activity is designed to be low-prep but high-impact. It encourages independent play, fosters fine motor development, and provides a stunning visual experience that even you will enjoy watching. We are going to dive deep into the ‘why’ and the ‘how,’ ensuring that every bloom we use is safe and every step is simple. So, grab a glass of iced tea, and let’s create some frozen floral magic together.
Remember, mama: play is the work of the child, and today, their office is a beautiful, icy garden of discovery. You are doing a wonderful job providing these moments of wonder.
The Gentle Science and Soul of Sensory Play
Why Sensory Play Matters for Your Growing Tot
Before we get our hands cold, let’s talk about why we are doing this. Sensory play is any activity that stimulates your child’s senses: touch, sight, smell, taste, and sound. In this specific ice melt bin, we are hitting almost all of them. When a child touches ice, their brain is firing off signals about temperature and texture. When they see the vibrant petals trapped inside, they are practicing visual tracking and color recognition.
Developmental Milestones in a Bin
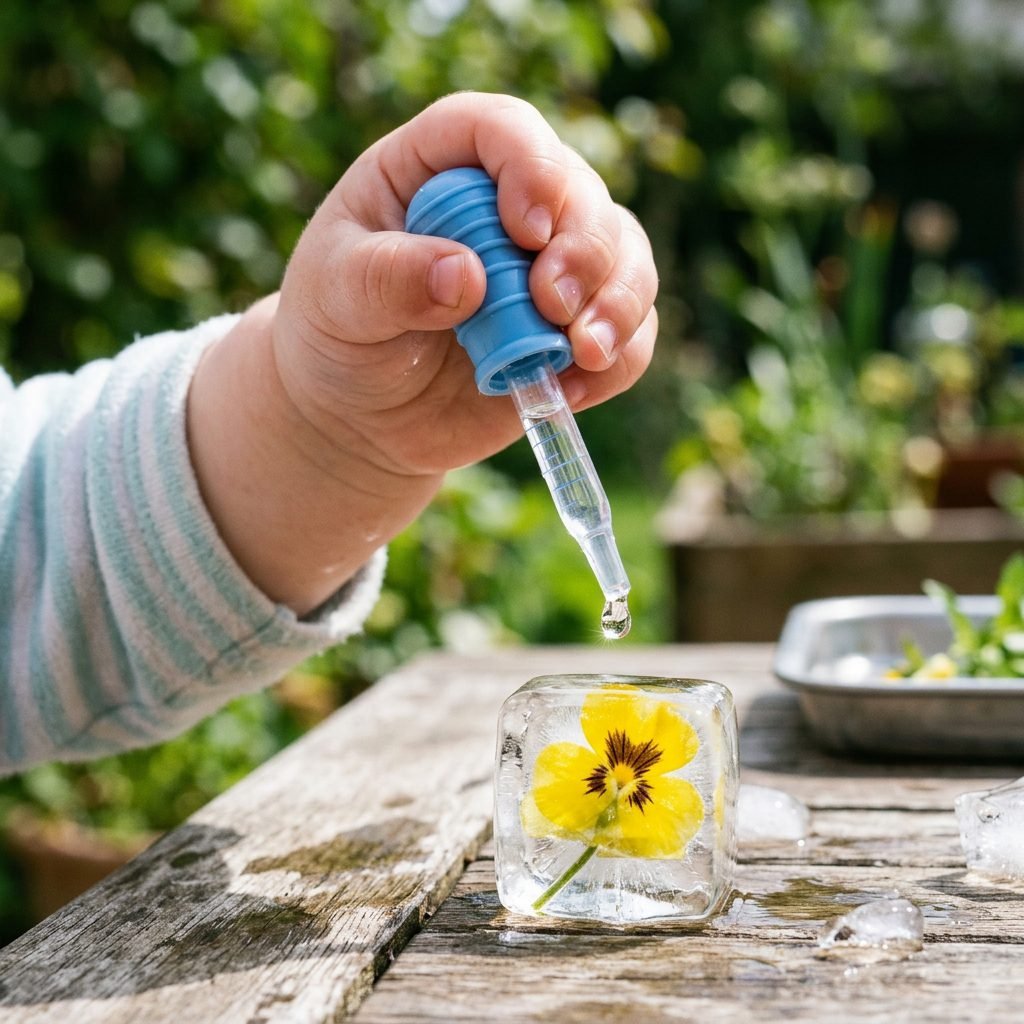
- Fine Motor Skills: Using pipettes or small spoons to pour warm water over the ice strengthens the tiny muscles in the hands, which are essential for later skills like writing and buttoning clothes.
- Cognitive Development: Your child begins to understand cause and effect. ‘If I pour this warm water here, the ice disappears and the flower comes out!’
- Language Skills: This is a wonderful time to introduce descriptive words. Use terms like frigid, translucent, delicate, fragrant, and slippery as you play alongside them.
From a doula’s perspective, sensory play is also incredibly grounding. If your little one is having a ‘big emotion’ day or if the summer heat is making everyone a bit cranky, the cooling sensation of ice can actually help regulate their nervous system. It is a form of hydrotherapy for toddlers!
Sourcing Your Blooms: A Safety-First Guide
Choosing the Right Flowers for Tiny Hands
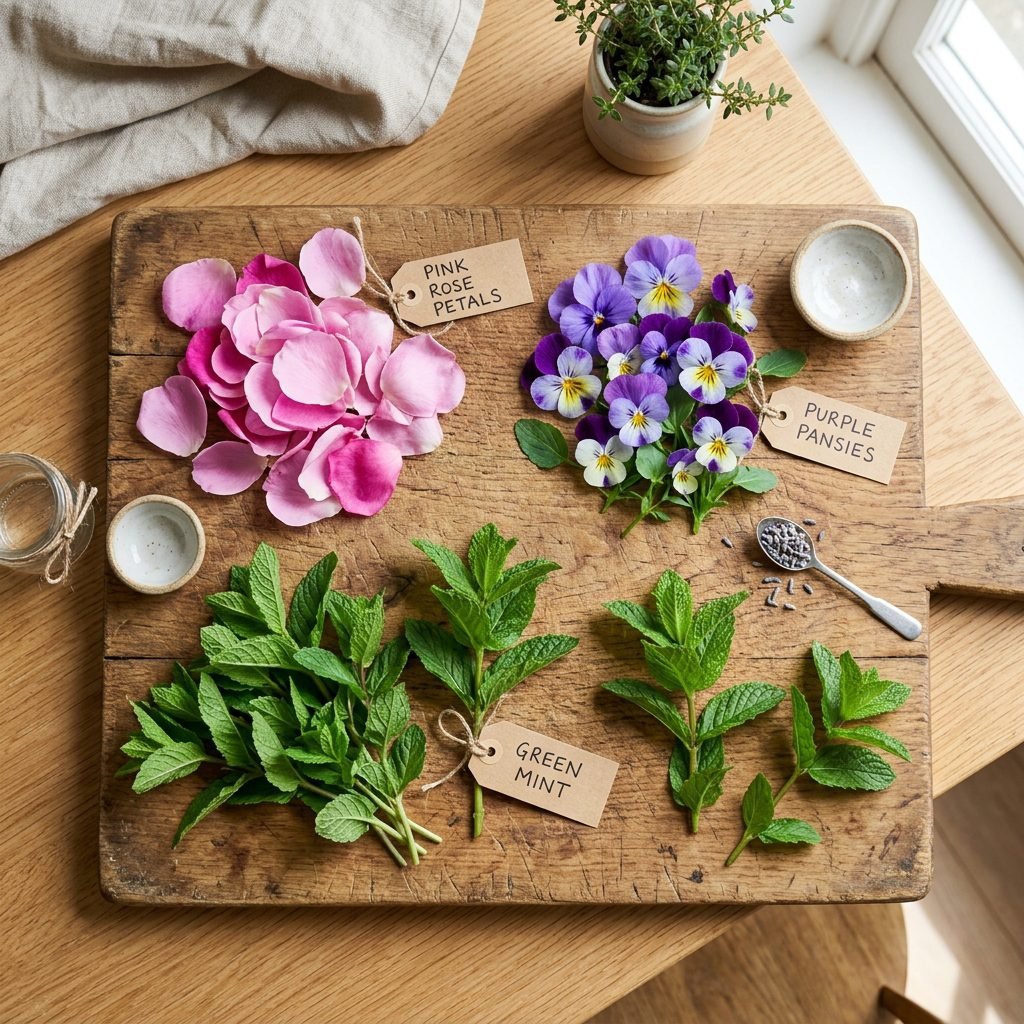
When we are creating sensory bins, safety is our North Star. Since many little ones are still in the ‘mouthing’ phase, we want to ensure that every element in our bin is non-toxic and organic if possible. Avoid flowers from big-box florists that may have been treated with heavy pesticides. Instead, look to your own garden, a local organic farm, or even the herb aisle at the grocery store.
Safe vs. Caution Flowers
| Flower Type | Safety Status | Sensory Benefit |
|---|---|---|
| Roses | Safe & Edible | Soft texture, classic scent |
| Pansies/Violas | Safe & Edible | Vibrant colors, flat for freezing |
| Marigolds | Safe | Bright oranges and yellows |
| Lavender | Safe | Calming aromatherapy |
| Lily of the Valley | TOXIC – Avoid | Dangerous if ingested |
| Oleander | TOXIC – Avoid | Highly dangerous |
Pro-Tip: If you don’t have access to fresh flowers, you can use large mint leaves or even slices of citrus like lemons and limes. The goal is to provide a contrast between the cold, hard ice and the organic, soft elements within.
The Step-by-Step Floral Freeze
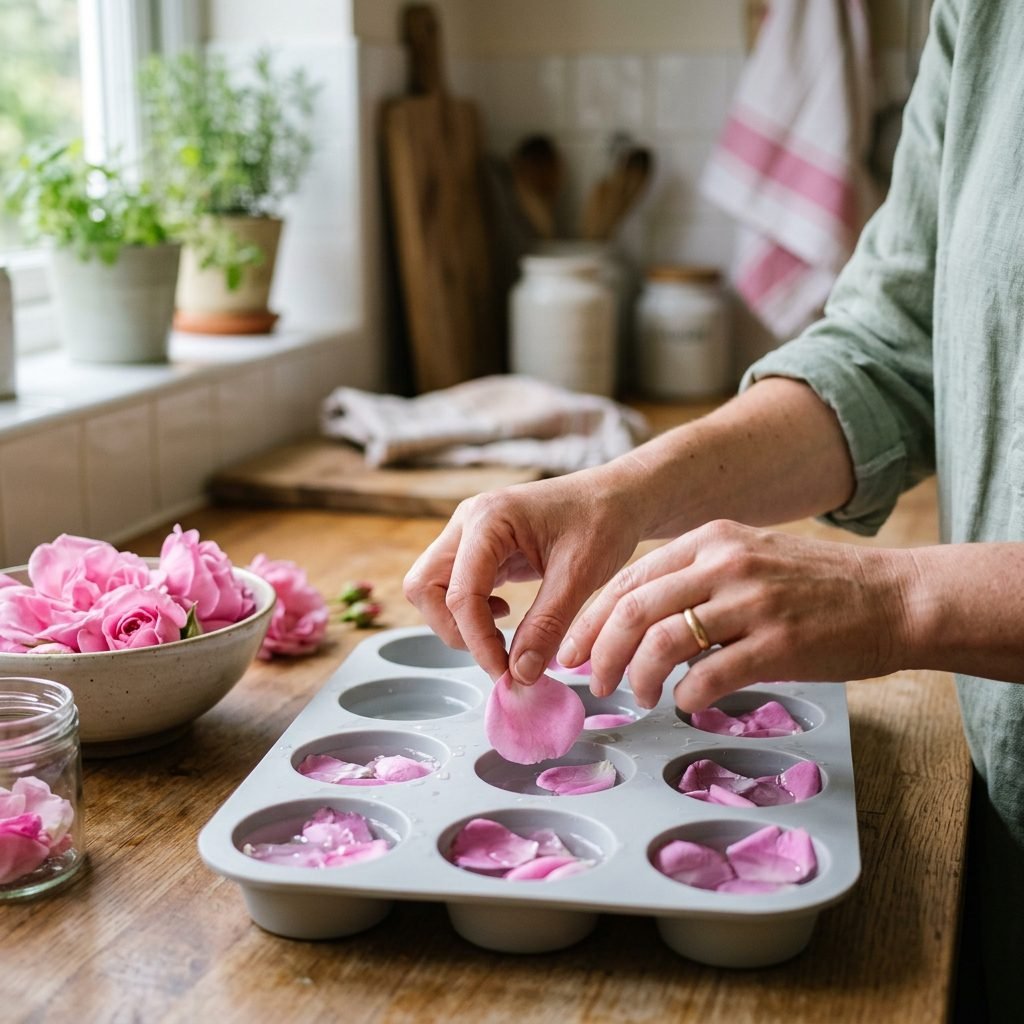
Creating Your Frozen Masterpieces
To make this bin truly captivating, we want the ice to be as clear as possible so the flowers really ‘pop.’ The secret? Use distilled water or water that has been boiled and then cooled. This removes air bubbles that cause cloudiness.
- Select Your Containers: You can use muffin tins, silicone molds, or even small Tupperware containers. Different shapes make the discovery more interesting!
- The Layering Technique: To prevent all the flowers from floating to the top, freeze them in layers. Fill your mold 1/3 of the way with water, add a few petals, and freeze. Once set, add another layer of water and flowers, and freeze again.
- Adding Aromatherapy: For an extra sensory layer, add a drop of lavender or chamomile hydrosol to the water before freezing. It creates a calming scent as the ice melts.
- The Big Freeze: Let your floral blocks sit in the freezer for at least 6 to 8 hours, or ideally overnight.
If you are feeling extra ‘crafty mom,’ you can even freeze some petals in large balloons filled with water to create giant ‘dinosaur eggs’ of flowers. The look on your child’s face when they see a giant frozen orb is priceless!
Setting the Scene: The Sensory Bin Setup

Tools for Discovery and Play
Now comes the fun part—setting up the ‘laboratory.’ You want to provide your child with ‘tools’ that encourage them to melt the ice at their own pace. This isn’t just about dumping the ice in a bin; it’s about the process of extraction.
The Ultimate Melt Kit
| Tool | Purpose | Budget Tip |
|---|---|---|
| Pipettes/Droppers | Targeted melting & fine motor | Buy in bulk online |
| Spray Bottles | Hand strength & cooling mist | Reuse old (cleaned) bottles |
| Warm Water | The ‘Melter’ | Add a drop of food coloring! |
| Coarse Salt | Chemical reaction exploration | Use cheap table salt |
| Wooden Spoons | Chipping and stirring | Use kitchen leftovers |
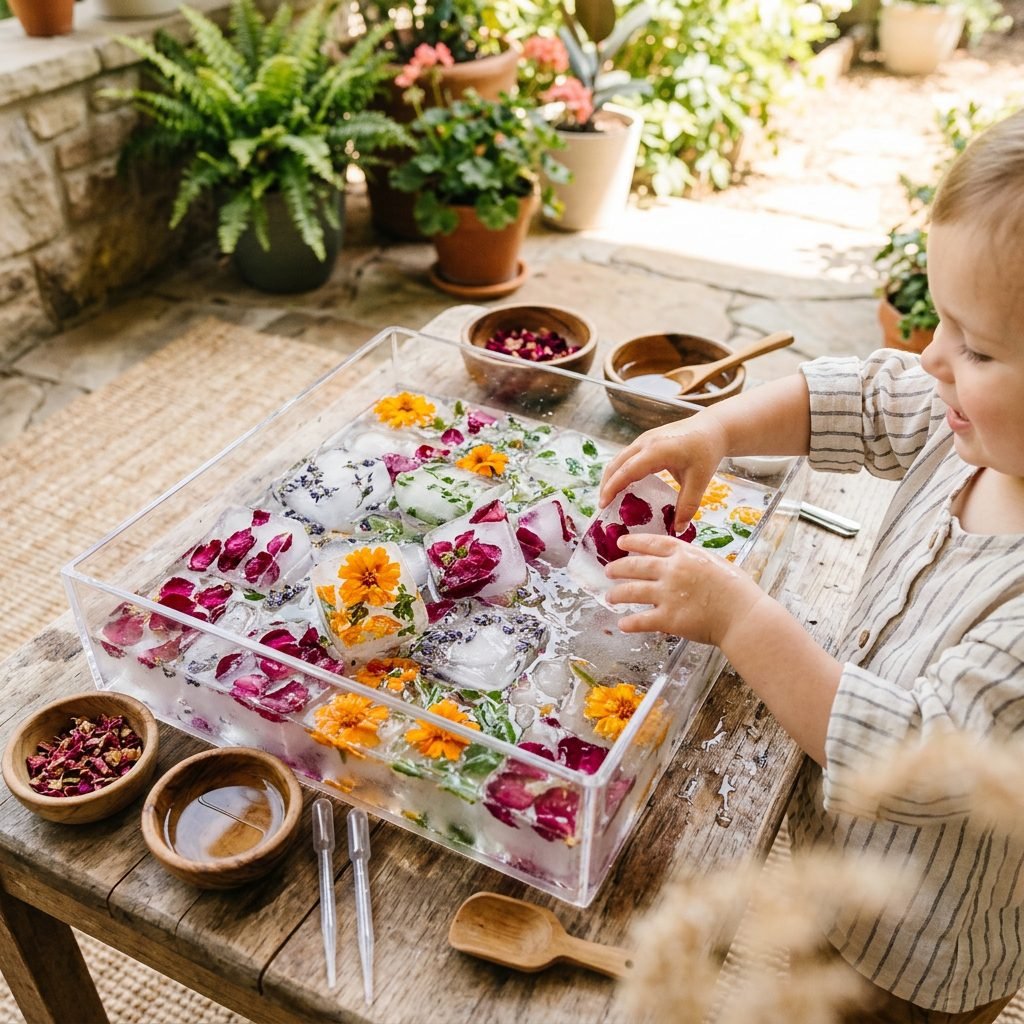
Place the frozen blocks in a large, shallow bin. I love using clear acrylic bins because the light shines through the ice beautifully, but a simple plastic under-bed storage container works perfectly too. Surround the ice with a few ‘loose parts’ like extra fresh petals, some smooth river stones, or even some toy forest animals who are ‘rescuing’ the flowers from the ice.
Adapting Play for Different Ages & Milestones
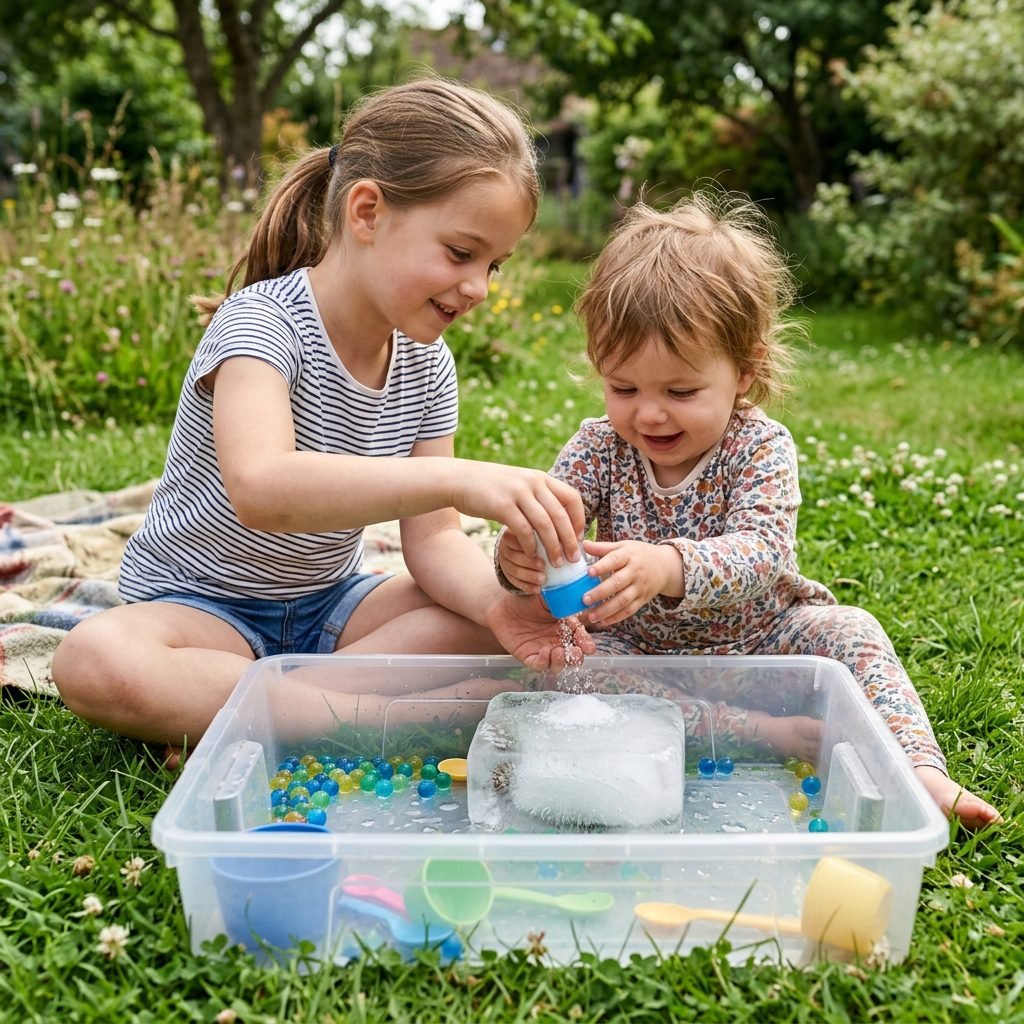
From Babies to Big Kids
One of the reasons I love this activity as a maternal wellness expert is its versatility. It grows with your family. Here is how to adapt the flower ice melt for different developmental stages:
For the 6-12 Month Old (The Explorer)
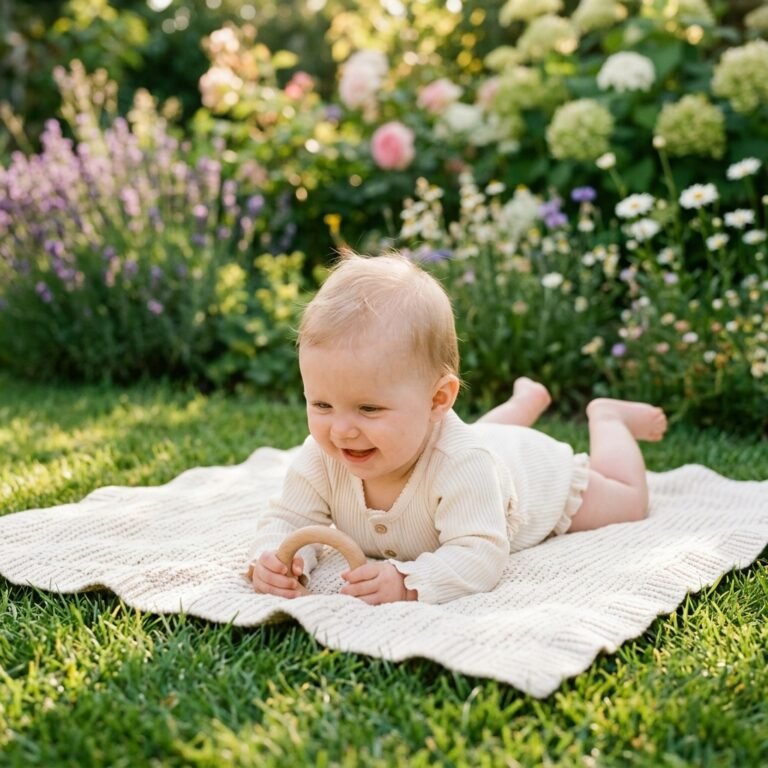
At this age, it’s all about the sensory input. Place one large, smooth ice block in a high chair tray. Let them touch it, feel the cold, and watch it slide around. Ensure the ice is too large to be a choking hazard and always supervise closely. They will love the ‘wet’ sensation on their palms.
For the 1-3 Year Old (The Toddler)
This is the prime age for the full bin setup. Focus on pouring and scooping. Give them a small pitcher of warm water and let them see how quickly the ice disappears. They will be delighted to ‘rescue’ the flowers and may even try to ‘wash’ the petals in the melted water.
For the 4+ Year Old (The Scientist)
Introduce the salt experiment. Explain how salt lowers the freezing point of ice. Let them sprinkle salt on the ice and watch as it creates tiny tunnels and ‘craters.’ You can even give them a magnifying glass to inspect the petals once they are free.
Mama, don’t worry about the mess. Lay down a few old towels or take the bin outside to the grass. The joy on their face is worth a little bit of water on the floor.
The Mama-Mindset: Embracing the Mess and Finding Calm
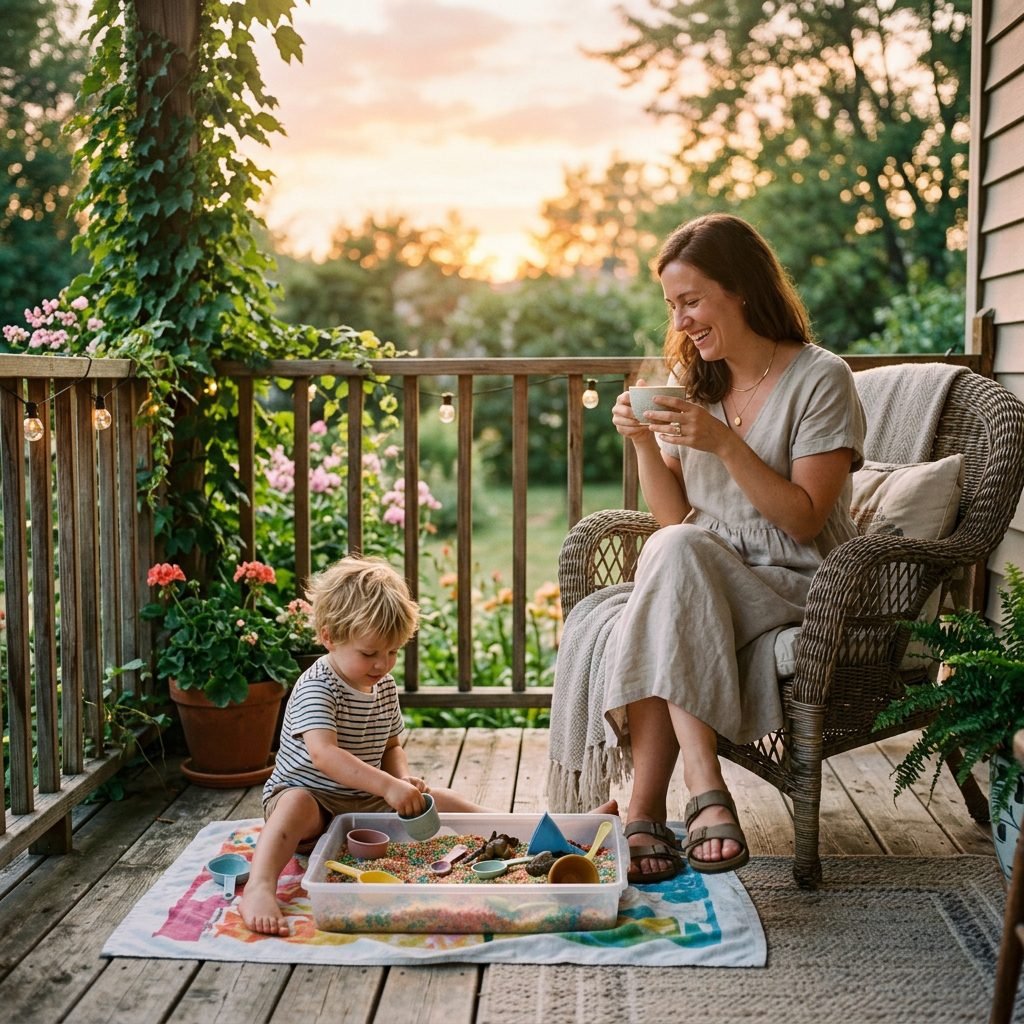
Practical Tips for a Stress-Free Activity
I know what you might be thinking: ‘This looks beautiful, but my house is already a disaster.’ I hear you, sister. As a postpartum nurse and organizer, I want this to be a stress-reliever, not a stress-adder. Here are my top tips for keeping the chaos contained:
- The Towel Trick: Always place a heavy beach towel or a ‘splat mat’ under the bin. It absorbs the splashes and makes cleanup a 30-second task.
- The ‘Bath’ Option: If you really want to avoid a mess, put the sensory bin inside the bathtub. Your child can play to their heart’s content, and when they are done, you just rinse the petals down the drain (if they are small) or scoop them out and pull the plug.
- Timed Play: This is a great ‘bridge’ activity for that tricky hour before dinner when everyone is tired. It keeps them occupied while you prep a meal or just sit nearby with a book.
Finally, remember that it is okay if the play doesn’t look ‘Instagram-perfect.’ If your child ends up just splashing the water or trying to stack the ice cubes, that is successful play. There is no wrong way to explore nature’s beauty.
Conclusion
A Refreshing End to a Beautiful Day
Creating a Flower Petal Ice Melt Sensory Bin is more than just a summer DIY; it is a way to slow down and appreciate the simple wonders of childhood alongside your little one. We have explored the developmental benefits, the safety of our floral friends, and the practical ways to make this work for your busy life. Whether you are a first-time mama marveling at your baby’s first encounter with ‘cold’ or a seasoned pro looking for a new way to engage your preschoolers, this activity offers a moment of cool, floral peace in the midst of a busy summer.
As you pack away the bin and dry off those tiny hands, take a moment to acknowledge the magic you just created. You are fostering curiosity, teaching science, and building beautiful memories—all with a little bit of water and some backyard blooms. You’re doing an incredible job, mama. Enjoy these sun-soaked days, stay cool, and keep blooming.