How to Make Calming DIY Sound Sensory Bottles Using Common Kitchen Herbs
Welcome to Your Creative Sanctuary
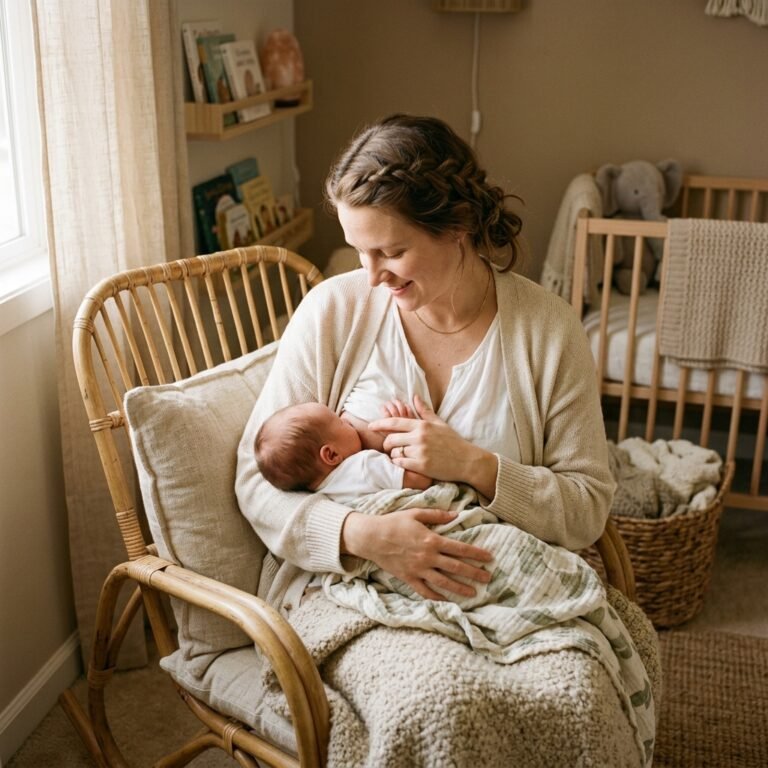
Hello, sweet mama. Whether you are currently nesting and preparing for your little one’s arrival, or you are in the thick of the fourth trimester looking for a moment of quiet connection, you are in exactly the right place. As a doula, I often see how overwhelming the world of ‘baby toys’ can be. We are bombarded with plastic, flashing lights, and loud electronic sounds. But what if I told you that some of the most calming, developmentally rich tools for your baby are sitting right now in your kitchen pantry?
Sensory bottles, often called ‘calm-down jars,’ are simple, mesmerizing tools that help babies develop their tracking skills, auditory discrimination, and even provide a soothing focal point for you during those long nursing sessions. By using common kitchen herbs, we aren’t just making a toy; we are creating a natural, non-toxic, and aesthetically pleasing experience that engages the senses without overstimulating the nervous system. Let’s roll up our sleeves and create something beautiful together.
The Science of Sound and Scent in Early Development
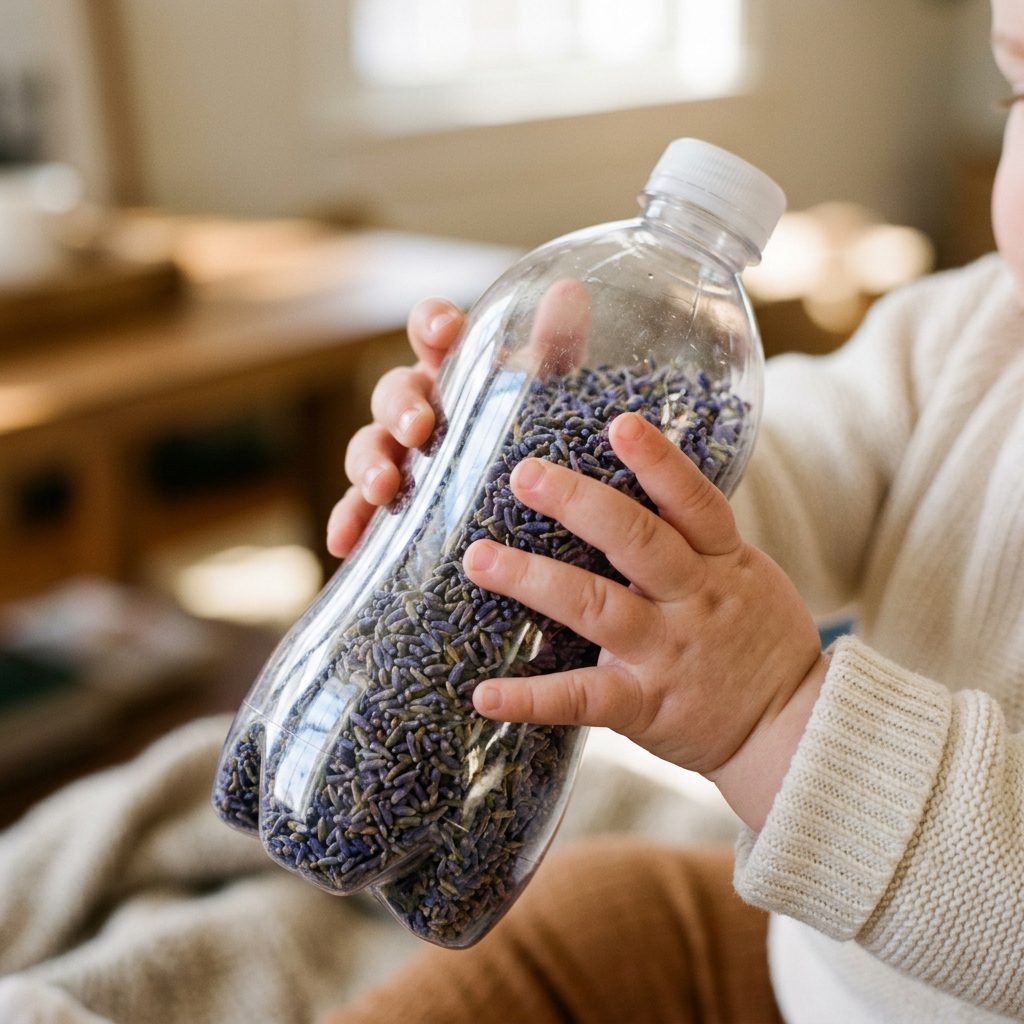
From the moment your baby is in the womb, they are learning through vibration and sound. Once they arrive, their world is a symphony of new textures and rhythms. Auditory sensory play is crucial because it helps the brain build pathways to interpret different frequencies and volumes. When we use dried herbs like coriander seeds or dried bay leaves, we provide a ‘soft’ sound profile that is much more regulated than the harsh rattle of a plastic toy.
Why Herbs Over Plastic Beads?
- Natural Resonance: Dried organic matter creates a unique, earthy sound that mimics the rustling of trees or the gentle pitter-patter of rain.
- Visual Serenity: The muted greens of rosemary, the soft purples of lavender, and the golden hues of mustard seeds are naturally calming to the eye compared to neon dyes.
- Aromatherapy for Mama: While the bottles will be sealed, the act of crafting with these herbs provides a therapeutic ‘kitchen apothecary’ experience for you, helping to lower cortisol levels.
Remember, mama: your baby doesn’t need the most expensive gadgets. They need the rhythm of your heart and the gentle discovery of the natural world.
Your Pantry Apothecary: Choosing the Right Ingredients
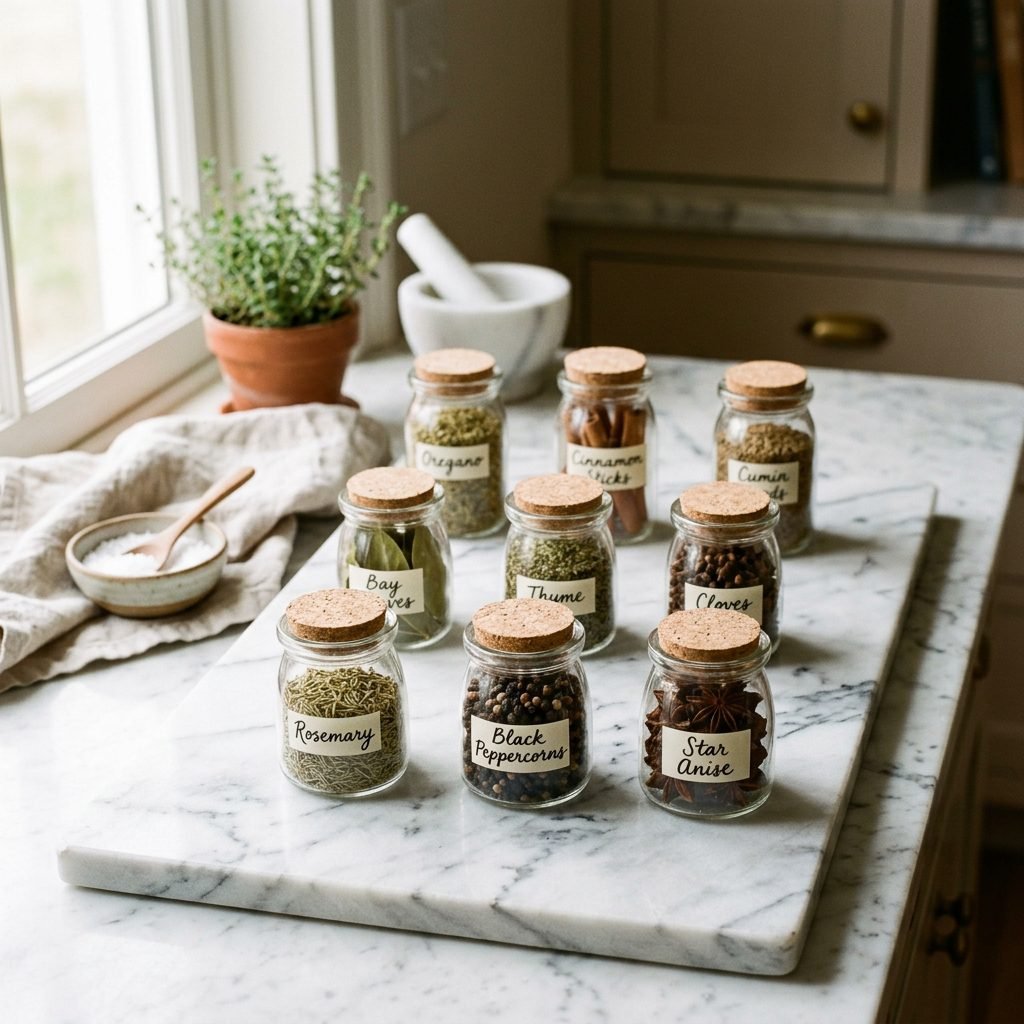
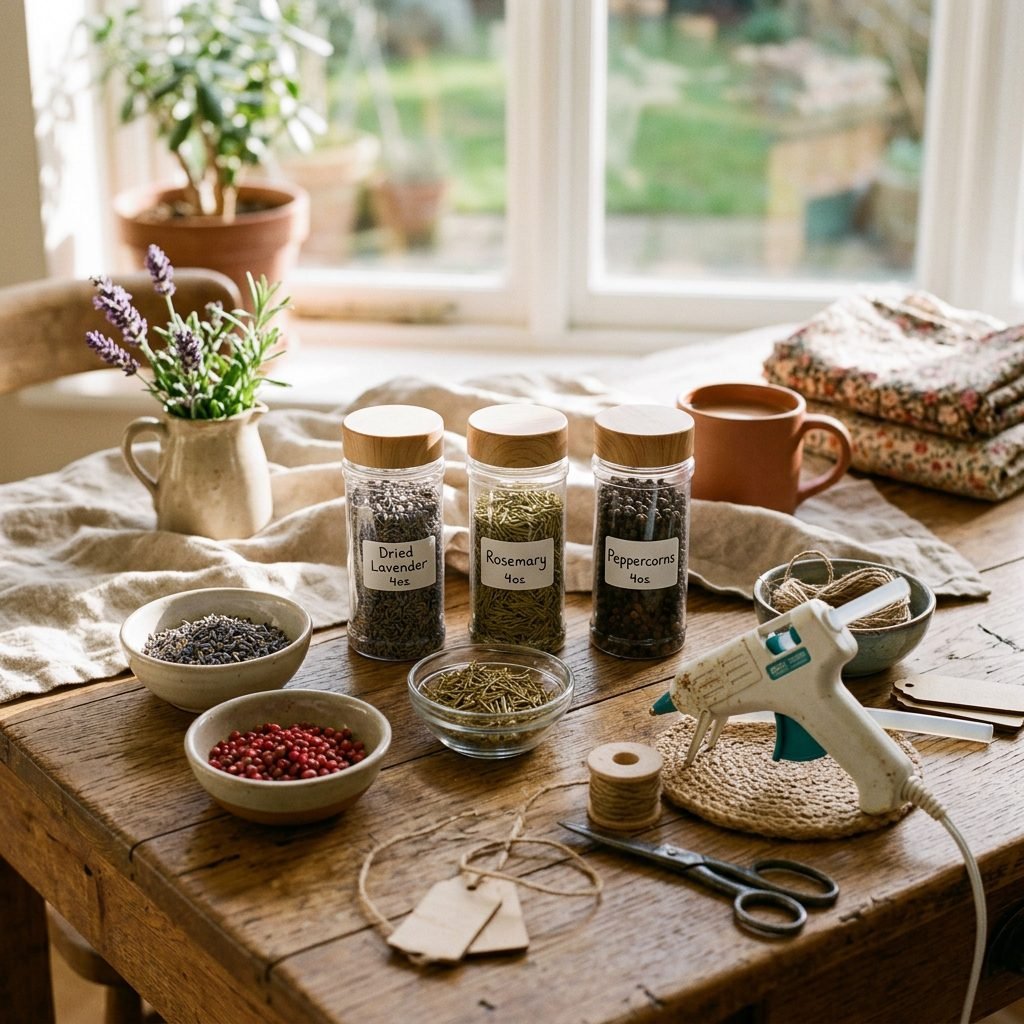
Before we begin, let’s look at what you have in your cupboards. Each herb provides a different ‘sound signature’ and visual weight. We want to create a variety of bottles so your baby can experience a range of auditory inputs.
Sound Profiles by Ingredient
| Herb/Spice | Sound Type | Visual Effect |
|---|---|---|
| Dried Lavender Buds | Soft, shushing whisper | Dreamy, purple, and lightweight |
| Whole Peppercorns | Sharp, rhythmic ‘clack’ | Bold, dark, and high-contrast |
| Dried Rosemary | Crisp, rustling sound | Textured, needle-like green needles |
| Cinnamon Sticks | Deep, hollow thuds | Large, structural, and earthy brown |
| Mustard Seeds | High-pitched, rain-like sizzle | Tiny, golden, and fast-moving |
When choosing your herbs, ensure they are completely dry. Any moisture trapped inside the bottle can lead to mold over time, which we definitely want to avoid for the longevity of your beautiful creation.
The Essential Supply List & Budget Breakdown
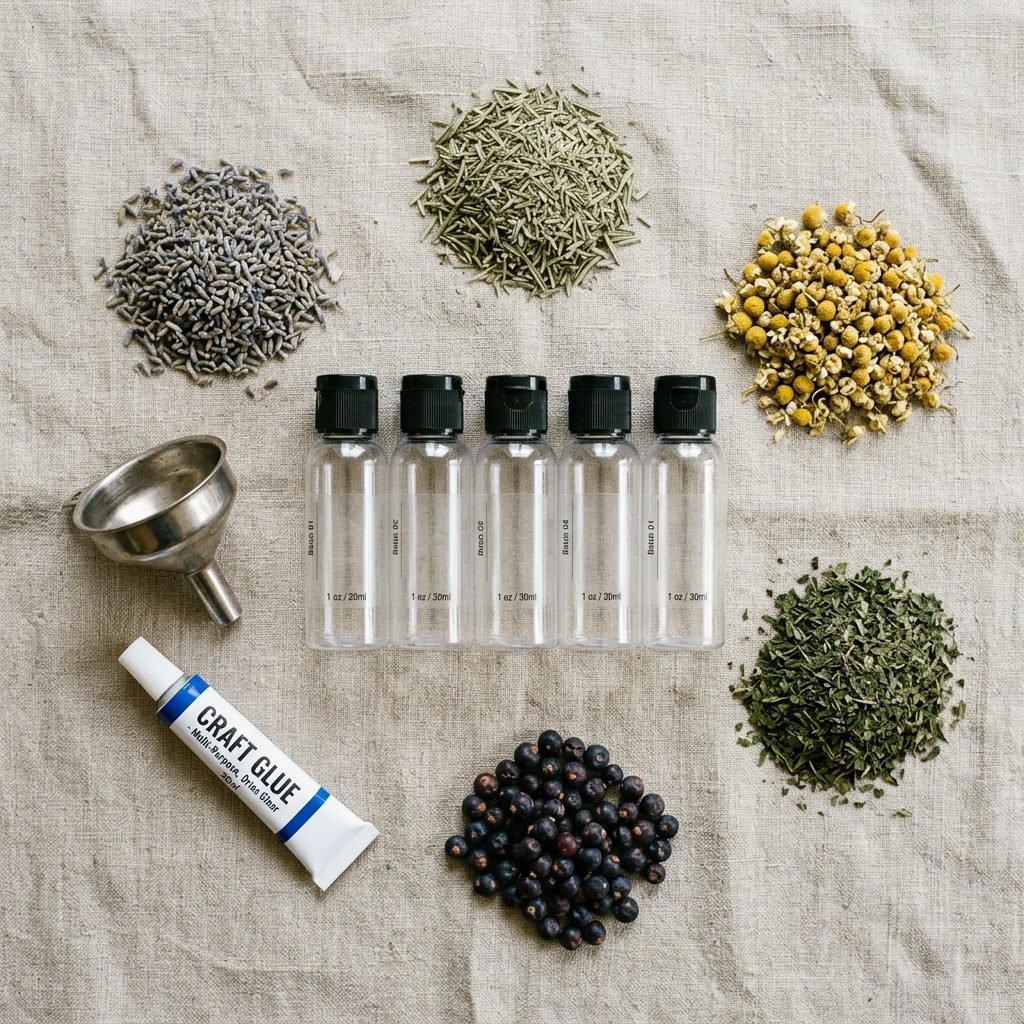
Creating these bottles is incredibly budget-friendly. Most items are likely already in your home, making this a perfect ‘nap-time’ project that doesn’t require a trip to a specialized store.
| Item | Purpose | Estimated Cost |
|---|---|---|
| VOSS-style Plastic Bottles | The vessel (BPA-free is best) | $2.00 – $5.00 |
| Assorted Dried Herbs | The sensory filler | $0.00 (from pantry) |
| E6000 or Hot Glue | To permanently seal the cap | $5.00 |
| Clear Packing Tape | Extra safety layer for the lid | $2.00 |
| Small Funnel | To prevent herb spills | $1.00 |
Pro-Tip: I highly recommend using plastic bottles rather than glass. While glass is beautiful, these bottles are meant to be handled, rolled, and occasionally dropped by curious little hands. Safety and durability come first!
Step-by-Step Assembly Guide
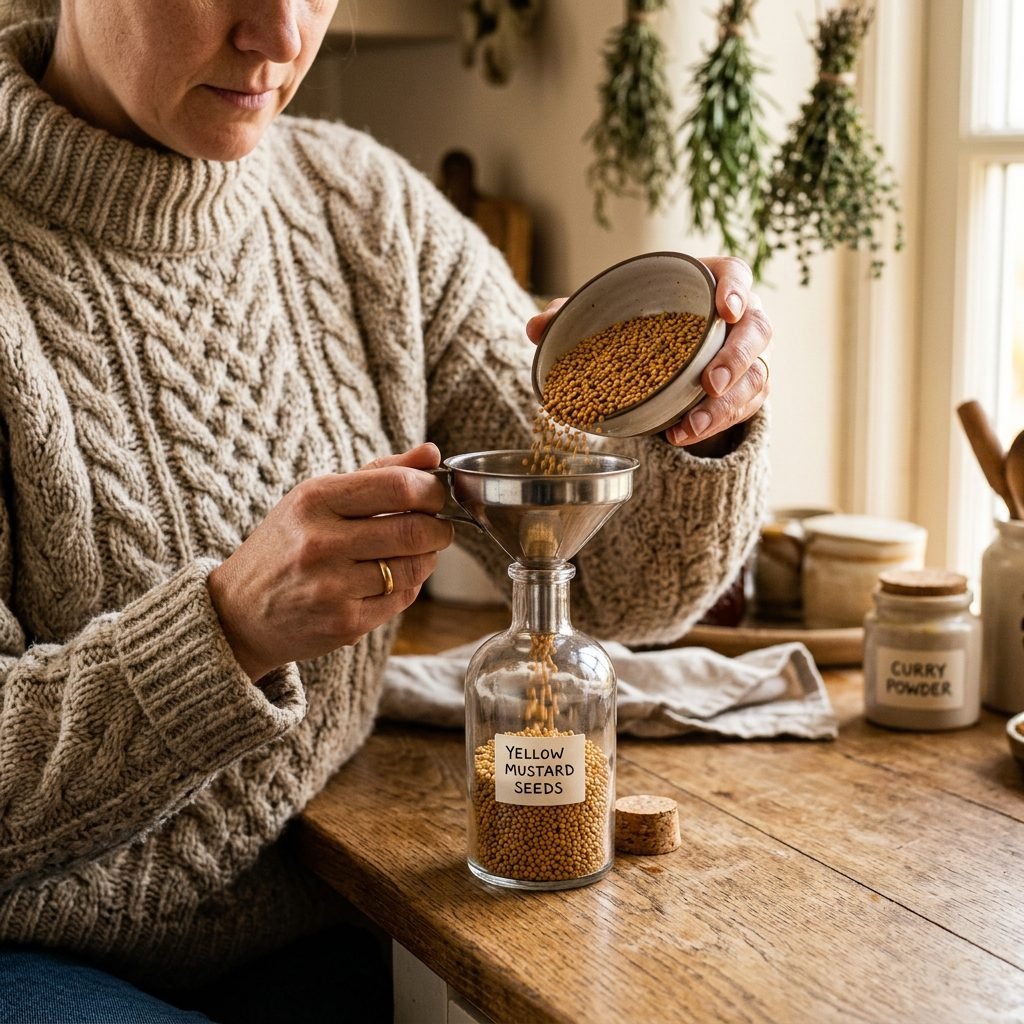
Now, let’s get crafting. This is a wonderful activity to do with a friend or even at a baby shower as a ‘blessingway’ activity where each guest makes a bottle for the new arrival.
- Clean and Dry: Ensure your bottles are thoroughly washed and, most importantly, completely dry. Use a hairdryer on a cool setting if you’re in a rush.
- The Layering Technique: Place your funnel into the mouth of the bottle. Pour your chosen herb until the bottle is about 1/3 full. This allows enough ‘air space’ for the herbs to move and create sound.
- The Visual Anchor: For bottles with small seeds (like poppy seeds), consider adding one ‘heavy’ item like a whole nutmeg or a star anise. This gives the baby something specific to track visually through the movement.
- The Sound Test: Screw the lid on (without glue yet!) and give it a shake. Does it sound soothing? If it’s too loud, remove some herbs. If it’s too faint, add a denser spice like dried chickpeas or beans.
- The Permanent Seal: Once you are happy with the sound, apply a thin bead of E6000 glue or hot glue around the interior threads of the cap. Screw it on tightly and let it cure for at least 24 hours.
Affirmation: ‘I am creating a world of wonder for my child, one small detail at a time.’
Safety Protocols: Ensuring a Worry-Free Playtime
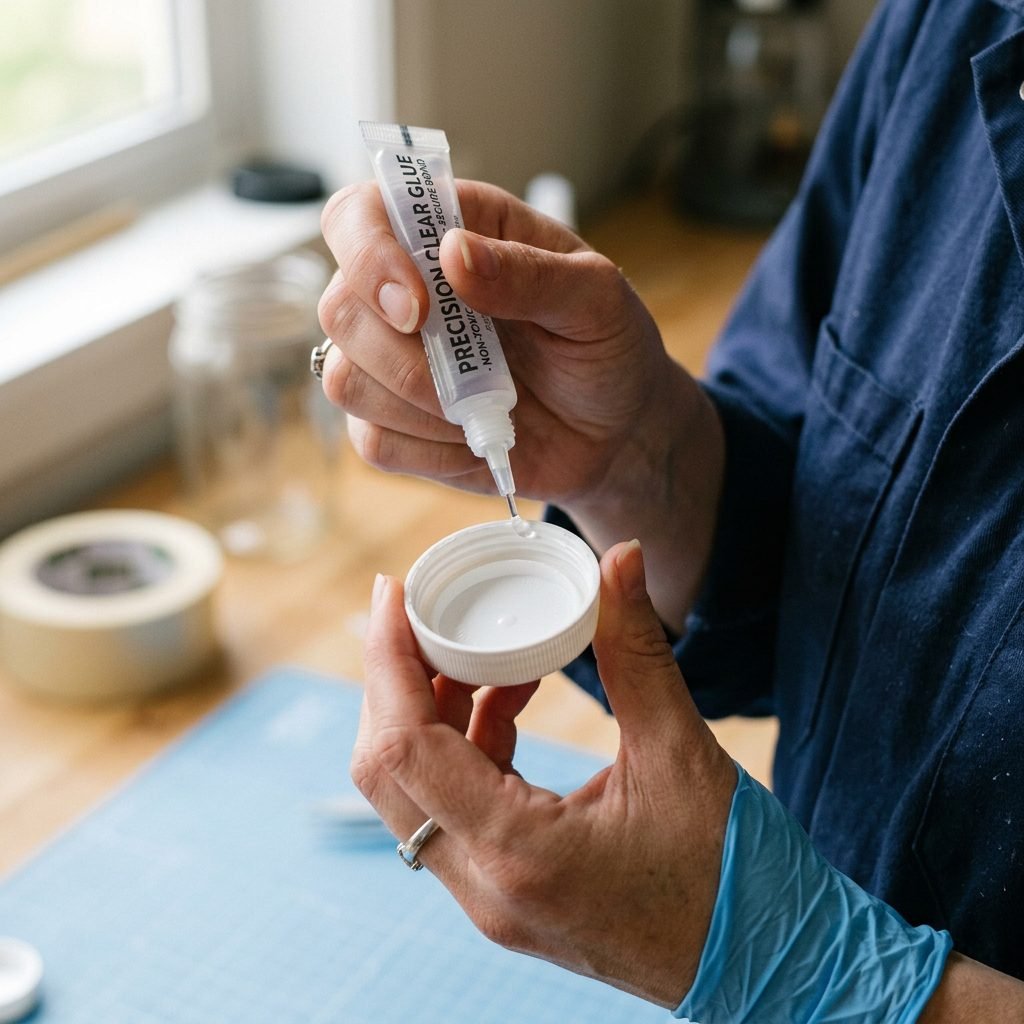
As a doula and nurse, safety is my top priority. Sensory bottles are wonderful, but they require a few non-negotiable safety steps to ensure they remain a joy and not a hazard.
The ‘Drop Test’ and Seal Maintenance
- Double Sealing: After the glue has dried, I often suggest adding a wrap of clear decorative Washi tape or heavy-duty packing tape around the base of the lid. This provides a visual cue if the seal is ever tampered with.
- Supervised Play Only: Even though these are sealed, sensory bottles should always be used under adult supervision. They are not intended as teething toys.
- Regular Inspections: Every week, give the bottle a firm squeeze and a shake. Check for any cracks in the plastic or loosening of the cap. If you see any signs of wear, it’s time to retire that bottle and make a new one!
- Herb Freshness: If you notice any discoloration or ‘fuzz’ inside the bottle, discard it immediately. This means moisture got in, and the herbs are no longer safe.
Mindful Play: How to Use Your Bottles

These bottles aren’t just for shaking! Here are three ways to use them to support your baby’s development and your own peace of mind.
1. The Visual Tracking Game
Lie your baby on their back (during active alert time). Hold the bottle about 8-12 inches from their face. Slowly move it from left to right, then up and down. The natural colors of the herbs are perfect for babies who are starting to move beyond high-contrast black and white.
2. Tummy Time Motivation
Place two or three different herb bottles just out of reach during tummy time. The gentle sound they make when the baby bats at them encourages reaching and pivoting, strengthening those vital neck and shoulder muscles.
3. The ‘Calm Down’ Rhythm
During a fussy period, sit with your baby in a rocking chair. Shake the lavender bottle in a slow, rhythmic ‘shush-shush’ motion. The combination of the soft sound and the slow-falling herbs can help regulate a baby’s overstimulated nervous system (and yours, too!).
Conclusion
A Moment of Peace in a Bottle
Mama, you are doing an incredible job. In a world that often feels fast and loud, taking the time to create something simple, natural, and soothing for your baby is an act of deep love. These DIY herb sensory bottles are more than just a craft; they are a testament to your intention to provide a gentle, grounded environment for your little one to grow.
As you watch the rosemary dance and listen to the soft whisper of the lavender, I hope you find a moment of ‘zen’ for yourself as well. You have everything you need right in your kitchen to nurture your baby’s wonder. Happy crafting, and may your nursery always be a place of calm and connection.