How to Make DIY High-Contrast Wooden Blocks (With Baby-Safe Paint)
Welcome to the World of Sensory Wonder, Mama
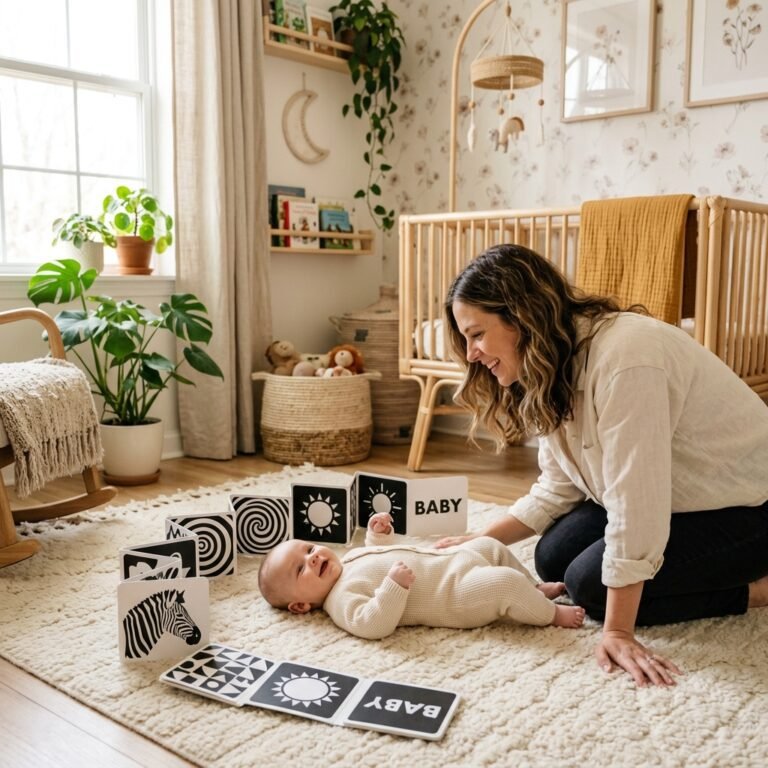
There is something truly magical about the first few months of your baby’s life. As a doula, I’ve watched countless newborns transition from the cozy darkness of the womb into a world filled with light and shadow. In those early weeks, your little love’s vision is still developing; they see the world in shades of gray and can only focus on objects about 8 to 12 inches away—essentially the distance from your face to theirs during a feeding. This is why high-contrast patterns are so captivating for them. They aren’t just pretty to look at; they are a vital tool for neurological development.
In this guide, I’m going to walk you through creating your own heirloom-quality, high-contrast wooden blocks. We aren’t just making toys; we are crafting a sensory experience that is 100% safe for those inevitable ‘everything-goes-in-the-mouth’ moments. Whether you are nesting during your third trimester or looking for a mindful project during postpartum nap times, these blocks are a beautiful way to pour love into your nursery while supporting your baby’s growing brain.
The Science of Sight: Why High Contrast Matters

You might wonder why we focus so much on black and white when the world is full of vibrant colors. The answer lies in the retina. At birth, the nerve cells in a baby’s brain and eyes aren’t fully connected. High-contrast images—specifically black and white—send the strongest visual signals to the baby’s brain. This helps the optic nerve grow and teaches the eye muscles to coordinate and focus.
Benefits of High-Contrast Play:
- Increased Attention Span: Babies will often stare at high-contrast patterns for several minutes, which helps build focus.
- Visual Tracking: Moving a block slowly across their field of vision encourages them to follow with their eyes.
- Calming Effect: Because these patterns are easy for them to interpret, they can actually be quite soothing for an overstimulated infant.
“Your baby’s brain is like a sponge, and these simple black-and-white patterns are the first ‘words’ in the language of sight.”
Sourcing Safe Materials: The Non-Toxic Checklist
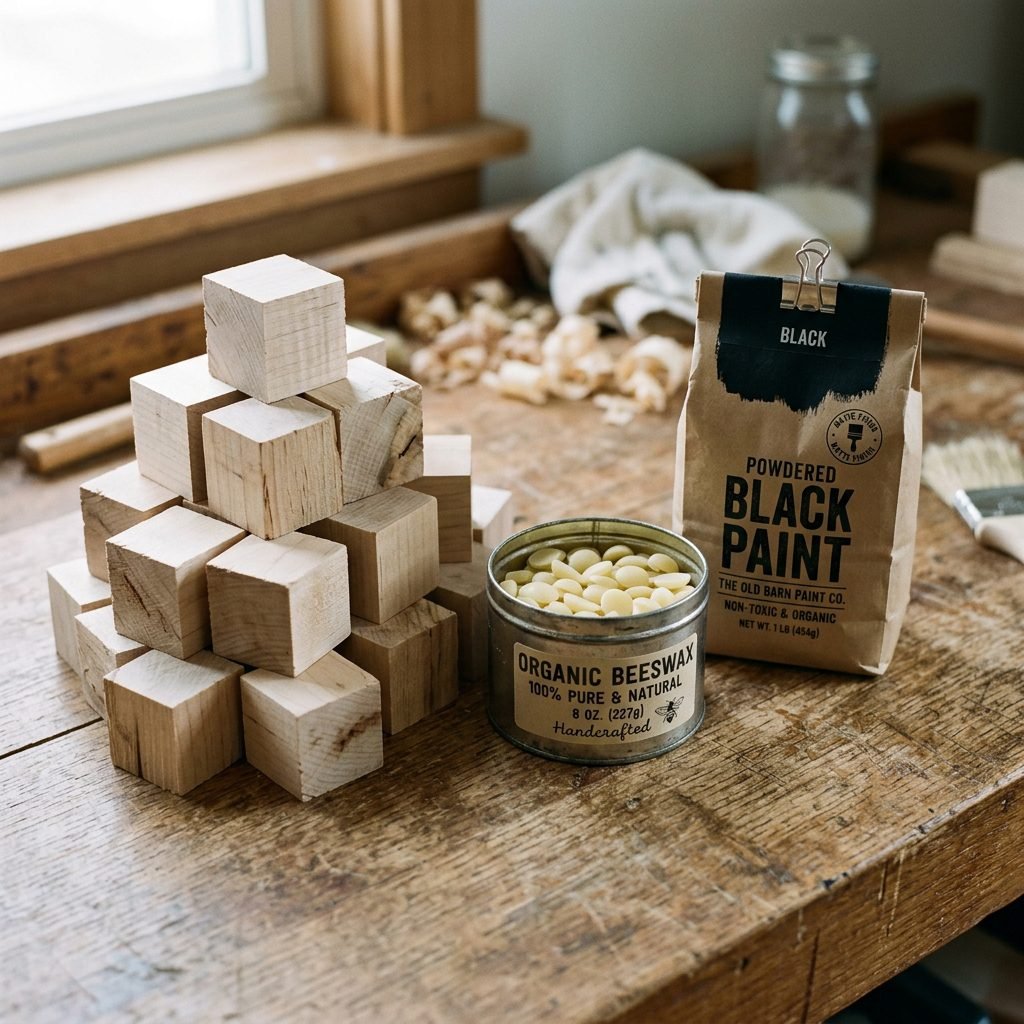
When it comes to our babies, ‘natural’ isn’t always enough. We need to be certain that every material used is food-grade or VOC-free. Since these blocks will eventually be chewed on, the wood type and paint choice are paramount. I recommend using hardwoods like Maple or Beech because they don’t splinter easily and are naturally antimicrobial.
| Material | Recommended Type | Why It’s Safe |
|---|---|---|
| Wooden Blocks | Hard Maple or Birch | Non-splintering and durable. |
| Paint | Milk Paint or Food-Coloring | Zero VOCs, biodegradable, and lead-free. |
| Sandpaper | 120 and 220 Grit | Ensures smooth, snag-free edges. |
| Finish/Sealant | Beeswax or Fractionated Coconut Oil | 100% edible and moisture-resistant. |
| Brushes | Synthetic Taklon or Natural Bristle | Minimizes shedding into the paint. |
A Note on Paint Selection
Avoid standard acrylics or ‘craft paints’ unless they are specifically labeled ASTM D-4236 and state they are toy-safe. My favorite choice is Real Milk Paint. It comes as a powder made from milk protein and lime, making it as safe as it gets for a teething baby.
Step-by-Step: Preparing and Painting Your Masterpieces
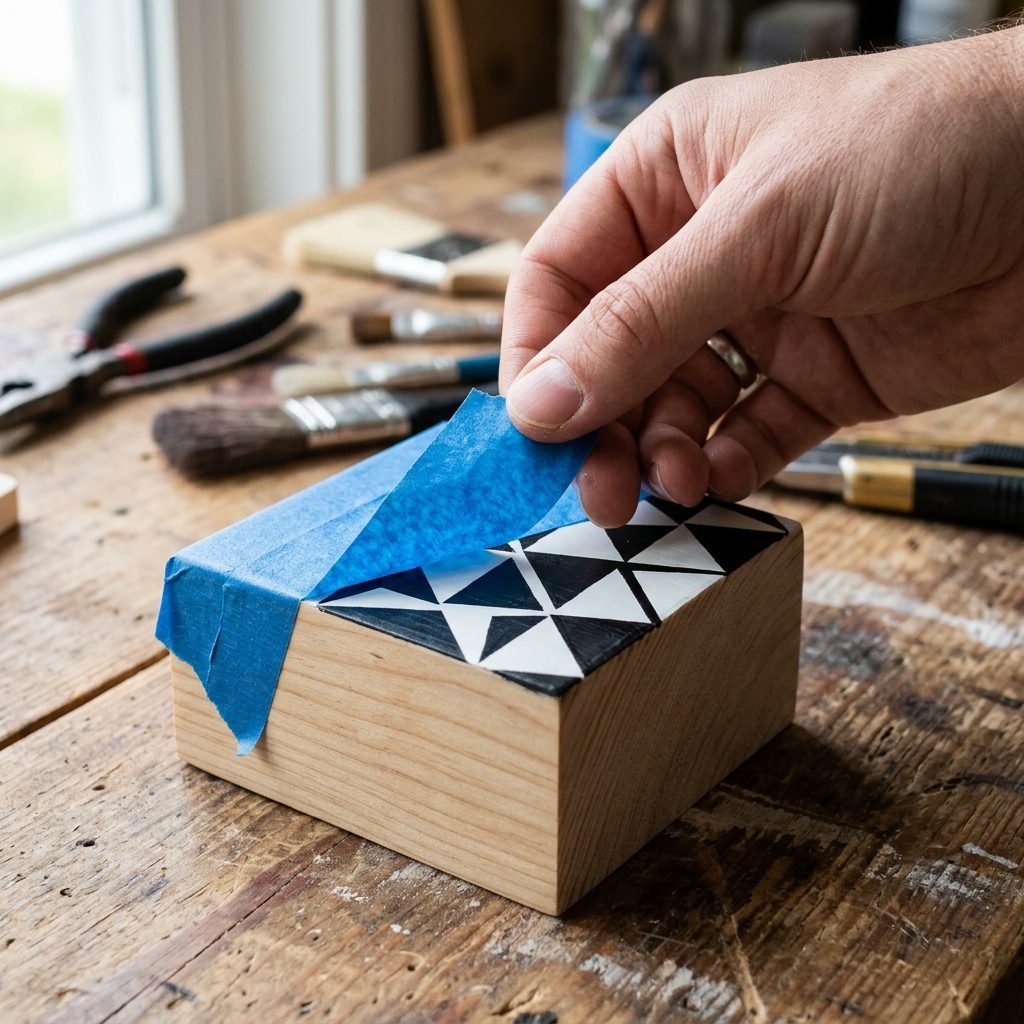
Creating these blocks is a rhythmic, soothing process. Follow these steps to ensure a professional, safe finish that will last through toddlerhood.
- Sanding for Safety: Start with 120-grit sandpaper to knock down any sharp corners. Finish with 220-grit until the wood feels like silk. Wipe away all dust with a damp (not wet) cloth.
- Taping the Patterns: Use high-quality painter’s tape to create crisp lines. You can do halves, quarters, or triangles. Pro Tip: Press the edge of the tape down firmly with your fingernail to prevent paint bleed.
- Mixing the Paint: If using milk paint, mix equal parts powder and water. Let it sit for 15 minutes to allow the bubbles to settle.
- Applying the Color: Apply thin coats. It is better to do three thin layers than one thick, gloopy one. Milk paint dries very quickly!
- The Reveal: Peel the tape back while the paint is still slightly tacky for the cleanest lines.
Design Ideas for Maximum Stimulation:
- The Bullseye: Concentric circles (use a bottle cap as a stencil).
- The Checkerboard: Classic high-contrast grid.
- The Zebra: Simple organic stripes.
- The Star: A single bold shape in the center of a block face.
Sealing the Wood: The ‘Mouth-Safe’ Finish
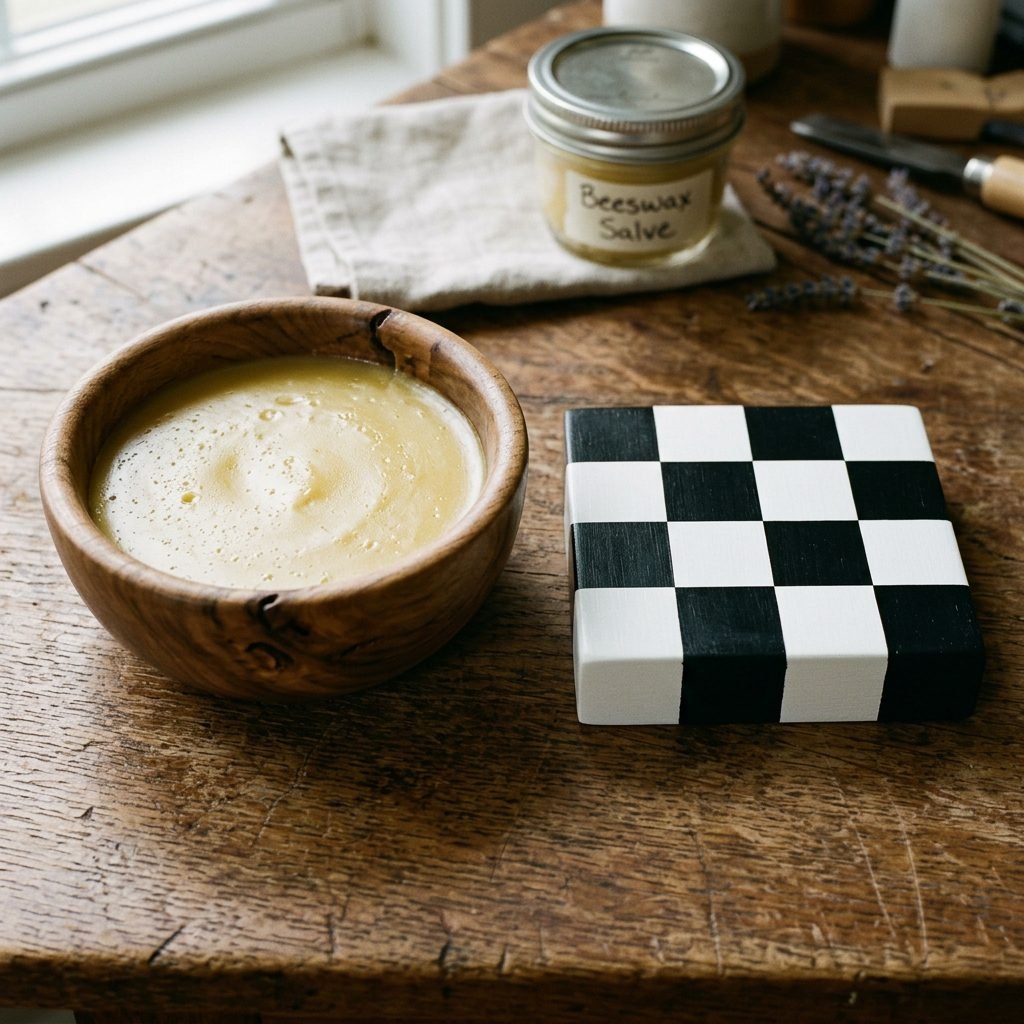
Once your paint is dry (wait at least 24 hours), you need to seal the blocks. This protects the wood from baby drool and prevents the paint from chipping. We want a finish that is safe enough to eat.
The DIY Beeswax Polish Recipe:
You can make your own sealant at home with just two ingredients. It’s a wonderful ritual that smells heavenly.
- 1 part Organic Yellow Beeswax pellets.
- 3 parts Food-grade Mineral Oil or Fractionated Coconut Oil.
Melt them together in a double boiler, let the mixture cool into a paste, and rub it into the wood with a soft cloth. Buff it until it glows. Not only does this make the blocks water-resistant, but it also enriches the natural grain of the wood, making them a beautiful addition to any nursery shelf.
Playtime Guide: Using Blocks for Development
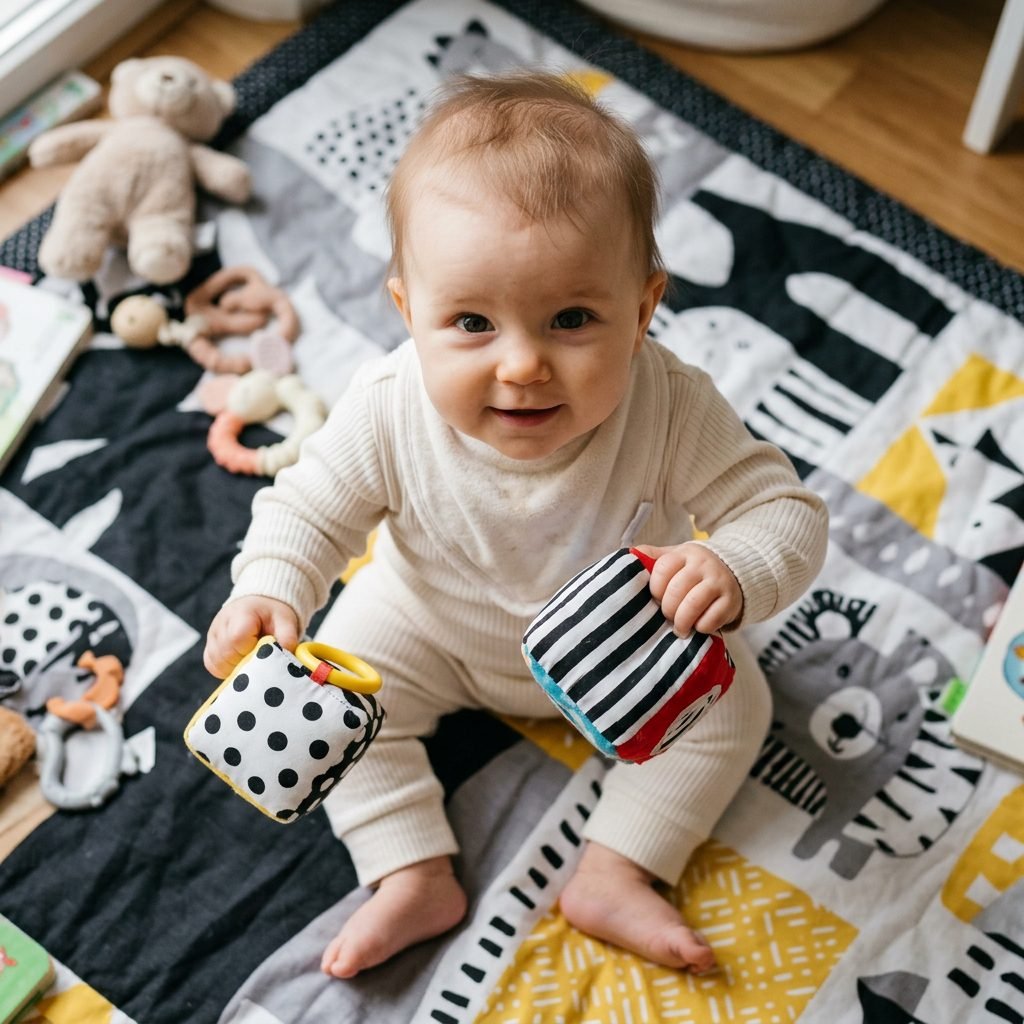
These blocks aren’t just for stacking (though that comes later!). Here is how to use them across the first year of life.
| Age Range | Play Activity | Developmental Goal |
|---|---|---|
| 0-3 Months | Visual Fixation | Place blocks 10 inches from baby’s face during tummy time. |
| 3-6 Months | Reaching & Grasping | Encourage baby to bat at the blocks to develop hand-eye coordination. |
| 6-9 Months | Transferring | Baby will move blocks from one hand to the other, crossing the midline. |
| 9-12 Months | Early Stacking | Building a tower of two blocks helps develop fine motor precision. |
“Remember, Mama: At this stage, ‘play’ is your baby’s work. By providing these tools, you are giving them the best start possible.”
Conclusion
A Handmade Legacy
There is a profound sense of satisfaction in seeing your baby enjoy something you made with your own two hands. These high-contrast wooden blocks are more than just a craft project; they are a testament to your care and intentionality as a parent. Long after the newborn days have faded into the toddler years, these blocks will remain—perhaps as a decorative memory on a bookshelf or a hand-me-down for a future sibling.
Enjoy this creative journey, Mama. Take your time with the sanding, breathe in the scent of the beeswax, and know that you are building something beautiful for your little one. You’re doing an incredible job, and your baby is so lucky to have a mother who cares so deeply about their growth and safety.