How to Design and Print Your Own Modern Birth Announcements on a Dime
Welcome to the World, Little One!
Oh, mama, there is nothing quite like those first few weeks of newborn bliss—the sweet scent of their head, the tiny sighs in their sleep, and that overwhelming sense of awe. As a doula and a fellow mama, I know that while your heart is full, your schedule (and perhaps your wallet) might be feeling a little stretched. You want to shout your joy from the rooftops and share your beautiful new addition with the world, but the price tags on those high-end stationery sites can be a bit of a shock, can’t they?
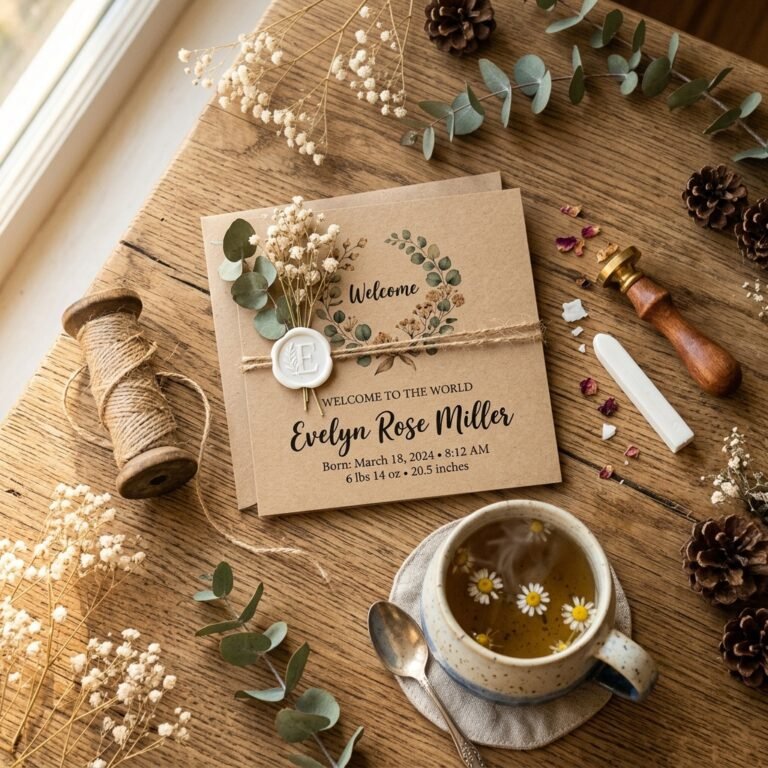
I’m here to tell you a secret: you don’t need a $300 stationery budget to create a modern, chic, and heart-tugging birth announcement. With a little bit of creativity, a dash of ‘doula-style’ patience, and some clever digital tools, you can design and print announcements that look like they came from a high-end boutique for a fraction of the cost. In this guide, we are going to walk through the entire process—from capturing that perfect ‘fresh-48’ style photo at home to choosing the right cardstock that feels luxurious in your hands. Let’s create something beautiful together, on a dime.
Capturing the Perfect Shot: Pro Photography Tips for Mamas
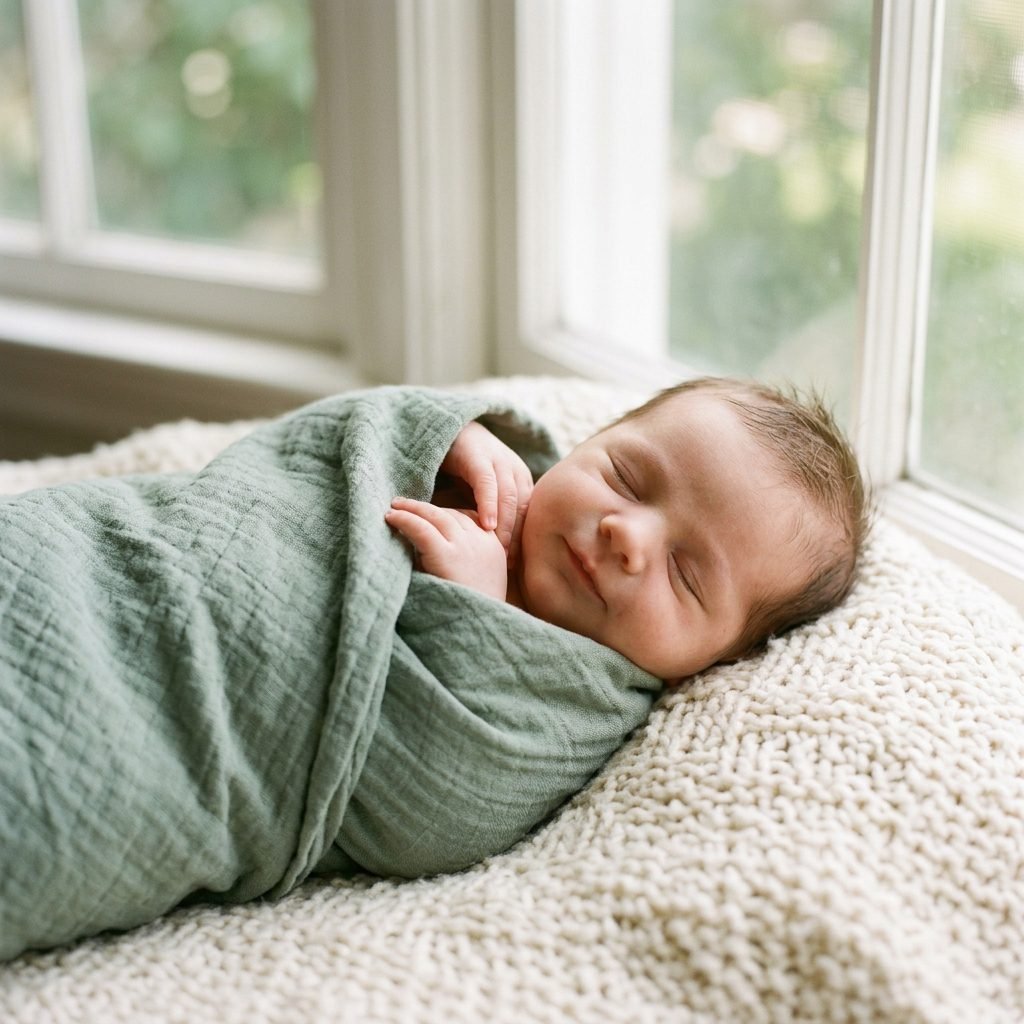
You don’t need a professional photographer to get a stunning announcement photo. Your smartphone and a little bit of ‘Golden Hour’ magic are all you need. As a doula, I always remind my clients that the best photos happen when the baby is ‘milk-drunk’ and the house is quiet.
Lighting is Everything
The secret to that soft, professional look is natural, indirect light. Find the largest window in your home and wait for a time of day when the sun isn’t shining directly in, but the room is bright. Place your baby on a neutral surface—like a cream-colored rug or a simple white sheet—with their head toward the window. This creates soft shadows that define those precious features.
The ‘Minimalist’ Aesthetic
Modern announcements thrive on simplicity. Avoid busy patterns or bright neon colors. Stick to a ‘capsule wardrobe’ for your baby:
- A simple, solid-colored muslin swaddle.
- A plain white onesie.
- Or simply their beautiful, bare skin (just keep the room warm!).
Pro-tip: Use a white foam board (from the dollar store) to bounce light back onto the shadowed side of the baby’s face. It’s a $2 trick that makes a $200 difference!
Designing Like a Pro: Tools and Modern Layouts
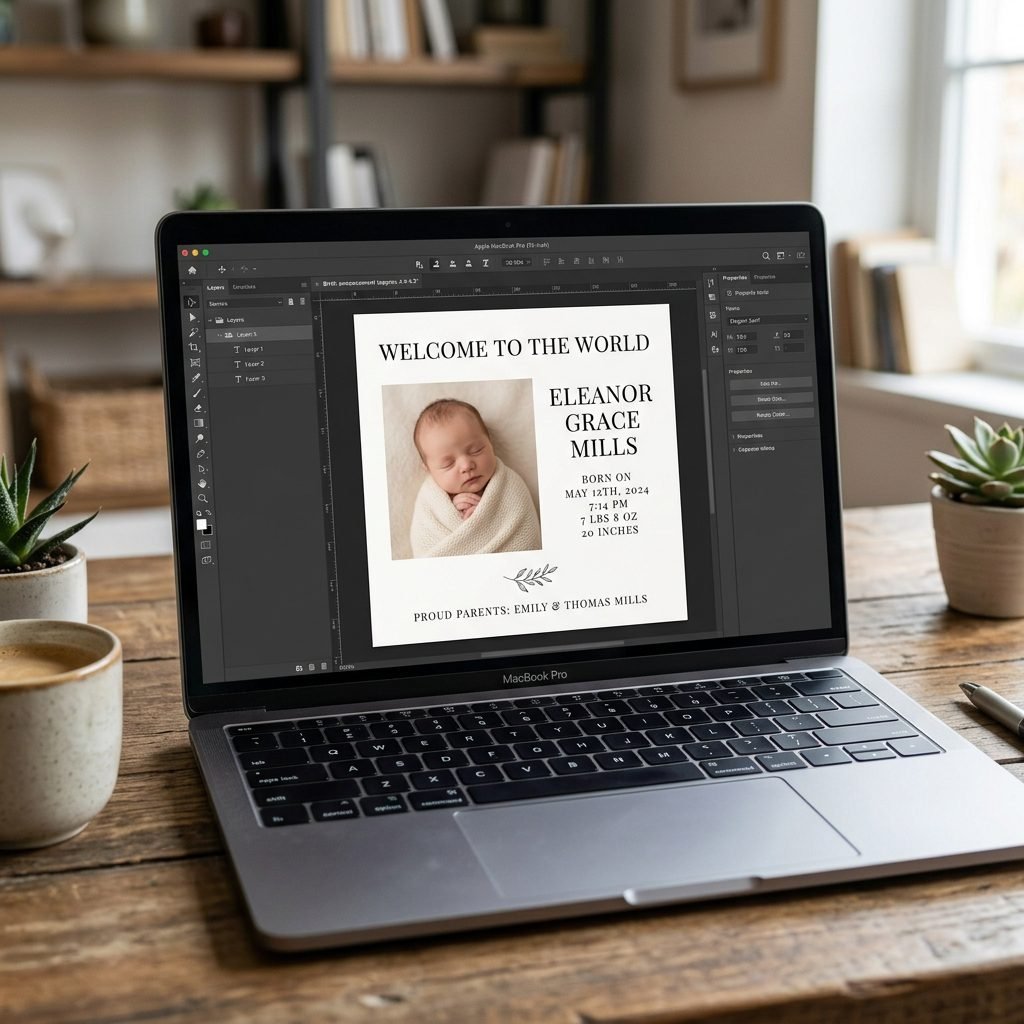
Now that you have your photo, it’s time to design. You don’t need to master Photoshop to create something stylish. Free tools like Canva or Pixlr offer incredible templates that are perfect for the modern aesthetic.
Choosing Your Vibe
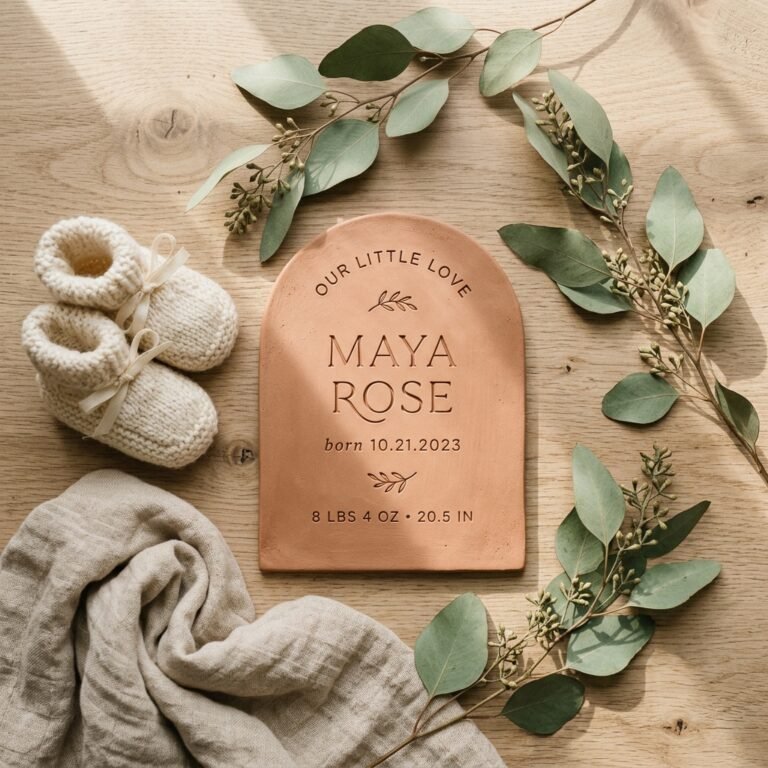
Modern design is characterized by white space and clean typography. Don’t feel the need to fill every inch of the card. A large photo with a simple, elegant font for the baby’s name is often more impactful than a cluttered collage.
The ‘Essential’ Details
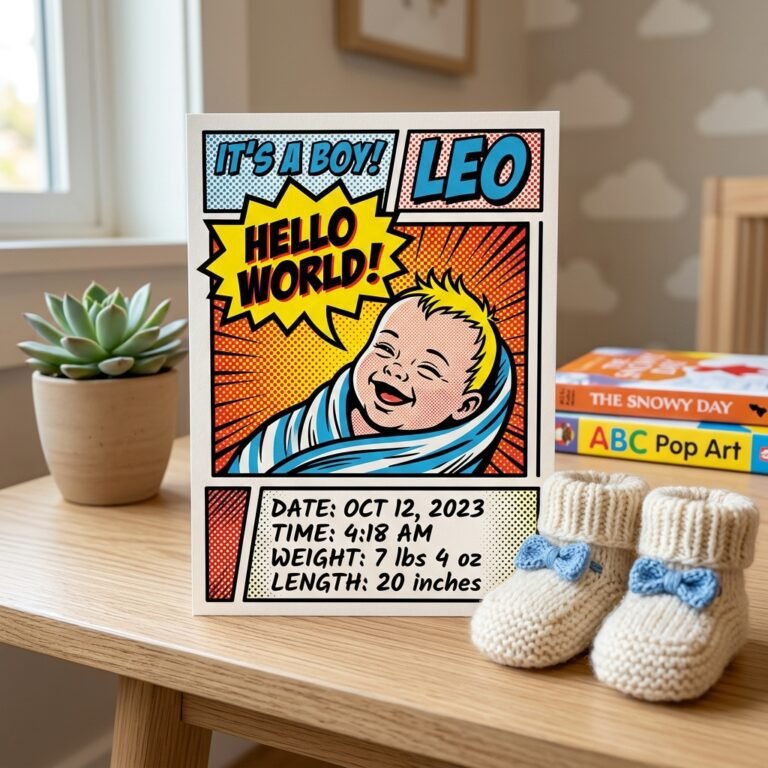
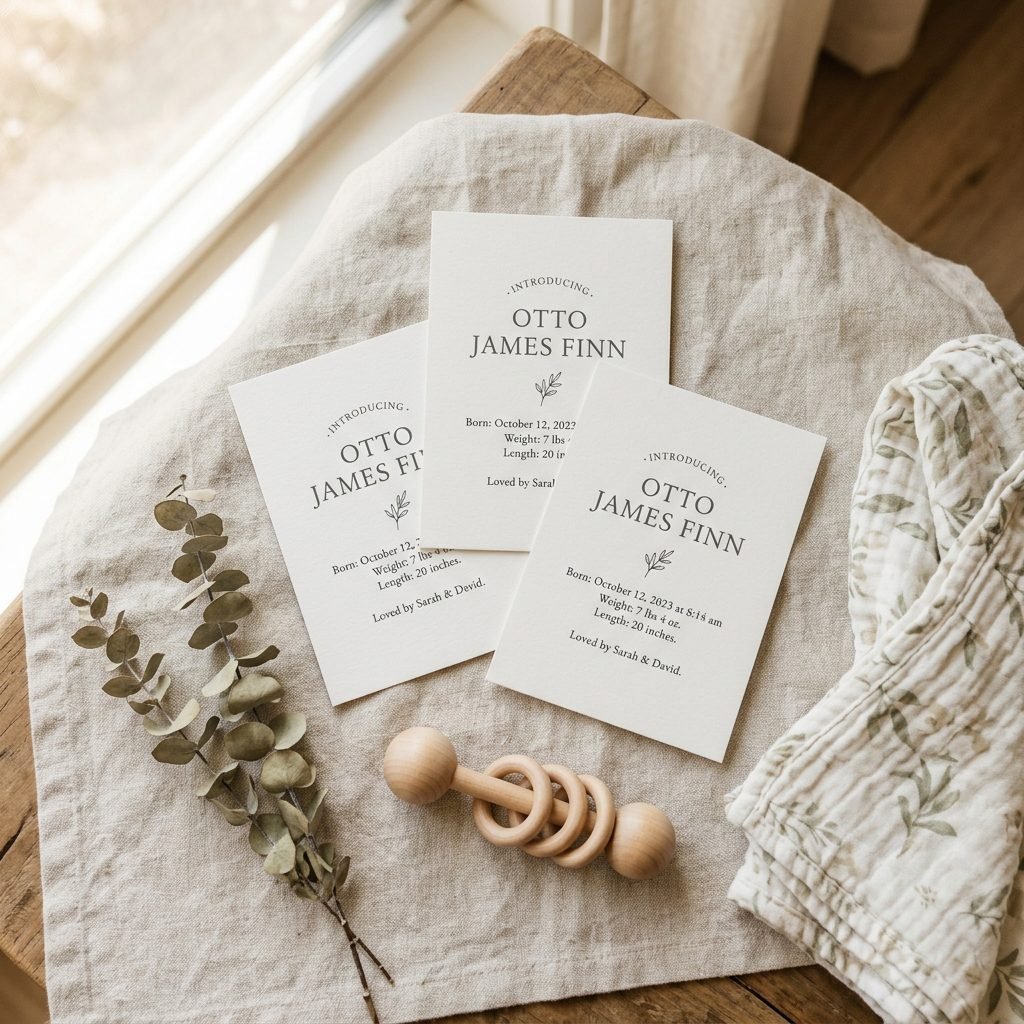
When laying out your text, keep the hierarchy clear. Usually, the baby’s name is the star of the show. Include the following details in a smaller, readable font:
- Full Name
- Date of Birth
- Time of Arrival
- Weight and Length
- Parents’ Names (and maybe a sweet ‘Welcome home’ message)
| Design Element | Modern Choice | Budget Hack |
|---|---|---|
| Font Style | Serif or Minimalist Sans-Serif | Use free Google Fonts like ‘Montserrat’ or ‘Playfair Display’ |
| Color Palette | Earth Tones / Muted Pastels | Pull colors directly from your photo using a color picker tool |
| Layout | Single Photo / Clean Borders | Use a pre-made ‘Minimalist’ template to save time |
The Budget Breakdown: Printing Strategies That Save You 70%
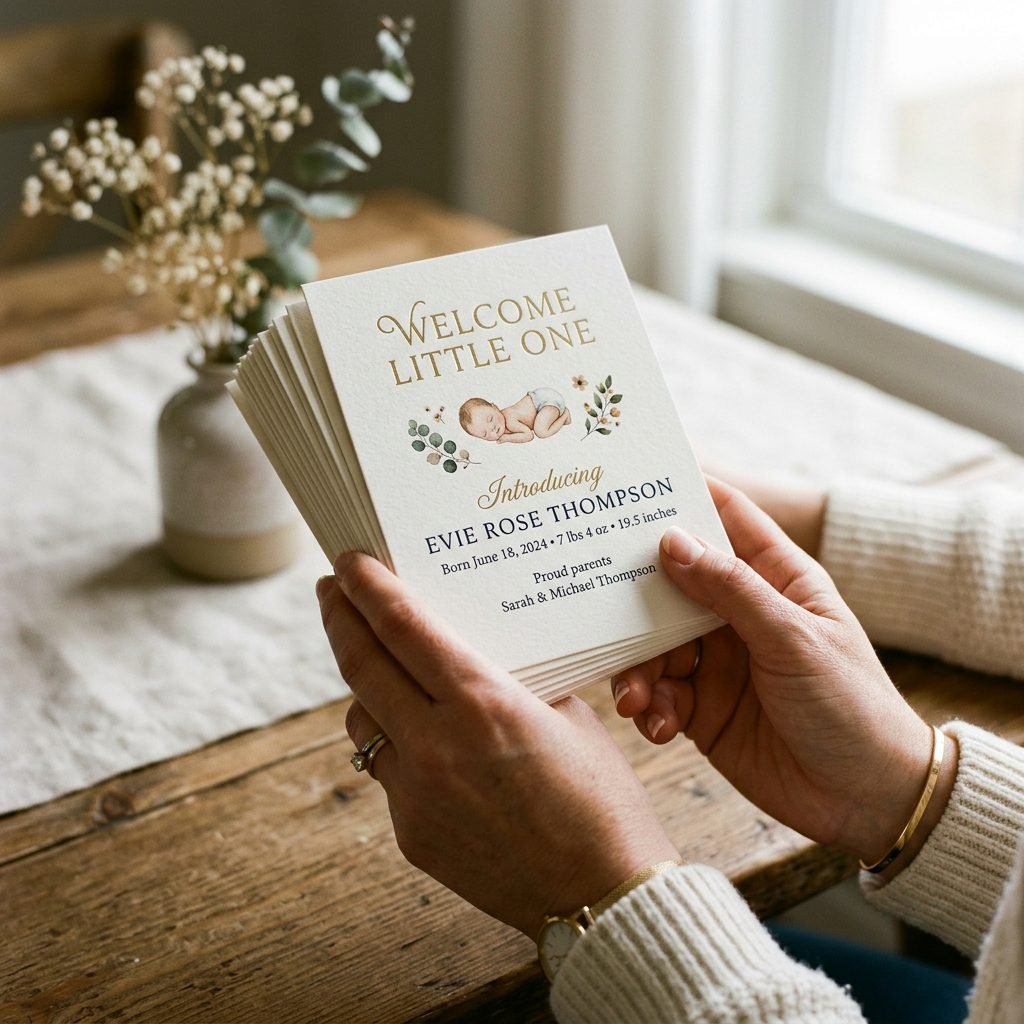
Printing is where costs usually skyrocket, but we are going to be savvy. The goal is to get that thick, premium feel without the premium price tag. You have three main paths to choose from, depending on your energy levels postpartum.
Option 1: The Local Print Shop (Our Top Choice)
Instead of using a specialized ‘photo’ website, look for a local commercial printer or a shop like Staples or FedEx. Ask for 110lb cardstock with a ‘matte’ or ‘linen’ finish. Often, they can print 4 announcements on a single 110lb sheet for less than $1.00 per sheet.
Option 2: High-Quality Photo Prints
If you want the absolute cheapest option, print your design as a 5×7 photo at a local drugstore. To make it look modern, choose a matte finish rather than glossy. Glossy screams ‘2005,’ while matte looks like an art print.
Option 3: The ‘Digital’ Announcement
In our modern world, a beautiful digital announcement sent via a curated email or a private social media group is perfectly acceptable and 100% free. You can even include a link to a video of the baby!
Remember, mama: Your friends and family are looking at the baby, not the paper weight. Don’t stress the small stuff!
The Finishing Touches: Envelopes and Accents

To give your DIY announcements that ’boutique’ feel, it’s all in the presentation. A plain white envelope is fine, but a Kraft paper envelope or a muted ‘dusty rose’ or ‘slate blue’ envelope elevates the entire package.
Where to Source Supplies
Don’t buy envelopes in small packs at the craft store. Head to bulk sites or even Amazon to get a pack of 50 for a fraction of the price. Look for A7 size envelopes for a standard 5×7 card.
DIY Embellishments
If you have a little extra energy, consider these low-cost additions:
- Custom Stickers: Print small round labels at home to seal the envelopes.
- Twine: Wrap the card in a simple piece of jute twine before sliding it in.
- Hand-Lettering: Use a gold or white gel pen for the addresses to add a personal, high-end touch.
| Item | Retail Price | DIY/Budget Price |
|---|---|---|
| 50 Announcements | $125.00 | $15.00 (Local Print) |
| 50 Envelopes | $25.00 | $8.00 (Bulk Purchase) |
| Addressing | $50.00 (Calligraphy) | $0.00 (Hand-lettered) |
| Total | $200.00 | $23.00 |
A Doula’s Guide to Postpartum Productivity
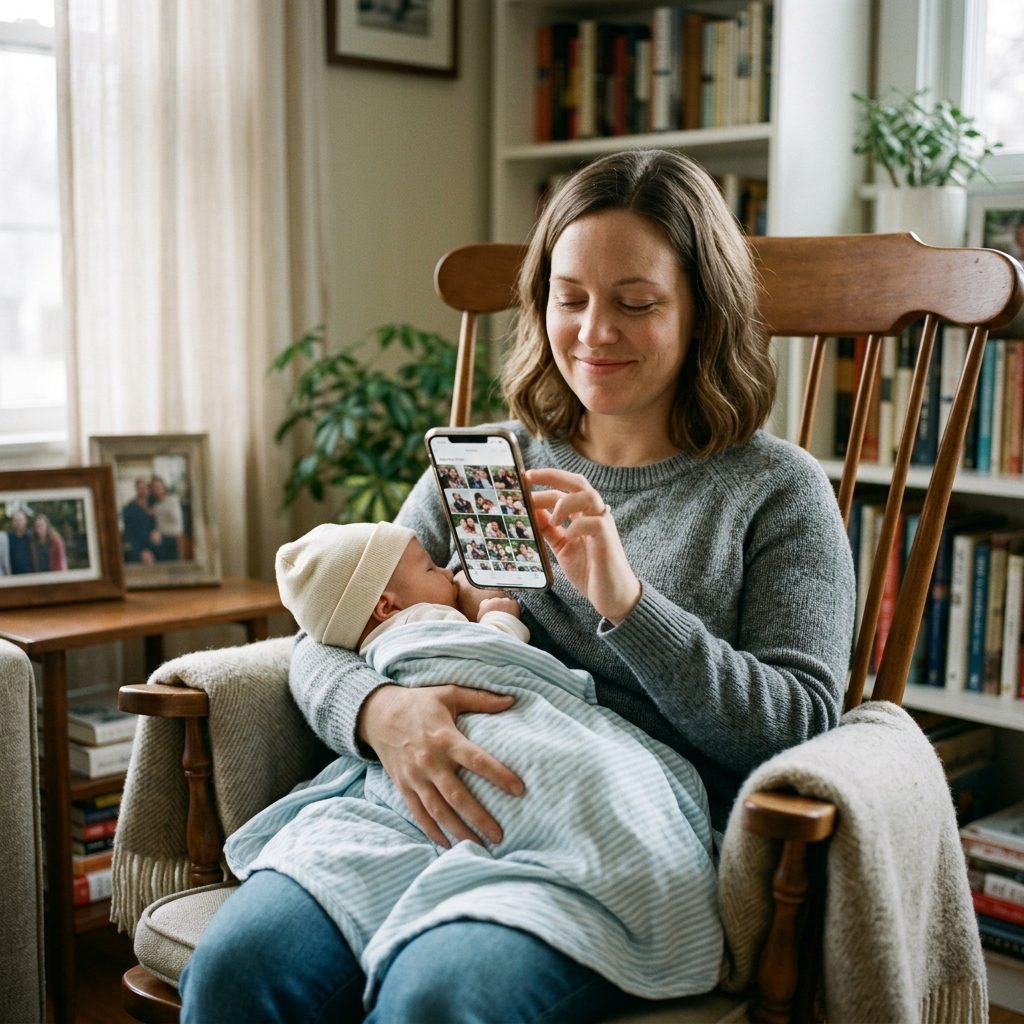
I want to be very real with you: you are recovering from a major life event. Whether you had a vaginal birth or a C-section, your primary job is rest and bonding. Designing announcements should be a joyful ‘creative outlet,’ not a chore that causes stress.
The ‘Nap-Time’ Workflow
Don’t try to do this all in one day. Break it down into manageable ‘micro-tasks’ that you can do from your nursing chair or while the baby is napping on your chest:
- Day 1: Take the photos (aim for 5-10 good ones).
- Day 2: Upload the best photo to your design app and choose a template.
- Day 3: Input the birth details and double-check the spelling (pregnancy brain is real!).
- Day 4: Order the prints or send the file to the local shop.
- Day 5: Enlist your partner or a friend to help stuff envelopes.
If you find yourself feeling overwhelmed, it is okay to wait! There is no ‘expiration date’ on sharing your joy. A two-month-old baby is just as cute as a two-week-old baby.
Conclusion
Your Story, Beautifully Told
Creating your own birth announcements is about more than just saving money—it’s about the love and intention you pour into welcoming your child. By taking the photos yourself and choosing the design, you are creating a keepsake that truly reflects your family’s style and the unique beauty of your new arrival.
Remember, mama, you are doing an incredible job. Whether your announcements are gold-foiled or printed on cardstock from the local shop, the message is the same: a new life is here, and they are loved beyond measure. Take a deep breath, enjoy those newborn snuggles, and have fun being the creative director of your baby’s first big debut!