Create Your Own: DIY Arch-Cut Clay Birth Announcement Plaques for Instagram
The Magic of the First Announcement
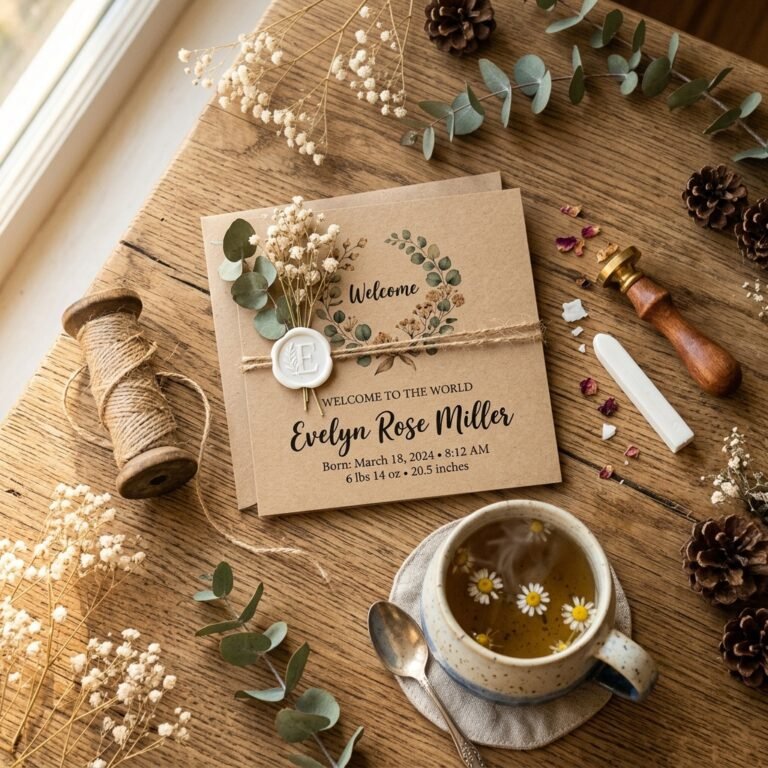
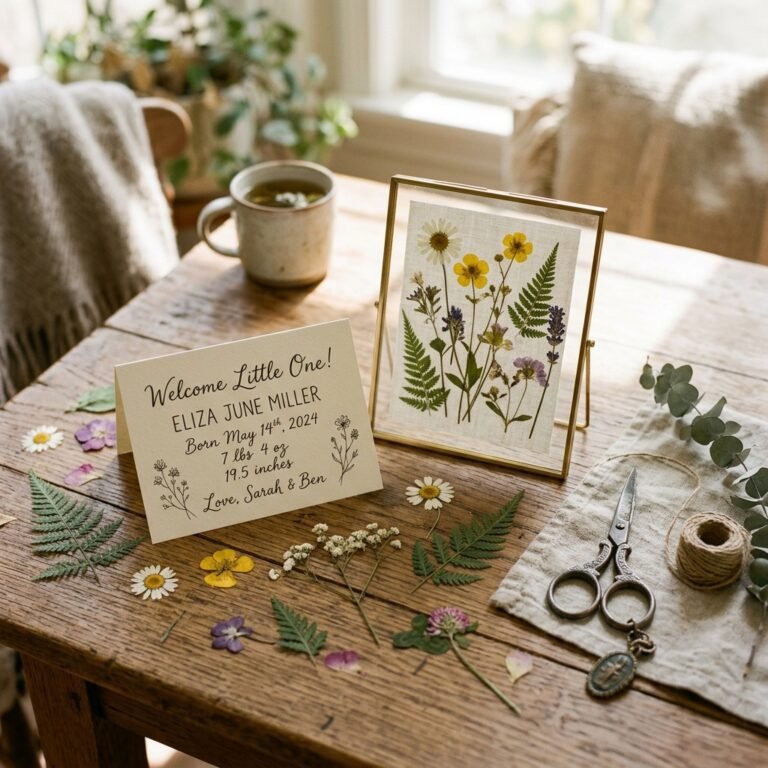
Oh, mama, there is nothing quite like those first few days of newborn bliss. The scent of their head, the tiny sighs, and that overwhelming urge to document every single millimeter of their growth. As a doula and a fellow lover of all things aesthetic, I know that you want your baby’s debut to the world to be as special as they are. In the age of digital sharing, the birth announcement plaque has become a staple of the ‘Gram, but why buy a mass-produced wooden disc when you can create a soulful, handmade heirloom yourself?
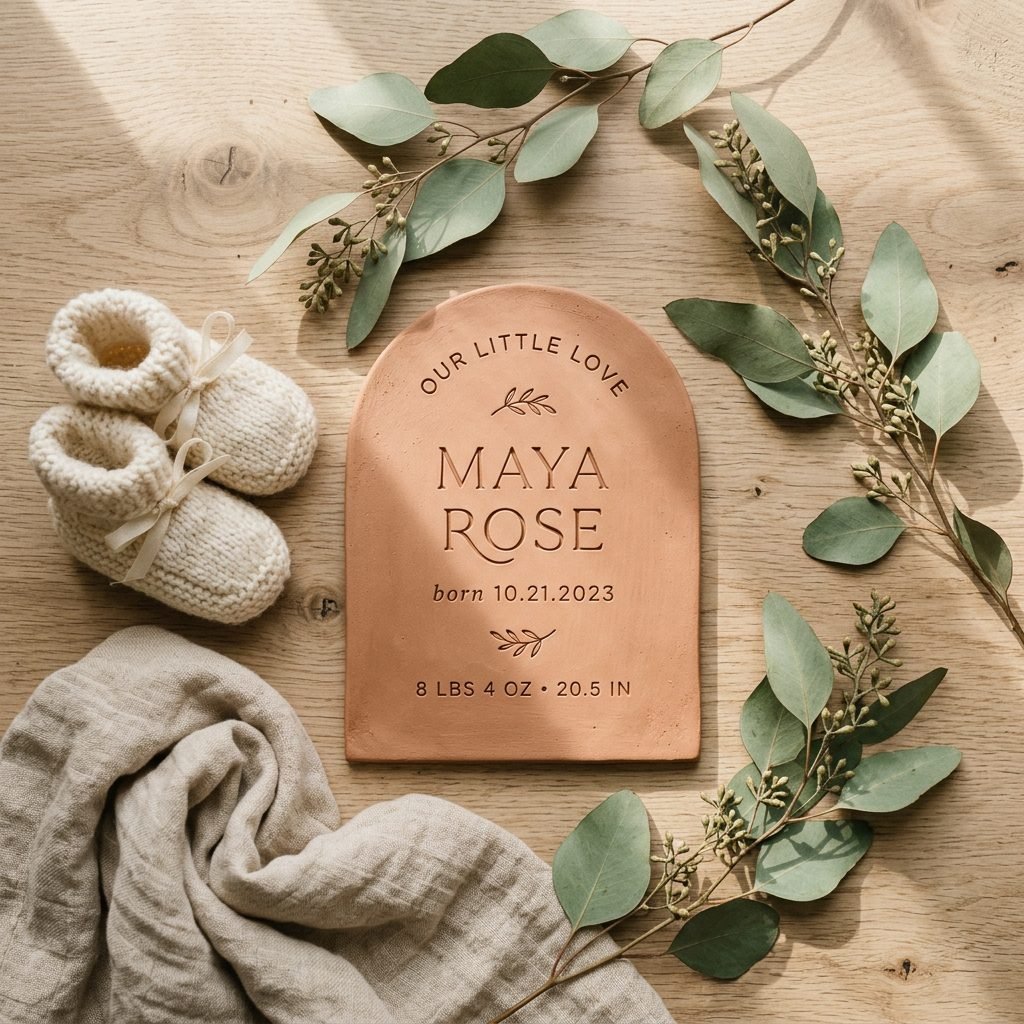
Crafting during pregnancy—or even in those quiet moments of early motherhood—isn’t just about the end product; it’s about the mindful process of nesting. Working with clay is grounding, tactile, and incredibly therapeutic. Today, we are going to walk through the steps of creating a modern, arch-cut clay plaque. This shape is everywhere in high-end nursery design right now because its soft curves mimic the gentleness of a womb and the rising sun. Whether you are a seasoned crafter or a first-time DIYer, I am here to hold your hand through this creative journey. Let’s make something beautiful for your little one.
Gathering Your Aesthetic Toolkit: Materials & Budget
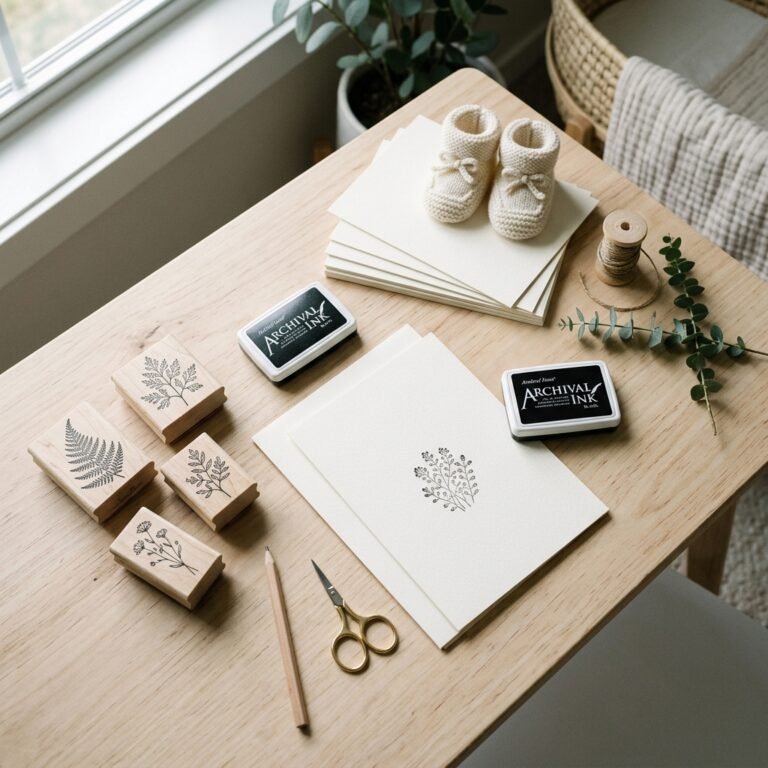
Choosing the Right Clay and Tools
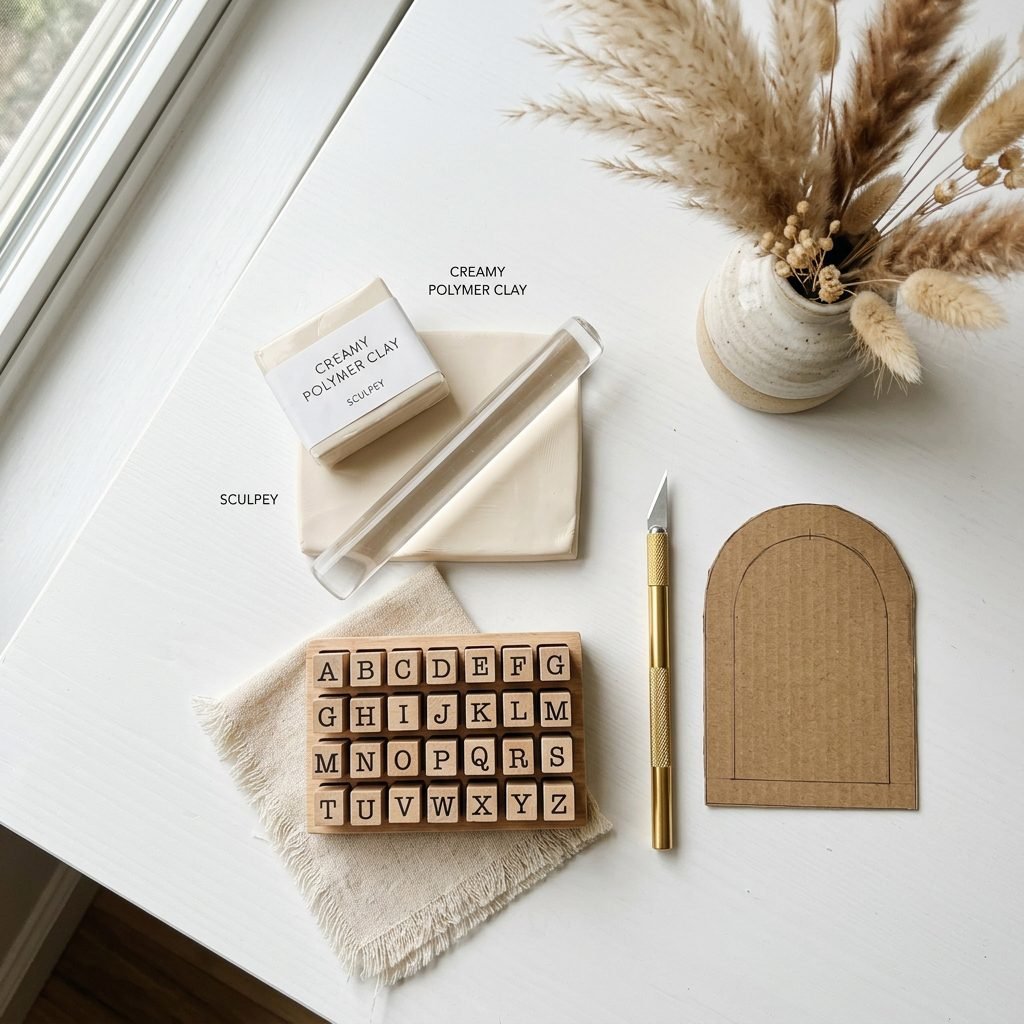
Before we get our hands messy, we need to choose our medium. For these plaques, you have two main options: Polymer Clay (which requires baking) or Air-Dry Clay (which cures over 24-48 hours). I personally recommend polymer clay for its durability and the wide range of sophisticated, muted tones available—think sage greens, toasted almonds, and dusty roses.
Working with clay as a mother-to-be is a wonderful way to practice fine motor skills and patience. However, safety is always our priority. Ensure your workspace is well-ventilated, especially if you are using polymer clay, and always wash your hands thoroughly after crafting. Below is a breakdown of what you’ll need to get started on your masterpiece.
| Item | Purpose | Estimated Cost |
|---|---|---|
| Polymer Clay (500g) | The base of your plaque | $10 – $15 |
| Acrylic Clay Roller | Ensures an even, smooth surface | $8 – $12 |
| Alphabet Stamp Set | For baby’s name and birth details | $12 – $20 |
| Arch Template | Cardboard or 3D printed guide | $0 (DIY) |
| Craft Knife/Scalpel | For precise, clean edges | $5 – $7 |
| Fine Sandpaper | Smoothing out imperfections after curing | $3 – $5 |
Pro-tip: If you can’t find the perfect ‘boho’ clay color, you can mix white clay with a tiny pinch of brown or yellow to create a custom ‘oatmeal’ or ‘terracotta’ shade that matches your nursery perfectly.
The Foundation: Conditioning and Rolling the Clay
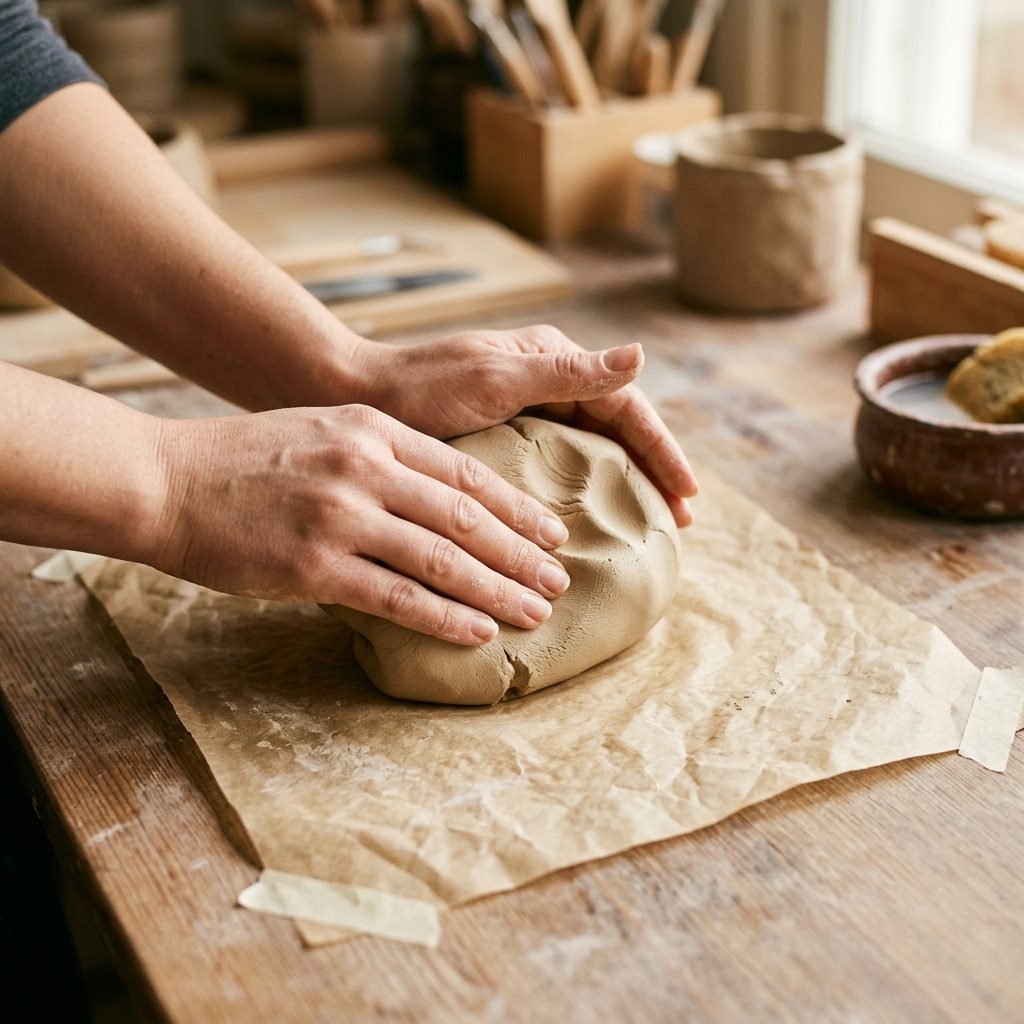
Preparing the Canvas
The secret to a professional-looking plaque is in the conditioning. Clay can be stiff straight out of the package. You’ll want to break it into smaller chunks and knead it in your hands. The warmth of your palms will soften the proteins in the clay, making it pliable and preventing cracks later on. This is a great time to practice some deep, rhythmic breathing—think of it as a mini-meditation before the baby arrives.
Achieving the Perfect Thickness
Once the clay is soft, roll it out on a non-porous surface like a silicone mat or a piece of parchment paper. You are aiming for a thickness of exactly 1/4 inch (approx. 6mm). If the clay is too thin, it will be fragile and may warp; if it’s too thick, it won’t cure evenly and might feel heavy in your photos.
- Consistency is Key: Use ‘spacer’ sticks (like two flat rulers) on either side of your clay to ensure your roller stays at a perfectly level height.
- Air Bubbles: If you see a tiny bubble, don’t panic! Pop it gently with a sewing needle and roll over it again to smooth it out.
- Surface Texture: For a rustic look, you can press a piece of linen fabric onto the clay before cutting to give it a subtle, woven texture.
Mastering the Arch: Cutting and Shaping Your Plaque
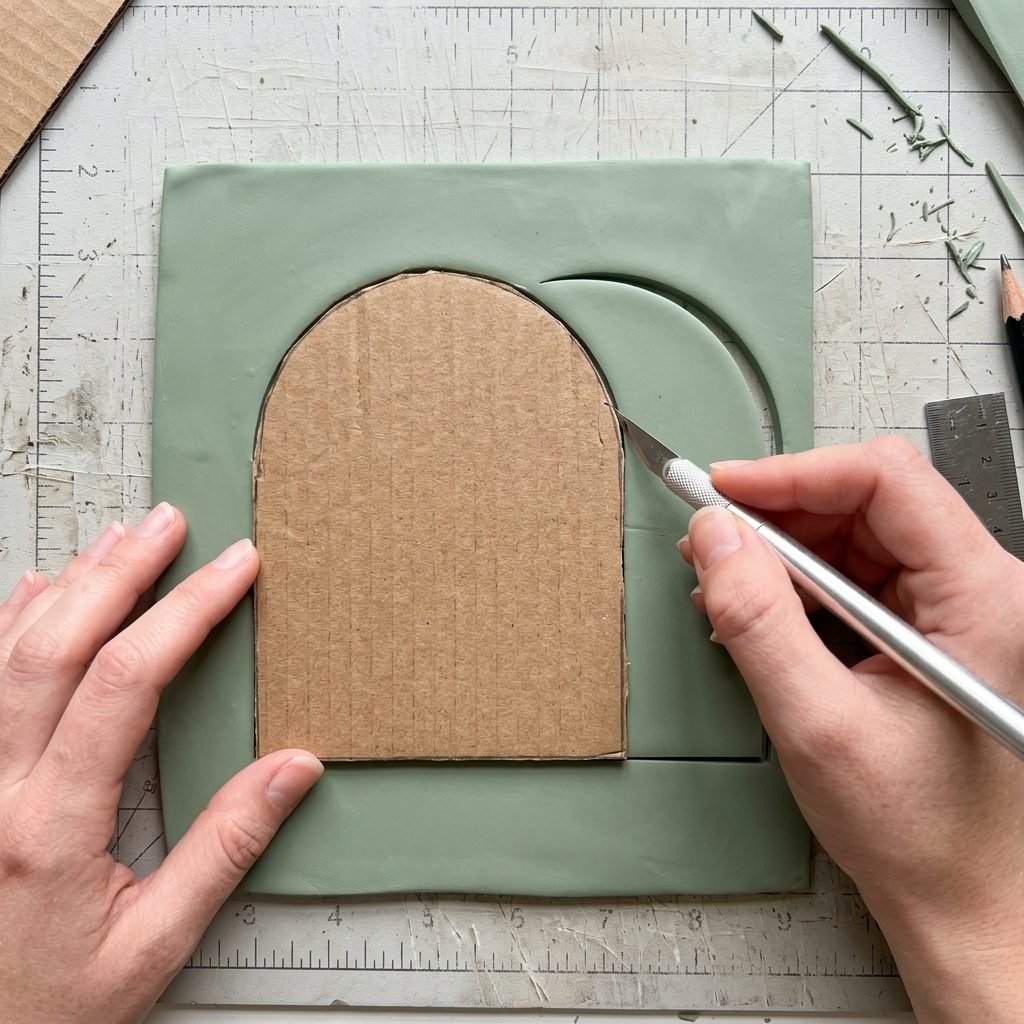
The Iconic Arch Shape
The arch is a timeless architectural element that symbolizes a transition—much like the transition into motherhood. To get that perfect, symmetrical curve, I recommend creating a template first. You can draw an arch on a piece of cardstock (usually 5 inches wide by 7 inches tall is the ‘sweet spot’ for newborn photos) and cut it out.
Step-by-Step Cutting Guide
- Place your cardstock template gently onto the rolled-out clay. Do not press too hard, or the paper will stick.
- Using your craft knife or a needle tool, trace the perimeter of the arch. Hold the knife at a 90-degree angle to the table to ensure the edges are straight and not beveled.
- Slowly peel away the excess clay from the outside. Save these scraps! You can use them to make matching ‘milestone’ charms or ornaments later.
- If the edges look a little ‘furry’ or jagged, dip your fingertip in a tiny bit of water (for air-dry clay) or baby oil (for polymer clay) and gently run it along the rim to soften the line.
Remember, mama, imperfection is part of the beauty. This is a handmade item, and those tiny variations are what make it a treasure. Your baby won’t care if the arch is a millimeter off, they will only care that it was made by you.
Personalization: Stamping and Botanical Details
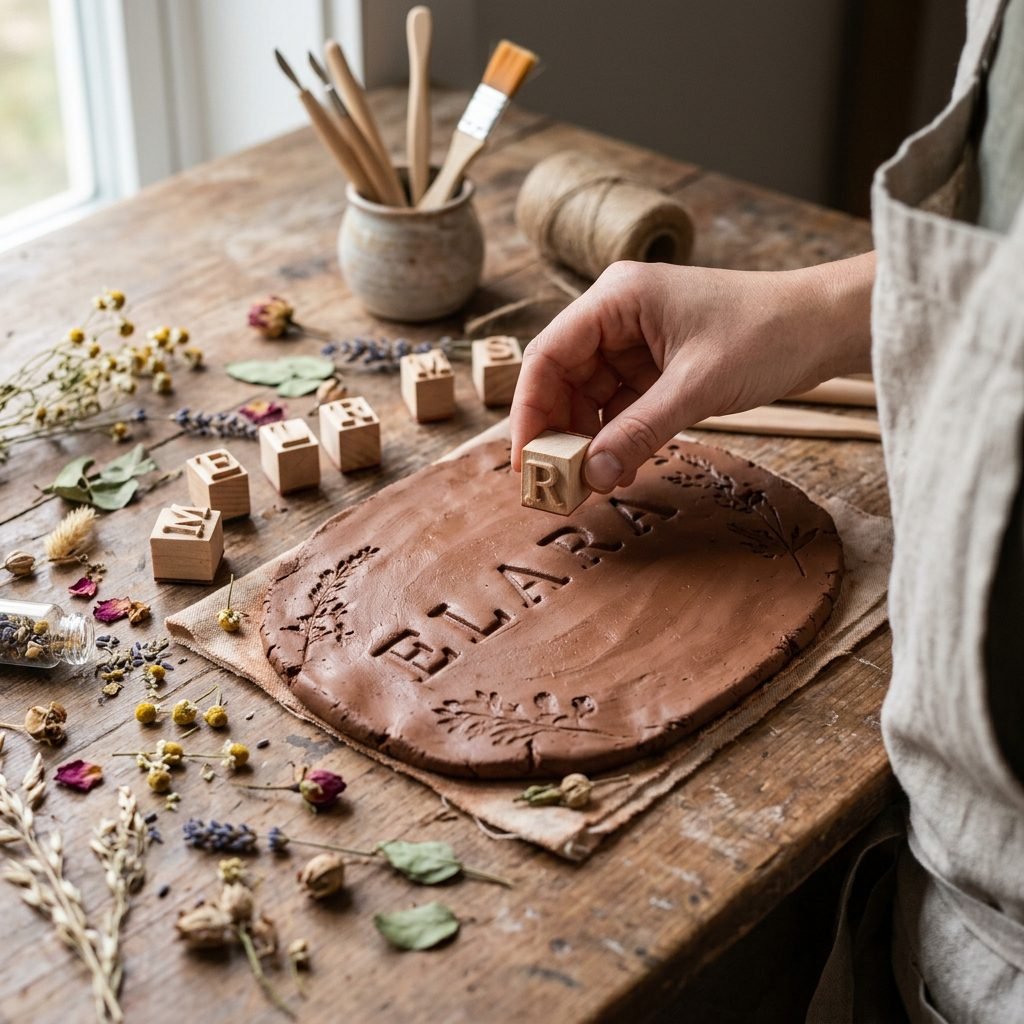
Writing the Story of Their Arrival
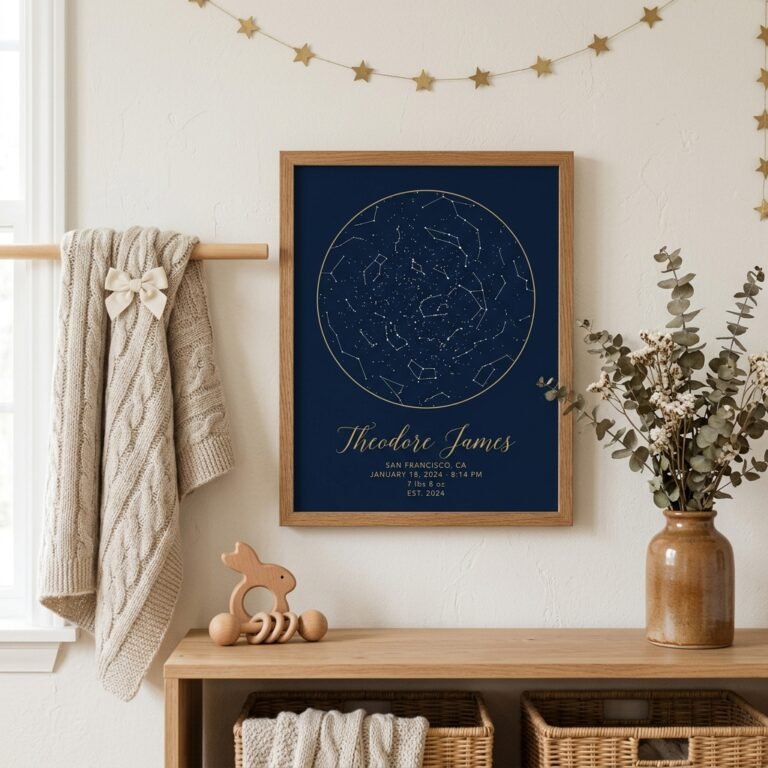
Now comes the most exciting part: adding the details! Most moms choose to include the baby’s full name, birth date, weight, and length. Since you likely won’t know the exact stats until the birth, you can create a ‘Welcome’ plaque now and leave space to write the details later with a fine-tip permanent marker, or you can wait until your ‘golden hour’ recovery to stamp the final details.
Creative Customization Ideas
- The Minimalist: Use a simple, sans-serif stamp set to press the name into the center. Leave plenty of ‘white space’ (or clay space!) for a modern look.
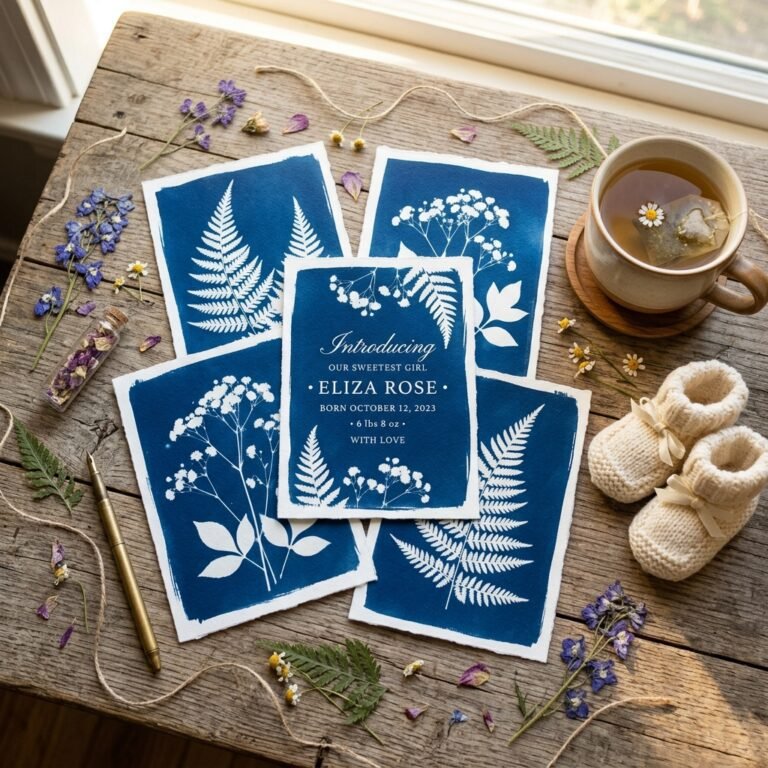
- The Botanical: Press dried lavender, chamomile, or baby’s breath into the clay and then gently peel it away, leaving a delicate fossil-like impression.
- The Gold Leaf: After stamping, you can use a tiny brush to fill the indentations with gold wax or acrylic paint for a touch of luxury.
Affirmation: As I stamp these letters, I am preparing my heart to welcome a new soul. Every detail of their arrival is a miracle.
The Curing Process: Baking and Finishing Touches
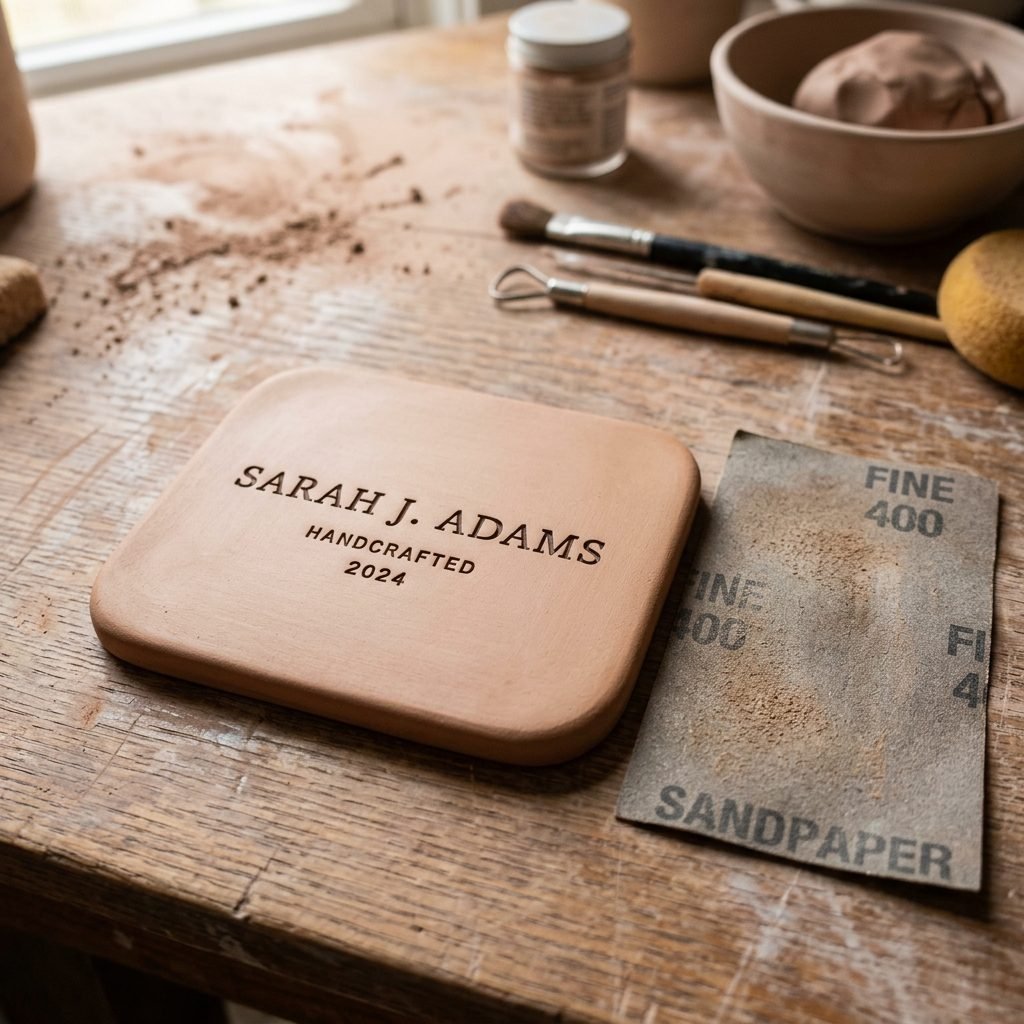
Curing for Longevity
If you are using polymer clay, follow the manufacturer’s instructions to the letter. Typically, this involves baking at 275°F (135°C) for 30 minutes per 1/4 inch of thickness. Use a dedicated baking sheet lined with parchment paper. Never over-bake, as this can cause the clay to discolor or release fumes.
The Final Polish
Once your plaque has cooled completely (it will still feel slightly flexible while warm, so wait until it’s cold to judge the hardness), you might notice some rough spots. This is where your fine-grit sandpaper comes in. Gently sand the back and the edges under a bit of running water to prevent clay dust from flying. This creates a buttery-smooth finish that feels incredible to the touch.
| Phase | Action | Timing/Setting |
|---|---|---|
| Baking | Curing the polymer clay | 275°F for 30 mins |
| Cooling | Hardening and setting | 1-2 hours at room temp |
| Sanding | Removing fingerprints/nicks | 5 minutes per side |
| Sealing | Optional matte varnish | 24 hours dry time |
The Big Reveal: Styling Your Instagram Flat-Lay
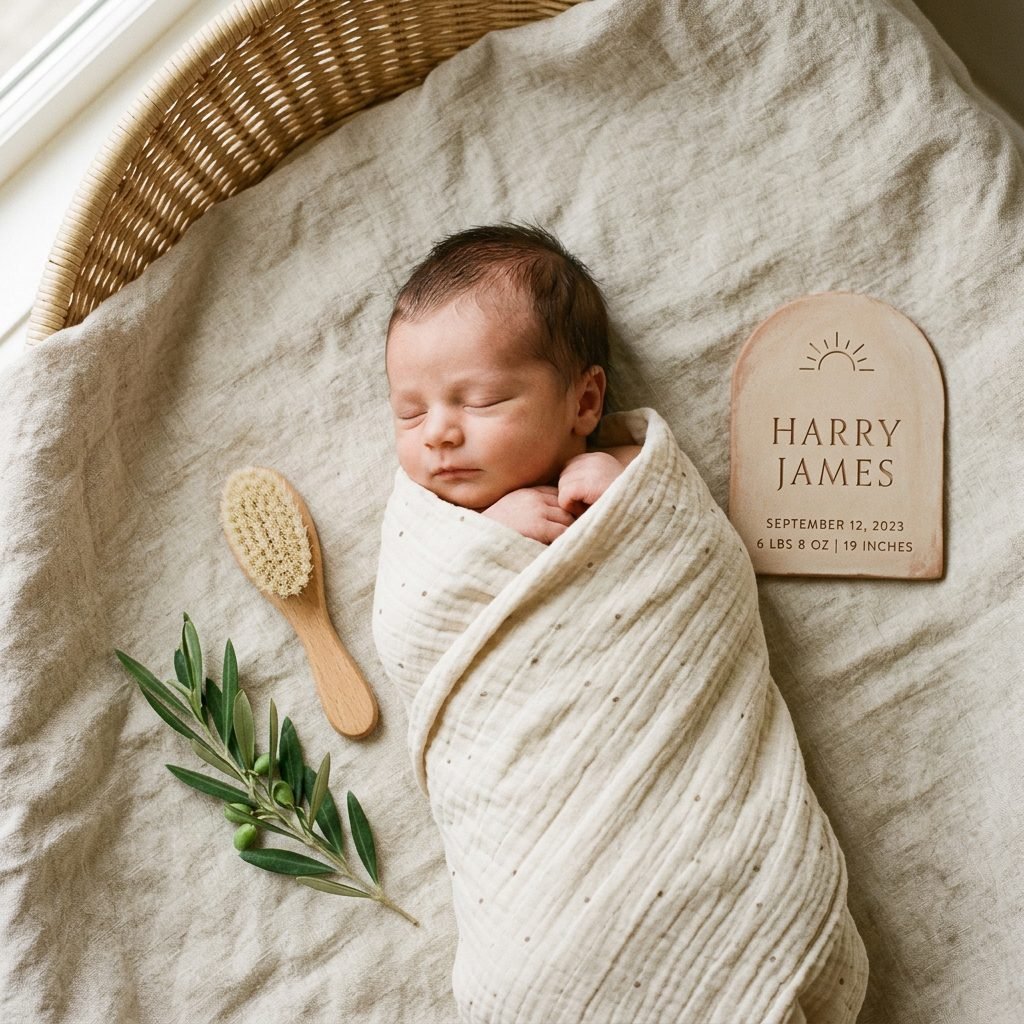
Creating the Perfect Announcement Post
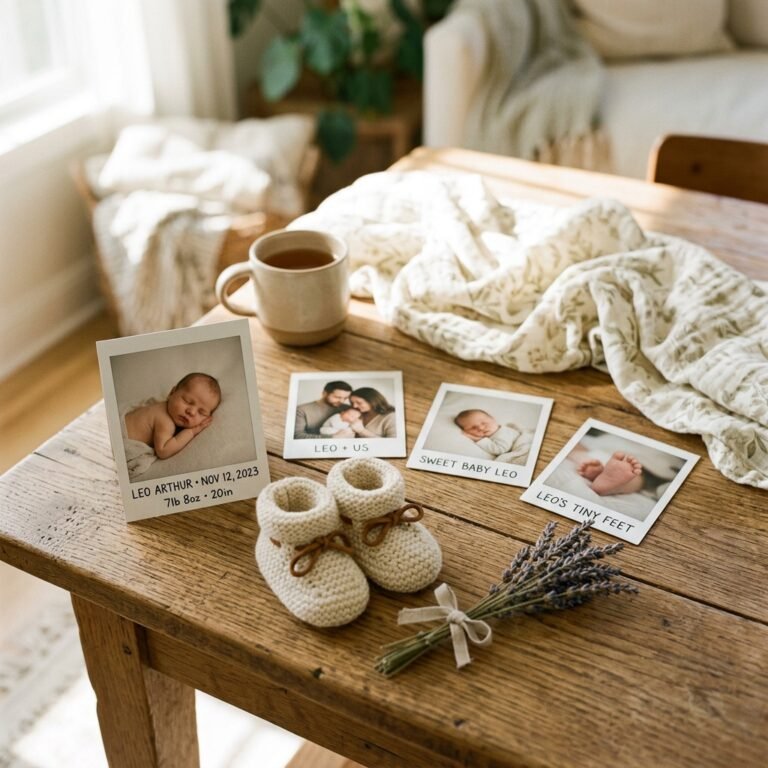
You’ve done the work, mama! Now it’s time to show it off. A birth announcement photo is often the most-liked photo on a new parent’s feed, so let’s make it count. The goal is to create a ‘lifestyle’ feel that looks effortless but is actually thoughtfully composed.
Styling Tips for Success
- Lighting: Always use natural, indirect light. Place your setup near a large window, but avoid direct ‘harsh’ sun which creates dark shadows.
- The Hero: Your baby (or the plaque!) should be the focal point. If the baby is in the shot, keep the background simple. A monochrome swaddle works wonders.
- Texture Layering: Layer different materials like a chunky knit blanket, a wooden rattle, and your clay plaque to create depth.
- The Angle: Shoot from directly overhead (a ‘flat-lay’) for that clean, editorial look.
Don’t forget to tag your doula or your favorite craft accounts—we love seeing your creations! This plaque will eventually move from your photo prop to a beautiful shelf-sitter in the nursery, serving as a permanent reminder of the day your world changed forever.
Conclusion
A Keepsake for a Lifetime
Creating your own DIY arch-cut clay birth announcement plaque is more than just a craft project; it is a labor of love. In those first hazy weeks of motherhood, having this physical token of your baby’s arrival serves as a beautiful anchor. It connects the anticipation of pregnancy with the reality of your new life together. I hope this guide has inspired you to slow down, breathe, and create something that reflects the unique beauty of your family.
Remember, you are doing an incredible job. Whether your plaque is ‘perfect’ or perfectly messy, it is a testament to your journey. Welcome to the world, little one, and well done, mama. You’ve got this!