How to Design and Print DIY Rustic Kraft Paper Birth Announcement Cards
Oh, mama. You did it. Whether you are currently in the thick of the nesting phase, eagerly organizing tiny onesies and waiting for your little one’s arrival, or you are soaking in the sweet, milky, sleep-deprived newborn bubble, taking a moment to share your joy with the world is a beautiful milestone. There is something profoundly grounding about holding a physical piece of paper that announces your baby’s existence to your village. In a world of quick text messages and social media posts, a tangible birth announcement mailed to your loved ones feels like a warm hug.
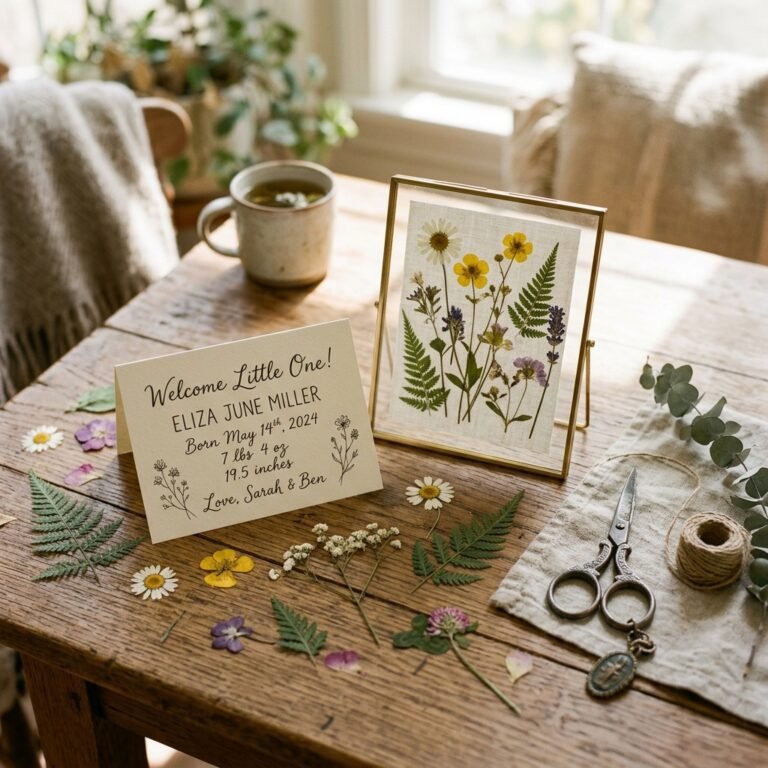
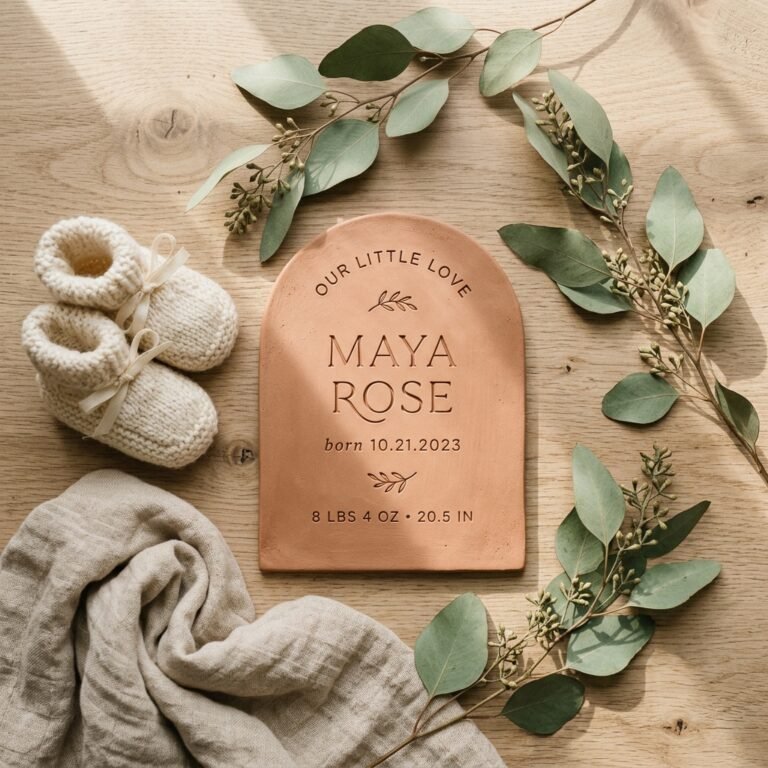
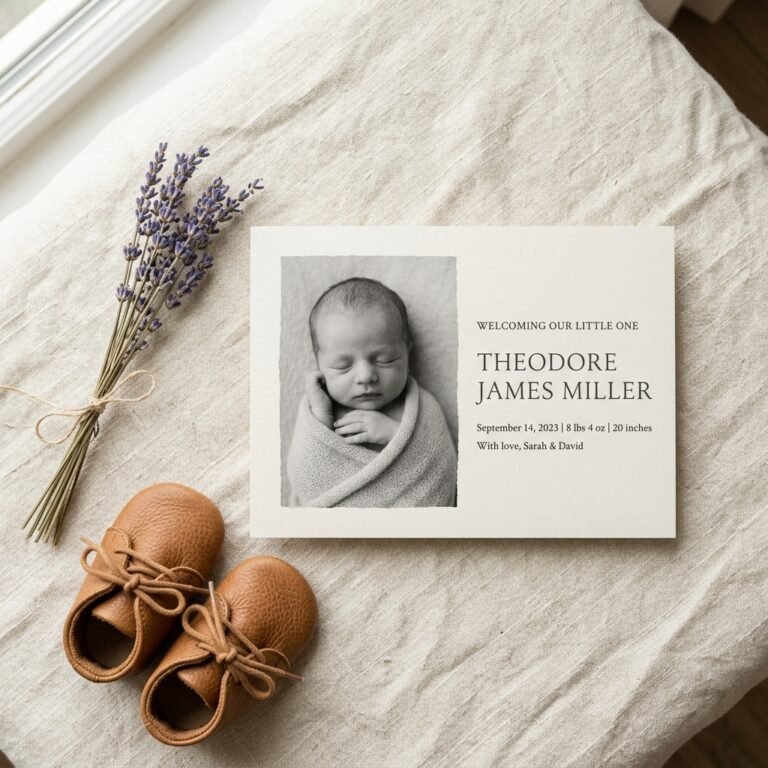
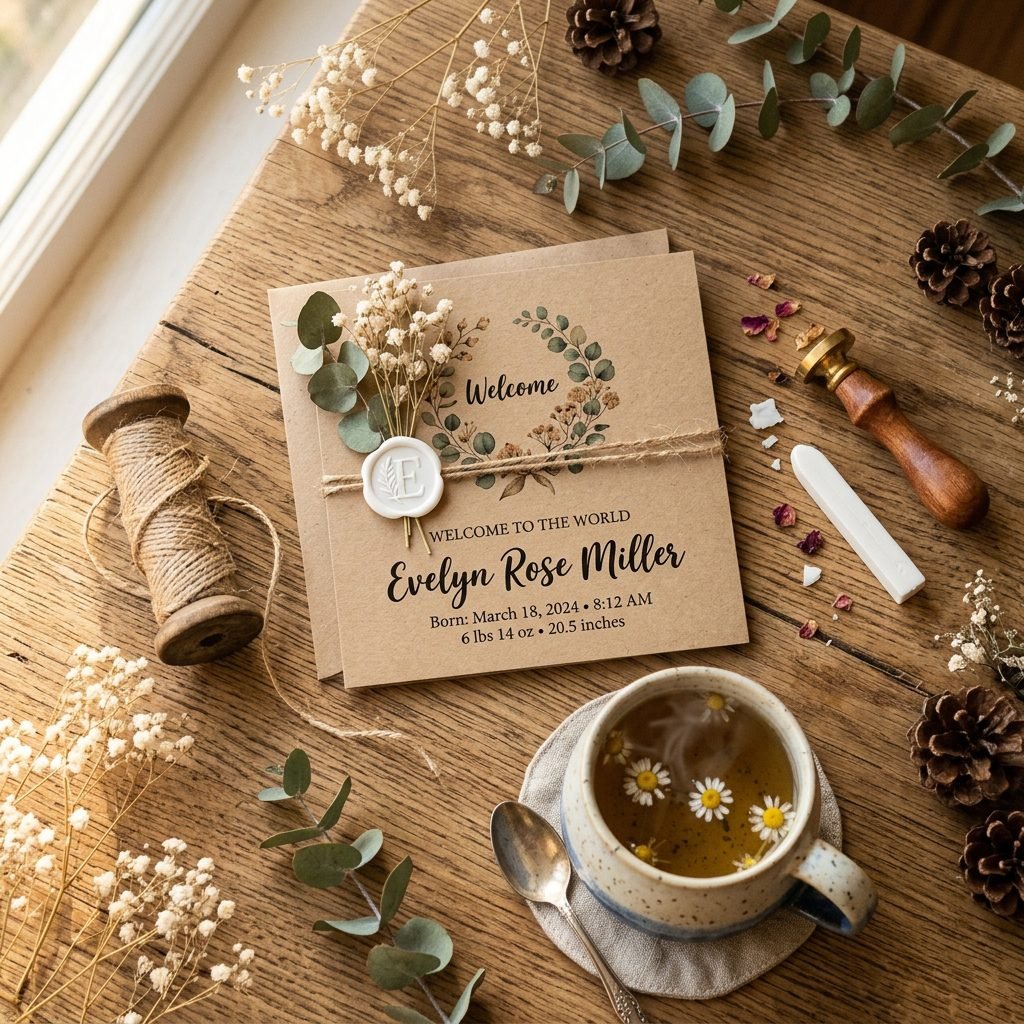
If you are drawn to earthy aesthetics, cozy nursery designs, and a touch of vintage charm, DIY rustic kraft paper birth announcement cards are the perfect project. Kraft paper, with its raw, textured, and natural brown finish, brings an instant warmth and organic feel to your baby’s debut. It is stylish, comfort-first, and surprisingly forgiving for a DIY project. Plus, crafting these announcements can be a deeply therapeutic, quiet activity to do while baby sleeps (or while you are resting on the couch with your pregnancy pillow!).
As your virtual doula and creative sister, I am here to walk you through every single step. From choosing the exact weight of paper that will not jam your printer, to formatting the sweetest wording, to adding those Pinterest-worthy finishing touches like twine and wax seals. Grab a cup of red raspberry leaf tea, get cozy, and let’s create a beautiful keepsake that will live in baby books and on refrigerators for years to come.
Gathering Your Supplies: The Earthy Aesthetic Toolkit
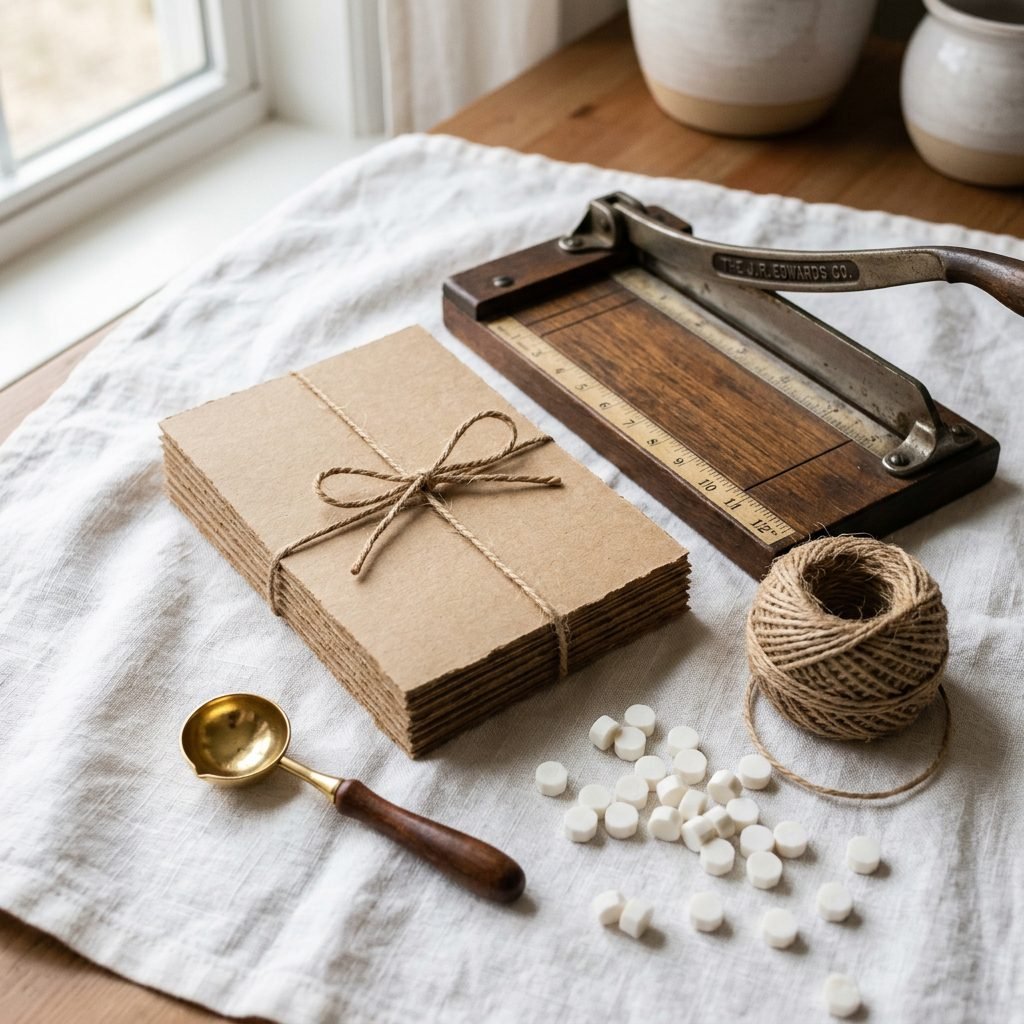
Before we dive into fonts and photos, we need to gather our materials. The beauty of a rustic DIY project is that you do not need a massive budget to make something that looks incredibly high-end. The secret lies in the textures you choose. Kraft paper comes in many variations, and picking the right one is the foundation of your announcement.
Choosing the Right Kraft Paper
Not all kraft paper is created equal. If you buy standard kraft paper meant for wrapping packages, it will be too thin and flimsy for a card. You want to look for Kraft Cardstock. The sweet spot for home printers is usually between 65 lb and 80 lb cover weight. Anything heavier (like 100 lb or 110 lb) might look gorgeous, but it can easily jam a standard inkjet or laser printer.
The Ultimate DIY Materials Breakdown
Here is a practical, budget-friendly breakdown of what you will need to create a stunning batch of 50 birth announcements. You can easily find these items at your local craft store or online.
| Material / Supply | Purpose in Project | Estimated Cost (50 Cards) |
|---|---|---|
| 80 lb Kraft Cardstock (8.5×11) | The base of your announcement card | $12.00 – $15.00 |
| A7 Kraft or White Envelopes | Mailing your beautiful creations (5×7 size) | $10.00 – $14.00 |
| Natural Jute Twine | Tying a rustic bow around the card | $4.00 – $6.00 |
| Vellum Paper (Optional) | Printing a soft, translucent photo overlay | $8.00 – $12.00 |
| Wax Seal Kit (Optional) | Adding a vintage, tactile seal to the envelope | $15.00 – $20.00 |
| Paper Trimmer / Guillotine | Cutting cards to the exact 5×7 dimensions | $15.00 (One-time investment) |
Sisterly Tip: Do not stress if you do not have a fancy craft room! A clear space on your dining table, good lighting, and a simple paper trimmer are all you need. If you don’t want to buy a trimmer, an X-Acto knife, a metal ruler, and a cutting mat work beautifully.
Designing Your Card: No Graphic Design Degree Required
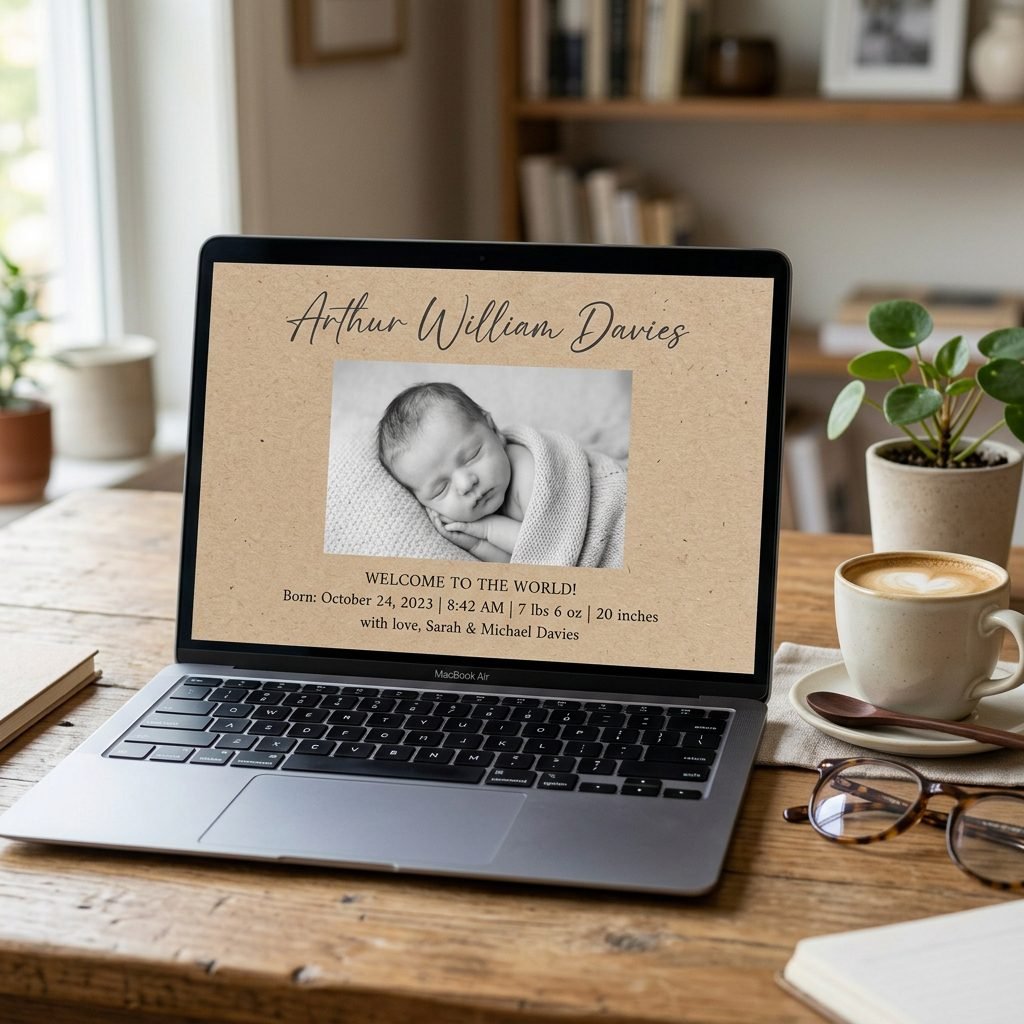
You do not need expensive software to design a breathtaking announcement. Free online tools like Canva are incredibly user-friendly and offer perfect templates for 5×7 cards. The key to making kraft paper look chic rather than cluttered is embracing minimalism and negative space.
Selecting the Perfect Photo
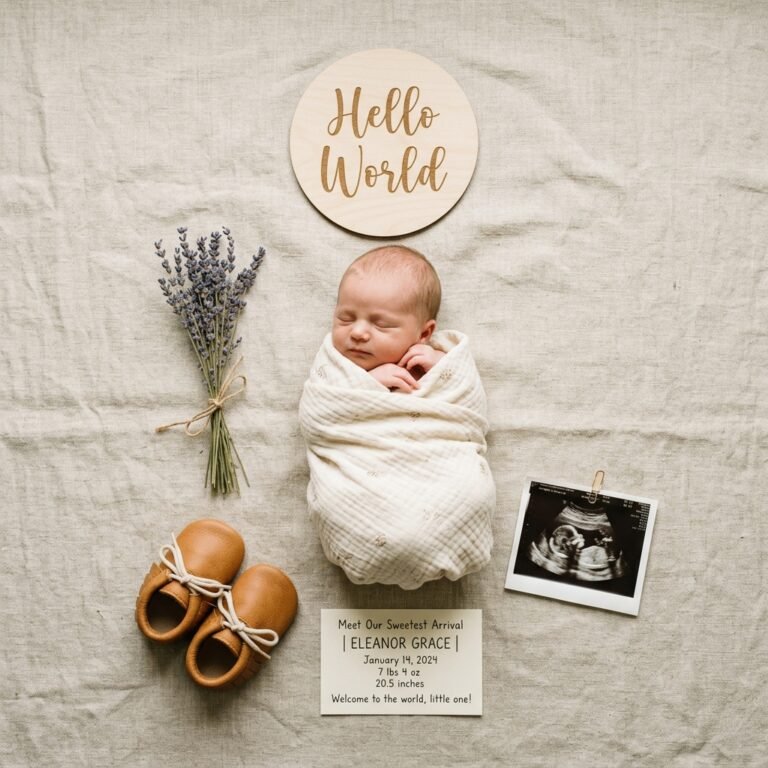
Kraft paper has a naturally dark, warm undertone. Because of this, printing a full-color photo directly onto kraft paper can sometimes make the baby’s skin tone look muddy or overly orange. Here are the best, evidence-based design workarounds for photos:
- High-Contrast Black and White: Converting your newborn photo to black and white is the most foolproof method. The dark shadows and bright highlights look incredibly artistic and timeless against the brown paper.
- The Vellum Overlay Hack: If you really want a color photo, print the text on the kraft paper, and print the color photo on a piece of translucent vellum paper cut slightly smaller than the card. Attach the vellum photo to the kraft card using a small brass brad or a paperclip at the top. It looks incredibly high-end!
- The Wallet-Size Attachment: Print small 2×3 inch color photos on standard glossy or matte photo paper. Use double-sided tape to stick the photo directly onto the printed kraft card, framing it with your beautifully printed text.
Font Pairings for a Rustic Vibe
Typography sets the tone. For a rustic, earthy announcement, you want to mix a sweeping, romantic script (for the baby’s name) with a clean, easy-to-read serif or typewriter font (for the birth stats).
- The Vintage Look: Pair a messy, handwritten calligraphy font with a classic typewriter font (e.g., Courier or Special Elite).
- The Modern Rustic Look: Pair a bold, elegant serif font (like Playfair Display) with a minimalist sans-serif font (like Montserrat).
Wording Your Joy: Copy-Paste Announcement Templates
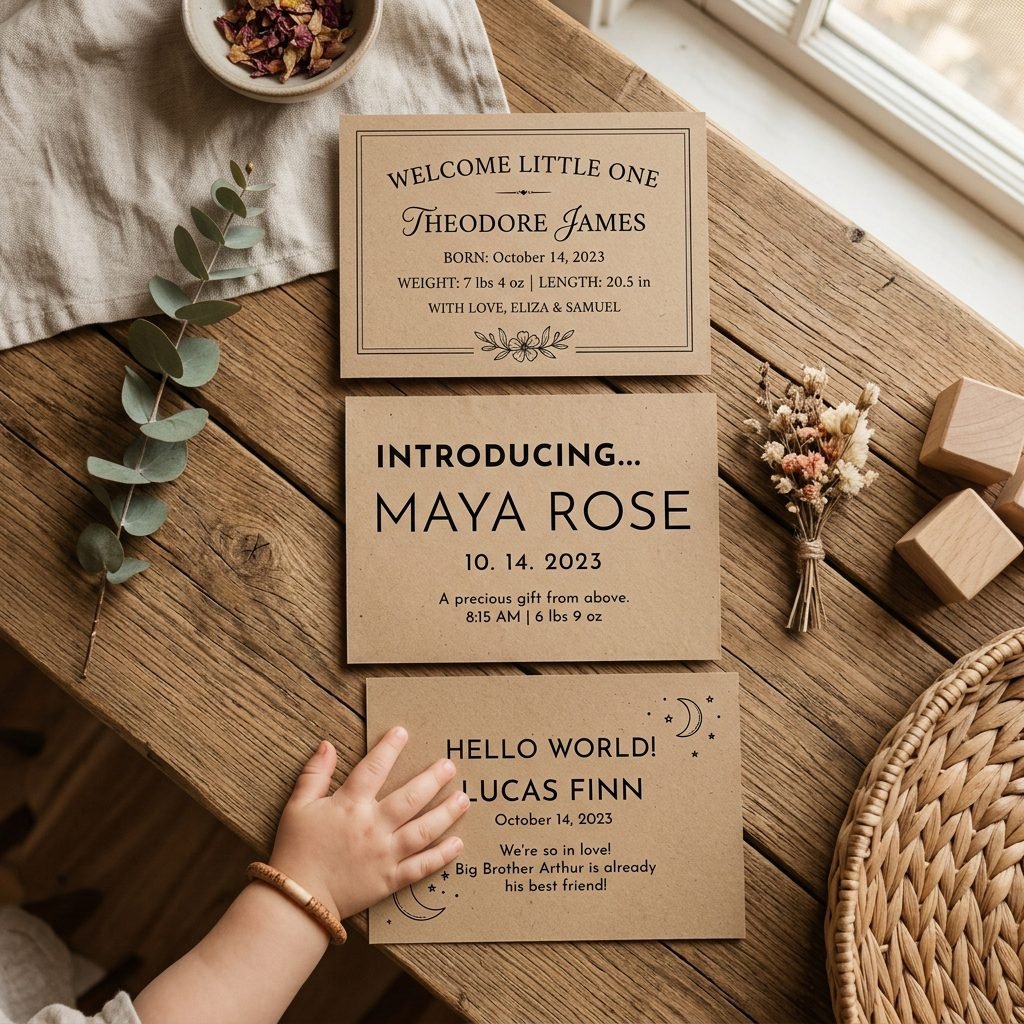
When you are recovering from birth—whether navigating the soreness of a vaginal delivery or the tender healing of a C-section—your brain might feel a little foggy. That is completely normal, mama! You do not need to reinvent the wheel when it comes to wording your announcement. Here are a few sweet, copy-paste templates you can use depending on your personal style.
The Classic & Timeless Template
With hearts full of love, we welcome
[Baby’s Full Name]
Born on [Date] at [Time]
[Weight] lbs [Ounces] oz | [Length] inches
Welcomed with joy by [Parents’ Names]
The Short & Sweet Template
Hello, world.
Meet [Baby’s First Name]
[Date of Birth]
[Weight] | [Length]
So deeply loved by [Parents’ Names]
The Sibling Inclusion Template
[Older Sibling’s Name] is thrilled to announce the arrival of their new best friend!
[Baby’s Full Name]
Arrived on [Date]
[Weight] | [Length]
Our family has grown by two feet and our hearts are infinitely full.
A Gentle Reminder: Always double-check the spelling of your baby’s name, the date, and the birth stats before you hit print! Have your partner or a friend read it over just to be safe. Sleep deprivation is real, and it is easy to accidentally type the wrong birth weight!
The Printing Phase: Taming Your Home Printer
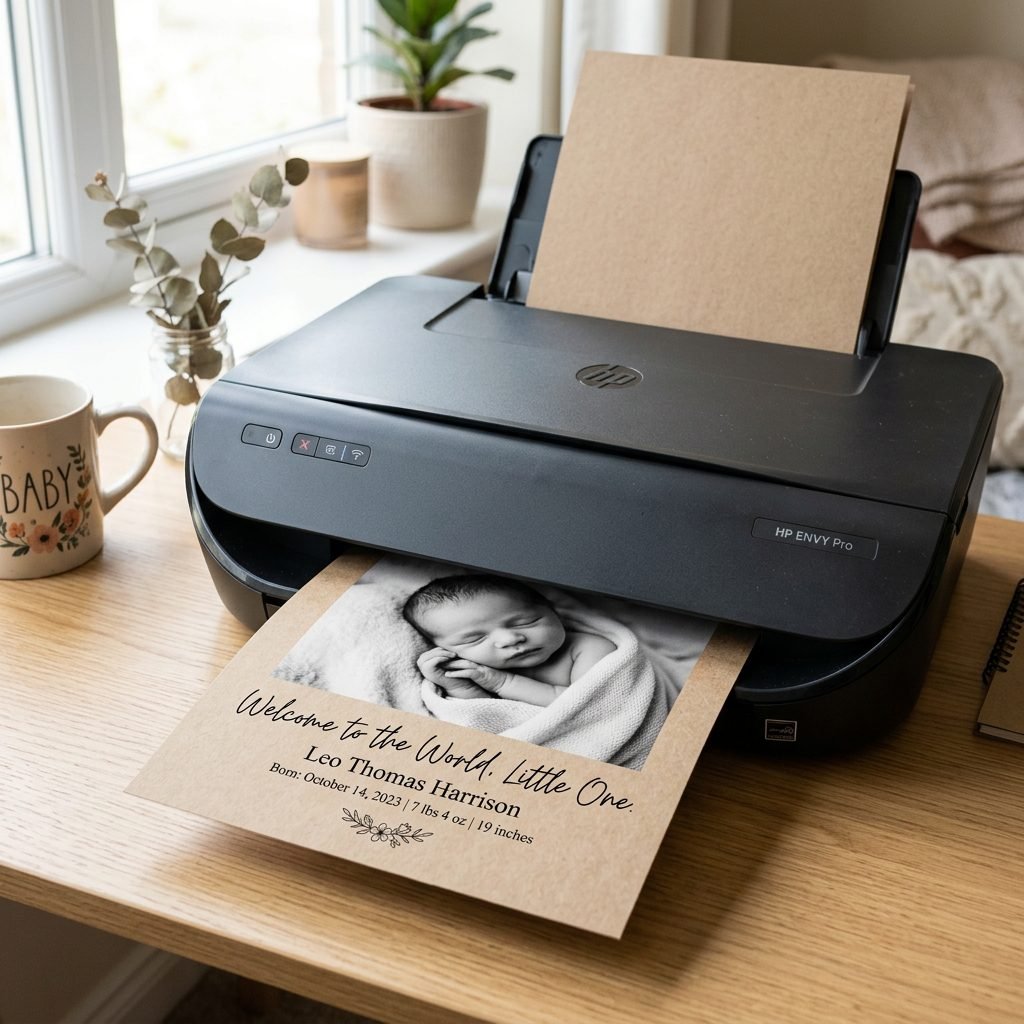
This is the step where many DIYers feel intimidated, but I promise you can do this. Printing on cardstock just requires a few simple tweaks to your printer settings to ensure the ink does not smudge and the paper does not jam.
Step-by-Step Guide to Printing on Cardstock
- Format Your Document: If your card size is 5×7 inches, the most economical way to print is to place two 5×7 designs side-by-side on a standard 8.5×11 inch canvas in your design software. This allows you to print two cards per sheet of paper.
- Use the Rear Feed Tray: Thick cardstock struggles to bend through the standard bottom paper cassette. If your printer has a rear feed tray or a manual feed slot, use it! This allows the thick kraft paper to pass through the printer in a straight line, preventing jams and curled edges.
- Adjust Printer Settings: Before hitting print, open your printer dialog box. Change the ‘Paper Type’ from Standard/Plain Paper to ‘Heavy Cardstock’, ‘Matte Photo Paper’, or ‘Thick Paper’. This tells the printer to widen the rollers and apply the ink differently.
- Change Print Quality to ‘High’: Ensure your quality is set to ‘High’ or ‘Best’ rather than ‘Draft’. This ensures crisp, dark text that stands out beautifully against the brown paper.
- Print a Test Sheet: Always, always print just 1 copy first. Let it dry for a full 60 seconds. Check for any ink smudging, alignment issues, or typos before printing the remaining 25 sheets!
If you find that your home printer simply cannot handle the paper thickness, do not panic. You can easily save your design as a high-quality PDF and take your kraft paper to a local print shop (like FedEx or a local independent printer). They can print and cut them for a very small fee, saving you time and stress!
Assembly & Finishing Touches: The Magic is in the Details
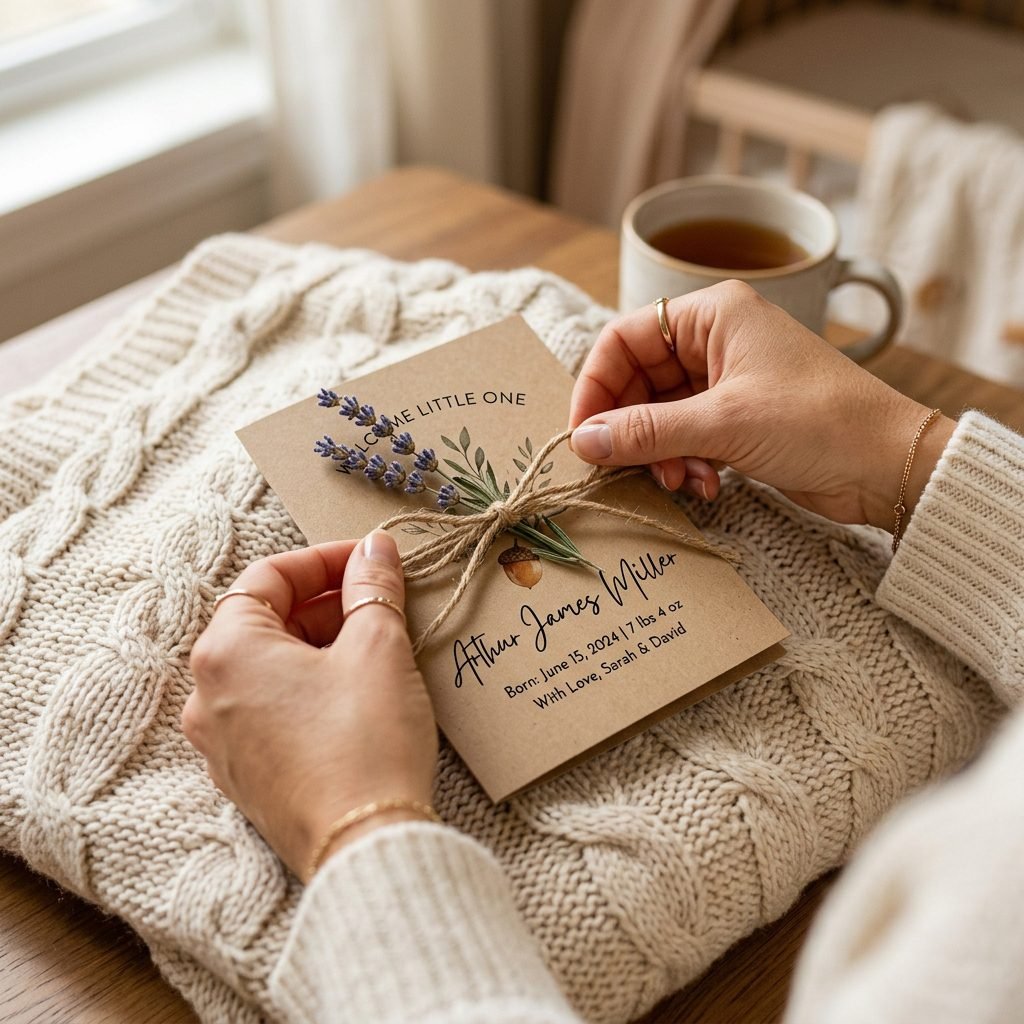
Now for the fun part! Assembly is where your rustic announcement truly comes to life. This is a wonderful activity to do while sitting comfortably with your nursing pillow, or as a bonding activity with your partner while baby is having some tummy time or a nap.
Cutting and Trimming
If you printed two cards per 8.5×11 sheet, use your paper trimmer to cut them down to exactly 5×7 inches. Take your time here. Using the grid lines on your trimmer ensures sharp, professional-looking edges. If your edges look a little fibrous (which can happen with kraft paper), you can gently run a piece of fine sandpaper along the edge for a beautifully distressed, deckled look.
Adding the Rustic Charm
- The Twine Wrap: Cut a piece of natural jute twine about 24 inches long. Wrap it around the center or the left edge of the card two or three times, and tie it in a neat, small bow. This adds immediate texture and a handmade feel.
- Dried Florals: For a soft, botanical touch, tuck a tiny sprig of dried baby’s breath, dried lavender, or seeded eucalyptus behind the twine bow. Not only does it look stunning, but if you use lavender, it adds a calming scent to the envelope!
- Wax Seals: If you want to elevate the envelope, use a wax seal. You can buy pre-made wax seals that have an adhesive backing (perfect for busy new moms!), or you can melt white or bronze wax and stamp it yourself. A wax seal on the back of a kraft envelope feels incredibly special and vintage.
Sisterly Reminder: Handmade items are beautiful because of their imperfections. If a bow is slightly crooked, or the wax seal isn’t a perfect circle, leave it! It shows that these were crafted with love by a mother’s hands.
Conclusion
Creating DIY rustic kraft paper birth announcements is so much more than just a crafting project. It is a gentle, creative way to process the massive, beautiful life transition you have just experienced. As you fold the envelopes and tie the twine, take a deep breath and reflect on the incredible journey your body and mind have been through to bring this little soul into the world. You have done something miraculous, mama.
When you drop these little rustic envelopes into the mailbox, know that they will bring immense joy to your family and friends. And most importantly? Do not forget to save one for yourself. Tuck one perfectly assembled card into your baby’s memory box or baby book. Years from now, you will run your fingers over the textured kraft paper, look at that sweet tiny face, and remember exactly how it felt in these fleeting, beautiful early days.