Why Crinkle Foil Sensory Play Is the Ultimate Cheap Activity for Your 3-Month-Old
Welcome to the Magic of the ‘Crinkle’ Phase
Mama, I see you. You are right in the thick of the three-month milestone—that beautiful, slightly blurry window where your little one is waking up to the world, discovering their hands, and starting to realize that they can make things happen. As a doula and a fellow mom, I know the pressure to buy every ‘educational’ toy on the market can be overwhelming. But here is a little secret from my toolkit: some of the most profound developmental leaps happen with the simplest, most inexpensive materials.
Enter crinkle foil sensory play. If you have five dollars and five minutes, you have everything you need to captivate your baby’s attention, encourage physical coordination, and stimulate those rapidly firing neurons. At three months, your baby’s vision is sharpening, their curiosity is blooming, and they are ready for a sensory symphony. Let’s dive into why this humble material is the ultimate ‘toy’ for your growing babe and how you can set it up safely and stylishly today.
The Science of Sensory Play: Why 3 Months Is the Sweet Spot

Understanding Your Baby’s Developing Brain
At around 12 weeks, your baby is undergoing a massive neurological shift. They are moving away from newborn reflexes and toward intentional movements. This is the perfect time to introduce sensory play that targets multiple senses at once. Crinkle foil—specifically the kind found in emergency ‘space’ blankets—provides a trifecta of stimulation:
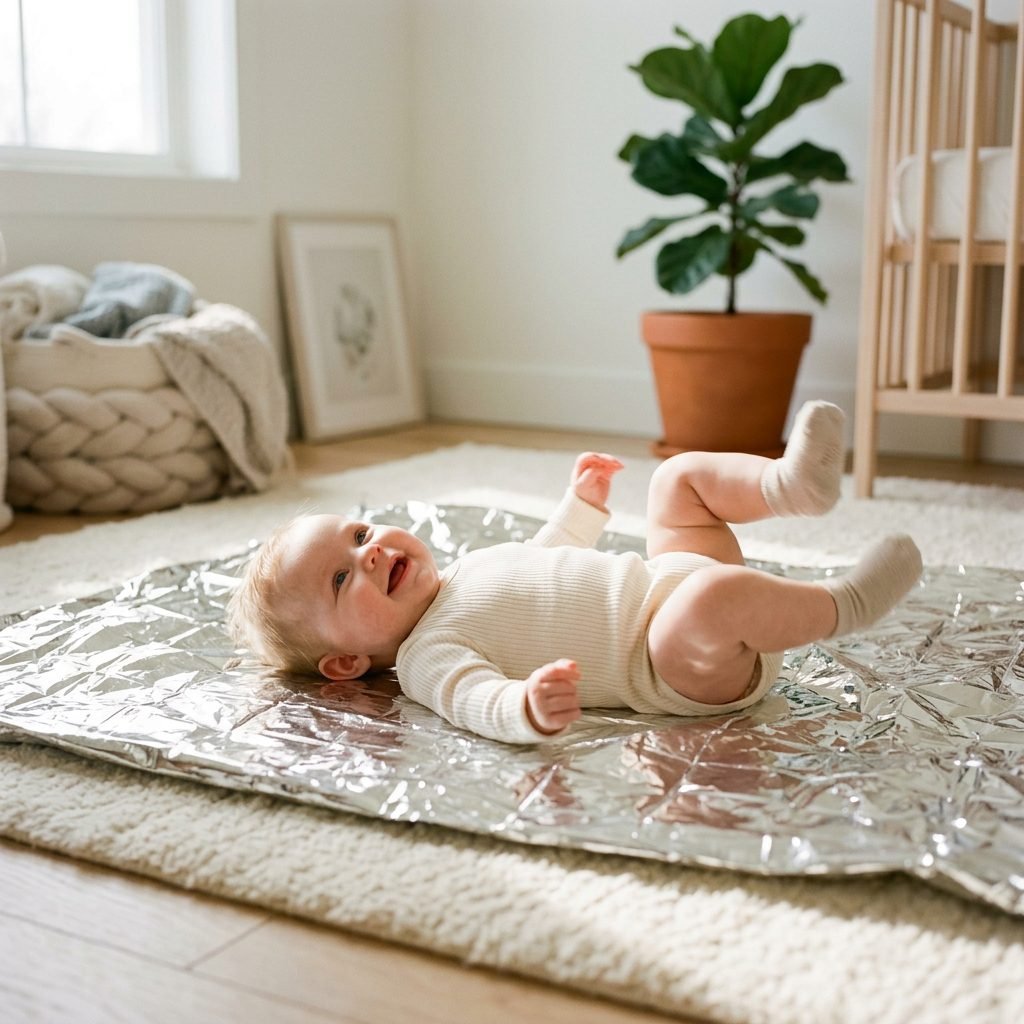
- Visual Stimulation: The highly reflective surface of the foil catches the light, creating high-contrast patterns that are easy for a 3-month-old’s developing eyes to track.
- Auditory Feedback: Every time your baby kicks or bats at the foil, it produces an immediate, satisfying ‘crinkle’ sound. This teaches cause and effect—the foundational concept that ‘My action causes this reaction.’
- Tactile Exploration: The cool, smooth texture of the foil feels vastly different from the soft cotton of their onesies or the plushness of their play mat.
The Importance of Cause and Effect
When your baby hears that crinkle after a kick, their brain releases a tiny hit of dopamine. This encourages them to repeat the movement, strengthening the neural pathways between the brain and the muscles. It’s not just play; it’s a full-body workout for their cognitive and motor systems.
“Play is the work of the child, and at three months, that work is all about discovering the magic in the mundane.”
The Budget-Friendly Setup: Materials and Cost Breakdown
Creating a Sensory Oasis on a Dime
One of the reasons I advocate for crinkle foil play is that it is incredibly accessible. You don’t need a designer toy budget to provide a high-end developmental experience. In fact, most of the items you need are likely already in your home or available at your local drugstore for the price of a latte.
| Material Item | Estimated Cost | Why You Need It |
|---|---|---|
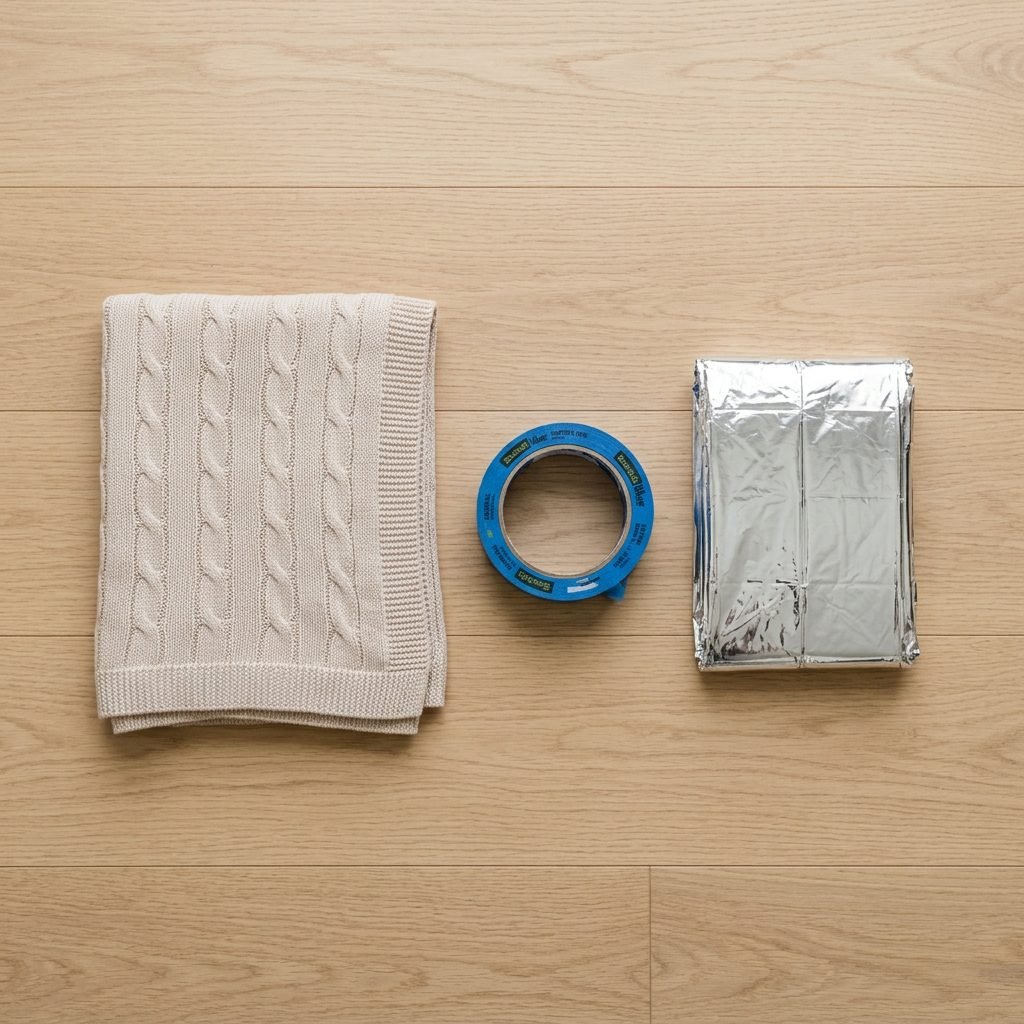
| Mylar Emergency Blanket | $1.50 – $3.00 | The ‘star’ of the show. It’s durable, highly reflective, and makes the best sound. |
| Painter’s Tape or Masking Tape | $2.00 – $4.00 | To secure the foil to the floor or a play mat so it doesn’t slide around. |
| Soft Play Mat or Rug | Free (Existing) | To provide a cushioned surface underneath the foil for comfort. |
| Total Investment | Under $7.00 | A fraction of the cost of ‘smart’ sensory gyms. |
Why Mylar Over Kitchen Foil?
While you can use kitchen aluminum foil, I strongly recommend a Mylar emergency blanket. Kitchen foil can be sharp at the edges, tears easily into small (choking hazard) pieces, and doesn’t have the same longevity. Mylar is a plastic-based film that is much harder for a baby to rip, and it provides a much larger surface area for tummy time or back play.
Step-by-Step Guide to a Safe Sensory Session
Setting the Stage for Success
Setting up this activity is quick, but safety is our number one priority. Follow these steps to ensure your little one has a blast while staying completely safe.
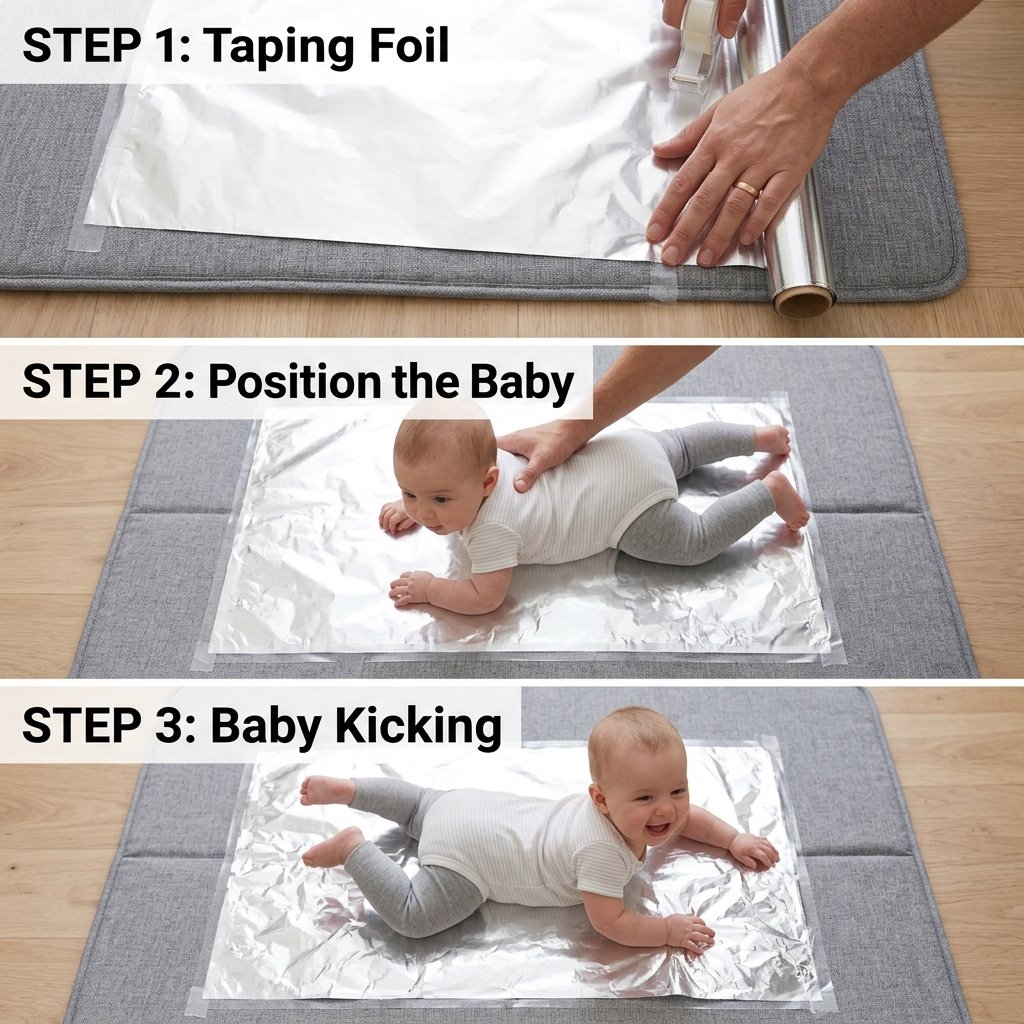
- Clear the Space: Find a flat area on the floor, away from sharp furniture corners. Lay down your soft rug or play mat first.
- Unfold the Mylar: Open the emergency blanket. You likely won’t need the whole thing, so you can fold it to a size that fits your play mat (roughly 3 feet by 3 feet).
- Secure the Edges: This is the most important step! Use painter’s tape to tape down all four edges of the foil to the floor or mat. This prevents the foil from bunching up around the baby’s face.
- The ‘Kick’ Zone: If your baby is on their back, position them so their feet are resting directly on the foil. If they are doing tummy time, place the foil directly under their chest and hands.
- Supervise Closely: Never leave a baby unattended with foil. While Mylar is durable, we must always be present to ensure they don’t pull it up or get overstimulated.
Pro-Tip: The ‘Tied-to-the-Toes’ Method
For babies who are particularly active kickers, you can cut a small strip of the Mylar and loosely (very loosely!) loop it around their ankles. As they kick, the foil dances and crinkles. This is a fantastic way to encourage leg strength and body awareness.
“Watch their eyes light up the moment they realize their own feet are making that wonderful noise. It’s pure magic!”
Developmental Milestones Targeted by Crinkle Play
More Than Just a Pretty Shine
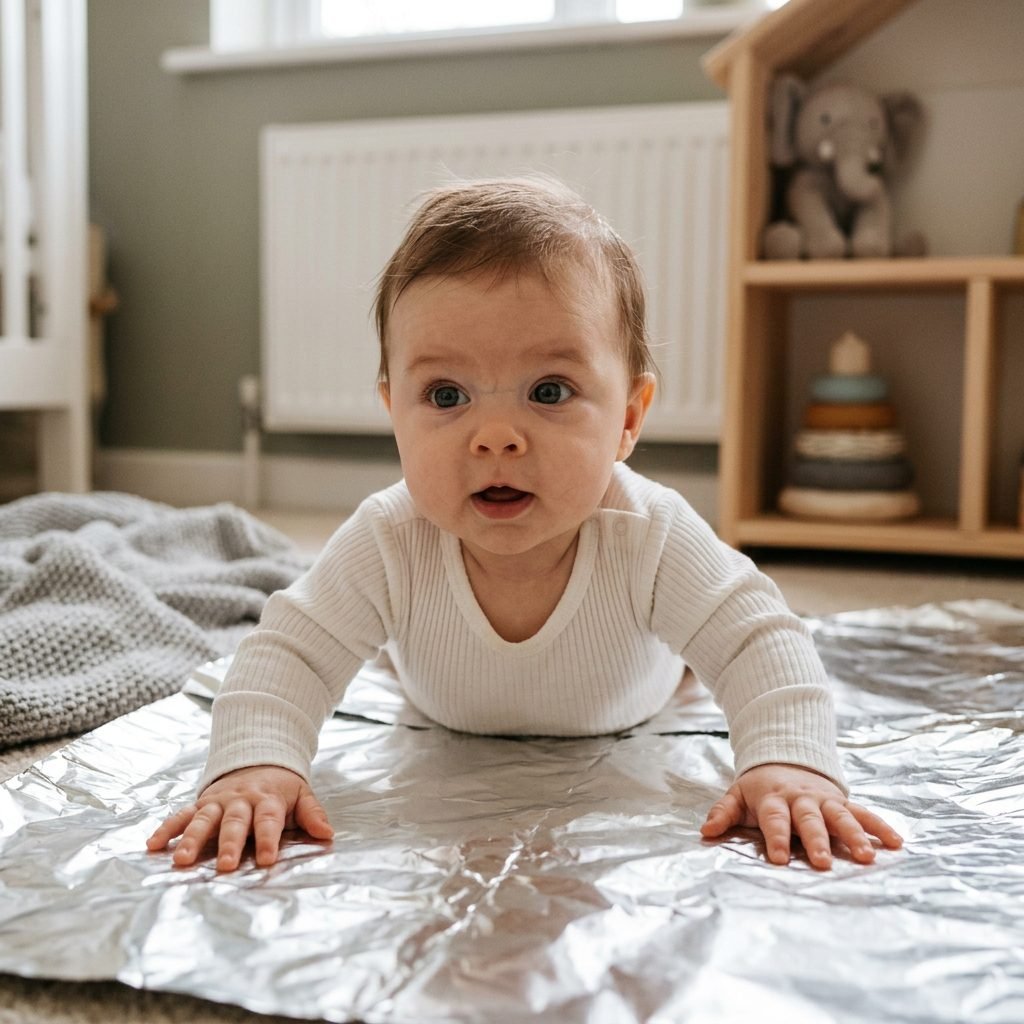
While it looks like simple fun, your baby is actually hitting several key developmental milestones during their 15-20 minute foil session. As a doula, I love activities that ‘stack’ benefits.
- Gross Motor Skills: Kicking against the resistance of the floor and the foil builds core and leg strength, which are essential precursors to rolling and crawling.
- Fine Motor Skills: Reaching out to ‘scrunch’ the foil helps develop the palmar grasp.
- Visual Tracking: As the light reflects off the moving foil, your baby practices following the light with their eyes without moving their whole head.
- Proprioception: This is the sense of where one’s body is in space. Feeling the foil under their heels helps them ‘find’ their feet.
Tummy Time Transformation
Is your baby a tummy-time hater? You are not alone! Many 3-month-olds find tummy time frustrating. Placing the crinkle foil under them provides a massive distraction. They become so focused on the shiny surface and the sounds of their hands rubbing against it that they often forget they are working hard to lift their heavy heads. It’s a total game-changer for building neck strength.
Managing Overstimulation and Knowing When to Stop

Reading Your Baby’s Cues
Because crinkle foil is so high-intensity (it’s loud, it’s bright, it’s new), it can lead to overstimulation if the session goes on too long. Our goal is happy engagement, not a meltdown.
Signs Your Baby Has Had Enough:
- Turning their head away from the foil (gaze aversion).
- Fussing or crying that doesn’t stop with a position change.
- Jerky, frantic movements.
- Closing their eyes or falling asleep suddenly (a sign of ‘shutting down’ from too much input).
If you see these signs, simply pick them up, move to a quiet, dimly lit room, and offer some skin-to-skin or a feeding. Every baby’s threshold is different. Some might love 20 minutes of foil play, while others are ‘done’ after 5 minutes. Both are perfectly normal!
“Trust your intuition, Mama. You are the world expert on your baby. If they seem over it, they are.”
Styling Your Sensory Space: The Aesthetic Mama’s Guide
Making Sensory Play Look ‘Gram-Worthy’
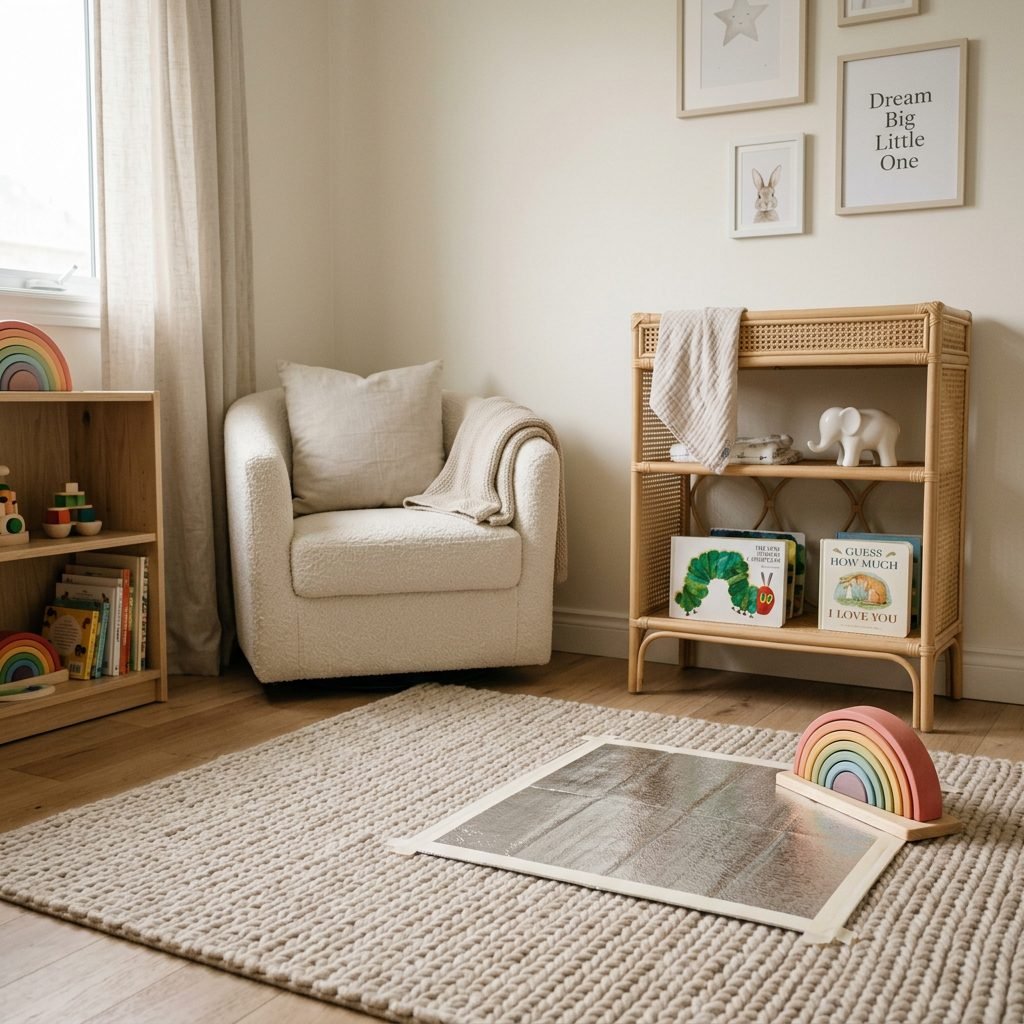
Just because it’s a cheap activity doesn’t mean it can’t look beautiful in your nursery. If you’re like me and appreciate a cohesive aesthetic, here is how to style your crinkle session:
- Neutral Base: Use a cream, oatmeal, or soft grey play mat as your base. The silver foil pops beautifully against neutral tones.
- Natural Light: Set up near a window during the ‘golden hour’ (late afternoon). The way the sun hits the Mylar creates a stunning, ethereal glow that is perfect for those milestone photos.
- Minimalist Toys: Don’t clutter the space. Let the foil be the star. Maybe add one high-contrast wooden toy or a soft linen rattle to the side.
| Style Element | Recommendation |
|---|---|
| Color Palette | Monochrome (Silver, White, Grey) or Earth Tones |
| Photography Angle | Directly overhead (Flat-lay style) |
| Baby’s Outfit | Simple solid-colored onesie (avoid busy patterns) |
By keeping the environment calm and visually organized, you actually help your baby focus better on the sensory task at hand. Less clutter equals less ‘brain noise’ for your little one.
Conclusion
The Joy of Simple Moments
Mama, you don’t need to spend a fortune to be an incredible mother. Your 3-month-old doesn’t need the latest high-tech gadget or a room full of plastic toys. What they need is you, and opportunities to explore this wild, wonderful world at their own pace. Crinkle foil sensory play is a testament to the fact that magic is everywhere—even in a three-dollar emergency blanket.
So, the next time you have a long afternoon ahead and you’re looking for a way to bond and boost those milestones, grab some tape and some foil. Watch your baby’s wonder, celebrate their kicks, and take a deep breath. You are doing a fantastic job, and these little moments of play are the building blocks of a lifetime of learning. Happy crinkling!