Keepsake DIY: How to Make a Stunning Paper-Cut Shadow Box Birth Announcement
Honoring the Threshold of Motherhood Through Art
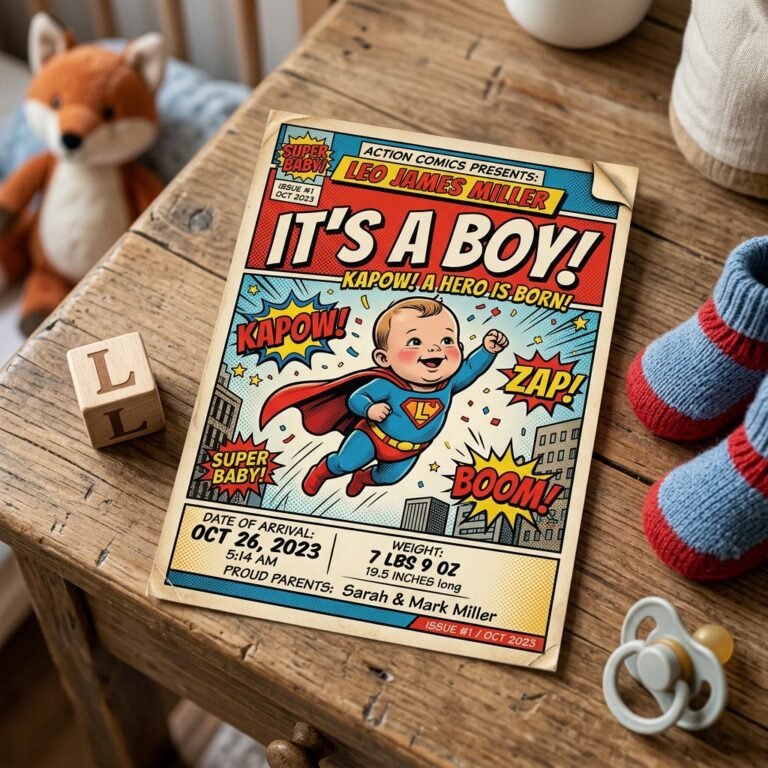
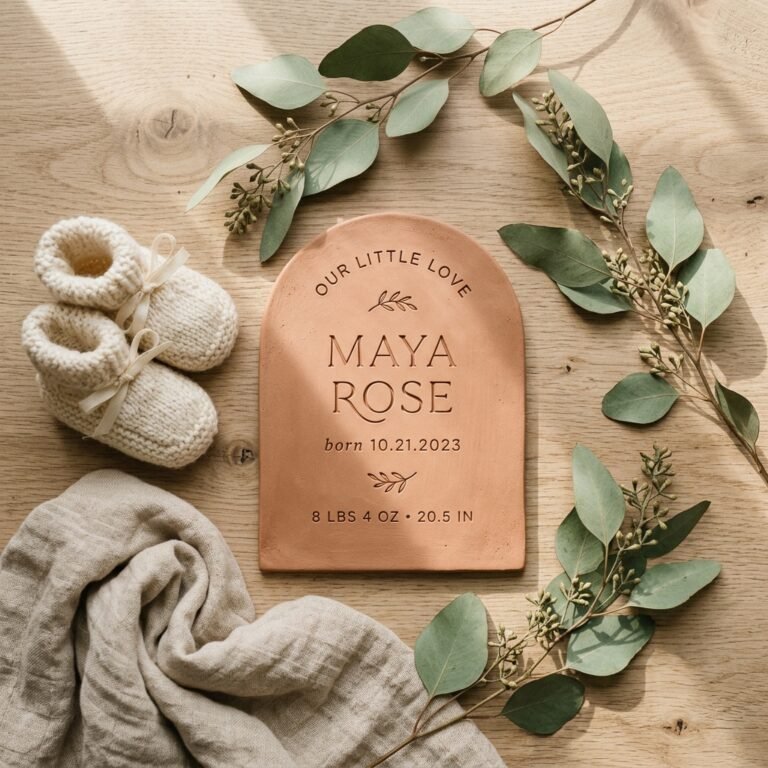
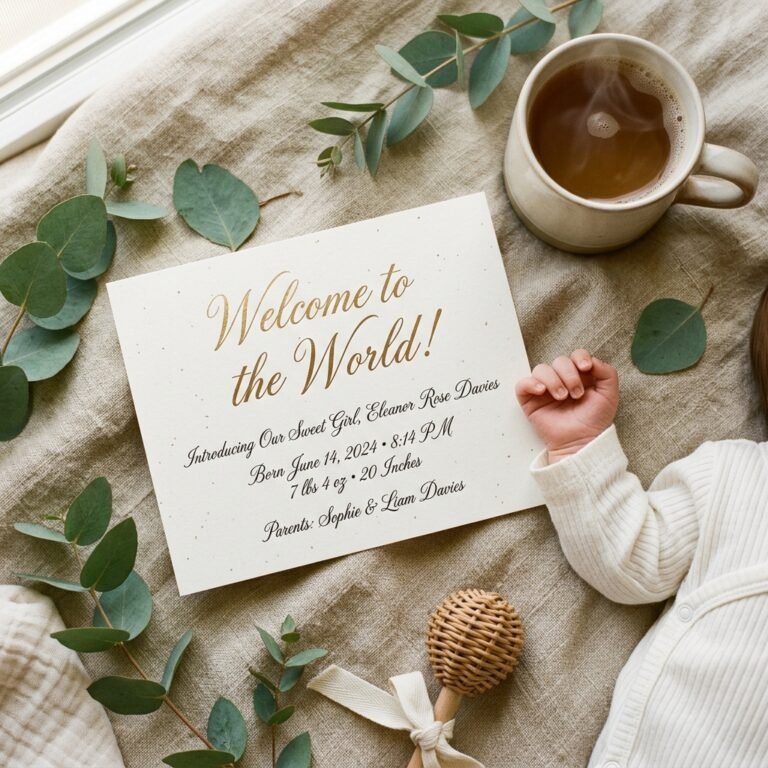
Oh, sweet mama, take a deep breath. Whether you are currently nesting and waiting for your little one’s arrival or you are in those hazy, beautiful first weeks of postpartum, there is a profound magic in the air. As a doula, I often tell my clients that birth isn’t just about the arrival of a baby; it’s about the birth of a mother, too. Those first statistics—the weight, the time, the date—they aren’t just numbers. They are the coordinates of the moment your world changed forever.
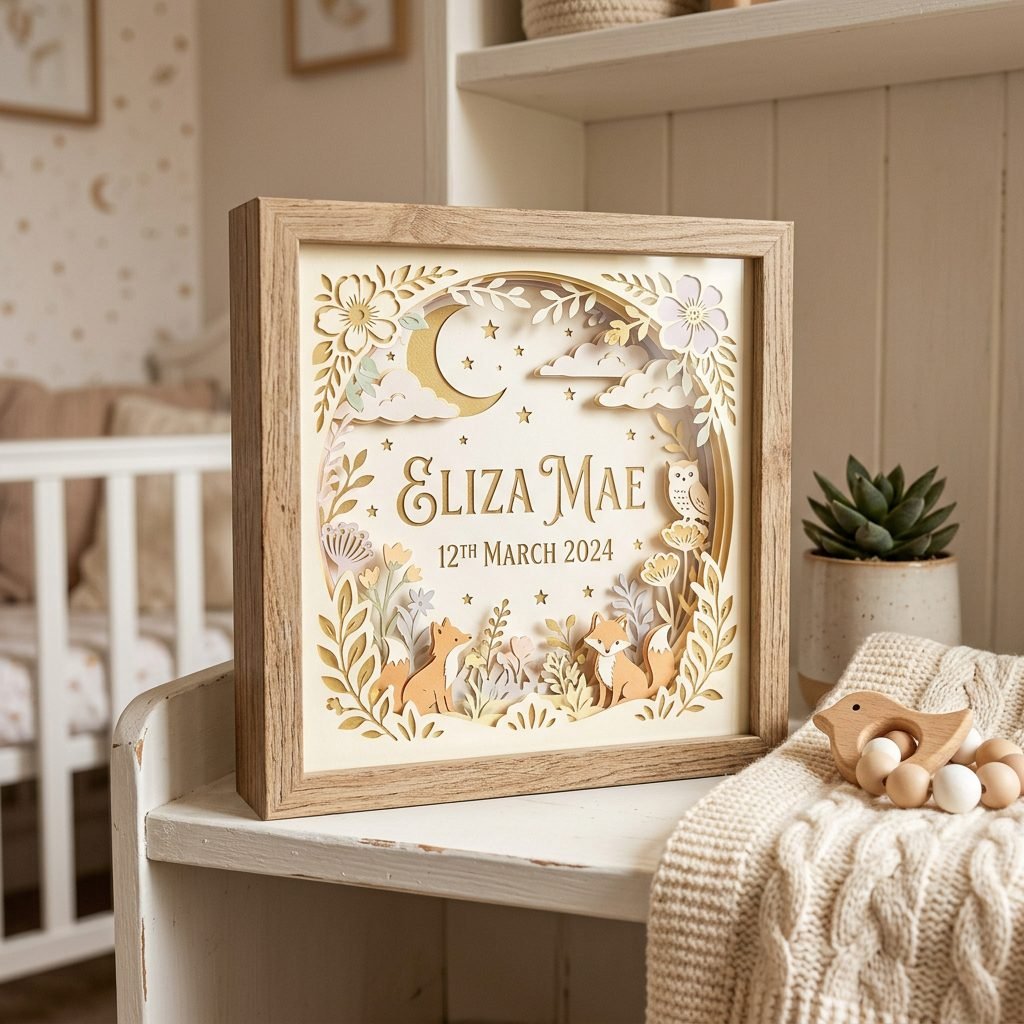
In our fast-paced digital world, it’s so easy for these precious details to get lost in a phone gallery. That’s why I am so passionate about creating a physical touchstone. A paper-cut shadow box is more than just nursery decor; it is a three-dimensional narrative of your baby’s entry into the world. It combines the tactile beauty of high-quality cardstock with the depth of a shadow box, creating a stunning piece of art that catches the light and the heart of everyone who enters the nursery.
In this guide, we are going to walk through this creative process together, step-by-step. We’ll treat this craft like a labor of love—patient, intentional, and ultimately, breathtakingly beautiful. Grab a cup of red raspberry leaf tea (or a decaf latte!), and let’s begin crafting your family’s newest heirloom.
The Anatomy of a Keepsake: Choosing Your Materials
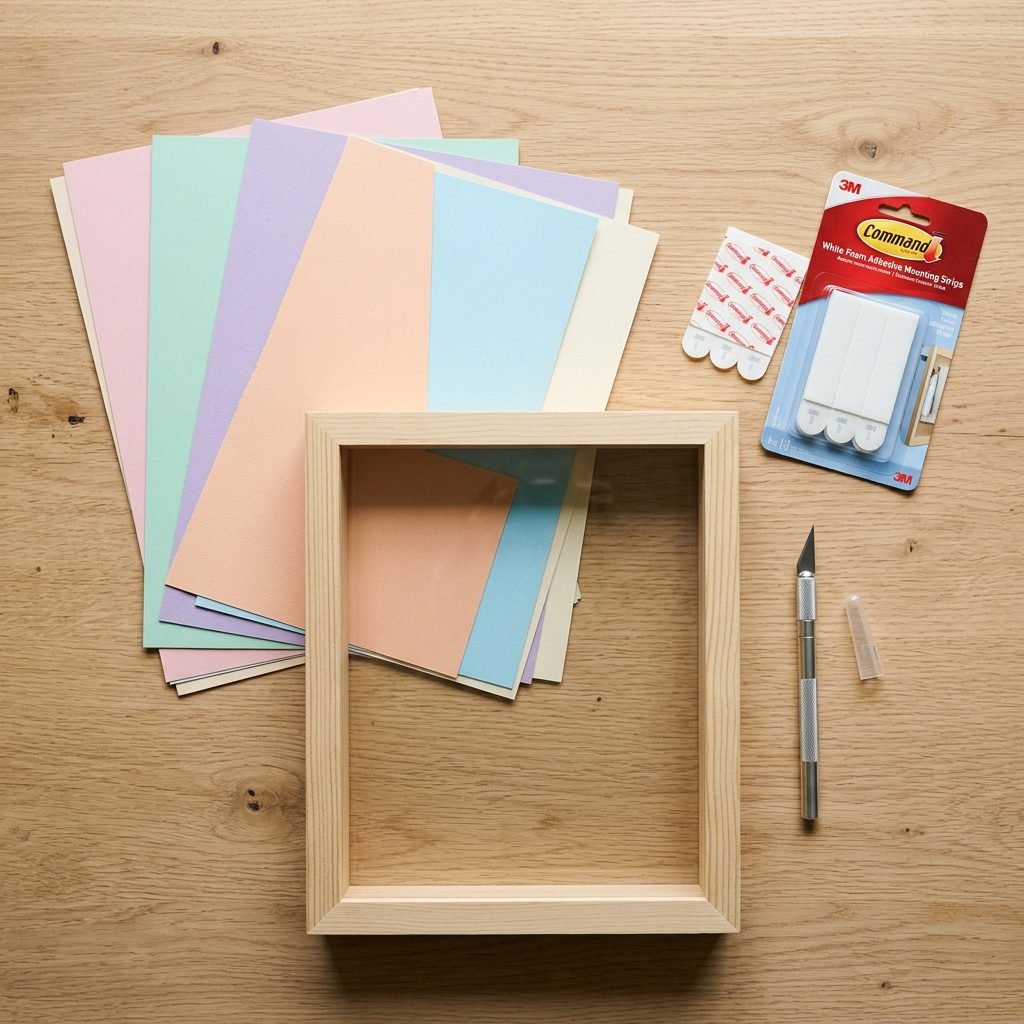
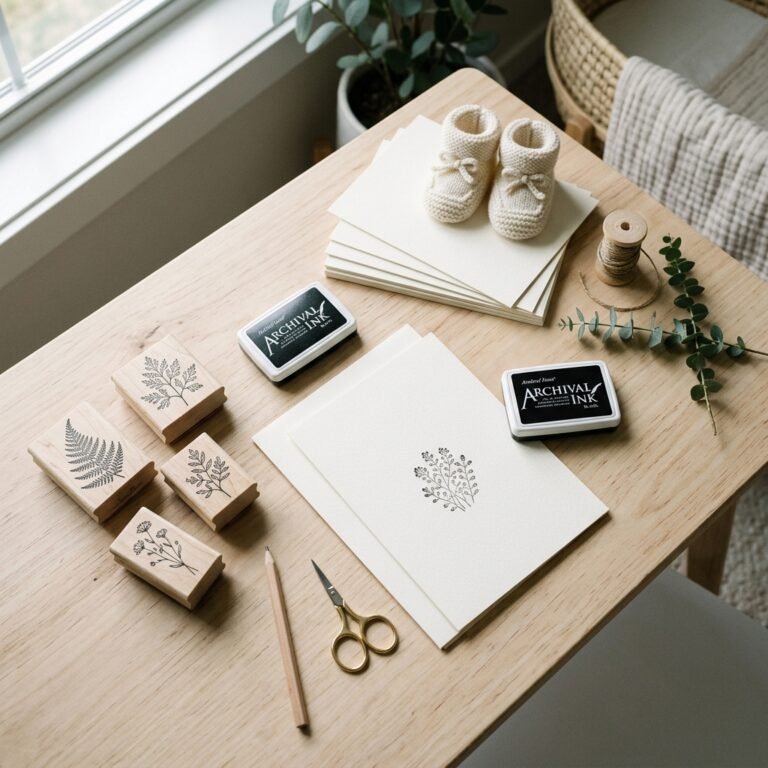
Before we dive into the ‘how-to,’ we need to gather our ‘birth kit’ for crafting. As an interior organizer, I always emphasize that the quality of your materials dictates the longevity of your keepsake. We want archival-quality papers that won’t yellow over time and a frame that protects your hard work from dust and curious little fingers.
The Essential Crafting Supplies
You don’t need to be a professional artist to achieve a high-end look. However, choosing the right weight of paper is crucial. I recommend 65lb to 80lb cardstock. It’s sturdy enough to hold its shape but light enough for intricate cuts. If you have a cutting machine like a Cricut or Silhouette, this project becomes a breeze, but a steady hand and a sharp precision knife work just as beautifully for a more organic, hand-cut feel.
| Material Item | Purpose | Estimated Cost |
|---|---|---|
| Shadow Box Frame (8×8 or 12×12) | Provides depth and protection | $15 – $30 |
| Acid-Free Cardstock (Assorted Colors) | The ‘layers’ of your design | $5 – $10 |
| Foam Adhesive Dots/Tape | Creates the 3D ‘pop’ between layers | $4 – $8 |
| LED Fairy Lights (Battery Operated) | Adds a magical glow to the box | $6 – $12 |
| Precision Craft Knife or Cutting Machine | For intricate designs | $5 – $200 |
“Creating for your baby is a form of meditation. Don’t rush the process; enjoy the feeling of the paper and the quiet focus of the task.”
Designing the Narrative: Themes and Layouts
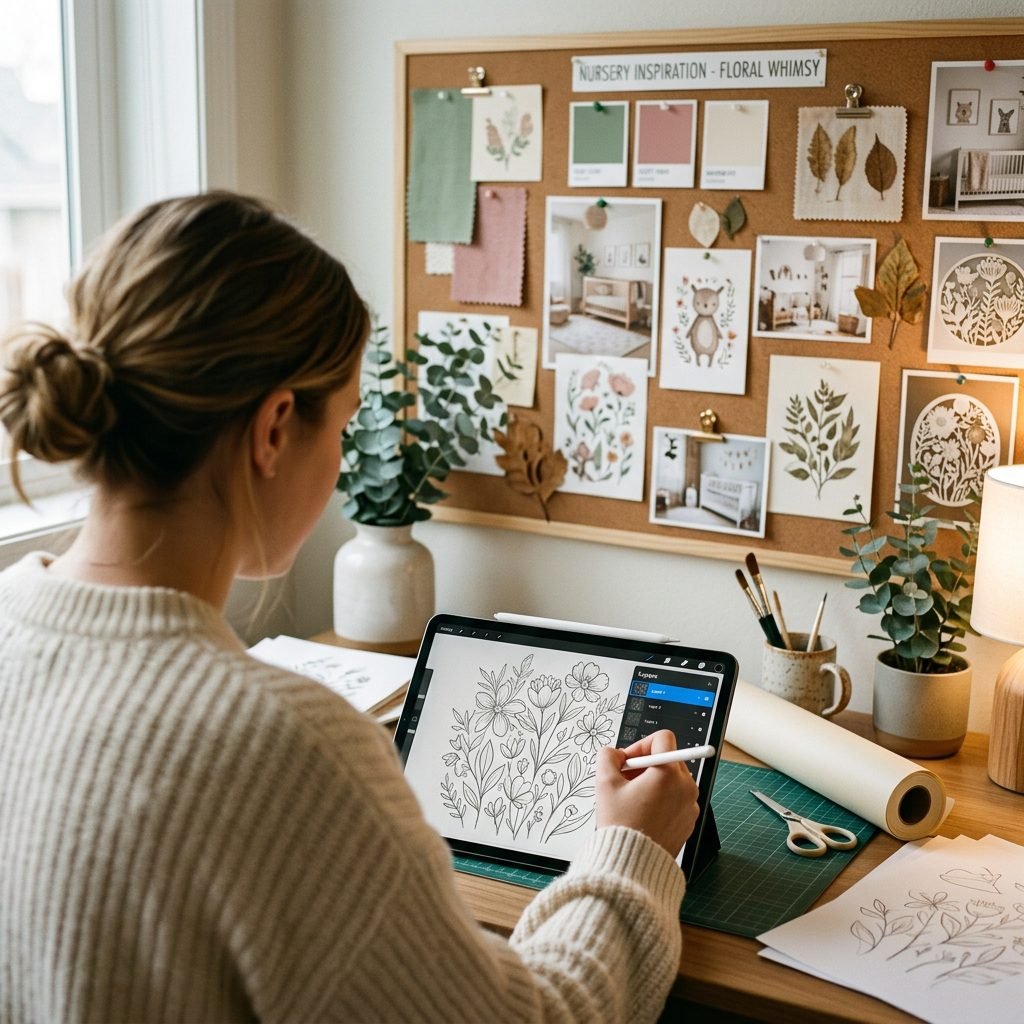
When designing your paper-cut, think about the ‘vibe’ of your nursery. Are you leaning towards a Boho-Chic look with eucalyptus and muted rainbows? Or perhaps a Celestial theme with moons, stars, and deep navy tones? The design should feel like an extension of the love you’ve poured into the room.
What Details to Include
While the baby’s name is the star of the show, the supporting details make it a true announcement. I suggest including:
- Full Name: Often placed in the center or top layer.
- Birth Date: Use a classic font for readability.
- Birth Weight & Length: These tiny numbers become so meaningful as they grow.
- Time of Birth: A small clock icon or simple text adds a lovely touch.
- Location: City and State, or even the coordinates of the hospital/home.
As a stylist, I recommend a ‘sandwich’ approach to color. Use your darkest or most vibrant color for the back layer to provide contrast, and move toward lighter, more delicate shades as you come forward. This mimics the way light naturally filters through a forest or the sky, giving your shadow box an ethereal quality.
Step-by-Step Construction: Bringing the Layers to Life
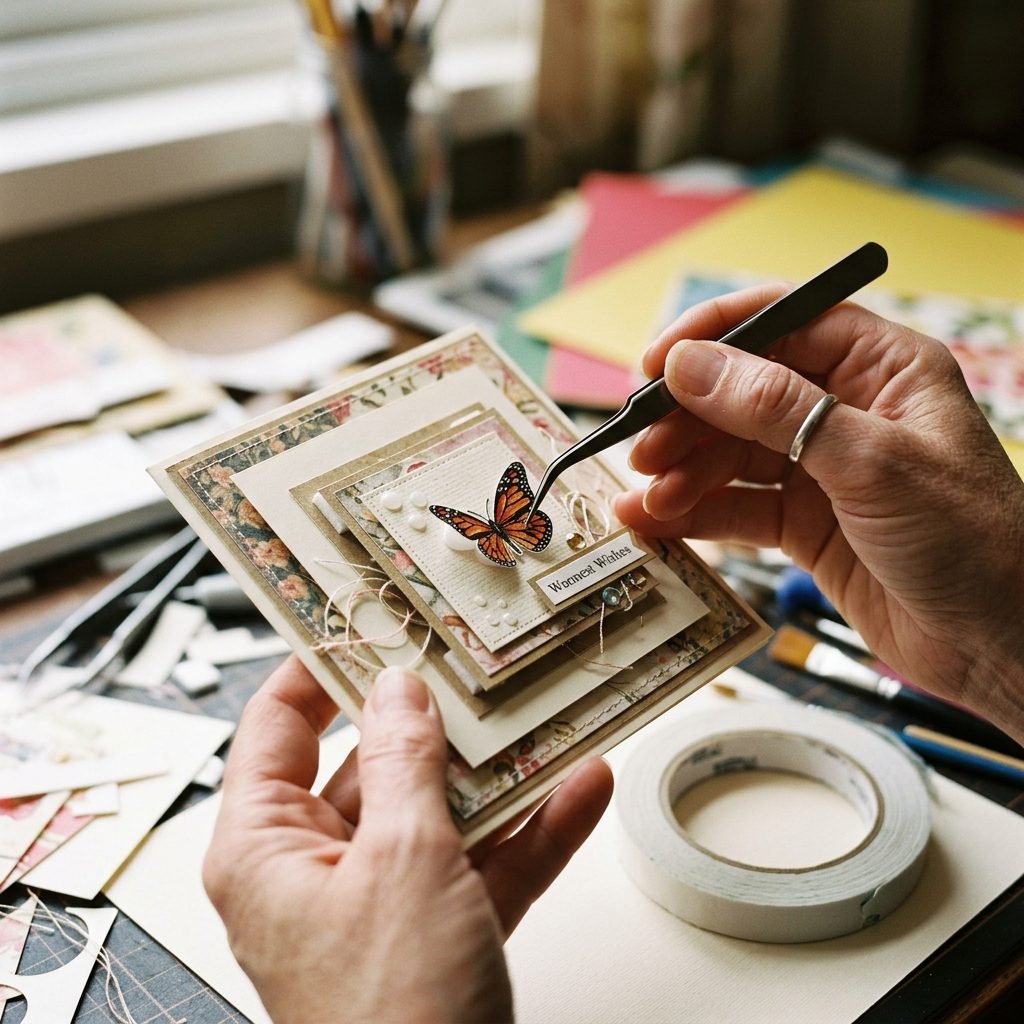
Now we move into the heart of the project. If you are using a cutting machine, you’ll upload your SVG files. If you are hand-cutting, I recommend printing your design onto the back of your cardstock in a light gray ink so you have a guide to follow.
The Assembly Process
- The Foundation: Cut your base layer to the exact size of the shadow box interior. This is usually your ‘background’—perhaps a solid color or a subtle pattern.
- The Middle Layers: These layers usually contain the decorative elements like flowers, mountains, or animals. Each layer should have ‘negative space’ (cut-outs) that allow you to see the color behind it.
- The Information Layer: This is where the name and birth stats live. I often suggest making this the second-to-last layer so it feels protected but prominent.
- The Spacing Secret: This is the most important step! Apply foam adhesive dots to the back of each layer before stacking it onto the one below. For extra depth, double-stack the foam dots on the front-most layers.
- Lighting Integration: Before sealing the back of the frame, coil a thin string of LED fairy lights around the inside edge of the frame. This will illuminate the ‘cavern’ between the paper layers.
Pro-Tip: Use a pair of tweezers to place small, intricate paper pieces. It keeps the oils from your fingers off the paper and ensures perfect alignment!
Personalization: Incorporating Real-Life Mementos
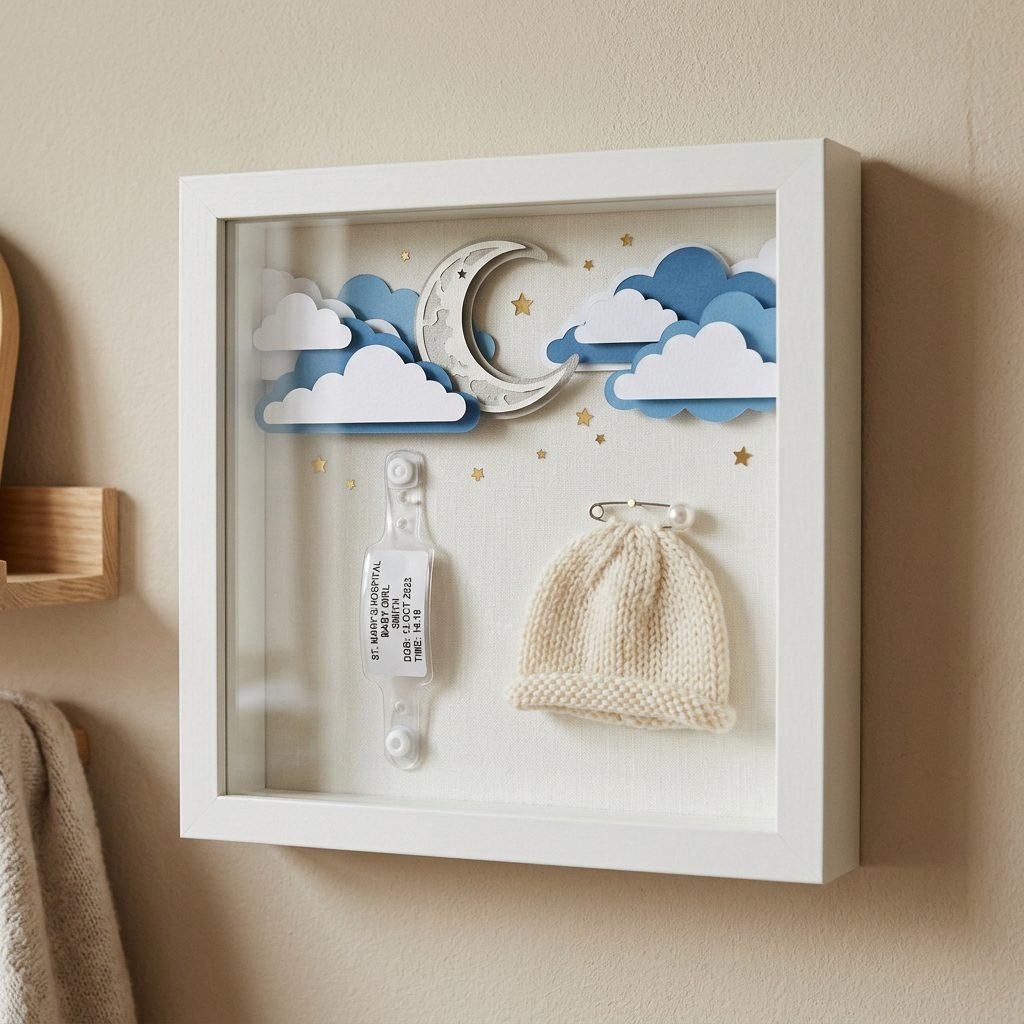
One of the reasons I love shadow boxes as a postpartum nurse is their ability to hold 3D objects that don’t fit in a traditional photo album. This is where the ‘announcement’ becomes a ‘time capsule.’
Items to Nest Inside
Consider leaving a small ‘pocket’ or shelf within your paper design to hold:
- The hospital ID bracelet (sanitized, of course!).
- A dried flower from the first bouquet you received.
- The tiny wooden name sign used in hospital photos.
- A lock of hair from the first haircut (if making this later).
- The umbilical cord clip (for those who find sentimental value in every milestone).
When adding these heavier items, ensure you use a stronger adhesive, like a tiny dab of hot glue or heavy-duty mounting tape, to the back of the shadow box so they don’t shift when the frame is hung on the wall.
Styling and Safety: Placing Your Masterpiece
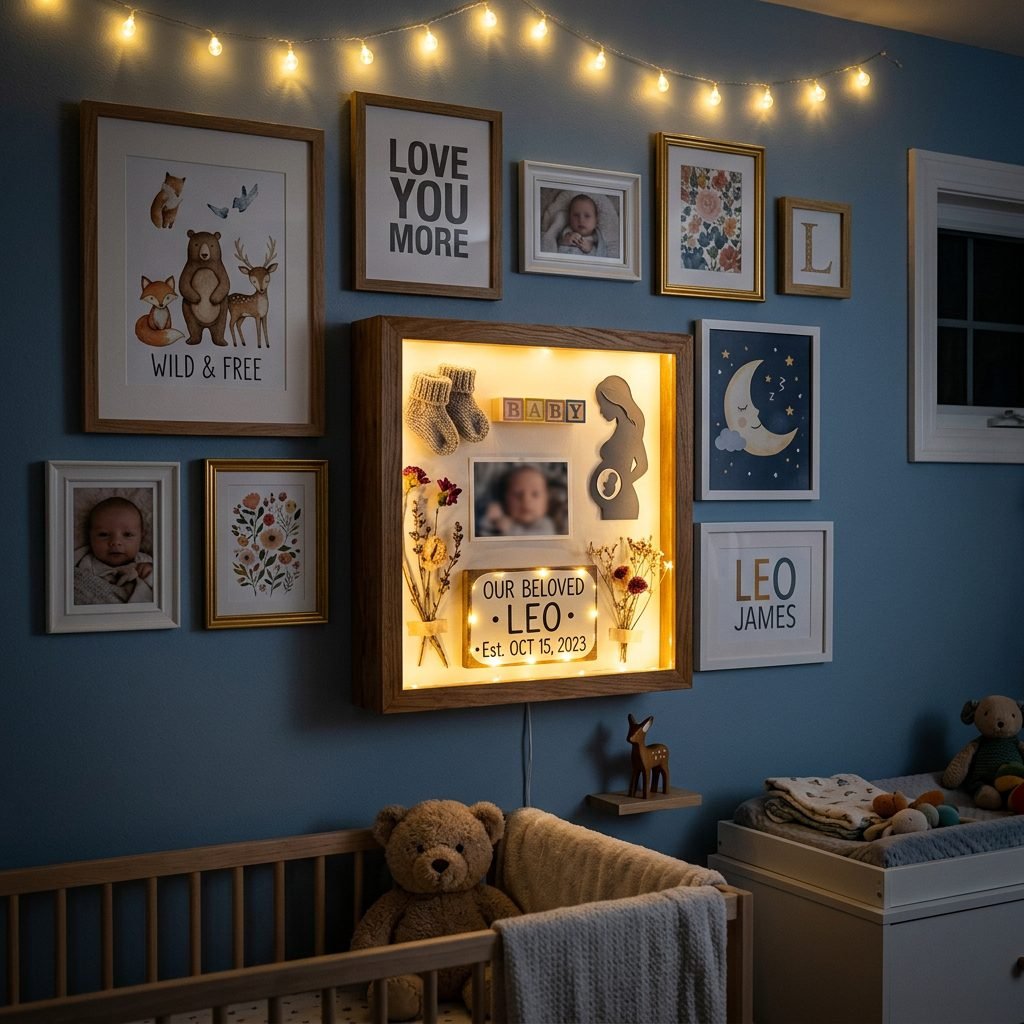
As an interior organizer, I want your hard work to shine! The placement of your shadow box is just as important as the construction. However, we must always prioritize safety in the nursery.
Where to Display
The ideal spot is a floating shelf or a dresser top. If you choose to hang it, ensure it is anchored into a stud. Safety Warning: Never hang heavy frames or shadow boxes directly over the crib. Even the most secure hook can fail, and we want to keep your sleeping babe perfectly safe.
Lighting and Longevity
To prevent the colors from fading, avoid placing the shadow box in direct sunlight. UV rays are the enemy of paper art! If you’ve included LED lights, make sure the battery pack is easily accessible at the back of the frame so you can switch it on during nighttime feedings for a soft, comforting glow that won’t over-stimulate the baby.
Conclusion
A Legacy in Layers
There you have it, mama. You’ve created something truly spectacular. Every time you glance at that shadow box, I want you to remember the strength you showed during labor, the tenderness of those first skin-to-skin snuggles, and the incredible journey you are just beginning.
This paper-cut announcement isn’t just a craft; it’s a celebration of life. As the years go by and your little one grows taller, they will look at this box and see the story of the day they were welcomed into your arms. You are doing an amazing job, and your home is now filled with a little more light and a lot more heart. Happy crafting!