Scratch and Reveal! How to Make DIY Scratch-Off Birth Announcements
The Magic of the First Reveal
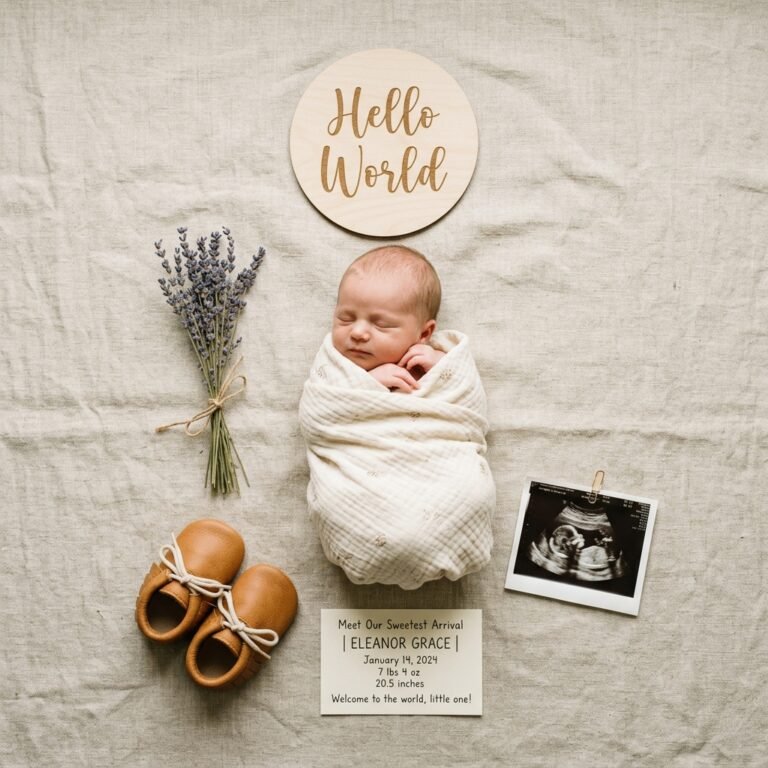
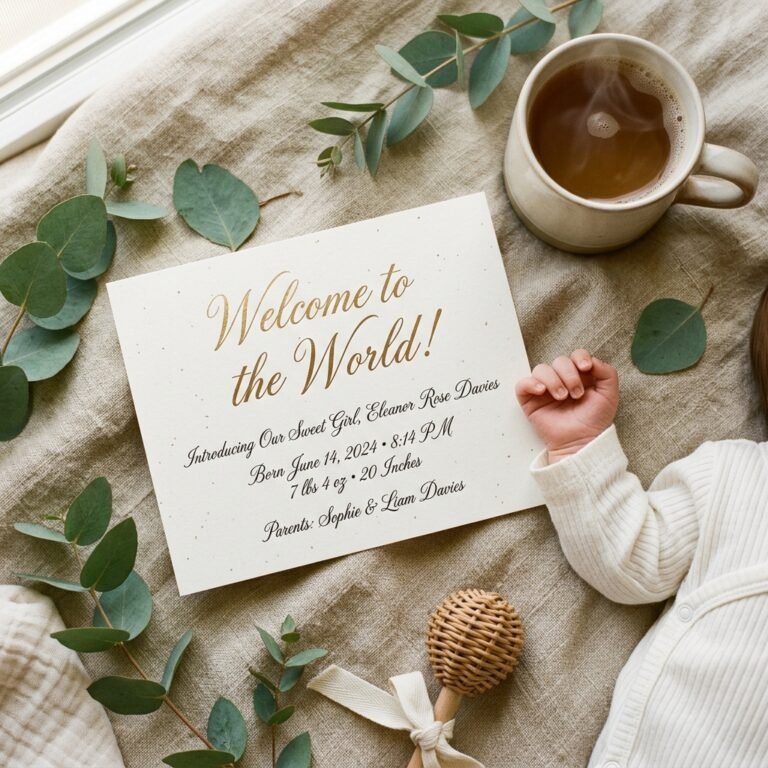
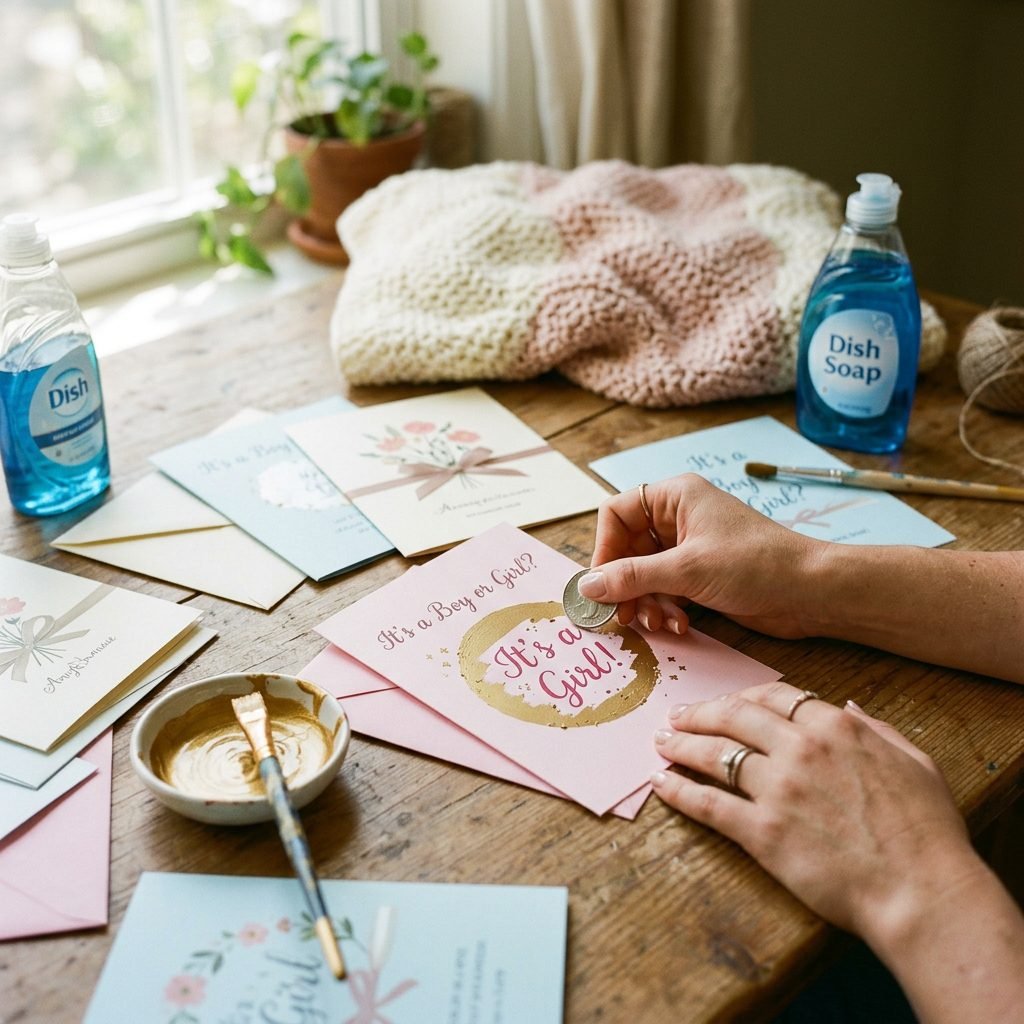
Oh, sweet mama, there is something truly extraordinary about the moment you decide to share your baby’s arrival with the world. After the long nights, the miraculous labor, and the hazy, beautiful first days of postpartum bonding, sending out a birth announcement feels like the final, celebratory ‘ta-da!’ of your pregnancy journey. While digital posts are quick, there is a tactile, nostalgic charm in receiving a physical card in the mail. But why settle for a standard card when you can create an interactive experience? DIY scratch-off birth announcements add a layer of mystery and joy, allowing your loved ones to literally ‘uncover’ the secret of your little one’s name, birth date, or gender.
As a doula and a fellow mom, I know that your time is precious and your ‘baby brain’ might be in full swing. That is why this guide is designed to be as soothing and straightforward as a bedtime lullaby. We are going to walk through this together, step by step, ensuring you have a creative outlet that doesn’t add stress to your postpartum recovery. Whether you are a seasoned crafter or a first-time DIYer, these announcements are a beautiful way to honor your baby’s debut. Let’s get those creative juices flowing and make something your family will cherish forever!
Remember, mama: this project is about celebration, not perfection. Your loved ones will feel the heart you put into every card.
Preparing Your Craft Space and Budgeting
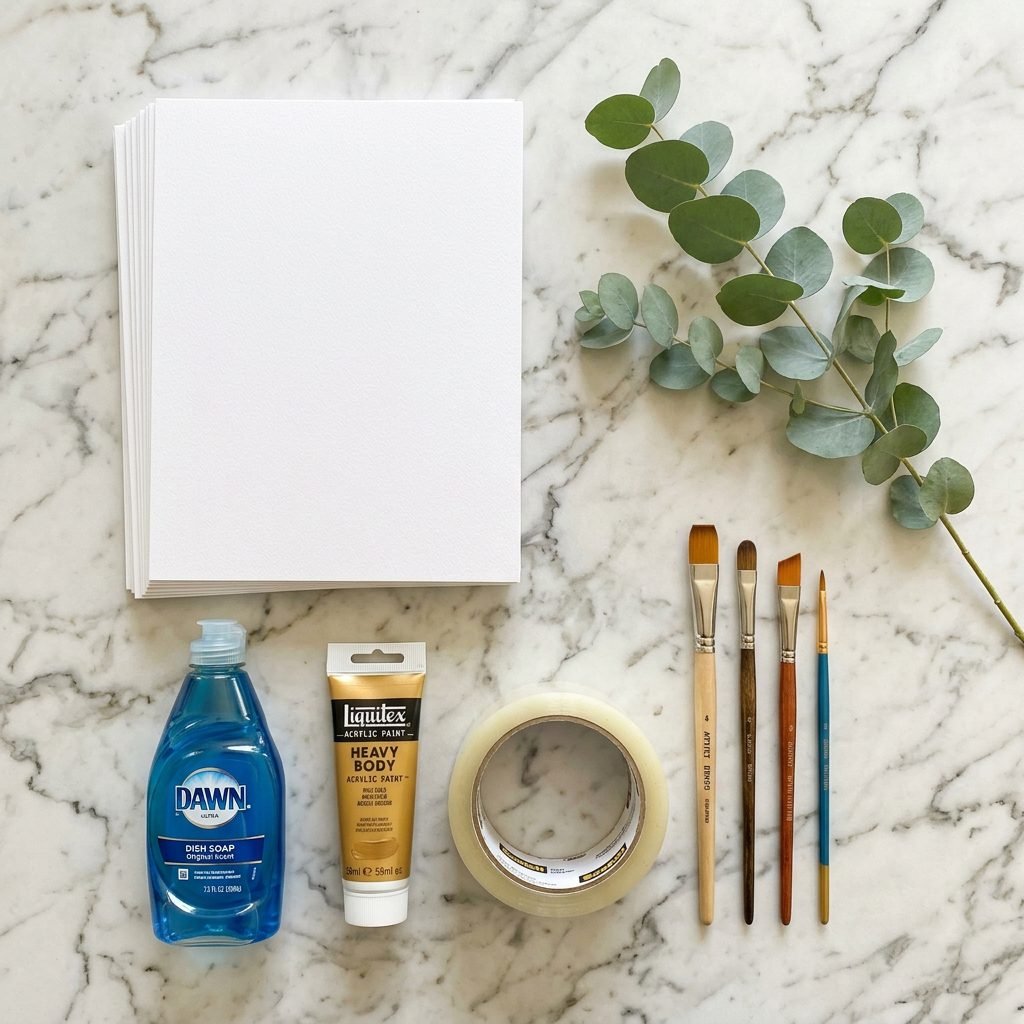
Before we dive into the paint and glitter, let’s get organized. Creating a ‘nest’ for your crafting is just as important as nesting for your baby! Setting up a dedicated space where you can leave your projects to dry safely is key, especially if you have little ones or pets running around. When it comes to materials, you likely already have half of what you need in your kitchen and craft drawer. Our goal is to create high-impact cards on a gentle budget.
Budget Breakdown for 50 Announcements
| Material | Quantity | Estimated Cost |
|---|---|---|
| Heavy Cardstock (80lb – 110lb) | 1 Pack (50 sheets) | $12.00 |
| Metallic Acrylic Paint (Gold/Silver) | 2 oz Bottle | $3.00 |
| Liquid Dish Soap (Clear) | 1 Small Bottle | $1.50 |
| Clear Packing Tape or Contact Paper | 1 Roll | $4.00 |
| Paintbrushes (Soft Bristle) | 1 Set | $5.00 |
| Total Estimated Investment | – | $25.50 |
By DIYing these, you are saving significantly compared to custom boutique printing, which can often cost upwards of $150.00 for a similar quantity. Plus, you get the satisfaction of a handmade touch. When choosing your paint, I highly recommend metallic gold or silver because they offer the best opacity, meaning you won’t need as many layers to hide your secret message.
Designing the Announcement Layout
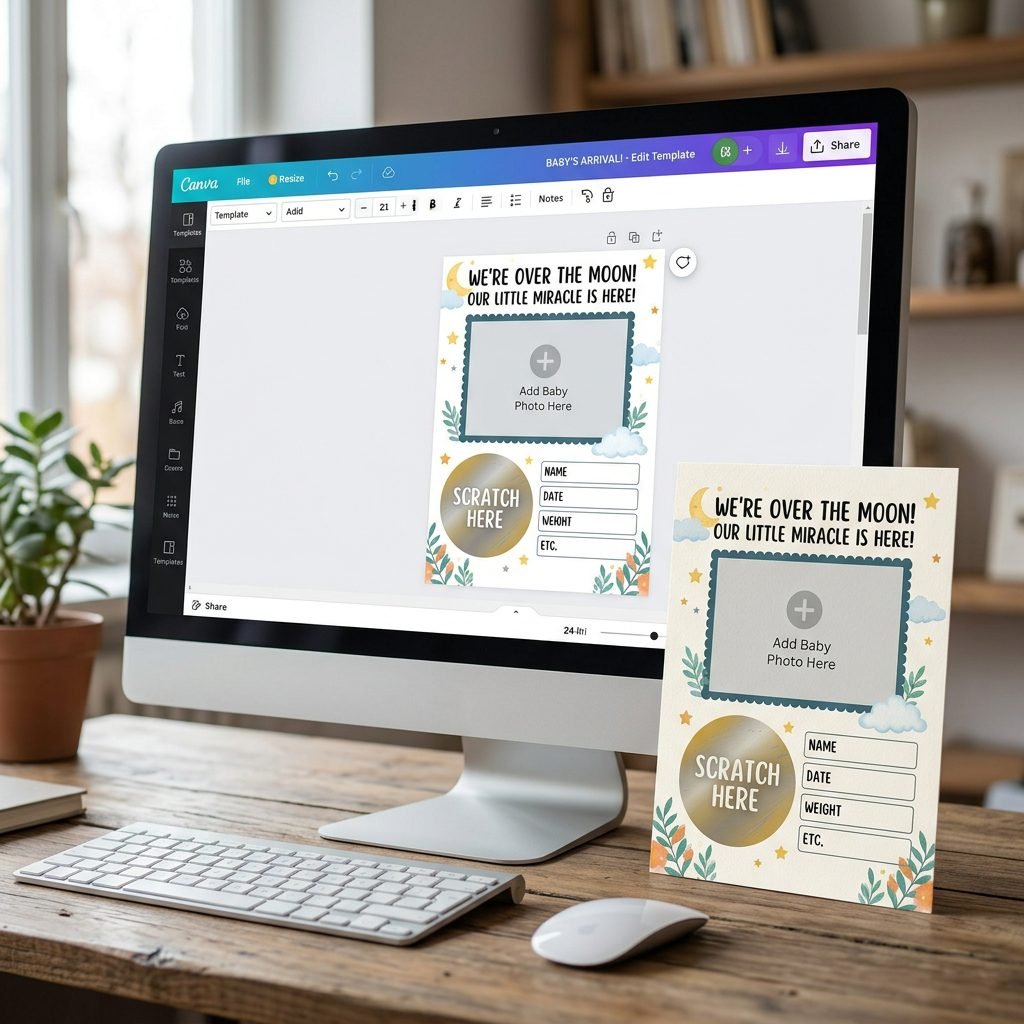
Where to Put the Secret?
The design of your card is the foundation of the reveal. You want the ‘scratch-off’ area to be the focal point. Most moms choose to hide the baby’s name, the birth weight, or the gender if they haven’t announced it yet. If you are tech-savvy, you can use free tools like Canva to design your cards, or if you prefer the ‘slow-living’ approach, hand-stamping each card adds a gorgeous rustic feel.
Design Dos and Don’ts
- DO use a bold, dark font for the text underneath the scratch-off layer so it is easy to read once revealed.
- DON’T place the scratch-off area too close to the edge of the card, as it might peel during mailing.
- DO include a small instruction like ‘Scratch here with a coin!’ so your relatives don’t accidentally miss the fun.
- DON’T use textured cardstock for the scratch-off area; a smooth surface allows the tape and paint to adhere better.
Think about your color palette. Are you leaning toward soft ‘cottagecore’ sage and creams, or a modern, vibrant navy and gold? Whatever you choose, ensure the visual hierarchy guides the eye toward the interactive element. Your baby’s photo is usually the star of the show, so place the scratch-off circle or heart in a balanced position—perhaps in the bottom right corner or centered directly below the photo.
The Secret Formula: Mixing the Scratch-Off Paint
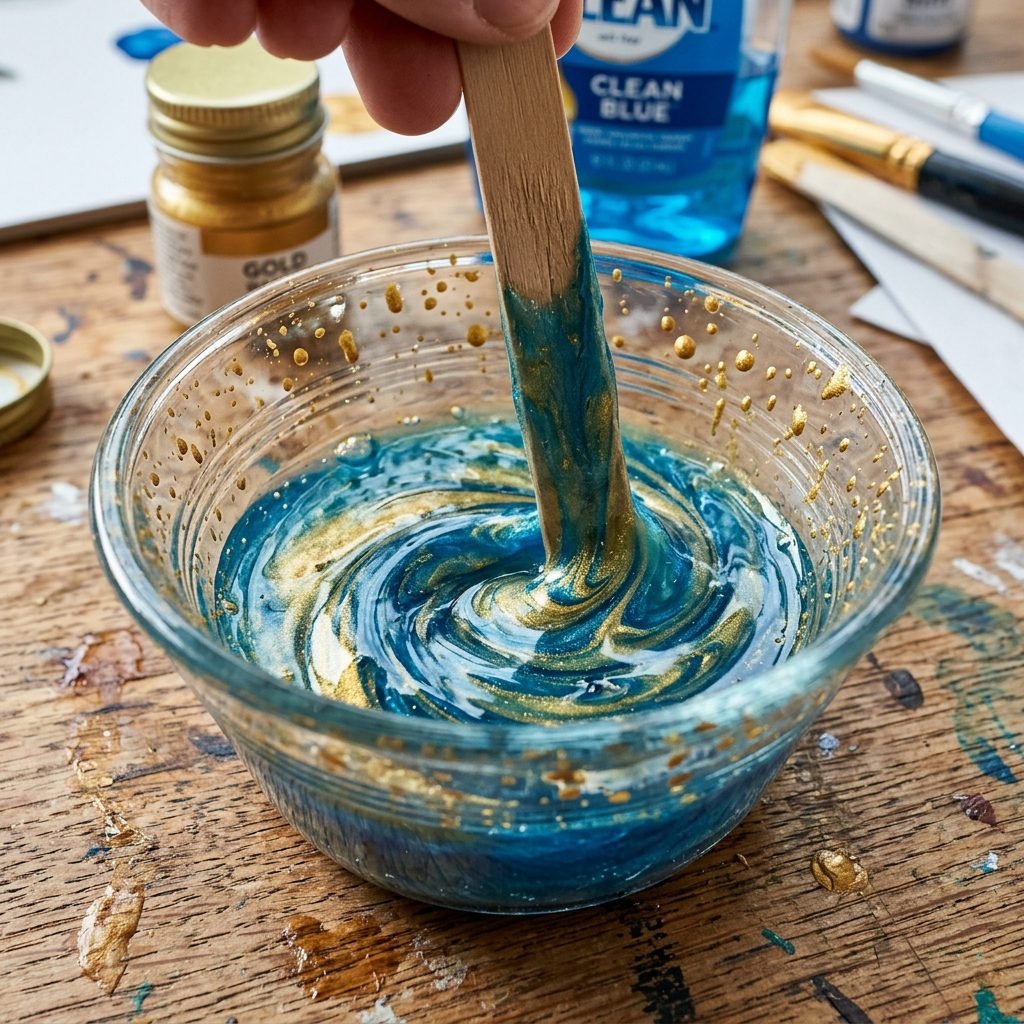
The 2:1 Ratio Rule
This is where the science meets the art! To make the paint ‘scratchable’ without it flaking off prematurely or sticking forever, you need to mix it with a bit of dish soap. The soap breaks the surface tension of the acrylic paint, allowing it to glide off the plastic tape layer when a coin is applied. It is a simple trick, but the proportions matter.
- Measure your paint: Squirt two tablespoons of acrylic paint into a small mixing bowl.
- Add the soap: Add exactly one tablespoon of clear dish soap. Pro-tip: Using clear soap ensures the color of your metallic paint stays true.
- Stir gently: Use a craft stick or a spoon to mix them thoroughly. Avoid whisking too fast, as you don’t want to create air bubbles that will leave tiny holes in your reveal layer.
Affirmation: I am capable of creating beautiful things, even in the midst of motherhood’s beautiful chaos.
The consistency should be creamy and smooth. If it feels too watery, add a tiny bit more paint. If it’s too thick to spread, a drop more soap will do the trick. This mixture is non-toxic, but as always, keep it out of reach of curious toddlers who might think it looks like frosting!
Step-by-Step Construction Guide
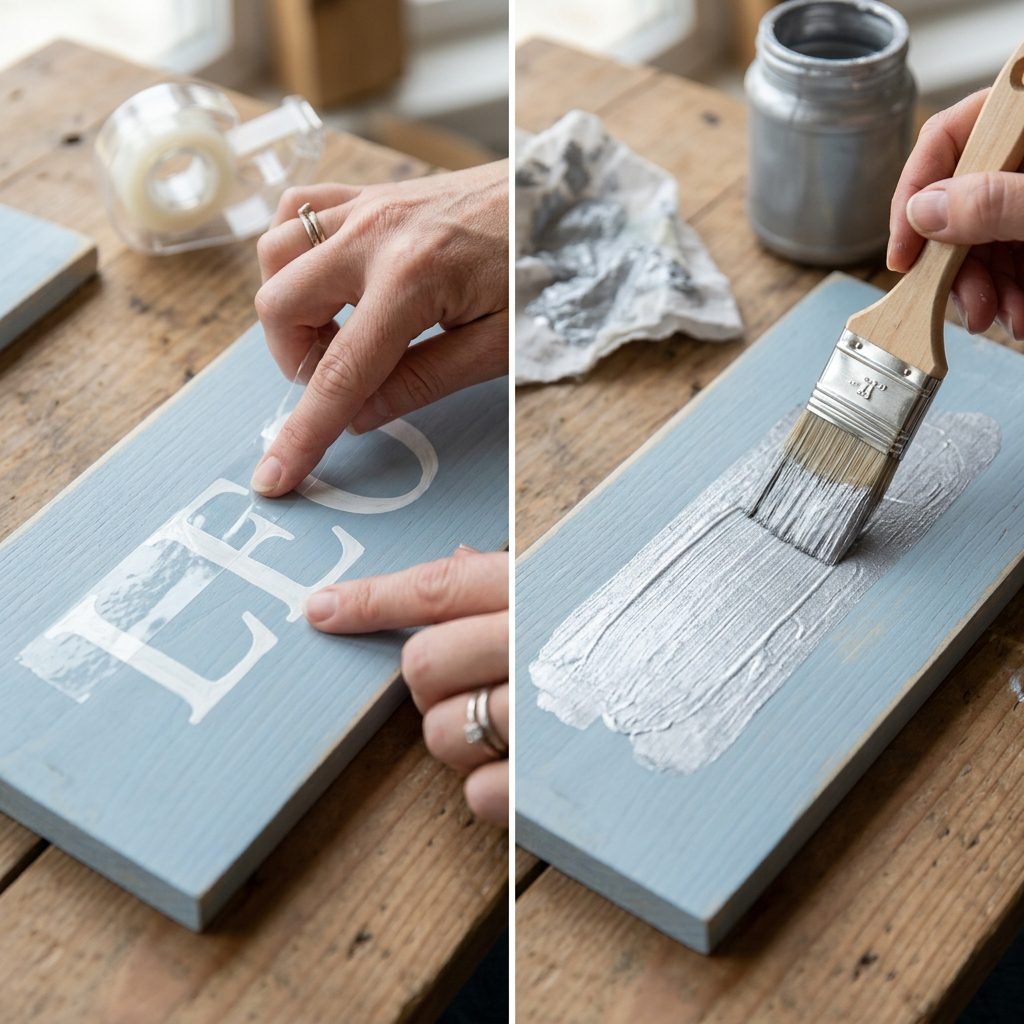
Bringing the Reveal to Life
Now that your cards are printed and your paint is mixed, it’s time for the assembly line. This is a great activity to do while listening to your favorite parenting podcast or while the baby is napping. Follow these steps carefully to ensure a professional finish.
- The Barrier Layer: Cut a piece of clear packing tape or clear contact paper slightly larger than the text you want to hide. Carefully press it over the ‘secret’ text on your printed card. Smooth out any bubbles with a credit card. This layer is vital; without it, the paint will soak into the paper and won’t scratch off!
- The First Coat: Dip your brush into the paint/soap mixture and apply a thin, even layer over the tape. Don’t worry if you can still see the text underneath—the first layer is always a bit translucent.
- The Drying Phase: Let the first coat dry completely for at least 30 to 45 minutes. Patience is a virtue here, mama!
- The Second (and Third) Coat: Apply a second coat in the opposite direction of the first. This ensures full coverage. If you can still see the text when held up to a bright light, add a third thin coat.
- Final Cure: Let the cards dry overnight before stacking them. This prevents them from sticking together in the envelope.
| Phase | Action | Wait Time |
|---|---|---|
| Layer 1 | Thin application | 45 mins |
| Layer 2 | Cross-hatch application | 1 hour |
| Final Cure | Resting in a cool place | 12 hours |
Troubleshooting and Pro-Tips
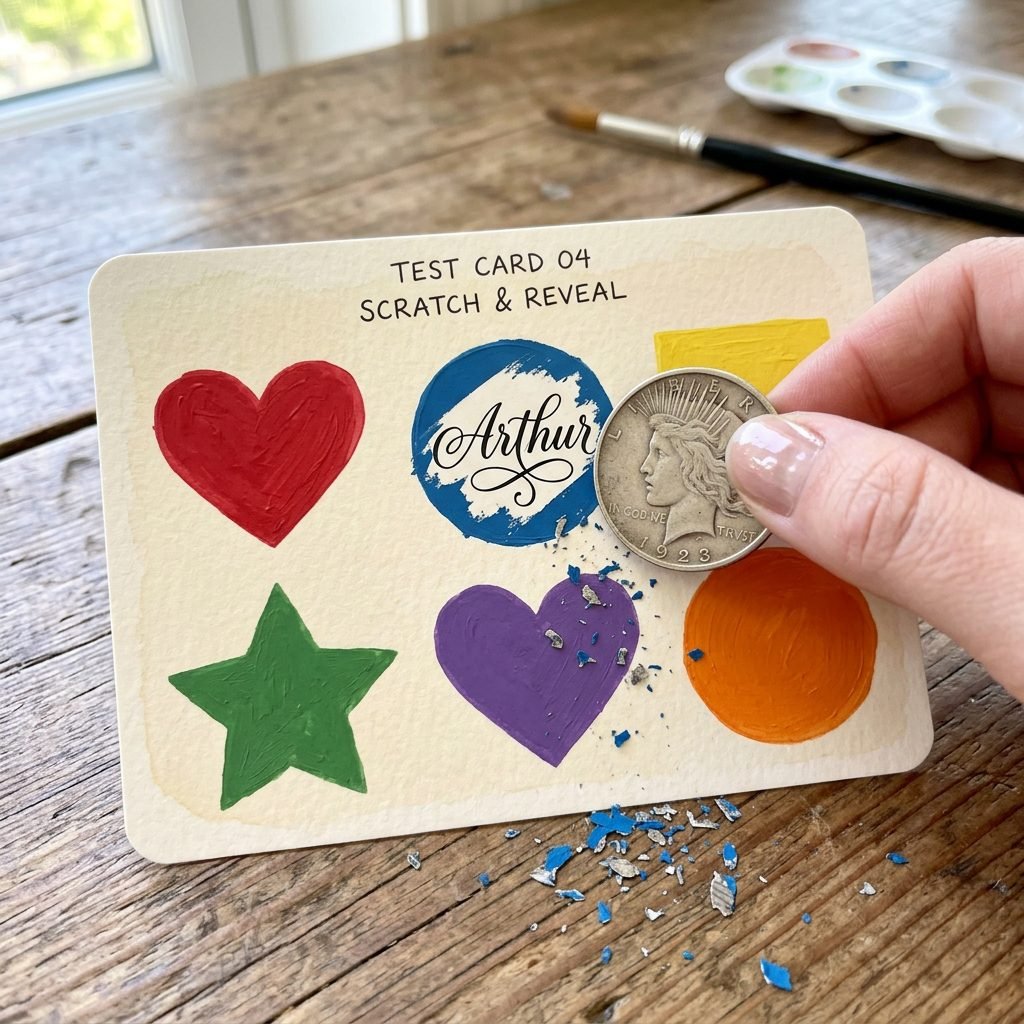
What if it Doesn’t Scratch?
Even the best doulas and crafters run into hiccups! If you find that your paint is peeling off in one big sheet rather than scratching off in flakes, your paint-to-soap ratio might be slightly off (too much soap). If it’s too hard to scratch, you might have skipped the tape layer or used a paint that is too ‘heavy-duty’ for this project. Always do a test card first!
Expert Tips for a Polished Look
- Shape it up: Instead of just a circle, use a heart-shaped hole punch on contact paper to create a stencil for your paint.
- Add Sparkle: While the paint is still wet, you can lightly dust a tiny bit of fine glitter on top for an extra ‘magical’ feel.
- The Coin Trick: Tape a shiny new penny to the outside of the envelope or include it inside a small vellum bag so your recipient has the tool they need ready to go.
If you are worried about the paint smudging during the mailing process, place a small piece of tissue paper or vellum over the scratch-off area before sliding it into the envelope. This acts as a protective buffer against the friction of the postal sorting machines.
Mailing and Presentation
The Final Touch
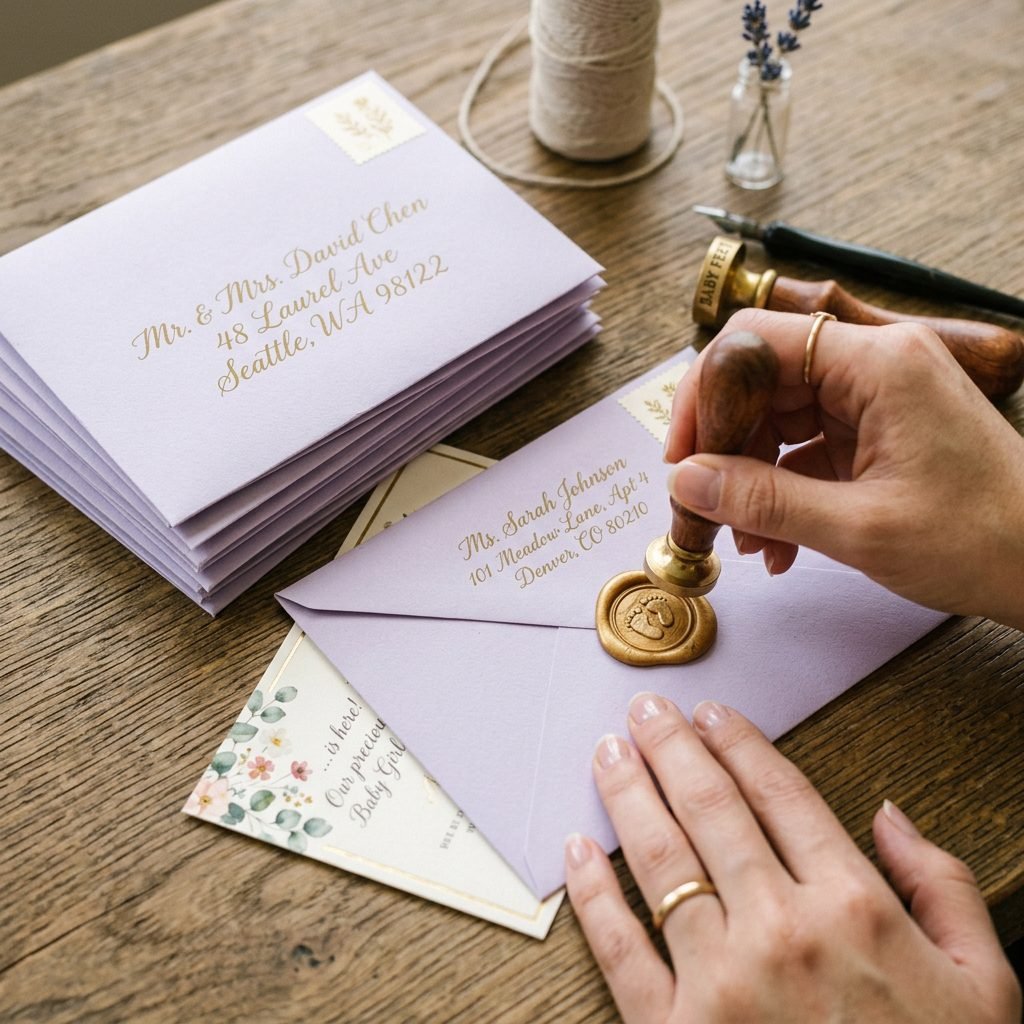
Your announcements are finished! Now, let’s talk about the ‘unboxing’ experience for your friends and family. The envelope is the first thing they see. Consider using a wax seal or a custom ‘Baby Mail’ stamp to set the tone. Since these cards have a bit of extra weight due to the tape and paint layers, it is always a good idea to take one completed card to the post office to check if it requires a non-machinable stamp.
Affirmation: I am sharing my joy with the world, and that joy is infectious.
When your loved ones receive these, they won’t just see a photo; they will participate in the excitement of your baby’s arrival. It creates a ‘moment’ in their day—a pause to celebrate the new life you have brought into the world. You might even want to ask them to film their ‘reveal’ and send it to you! It’s a wonderful way to feel connected to your community during the postpartum period when you might be staying close to home.
Conclusion
A Labor of Love
Mama, you did it! You’ve taken a simple idea and turned it into a tangible memory. These DIY scratch-off birth announcements are more than just paper and paint; they are a reflection of the love and creativity you are already pouring into your new role. Whether you made ten or a hundred, each one carries the story of your baby’s beginning.
As you move forward into this new chapter, remember to give yourself grace. Some days will be for crafting and ‘doing,’ and other days will be for simply ‘being’ with your little one. Both are equally important. I hope this project brought a little spark of joy to your postpartum days. Congratulations on your new addition, and may your days be filled with many more beautiful reveals!