Pop Art Birth Announcement: Fun and Colorful Card Ideas for Cool Parents
Welcome to the Bright Side of Parenting, Mama!
Let’s be honest for a second: the world of baby announcements can sometimes feel like a sea of muted sage green, soft beige, and delicate watercolors. And while those are beautiful and serene, maybe they just don’t quite capture the explosion of joy and the high-energy ‘POW!’ that your little one has brought into your life. If you’re a parent who leans more toward Andy Warhol than antique lace, or if your home is filled with bold graphics and vibrant energy, then a Pop Art birth announcement is your perfect match.
As your doula and creative companion, I’ve seen how the postpartum period can be a whirlwind of emotions. Sometimes, leaning into a fun, creative project like this can be a wonderful way to ground yourself and celebrate your new identity as a ‘cool parent.’ Pop Art is all about accessibility, irony, and—most importantly—fun. It’s a style that says, ‘We’re tired, we’re happy, and our baby is a masterpiece!’ In this guide, we’re going to dive deep into how to channel your inner Roy Lichtenstein or Keith Haring to create a birth announcement that will stay on your friends’ refrigerators for years to come.
Remember, mama: your birth story is a work of art, and your announcement should be the bold, colorful frame that showcases it to the world.
The Anatomy of a Pop Art Masterpiece
What Makes it ‘Pop’?
Before we start designing, we need to understand the visual language of Pop Art. This movement emerged in the 1950s and 60s, challenging traditional fine art by using imagery from popular culture—think comic books, advertisements, and everyday objects. For your baby announcement, we want to borrow those iconic elements to create something high-impact.
Key Design Elements to Include:
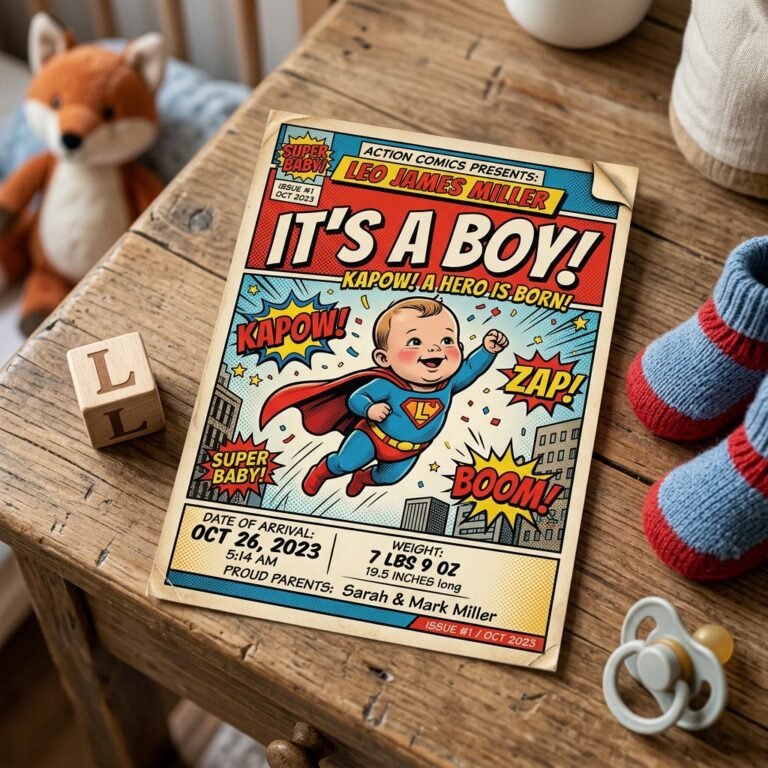
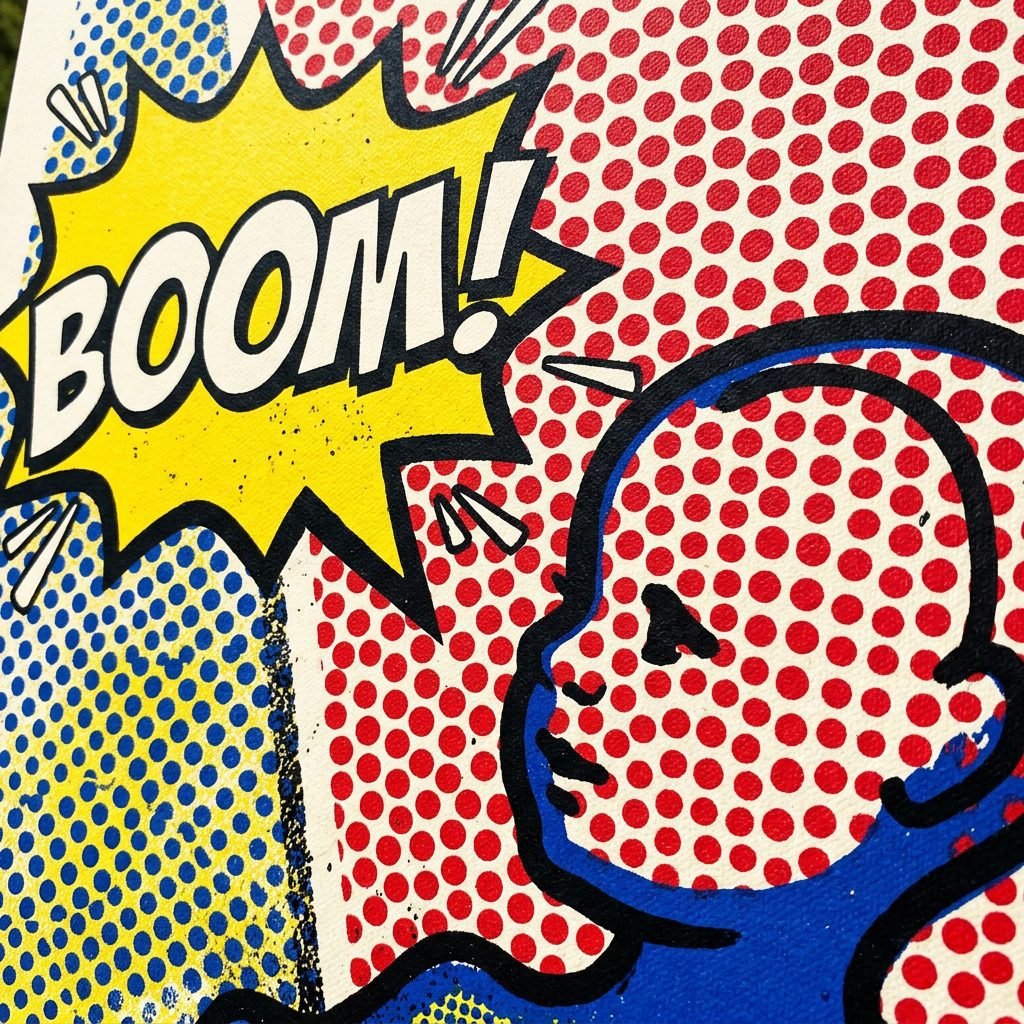
- Ben-Day Dots: Those tiny, uniform dots used in old-school comic book printing. They add texture and that unmistakable vintage ‘printed’ look.
- Saturated Primary Colors: Think bold reds, vibrant yellows, and deep blues. Don’t be afraid of high contrast!
- Thick Black Outlines: Everything should feel defined and graphic. This isn’t the place for soft, blurry edges.
- Action Words and Speech Bubbles: Use ‘BAM!’, ‘ZAP!’, or ‘NEW!’ in stylized bubbles to announce your baby’s arrival.
- Halftone Patterns: Similar to dots, these create gradients that feel mechanical and cool.
By focusing on these elements, you transform a standard newborn photo into a piece of gallery-worthy art. It’s a stylish way to bridge the gap between ‘nursery-appropriate’ and ‘modern-art-gallery-chic.’
DIY Tutorial: Crafting Your Comic-Book Announcement
Step-by-Step to ‘POW!’
You don’t need to be a professional graphic designer to pull this off. With the right tools and a little bit of ‘nap-time energy,’ you can create a stunning DIY announcement. Here is how we do it, step-by-step.
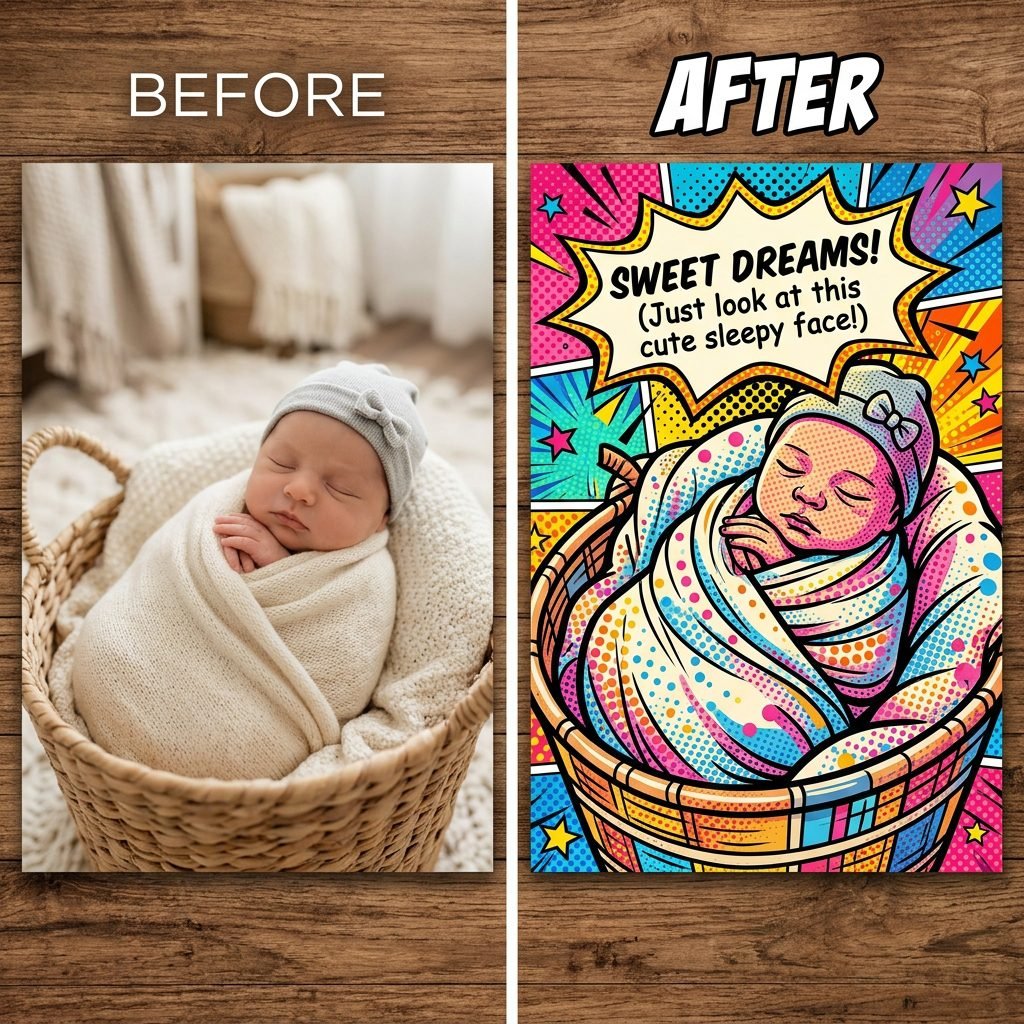
- Select the Perfect Photo: Choose a photo of your baby with a clear expression. A yawn can become a ‘ROAR!’, a cry can become a ‘SQUAWK!’, and a smile is a classic ‘HELLO!’. High-contrast photos work best.
- Remove the Background: Use a tool like Canva or Remove.bg to strip away the nursery background. We want the focus entirely on your little superhero.
- Apply a Posterize or Halftone Filter: Many photo editing apps (like BeFunky or Photoshop Express) have ‘Pop Art’ or ‘Comic’ filters. This will flatten the colors and add those iconic dots.
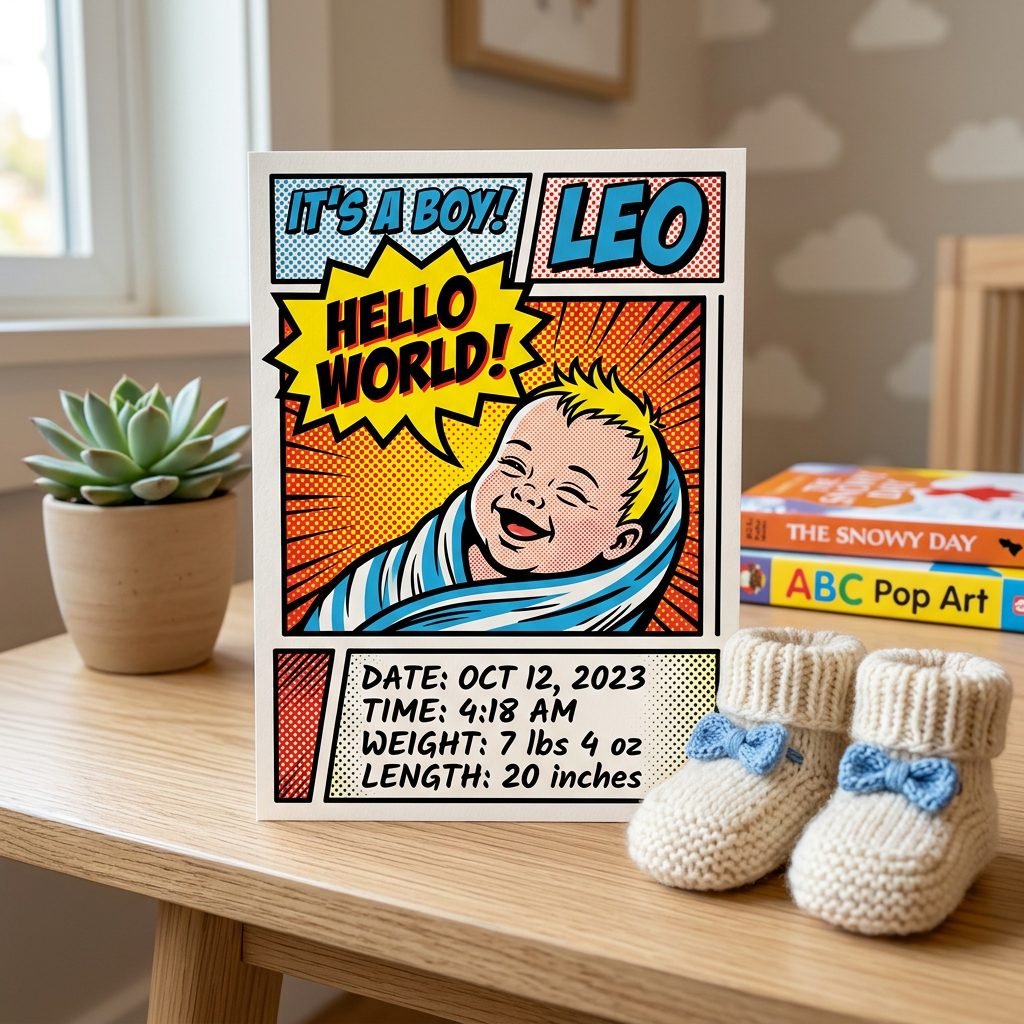
- Add Your Graphic Overlays: Place a large speech bubble near the baby’s mouth. Add ‘burst’ shapes behind the baby’s head to create a sense of ‘Arrival.’
- Choose Bold Typography: Use fonts like ‘Bangers,’ ‘Luckiest Guy,’ or ‘Comic Sans’ (yes, it actually works here!).
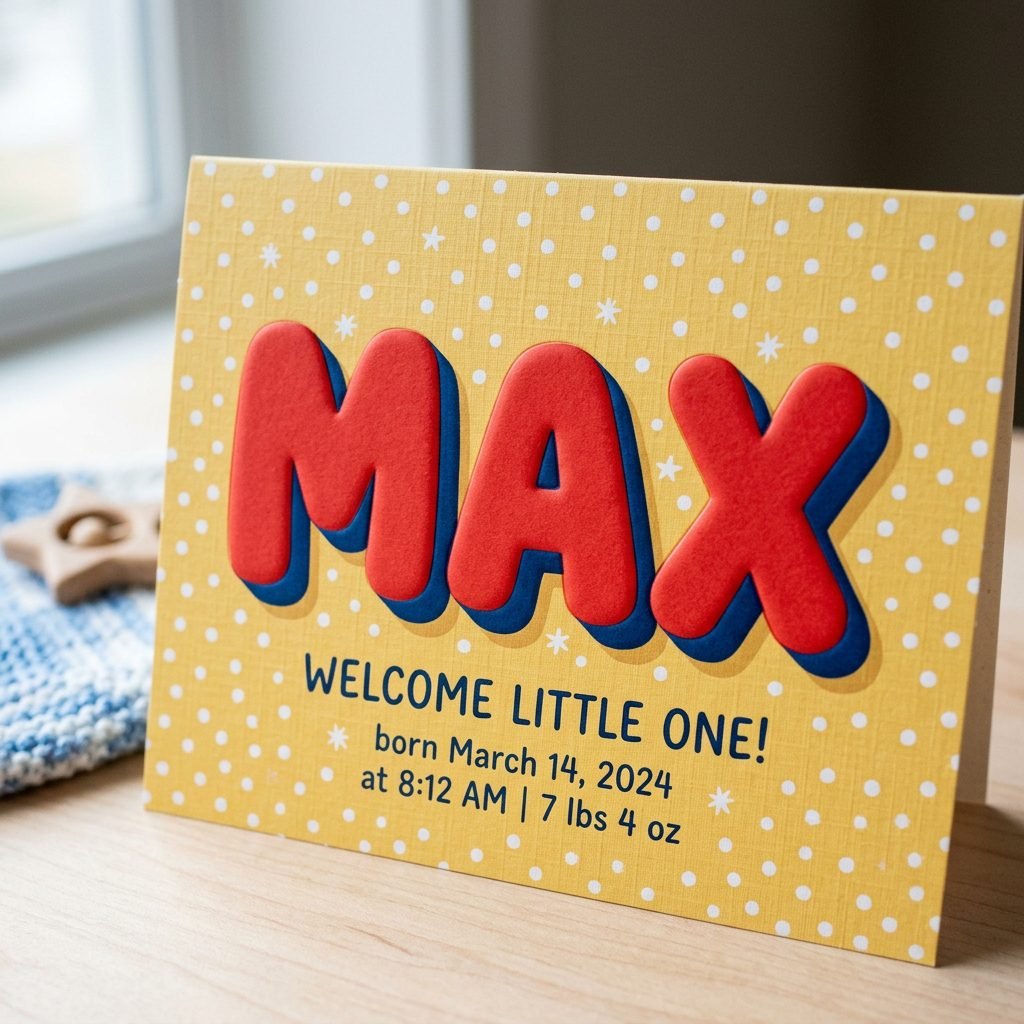
- Input the Vital Stats: Include the name, date, weight, and length in a stylized box that looks like a comic book ‘caption’ panel.
Pro Tip: If you’re feeling overwhelmed, start with a template! Many online stationery stores now offer ‘Comic Book’ or ‘Pop Art’ themes where you just drop in your photo and text.
Budgeting for Your Bold Reveal
Making Art Without Breaking the Bank
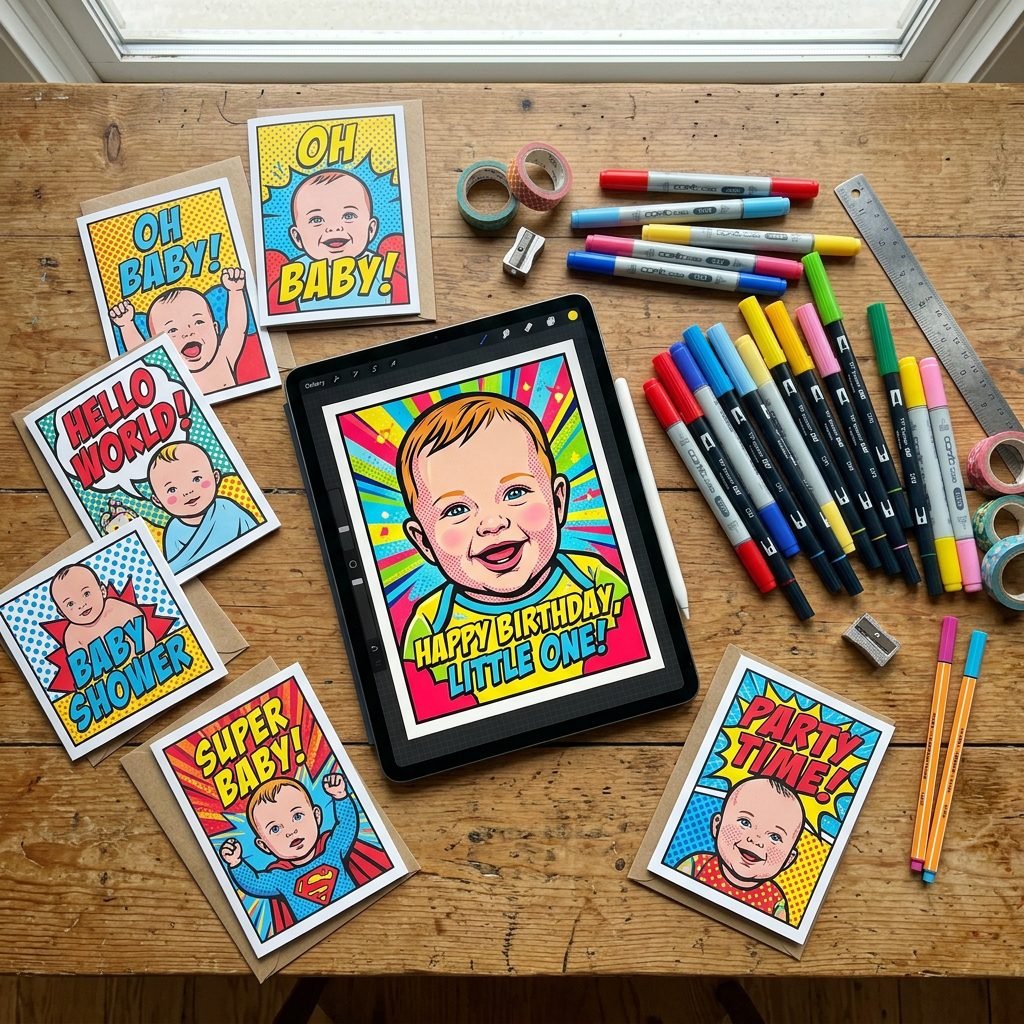
As a doula, I’m always conscious of the ‘baby budget.’ Between diapers and postpartum gear, you want your announcements to be high-impact but low-cost. Here’s a breakdown of what you might expect to spend on your Pop Art project.
| Announcement Method | Estimated Cost | Pros | Cons |
|---|---|---|---|
| Fully DIY (Digital Only) | $0 – $15 | Instant delivery, eco-friendly, free tools available. | No physical keepsake for the ‘baby book.’ |
| DIY Design + Local Print | $30 – $60 | Support local businesses, faster than shipping. | Quality varies by printer; you handle the envelopes. |
| Online Custom Boutique | $75 – $150 | Professional cardstock, matching envelopes, zero stress. | Higher price point, longer shipping times. |
| The ‘Warhol’ Hybrid (Hand-Painted) | $20 – $40 | Truly unique, artistic experience. | Time-consuming (hard during the 4th trimester!). |
If you’re looking to save, I recommend the ‘Digital First’ approach. Send a stunning, high-resolution graphic via text or email to your wider circle, and only print a small batch of 10-20 premium cards for close family and your own memory box.
Wording and Typography: The Language of Cool
Say it with Style
The words on your card should match the energy of the art. Forget ‘We are pleased to announce…’; we want something with a bit more punch! Here are some fun templates you can copy and paste into your design.
The ‘Comic Book’ Style:
“A NEW HERO HAS ARRIVED! Introducing [Baby Name]. Weight: [X]lbs. Power Level: Maximum!”
The ‘Warhol’ Style:
“In the future, everyone will be world-famous for 15 minutes. [Baby Name] is starting their 15 minutes NOW. Born [Date].”
The ‘Action’ Style:
“BAM! [Baby Name] is here to shake things up. [Weight] of pure cuteness. [Length] of total chaos.”
When choosing your fonts, remember to keep the hierarchy clear. The baby’s name should be the largest element, followed by the birth date. Use bold, sans-serif fonts for the main text and maybe a fun, ‘hand-drawn’ script for the smaller details.
The ‘Pop Art’ Photoshoot: Tips for Success

Capturing the Graphic Look
To get a photo that works well with Pop Art filters, you need to think like a photographer and an illustrator. You want clean lines and clear features.
- Use Natural, Bright Light: Position your baby near a large window. We want sharp shadows and bright highlights to give the ‘poster’ effect more depth.
- Solid Backgrounds: While you can remove the background digitally, starting with a solid white or bright-colored sheet makes the process much cleaner.
- Capture ‘Big’ Expressions: A tiny newborn pout or a wide-eyed look of wonder translates beautifully into the exaggerated style of Pop Art.
- Dress for the Theme: A solid-colored onesie in a primary color (red, yellow, or blue) works better than busy floral patterns or intricate lace.
Safety Reminder: Always ensure your baby is supported and comfortable during the shoot. No ‘artistic’ pose is worth compromising their safety. If they’re fussy, stop and try again after a feeding. A sleepy baby is a great model for a ‘DREAMING BIG’ themed card!
Conclusion
You’re the Artist, Mama!
Creating a Pop Art birth announcement is more than just a way to share stats; it’s a celebration of the vibrant, colorful life you’ve just brought into the world. Whether you go full DIY or use a professional template, the most important thing is that it reflects your family’s unique personality. Don’t be afraid to be ‘too much’—Pop Art is all about being bold, being seen, and being fun.
As you navigate these early weeks of parenthood, remember that you are doing an incredible job. If you find time to make a card, wonderful! If you end up just sending a text with a ‘BAM!’ emoji, that’s wonderful too. You are the superhero in this story. Now go forth and create something spectacular!