Create Your Own Dreamy Starry Night Constellation Birth Announcement Card at Home
Welcome to the Magic of Your Baby’s First Story
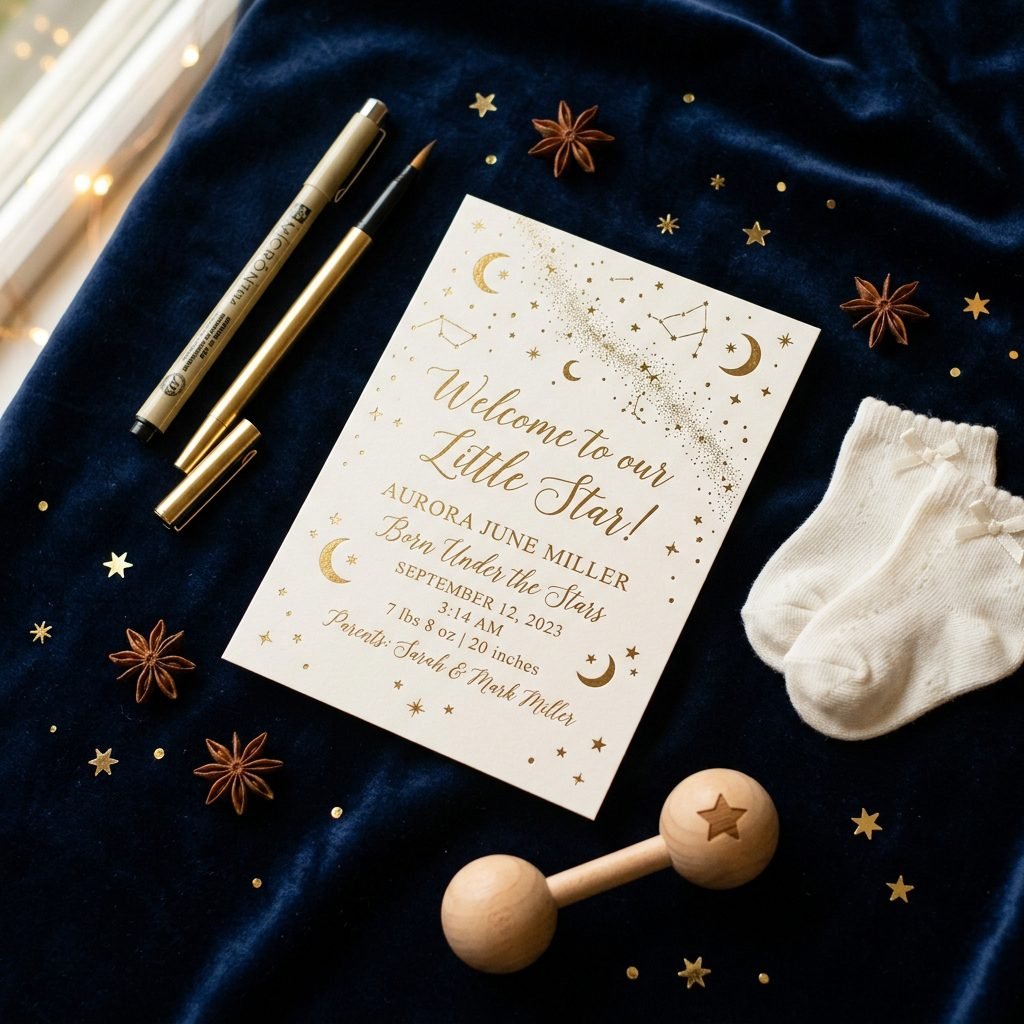
There is something truly ethereal about those first few weeks with a newborn. The world seems to shrink down to the size of a nursery, illuminated by the soft glow of a nightlight and the quiet rhythm of breathing. In those midnight hours, as you rock your little one under the silent watch of the moon, you realize that your baby isn’t just a new addition to the family—they are a whole new universe. What better way to celebrate this cosmic arrival than with a DIY Starry Night Constellation Birth Announcement?
As a doula and a fellow mama, I know that your time is precious and your energy might be low, but the act of creating something beautiful can be incredibly healing. This isn’t just a card; it’s a keepsake that honors the exact alignment of the stars on the day your life changed forever. Whether you are a seasoned crafter or a first-time DIY-er, this guide is designed to be gentle, practical, and deeply rewarding. We’re going to blend the sophistication of a boutique stationery set with the warmth of a handmade gift, all from the comfort of your kitchen table.
“You are my sun, my moon, and all my stars.” — E.E. Cummings. Let this be the guiding light for your creative journey today.
Gathering Your Celestial Supplies: A Budget-Friendly Guide
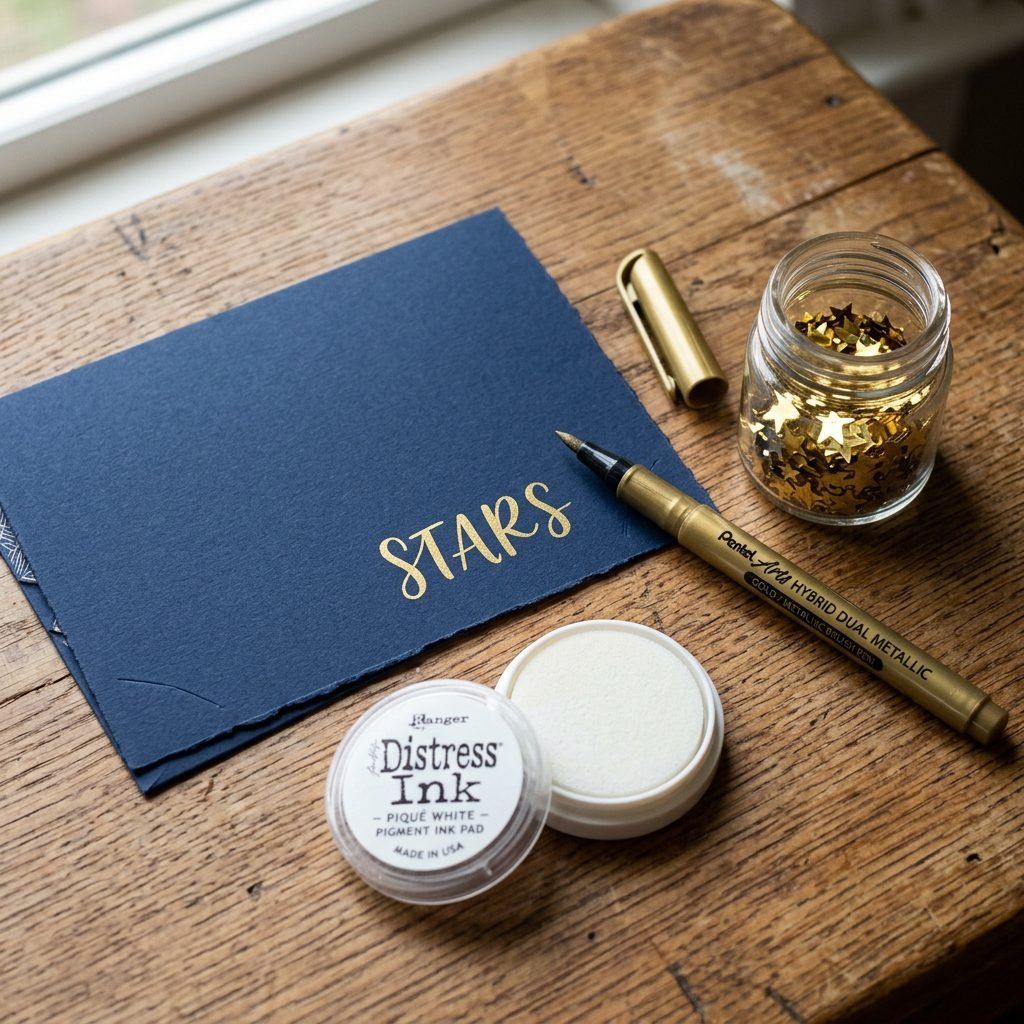
Before we dive into the creative process, let’s get your workstation ready. You don’t need an expensive printing press to achieve a professional, ‘dreamy’ look. The secret lies in the texture of your paper and the shimmer of your ink. I recommend choosing non-toxic, acid-free materials to ensure this keepsake lasts for decades without fading.
The Essential Crafting Kit
Here is a breakdown of what you will need to create approximately 25 high-quality cards. I’ve focused on items that provide the most ‘bang for your buck’ while maintaining that high-end, celestial aesthetic.
| Item | Purpose | Estimated Cost |
|---|---|---|
| Navy or Midnight Blue Cardstock | The base ‘night sky’ for your card. | $10 – $15 |
| Gold or Silver Metallic Gel Pens | For drawing constellations and lettering. | $5 – $8 |
| White Ink Pad & Sponge | To create a ‘Milky Way’ nebula effect. | $6 – $10 |
| Vellum Paper Overlays | Adds a soft, misty layer of elegance. | $8 – $12 |
| Star-Shaped Sequins or Glitter | For that extra bit of tactile magic. | $3 – $5 |
| Glue Stick or Double-Sided Tape | To secure your layers. | $4 – $6 |
Doula Tip: If you are in the early postpartum weeks, ask a friend or your partner to pick these up for you, or order them online. Your focus should be on the joy of creating, not the stress of shopping!
Mapping the Heavens: Choosing Your Baby’s Constellation

The heart of this announcement is the constellation. You can choose to feature the Zodiac sign of your baby or, for a more personalized touch, the actual star map of the night they were born. There are many free ‘sky map’ apps that allow you to plug in a date, time, and location to see exactly which stars were overhead during your labor.
Common Zodiac Constellations
- Aries: The Ram (March 21 – April 19) – Simple, bold lines.
- Leo: The Lion (July 23 – August 22) – A regal, recognizable shape.
- Scorpio: The Scorpion (October 23 – November 21) – Dynamic and intricate.
- Aquarius: The Water Bearer (January 20 – February 18) – Flowing and graceful.
Once you have your map, practice drawing the constellation on a scrap piece of paper. Don’t worry about being a perfect artist; the beauty of a hand-drawn constellation is in its organic, slightly imperfect nature. It shows the hand of the mother who made it.
Step-by-Step: Crafting Your Starry Masterpiece
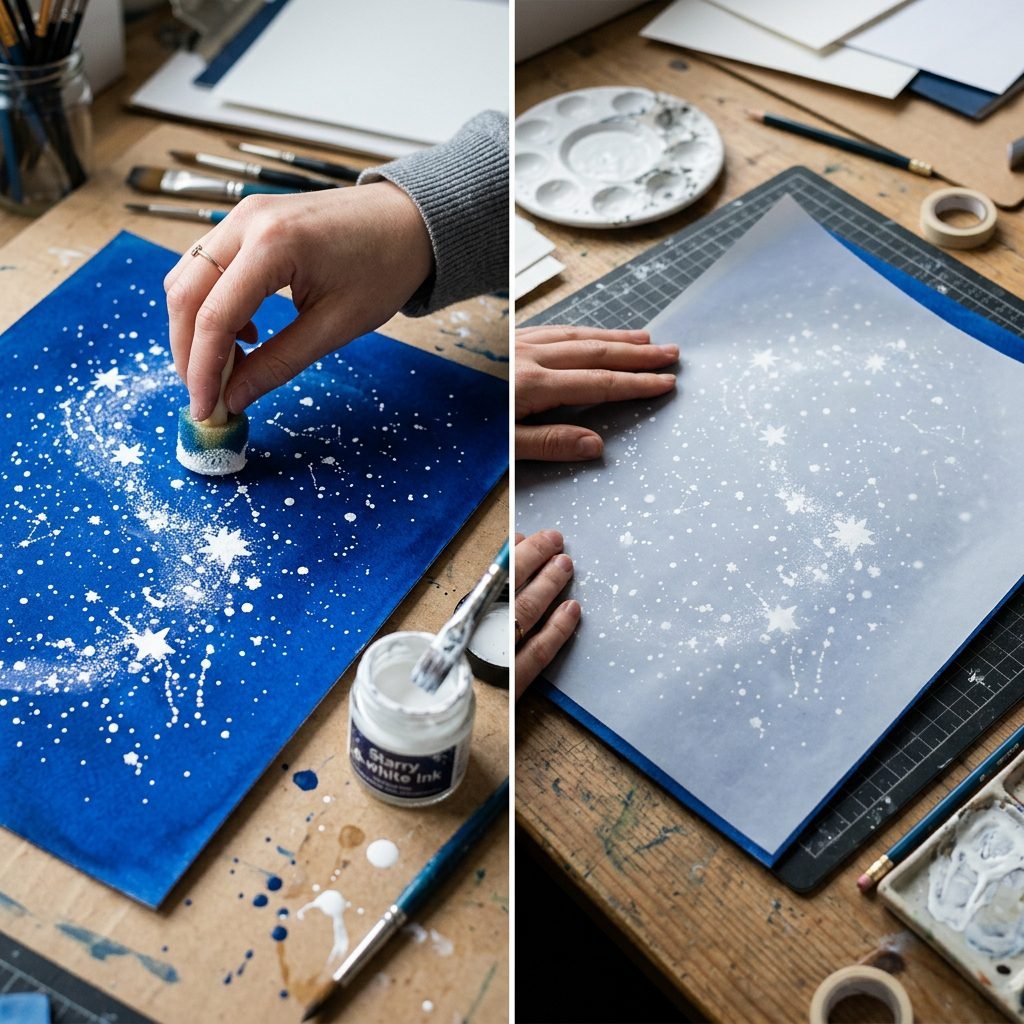
Now, let’s put it all together. Follow these steps to ensure a clean, professional finish that looks like it came from a high-end boutique.
- Create the Nebula: Lightly dab your sponge into the white ink and ‘whisper’ it across the navy cardstock in a diagonal motion. This creates a soft, cloudy galaxy effect. Let it dry for 5 minutes.
- Plot the Stars: Using your metallic pen, place small dots where the main stars of your chosen constellation will sit. Pro Tip: Make the ‘main’ stars slightly larger and the ‘connecting’ stars smaller.
- Connect the Lines: With a very light touch, draw thin, straight lines between your dots to reveal the constellation.
- Add the ‘Sparkle’: Dot random ‘stardust’ (tiny gold specks) around the constellation to fill the negative space. Use your glue stick to add 3-5 star sequins for a 3D effect.
- The Vellum Overlay: Cut a piece of vellum paper slightly smaller than your card. This is where you will write the birth details (Name, Date, Weight, Time). Use a dark navy or black pen for readability.
- Final Assembly: Secure the vellum to the cardstock using a single gold paperclip or a small dab of glue in the top corners to maintain the ‘airy’ feel.
Remember, Mama: There are no mistakes in art, only ‘happy accidents’ that make your baby’s announcement even more unique.
The Perfect Shot: Incorporating Your Newborn
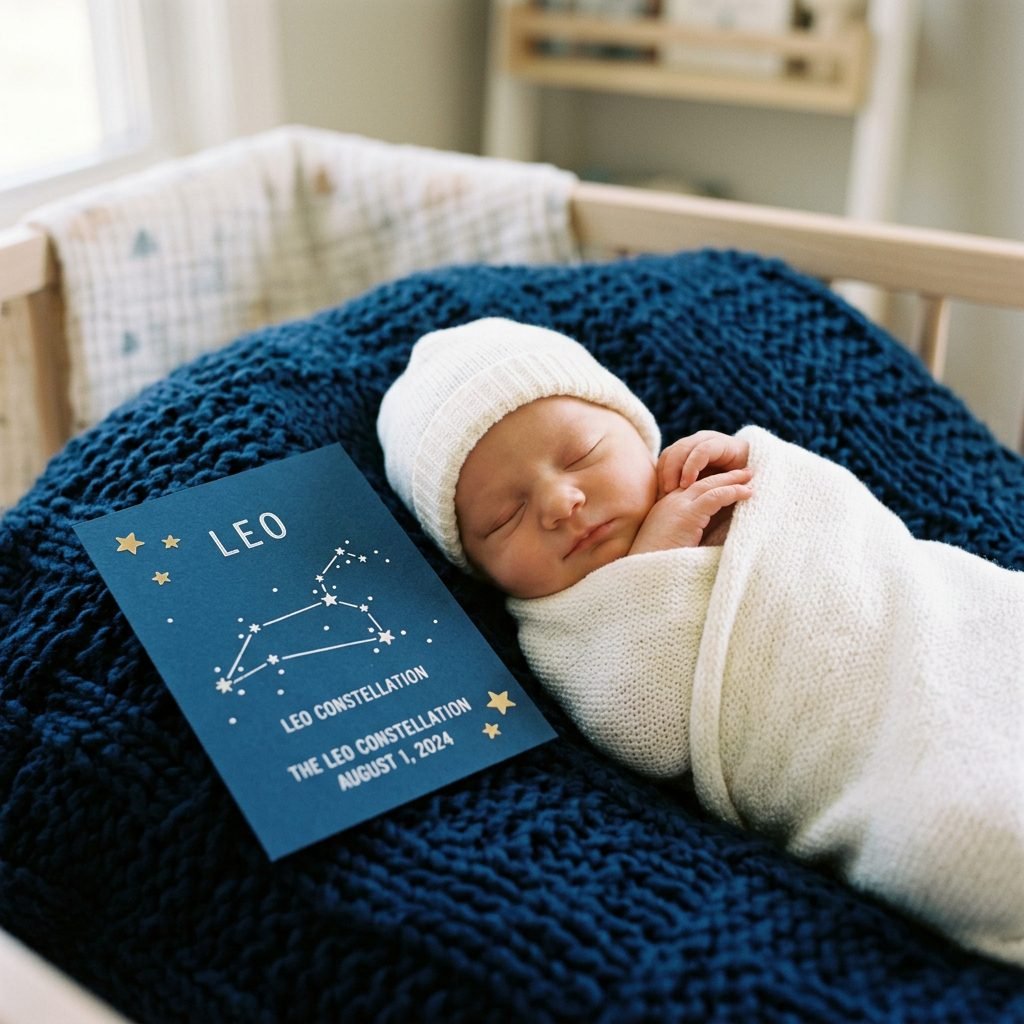
While the card is a work of art on its own, most families want to include a photo of their new ‘star.’ To keep the theme consistent, you’ll want to style your newborn session with a Celestial-Chic vibe. You don’t need a professional photographer; your smartphone and some natural light will do wonders.
Styling Tips for Your Starry Photo
- The Backdrop: Use a dark grey or navy blue swaddle blanket as the ‘night sky.’
- The Outfit: A simple white onesie or a neutral-toned knit romper works best. Avoid busy patterns that distract from the baby’s face.
- The Prop: Place your handmade card next to the baby, or have the baby gently hold a wooden star rattle.
- Lighting: Position your baby near a large window during the ‘Golden Hour’ (late afternoon) for a soft, ethereal glow.
Safety Warning: Always ensure the baby is on a flat, secure surface. Never leave a newborn unattended with small craft items like sequins or paperclips.
The Logistics: Mailing and Organization
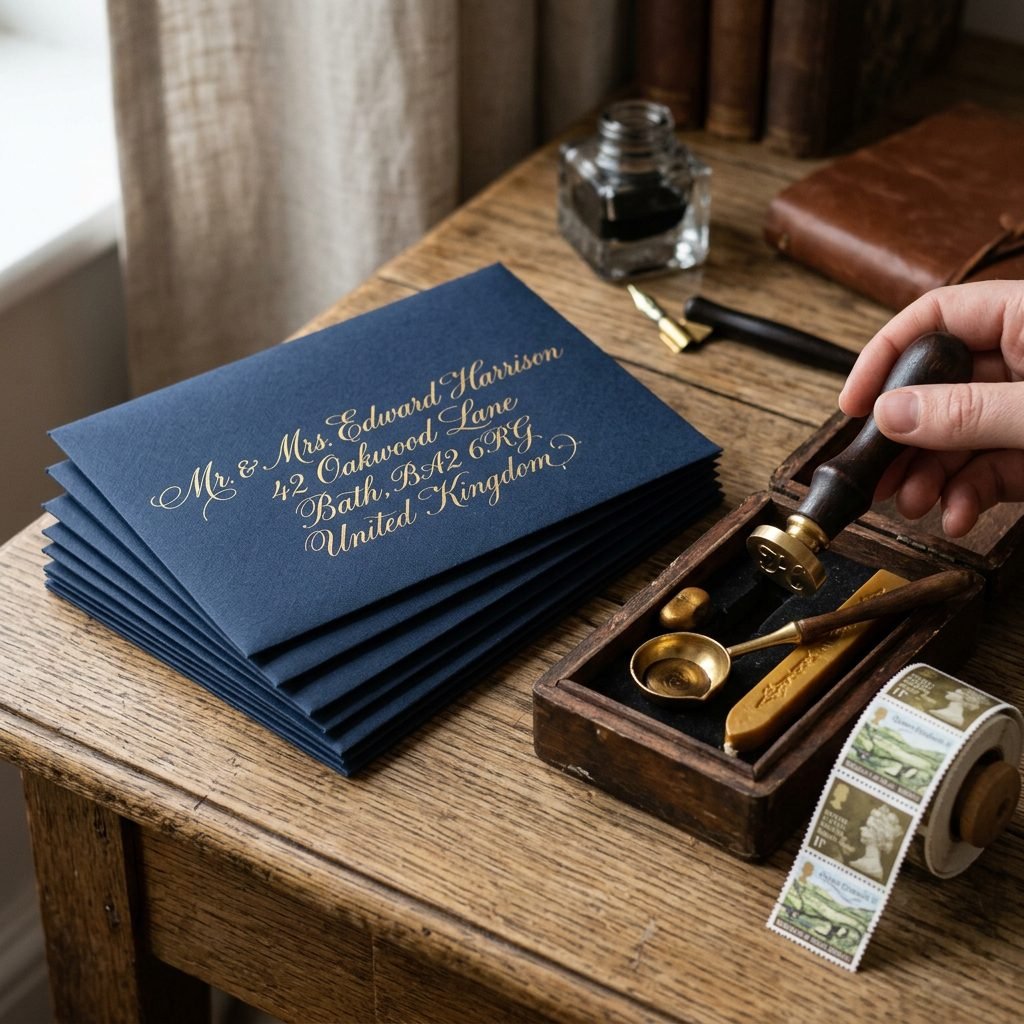
Once your masterpieces are finished, it’s time to share the news! Since these cards have a bit of texture and layers, you’ll want to be mindful of how you send them. A standard envelope is fine, but a bubble-lined mailer or a heavy-duty cardstock envelope will prevent the sequins from being crushed in the mail.
| Recipient Category | Delivery Method | Personal Touch Idea |
|---|---|---|
| Immediate Family | Hand-delivered or Priority Mail | Include a lock of hair or a footprint. |
| Close Friends | Standard Mail | Add a handwritten note on the back. |
| Work/Distances | Digital Scan/Email | Send a high-res photo of the card. |
Organization Hack: Keep a master list of addresses in a spreadsheet or a dedicated notebook. Check them off as you go to avoid that ‘postpartum brain’ fog where you can’t remember if you sent one to Great Aunt Martha!
Conclusion
A Keepsake for the Ages
Creating your own Dreamy Starry Night Constellation Birth Announcement is more than just a DIY project; it is a labor of love. Long after the diapers are gone and your little one is reaching for the stars themselves, you will look back at this card and remember the quiet, magical time when they first arrived. You have captured a moment in time—a literal snapshot of the heavens—to welcome your child to the world.
Take a deep breath, admire your handiwork, and know that you are doing an incredible job. Whether the lines are perfectly straight or the ink is a little smudged, it is perfect because it was made by you. Welcome to the world, little star!