How to Sew DIY Flannel Baby Burp Cloths: Easy Tutorial for Beginners
Embracing the Nesting Season with a Needle and Thread
Hello, sweet mama! There is something so incredibly grounding about creating something with your own two hands while you wait for your little one to arrive. That ‘nesting’ energy is a powerful force, isn’t it? It’s your heart’s way of preparing space for the new life about to join your family. As a doula, I often see mothers finding peace in these small, tactile projects. Today, we are diving into one of the most practical yet satisfying DIYs you can tackle: DIY Flannel Baby Burp Cloths.
You might be thinking, ‘Why sew them when I can buy a pack of ten?’ Well, sister, store-bought cloths are often thin, scratchy, and—let’s be honest—not nearly as cute as the ones you can customize yourself. By making your own, you control the quality of the fabric, the level of absorbency, and the aesthetic. Plus, there is a certain magic in knowing your baby’s soft cheek will rest against a cloth you lovingly stitched together. Whether you are a total sewing novice or someone dusting off a machine from years ago, this tutorial is designed for you. We’re going to keep it simple, stress-free, and full of that warm, creative joy.
The Magic of Flannel: Why It’s the Gold Standard for Babies
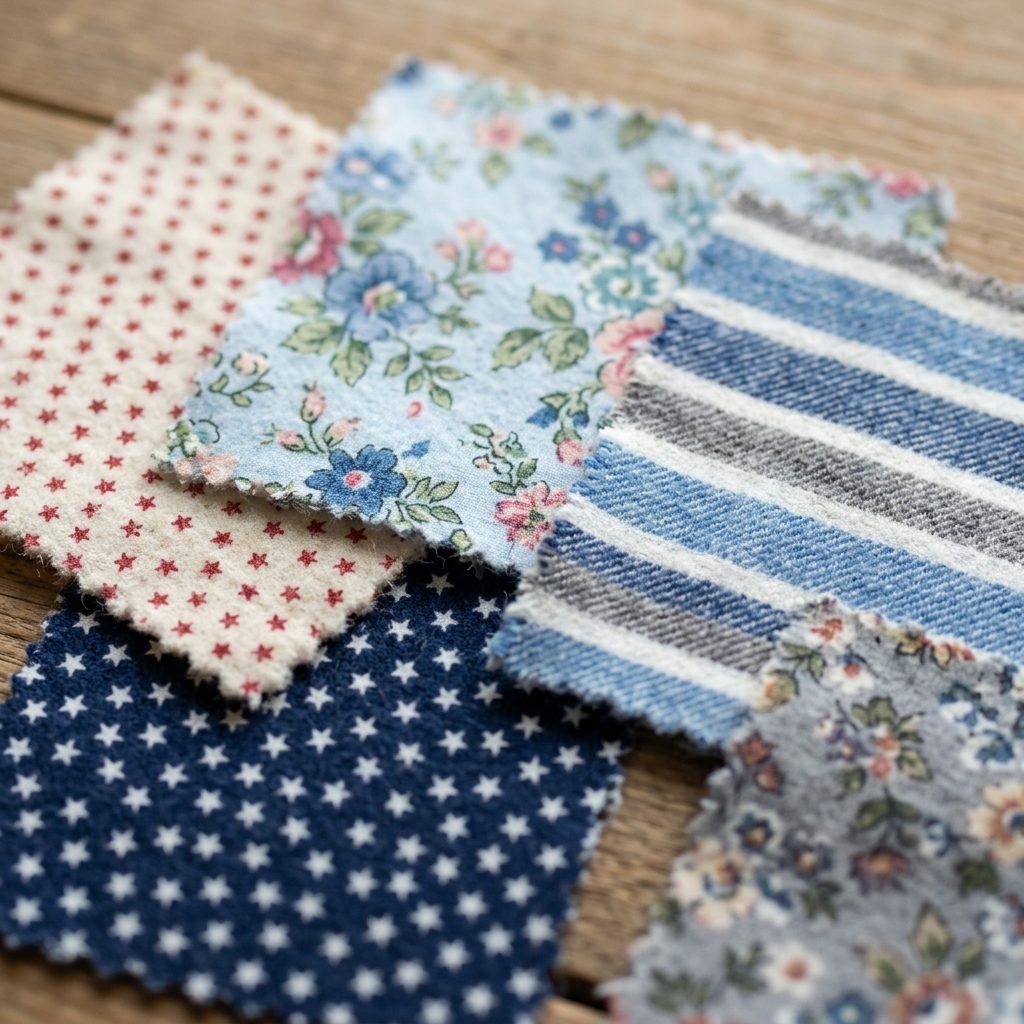
When it comes to baby skin, softness is non-negotiable. Flannel is a loosely woven fabric, typically made from cotton, that has been brushed to create a soft, fuzzy nap. This texture isn’t just for comfort; it’s also highly absorbent. When your little one has a ‘happy spit-up’ after a feeding, you want a fabric that grabs the liquid immediately rather than letting it slide right off onto your favorite sweater.
Benefits of Using 100% Cotton Flannel
- Breathability: Cotton is a natural fiber that allows air to circulate, which is much better for baby’s skin than synthetic polyesters.
- Durability: These cloths will be washed… a lot. Flannel holds up beautifully over dozens of high-heat wash cycles.
- Ease of Sewing: Unlike slippery knits or thick denims, flannel stays put under the sewing machine foot, making it the perfect ‘beginner’ fabric.
Your hands are creating the first comforts your baby will know. Take a deep breath and enjoy the rhythm of the machine; you are doing something beautiful.
Your Creative Toolkit: Essential Supplies and Budget Breakdown
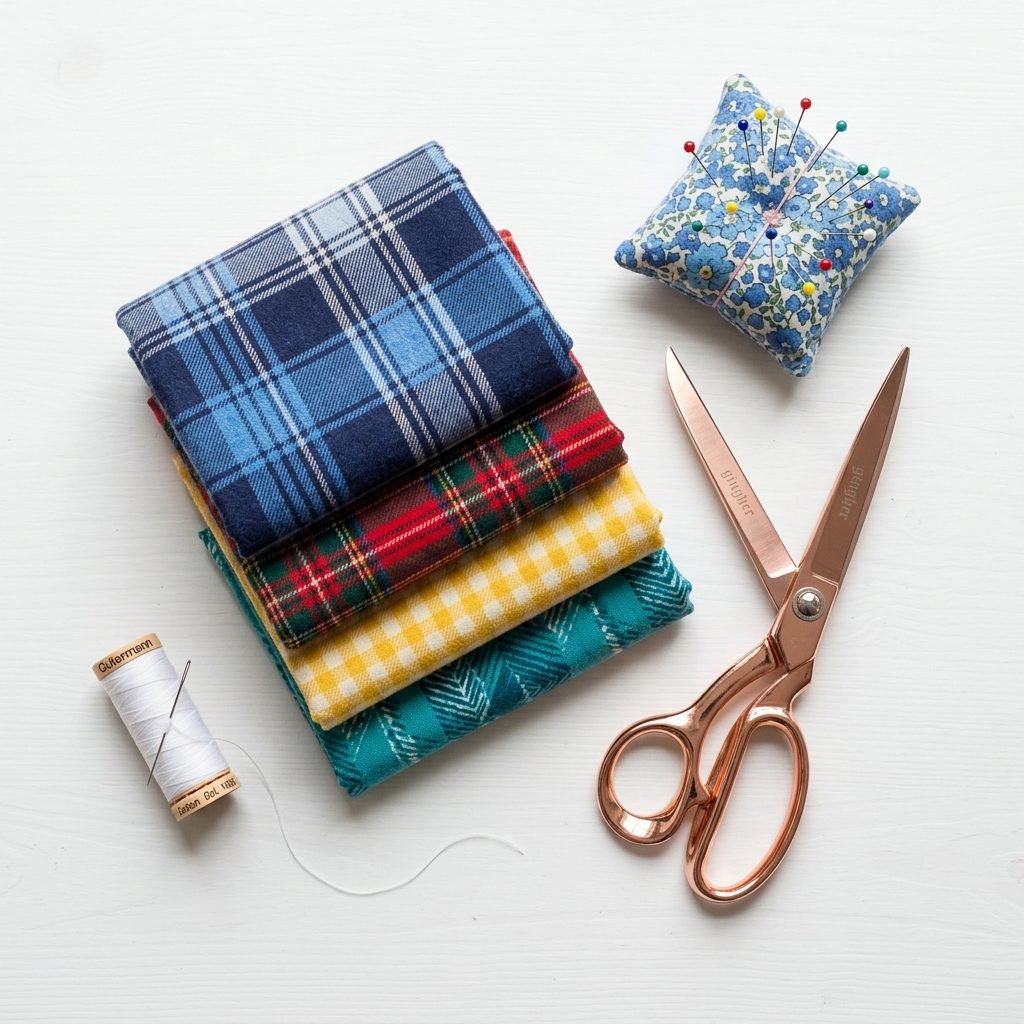
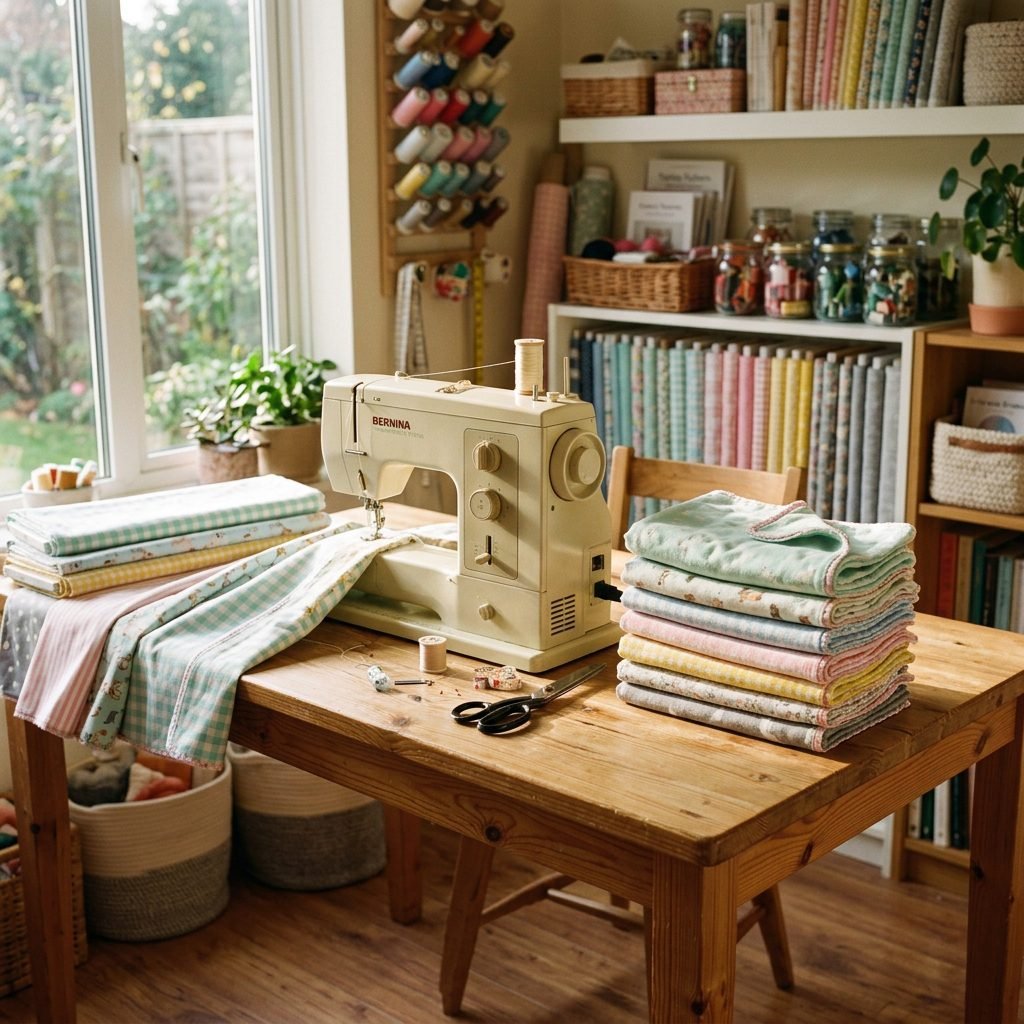
Before we start our engines (the sewing machine variety!), let’s gather our supplies. You don’t need a fancy studio to make these happen. A kitchen table and a basic machine will do just fine. If you’re a beginner, don’t feel pressured to buy the most expensive tools. Start with the basics and grow from there.
| Material/Tool | Quantity Needed | Estimated Cost (USD) |
|---|---|---|
| 100% Cotton Flannel | 1 Yard (makes 4-6 cloths) | $5.00 – $10.00 |
| Terry Cloth or Extra Flannel | 1 Yard (for backing) | $6.00 – $12.00 |
| All-Purpose Thread | 1 Spool (Matching or Neutral) | $3.00 |
| Sewing Pins or Wonder Clips | 1 Pack | $5.00 |
| Fabric Scissors or Rotary Cutter | 1 Pair/Tool | $15.00 |
| Sewing Machine | 1 Basic Model | N/A (Borrow or Buy) |
Pro-Tip: To make these extra absorbent, I love using a layer of white terry cloth (like a soft towel) for the back and a pretty flannel print for the front. If you want to keep costs even lower, you can use flannel on both sides!
Pre-Sewing Rituals: Prepping Your Fabric for Success
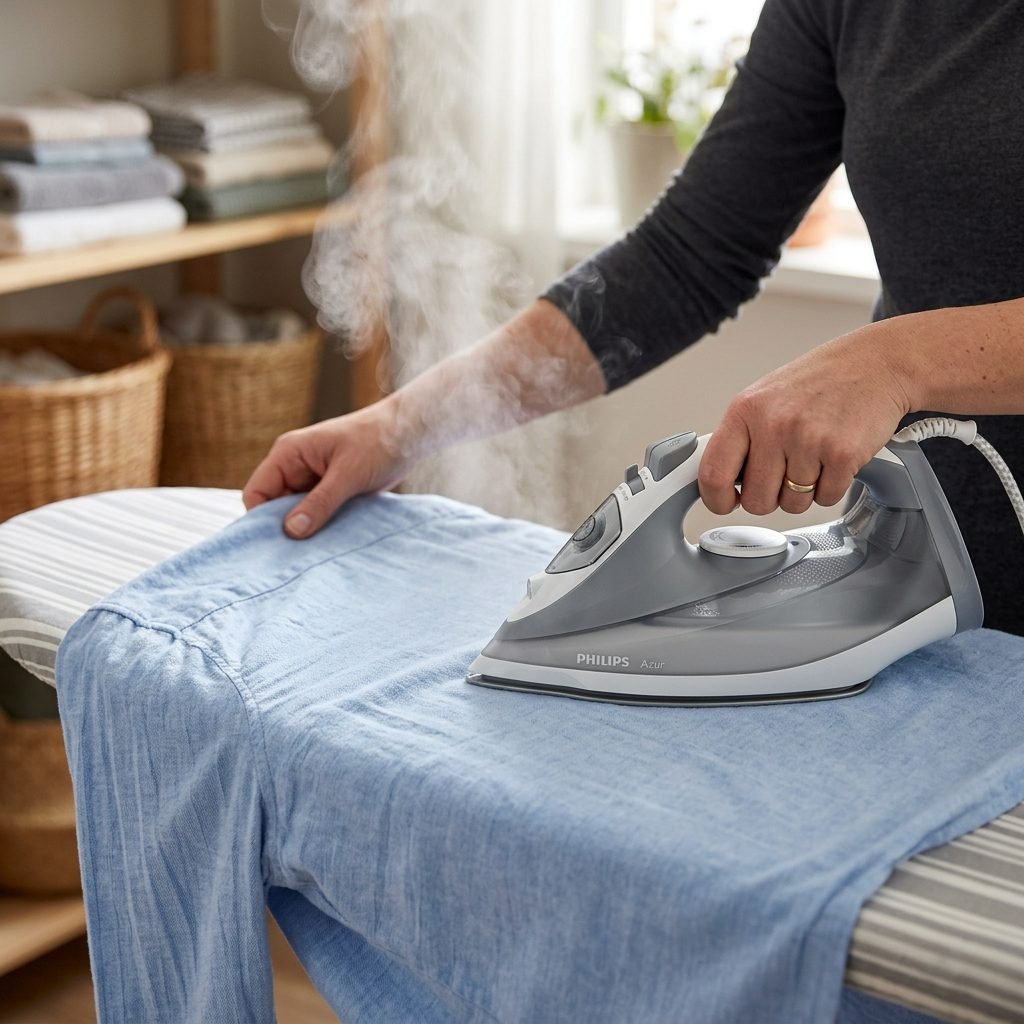
I know you’re excited to start sewing, but there is one crucial step we cannot skip: Pre-washing. Cotton flannel is notorious for shrinking. If you sew your cloths first and then wash them, they might come out of the dryer looking warped and puckered. We want professional-looking results, even for our first try!
How to Prep Like a Pro
- Wash: Toss your fabric in the washing machine using a gentle, baby-safe detergent. Use the temperature settings you plan to use for the finished cloths (usually warm or hot for sanitation).
- Dry: Dry the fabric completely on a medium to high heat setting to ‘force’ any shrinkage to happen now.
- Iron: Once dry, the fabric will likely be a bit wrinkly. Give it a good steam iron. This makes cutting straight lines much, much easier.
Think of this as a ritual of preparation. As the fabric tumbles in the dryer, use that time to sip some tea, listen to a birth podcast, or simply sit with your growing bump. You are preparing for the messy, beautiful reality of motherhood.
The Step-by-Step Sewing Journey: From Fabric Scraps to Nursery Staples
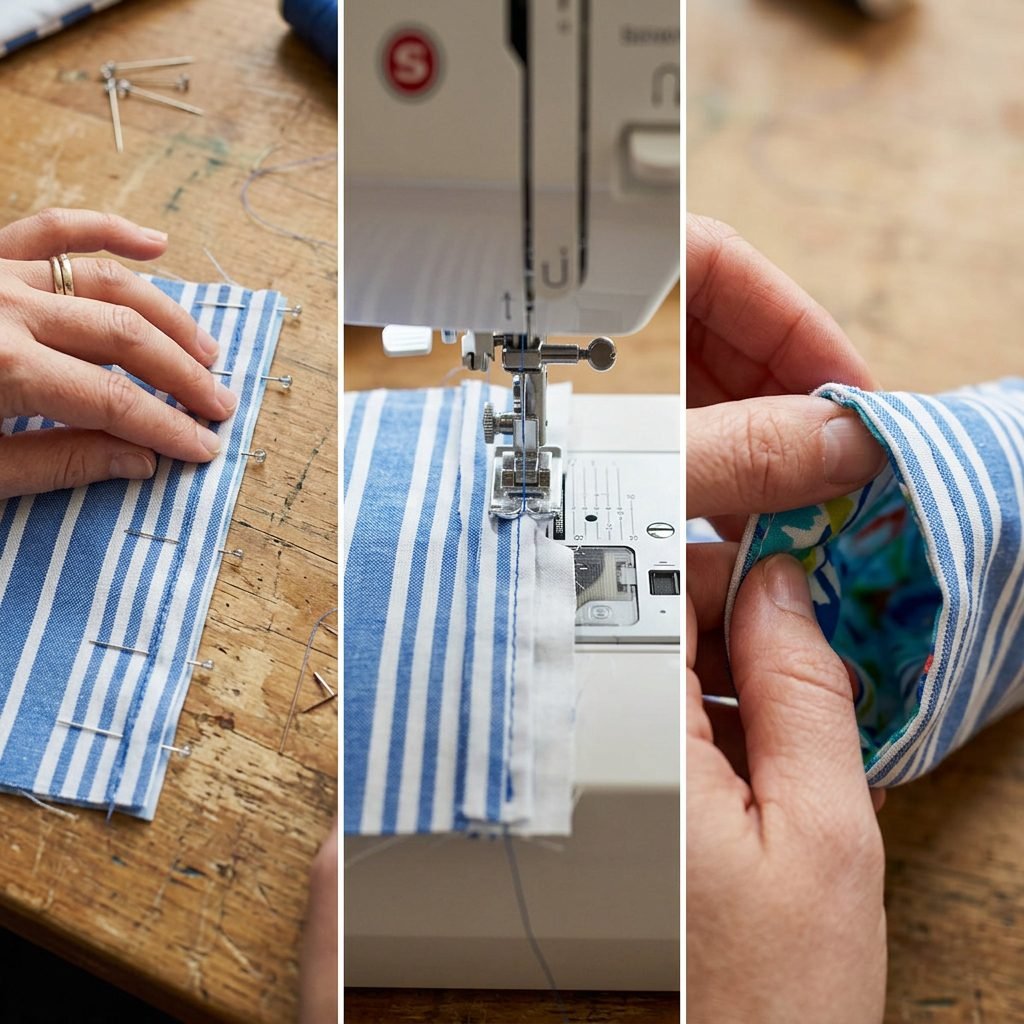
Are you ready? Let’s make our first burp cloth! We will be using the ‘Turn and Topstitch’ method. It’s the easiest way to get a clean edge without needing a serger or complicated finishing techniques.
1. Cutting Your Fabric
Cut your flannel and your backing fabric (terry cloth or more flannel) into rectangles. A standard size is 10 inches by 20 inches. This gives you plenty of coverage over your shoulder. You can use a cardboard template to make this faster if you’re making a big batch.
2. Pinning for Stability
Place your flannel piece and your backing piece ‘Right Sides Together.’ This means the pretty patterns should be touching each other on the inside. Pin all the way around the edges, leaving a 3-inch gap on one of the long sides. This gap is where we will turn the fabric right-side out later.
3. The First Stitch
Start sewing at one end of your 3-inch gap. Use a 1/2 inch seam allowance. Sew all the way around the rectangle, pivoting at the corners (needle down, lift the foot, turn the fabric, foot down, continue). Stop when you reach the other side of your gap. Don’t forget to backstitch at the beginning and end!
4. Trimming and Turning
Clip the extra fabric off the corners (being careful not to cut your stitches!). This helps the corners look sharp. Reach through the gap and pull the fabric through, turning it right-side out. Use a chopstick or a dull pencil to gently poke the corners out.
5. The Final Topstitch
Press the cloth flat with your iron, making sure the raw edges of your ‘gap’ are tucked neatly inside. Now, sew a line of stitching 1/4 inch from the edge all the way around the entire cloth. This closes the gap and gives the cloth a professional, sturdy finish.
Design Variations: Contoured Shapes and Decorative Finishes
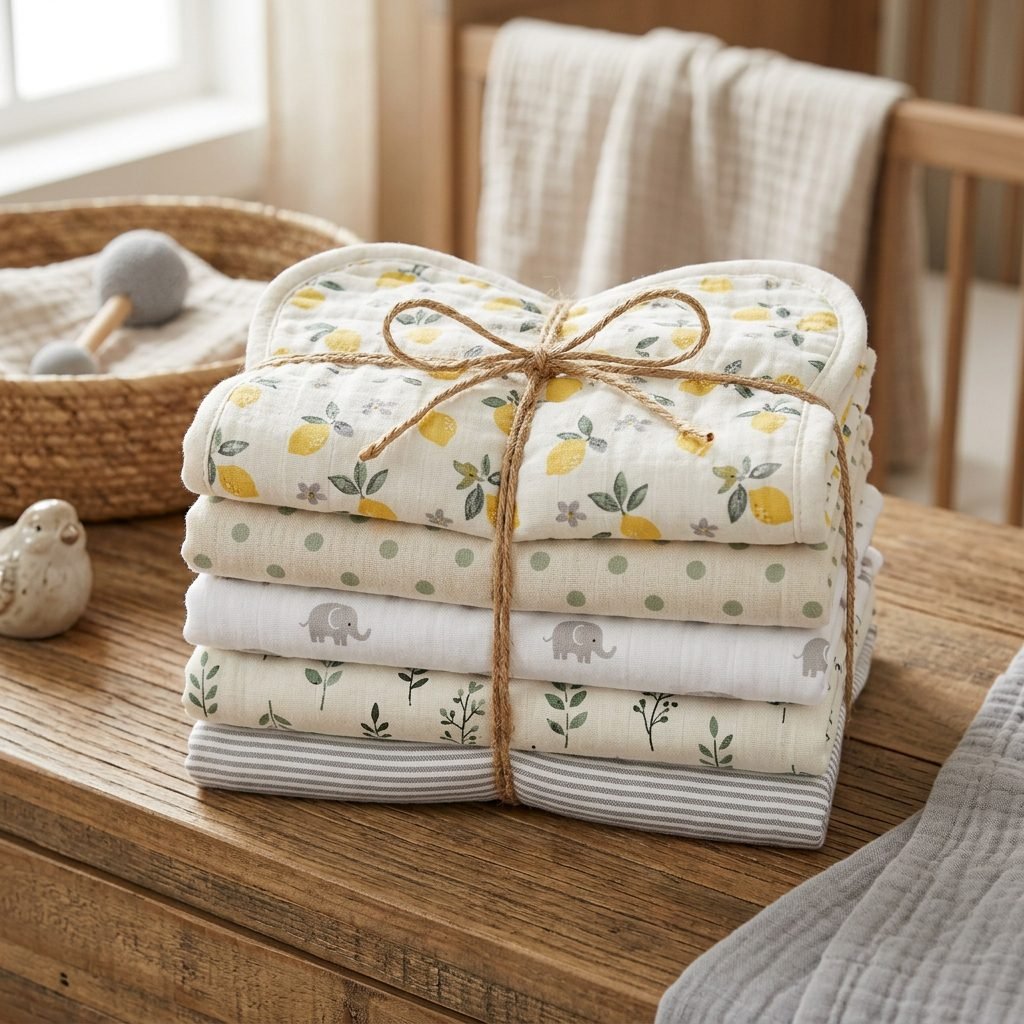
Once you’ve mastered the basic rectangle, you might want to get a little fancy! While rectangles are classic, many moms prefer a contoured burp cloth. This is a cloth that has a slight ‘kidney bean’ curve in the middle, allowing it to sit more securely against your neck.
Creating a Contoured Template
To do this, simply fold your 10×20 rectangle in half. On the folded edge, draw a slight curve inward (about 1.5 inches deep) at the midpoint. Cut along that curve, and when you unfold it, you’ll have a beautiful hourglass shape! The sewing process remains exactly the same.
Adding Personal Touches
- Decorative Stitches: Most modern machines have ‘fun’ stitches like hearts or waves. Use these for your final topstitch to add a whimsical touch.
- Appliqué: If you’re feeling brave, sew a small felt heart or the baby’s initial onto the flannel piece before you pin the two layers together.
- Ribbon Loops: Sandwich a folded piece of ribbon between the layers (facing inward) before sewing. Once turned, this creates a little loop to hook the cloth onto a stroller or diaper bag.
The Doula’s Guide to Gifting and Using Your New Burp Cloths
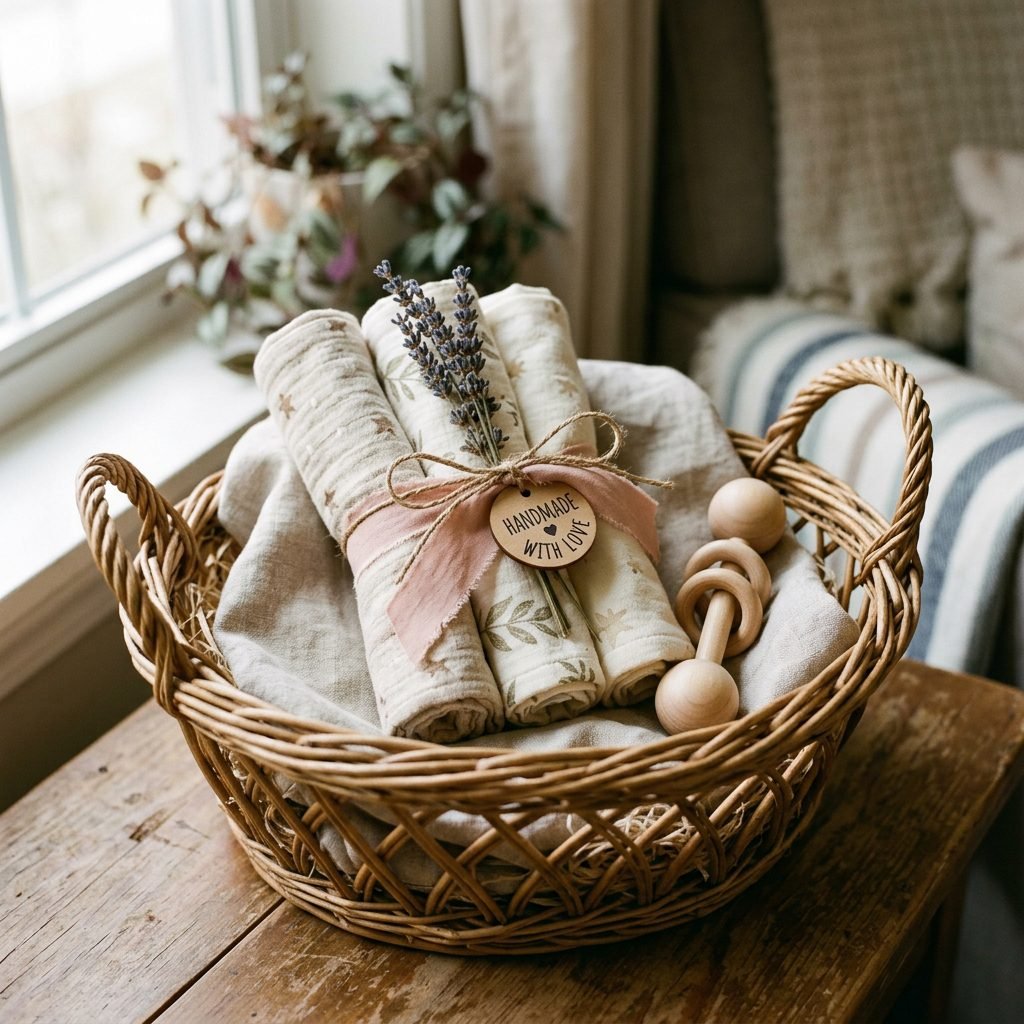
As a doula, I’ve seen my fair share of baby gear. I can tell you truthfully: you can never have too many burp cloths. In those early weeks, when laundry is the last thing on your mind, having a drawer full of these is a lifesaver. But these also make the absolute best baby shower gifts.
How to Present Your DIY Gift
If you are making these for a friend, try rolling three of them up tightly and securing them with a pretty ribbon. Place them in a small basket with a bottle of organic nipple cream or a soothing tea blend. It shows so much heart and intention.
Practical Usage Tips
- The ‘Shoulder Shield’: Always drape the cloth high enough so it covers the back of your shoulder. Spit-up has a way of finding the one spot you missed!
- The ‘Lap Guard’: When burping baby sitting up on your lap, lay the cloth across your knees to catch any drips.
- The ‘Emergency Wipe’: These aren’t just for spit-up; they are great for wiping runny noses or cleaning up small spills during tummy time.
You are preparing for a season of mess, but also a season of immense beauty. Every stitch you’ve made is a testament to the love you already have for your little one.
Conclusion
You Did It, Mama!
Congratulations! You’ve just created something functional, beautiful, and filled with love. Sewing these DIY flannel burp cloths is more than just a craft project; it’s a way to slow down and connect with the journey of motherhood. Whether you made one or a dozen, you should feel so proud of yourself. As you fold these and place them in your nursery drawer, take a moment to visualize the sweet moments to come—the feedings, the snuggles, and even the messy bits. You are ready for it all. Happy sewing, and even happier nesting!