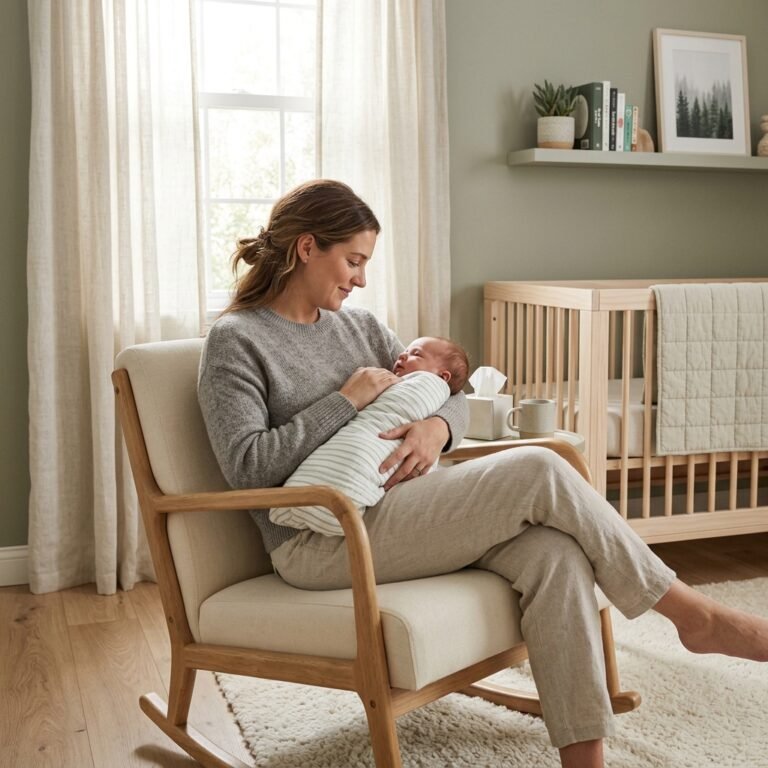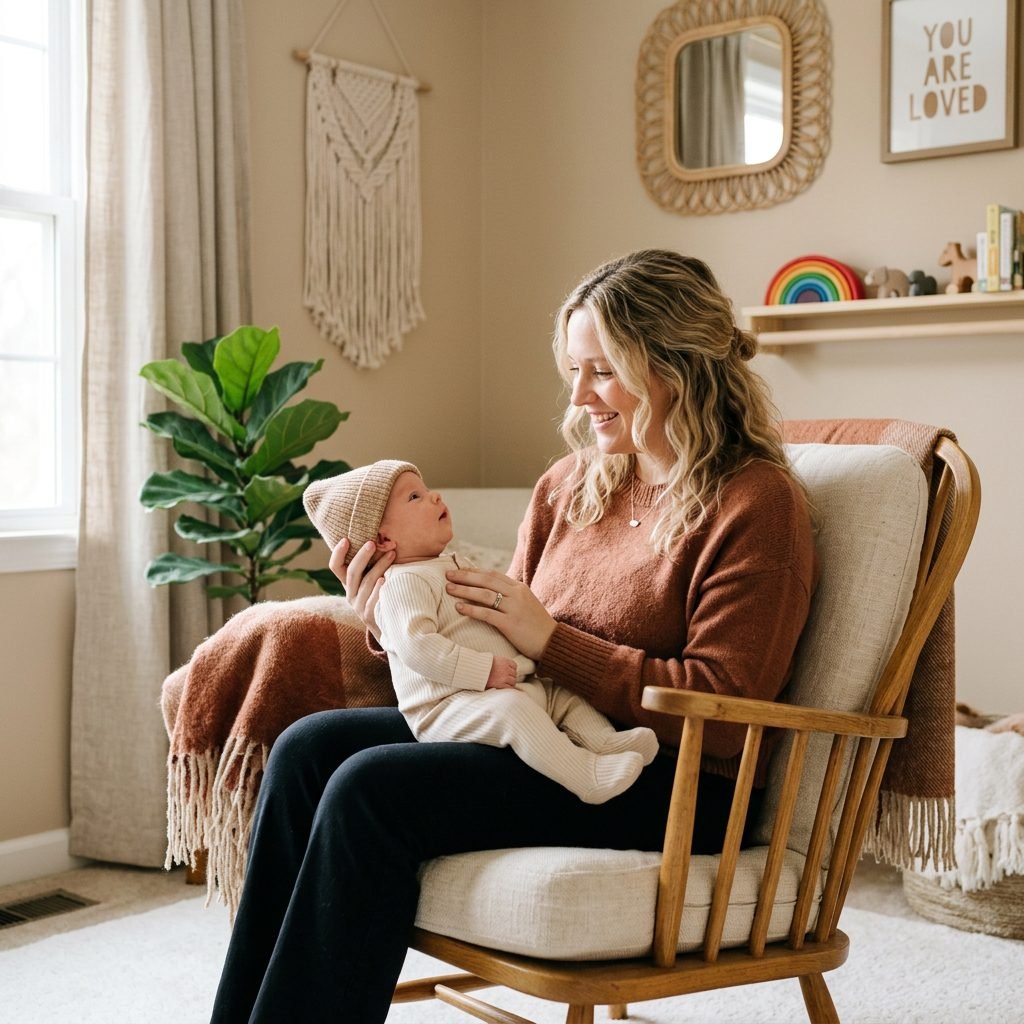
Try the Seated Circular Burping Method to Release Stuck Gas Instantly
The Midnight Struggle: Why Traditional Burping Isn’t Always Enough
Oh, mama, I see you. It is 3:00 AM, your eyes are heavy, and your sweet little one is arching their back, pulling their legs up, and let out that specific, high-pitched cry that every mother knows in her soul: the ‘I have a gas bubble’ cry. You’ve patted their back for twenty minutes. You’ve tried the over-the-shoulder shimmy. You’ve even tried the face-down lap lay. But that stubborn bubble just won’t budge.
As a doula, I’ve spent countless nights helping families navigate these ‘stuck’ moments. One of the most effective, gentle, and physically intuitive techniques I teach is the Seated Circular Burping Method (sometimes called the ‘Hula Burp’). Unlike traditional patting, which relies on vertical vibration to move air, the circular method uses gentle pressure and torso rotation to help the infant’s immature digestive system guide air up and out of the esophagus. Today, I’m going to walk you through exactly how to master this move so you and your baby can finally get some much-needed rest.
Understanding the Anatomy of Infant Gas

Before we dive into the ‘how,’ let’s talk about the ‘why.’ Newborns have an incredibly immature digestive tract. The lower esophageal sphincter—the little ‘door’ between the stomach and the throat—is still learning how to stay closed and when to open. When a baby swallows air during a feeding (whether by breast or bottle), that air gets trapped under a layer of milk.
Traditional patting works by creating a vibration that encourages the air to rise. However, if the air bubble is trapped in a ‘pocket’ of the stomach, no amount of patting will release it. This is where the Seated Circular Method shines. By rotating the baby’s torso, you are physically shifting the contents of the stomach, allowing the air bubble to find the ‘exit’ more efficiently.
Why the ‘Circle’ Works Better Than the ‘Pat’
- Gravity and Displacement: Rotating the torso moves the milk around, allowing air bubbles to rise to the top of the stomach.
- Internal Pressure: The gentle lean forward during the rotation applies soft pressure to the abdomen, mimicking a natural massage.
- Nervous System Regulation: The slow, rhythmic movement is incredibly soothing for a baby who is already overstimulated by pain.
The Setup: Preparing for Success

Get Your Station Ready
Burping isn’t just about the move; it’s about the environment. If you are tense, your baby will feel that tension. Take a deep breath, drop your shoulders, and follow these prep steps:
- The Burp Cloth Placement: Place a thick, absorbent burp cloth across your lap and another over your thigh. The circular method can sometimes result in a ‘wet burp’ or a small spit-up as the air releases.
- Your Seating: Sit in a chair where your feet can be flat on the floor. A nursing glider or a firm sofa is perfect. Avoid slouching; you need a stable base.
- The Grip: This is the most important part. You are not holding the baby’s neck. Instead, you will use your hand to form a ‘C’ shape. Place your thumb and forefinger along the baby’s jawline (not the throat!) to support the head, while the palm of your hand rests on their chest.
“Remember, mama: You are your baby’s safe harbor. Your calm heart rate helps regulate theirs. Take a breath before you begin.”
Step-by-Step: The Seated Circular Burping Technique

Now, let’s get into the physical move. This should be done slowly and with deep intention. Think of it like a slow-motion hula dance for your baby’s torso.
The Move
- Positioning: Sit your baby upright on your lap, facing away from you or sideways. Use your ‘C’ grip to support their jaw and chest. Use your other hand to support their back or base.
- The Lean: Gently lean the baby forward slightly so their weight is resting into the palm of your hand on their chest. This applies that necessary abdominal pressure.
- The Rotation: Slowly begin to move the baby’s upper body in a clockwise circle. Imagine their nose is drawing a circle in the air.
- The Rhythm: One full circle should take about 5 to 8 seconds. It is not a fast movement.
- The Pause: After 3-4 circles, bring the baby back to a fully upright position and give three firm, upward strokes on their back.
Often, the burp will release during the transition from the lean back to the upright position. If it doesn’t happen immediately, don’t panic! Repeat the process for up to 5 minutes.
Method Comparison: Which One Should You Use?
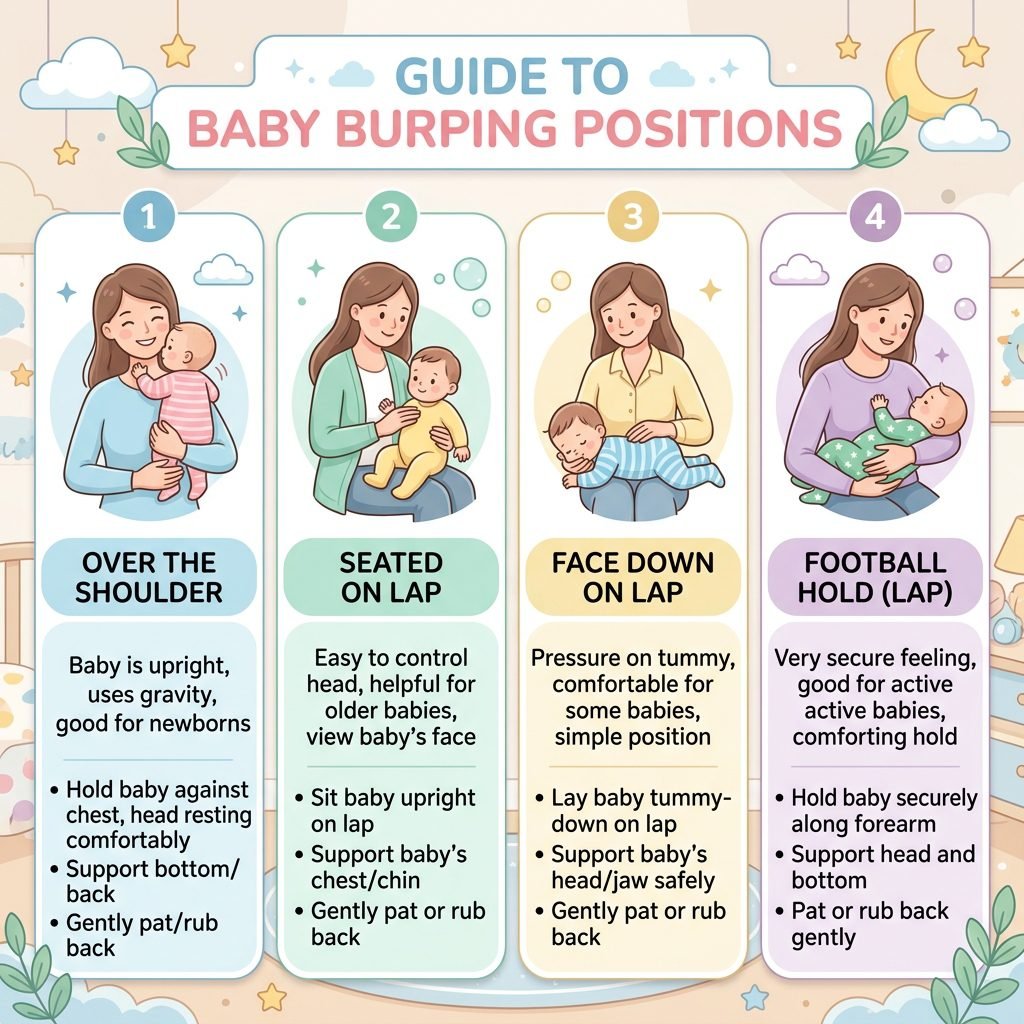
Not every baby responds to the same method. As a doula, I always suggest having a ‘toolbox’ of techniques. Use this table to decide which method to try based on your baby’s current state.
| Method | Best For… | Success Rate for ‘Stuck’ Gas |
|---|---|---|
| Over the Shoulder | Sleepy babies, light air bubbles | Medium |
| Face Down on Lap | Lower gas (farts), high-energy babies | High |
| Seated Circular | Stubborn bubbles, reflux-prone babies | Highest |
| The Football Hold | Colic episodes and evening fussiness | Medium-High |
Pro-Tip: If the Seated Circular method doesn’t work after 5 minutes, try ‘The Bounce’. While holding the baby in the seated position, gently bounce your knees up and down for 30 seconds to let gravity do the work, then return to the circles.
Troubleshooting: What If the Burp Won’t Come?

When the Bubble is Stubborn
Sometimes, the gas isn’t in the stomach yet—it’s further down in the intestines. If you’ve tried the circular method and your baby is still crying, it’s time to move the ‘other end.’ Here are my favorite doula-approved ’emergency’ moves:
- Bicycle Legs: Lay baby on their back and gently cycle their legs toward their tummy. This compresses the lower intestines.
- The ‘I Love You’ Massage: Trace the letters I, L, and U on your baby’s belly in a clockwise direction to follow the path of the colon.
- Tiger in the Tree: Lay the baby face-down along your forearm, with their head in your hand and their legs straddling your elbow. Walk around the room; the gentle pressure and movement often release gas instantly.
Is it Reflux or Gas?
If your baby is consistently screaming during or after feedings, pulling away from the breast or bottle, and the circular burping method results in projectile vomiting rather than a burp, you may be dealing with GERD (Gastroesophageal Reflux Disease). In these cases, the circular method is still safe, but you should keep the baby upright for at least 20-30 minutes after every feed.
The Golden Rules of Burping
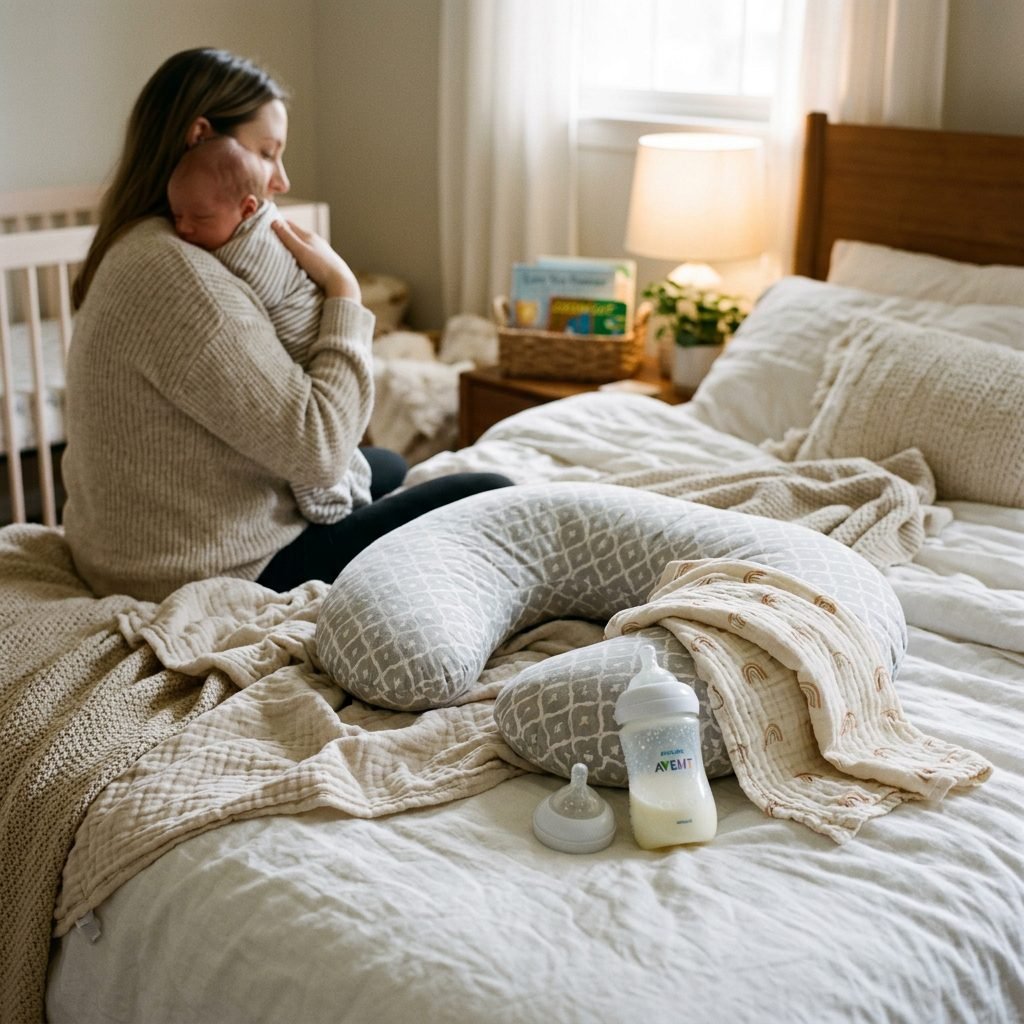
To make your life easier, keep these three golden rules in mind during your postpartum journey:
- Burp Mid-Feed: Don’t wait until the bottle is empty or the breast is finished. Burp when you switch sides or every 2-3 ounces. This prevents a massive bubble from forming at the bottom of the stomach.
- Watch the Cues: If your baby starts squirming, turning away, or making ‘grunting’ noises, they are telling you they need to burp. Don’t wait for the cry!
- Consistency is Key: Even if you don’t get a burp every time, the physical movement helps the digestive tract mature. You are doing great work, even in the silence.
“You are not failing if they don’t burp. You are providing the comfort and positioning they need to eventually pass that air. Trust the process.”
Conclusion
You’ve Got This, Mama
The Seated Circular Burping Method is more than just a technique; it’s a way to connect with your baby and understand their physical needs. It takes a little practice to get the rhythm right, but once you do, it will become your go-to tool for those fussy evenings. Remember, the ‘fourth trimester’ is a learning curve for both of you. Your baby is learning how to eat and digest, and you are learning how to be their guide.
Tonight, when you feel that familiar rise of frustration during a gassy episode, take a deep breath. Try the hula circles. Feel the weight of your baby in your hands and know that this phase is temporary. You are doing an incredible job, and that big, satisfying burp is just a few circles away!