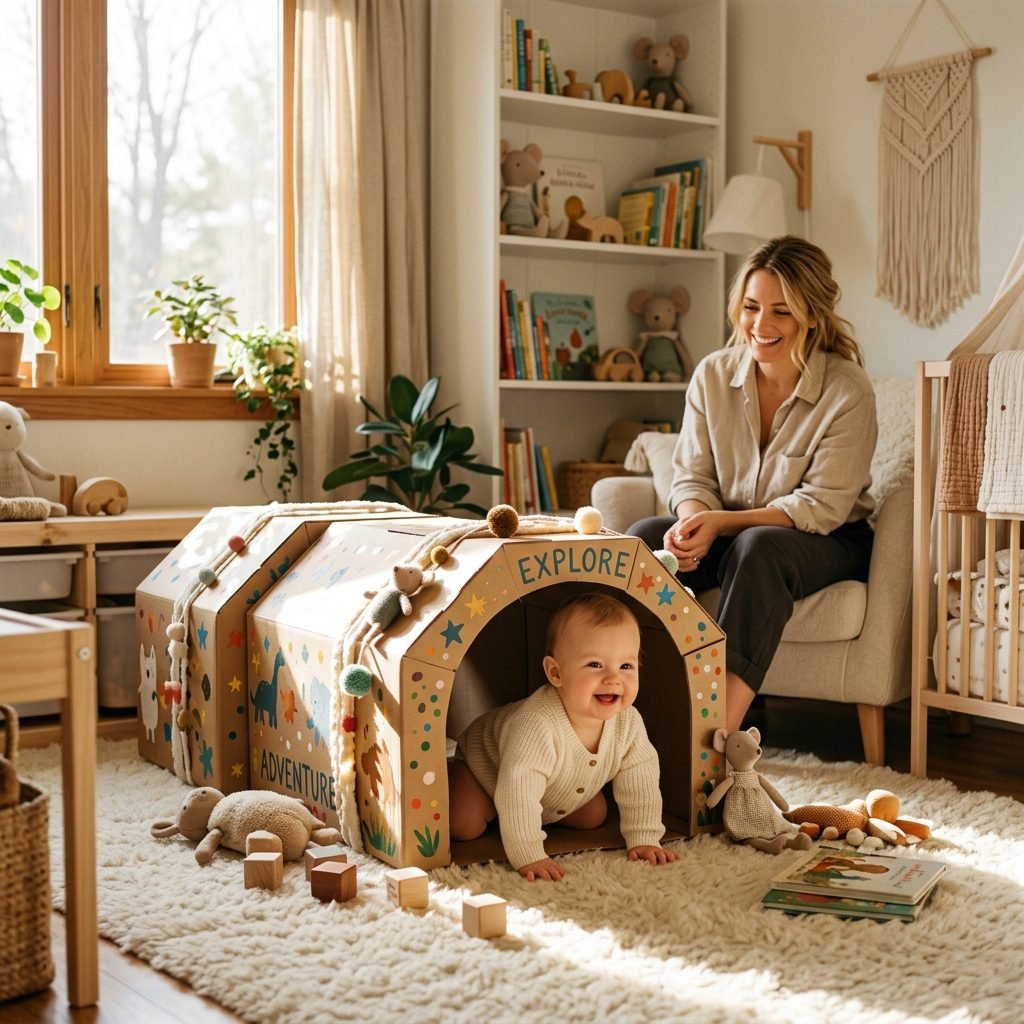
Recycle and Play: 7 Genius Cardboard Box Activities for Baby Development
The Magic of the Humble Box
Mama, we have all been there. You spend weeks researching the perfect, aesthetically pleasing, Montessori-aligned wooden toy, only for it to arrive and your little one to spend the entire afternoon obsessed with… the box it came in. It is a classic parenting trope for a reason. As a doula and a proponent of mindful parenting, I want to invite you to lean into that magic. In a world that often tells us we need to buy more to be better parents, the humble cardboard box stands as a testament to the fact that your presence and creativity are the most valuable gifts you can give your child.
Recycling and play go hand-in-hand. Not only is it eco-friendly and budget-conscious, but cardboard is also a sensory dream. It has a unique texture, it makes a satisfying sound when scratched or tapped, and it provides a sturdy yet lightweight structure for gross motor exploration. In this guide, we are going to transform those delivery boxes into seven genius developmental tools. These activities are designed to support your baby through key milestones—from the early days of tummy time to the exciting first steps of standing and cruising. Let’s roll up our sleeves and create some magic together.
Mama, your presence is the most important part of play. A simple box becomes a castle because you are there to cheer them on. You are doing an incredible job.
The Doula Guide to Safe & Sustainable Play
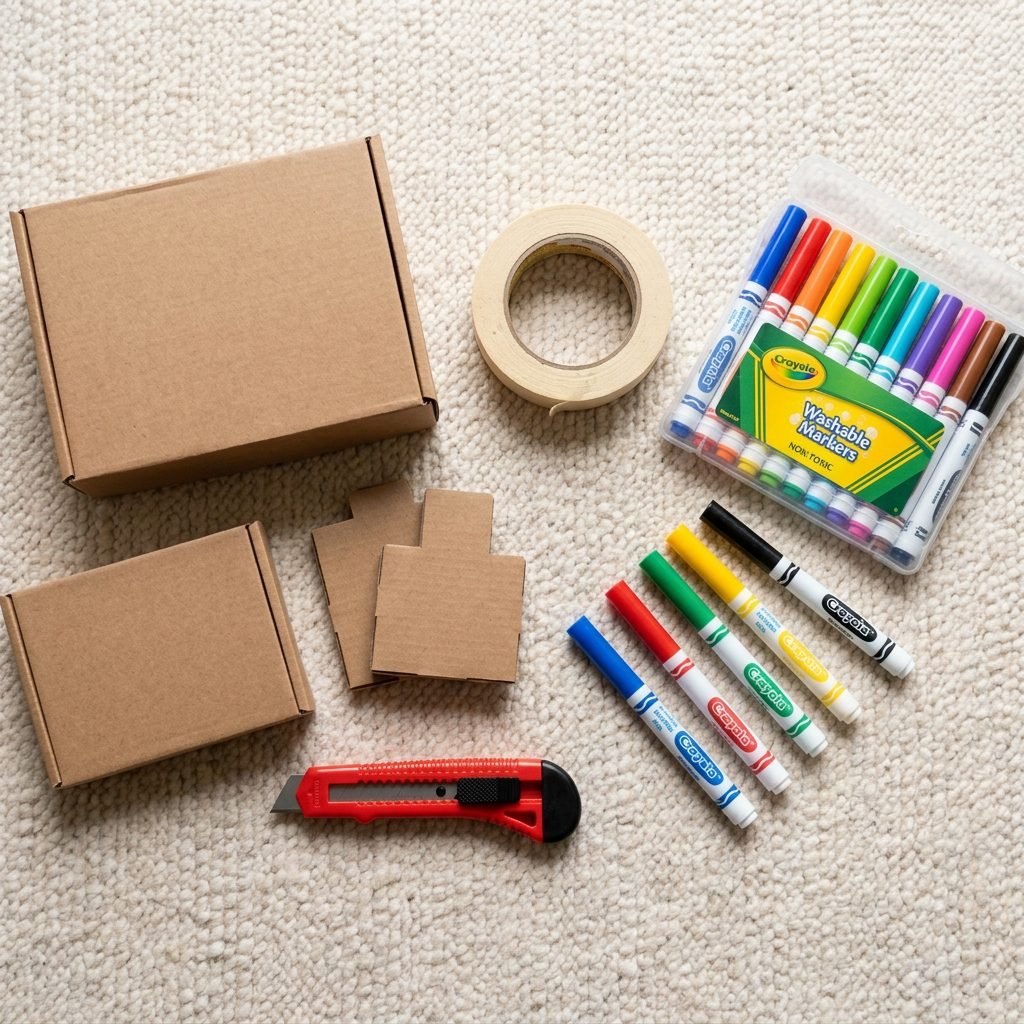
Before we dive into the crafts, let’s talk about the foundation. Not all boxes are created equal, and safety is our top priority. When selecting boxes for your baby, ensure they are clean and free from any residue. Avoid boxes that previously held chemicals, raw produce (which can harbor mold or pests), or heavy industrial items. Always inspect the box for heavy-duty staples, loose packing tape, or sharp edges. I recommend running a strip of painter’s tape or masking tape along all cut edges to prevent cardboard paper cuts—yes, those sting for babies too!
Creating a developmentally appropriate play space doesn’t have to break the bank. In fact, most of what you need is likely already in your recycling bin or junk drawer. By upcycling, you are teaching your child the value of sustainability from day one. Here is a breakdown of what you will need for our genius projects:
| Material | Developmental Use | Cost Estimate |
|---|---|---|
| Clean Shipping Boxes | Base for all activities | $0.00 |
| Painter’s or Masking Tape | Safety and assembly | $4.50 |
| Fabric Scraps/Old T-shirts | Tactile sensory input | $0.00 |
| Contact Paper | Sticky play and standing practice | $7.00 |
| Non-Toxic Markers or Paint | Visual stimulation | $8.00 |
| Empty Toilet Paper Rolls | Cause and effect chutes | $0.00 |
| Total Estimated Investment | Multiple Activities | ~$19.50 |
1. The Sensory Light & Shadow Tunnel
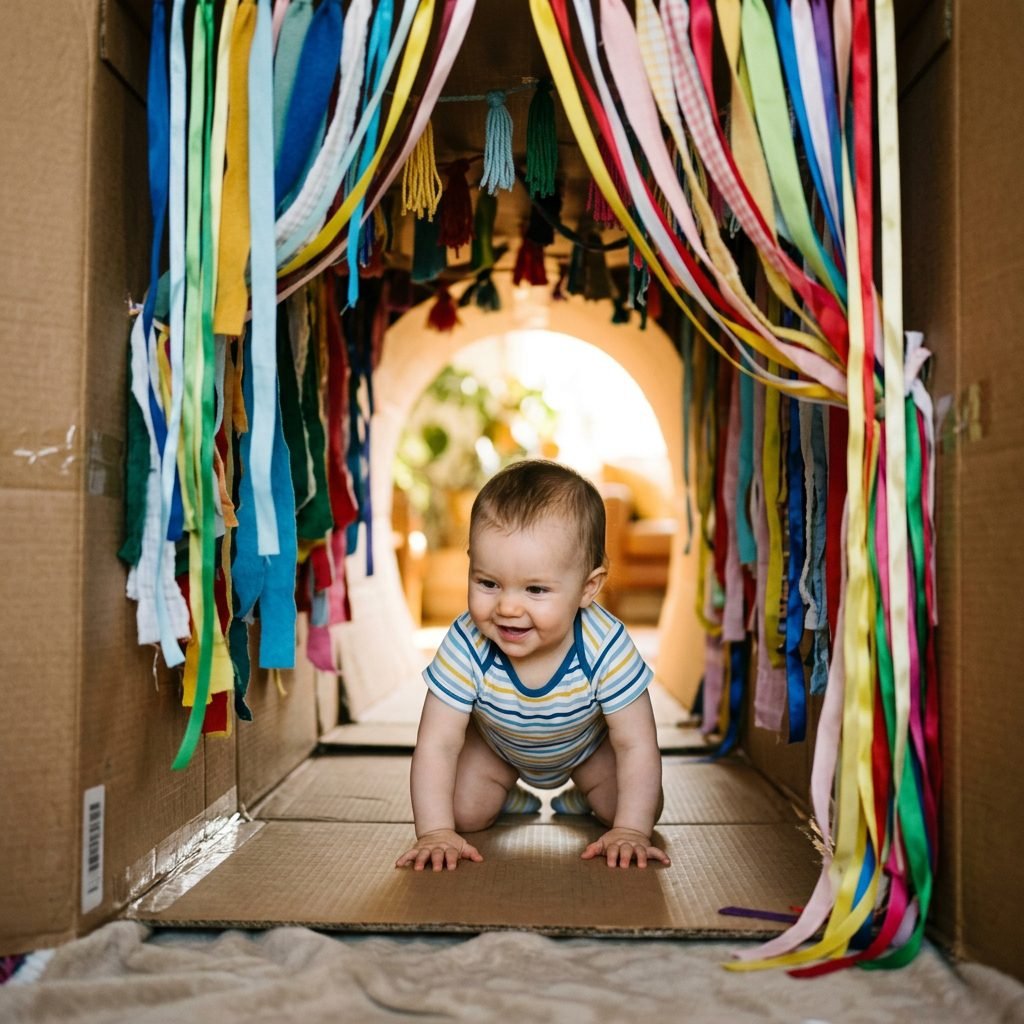
For babies who are starting to crawl or are comfortably spending time on their tummies, the Sensory Light & Shadow Tunnel is a game-changer. This activity encourages gross motor movement and visual tracking. By creating a dedicated space for them to move through, you are helping them develop proprioception—the sense of where their body is in space.
How to Build It:
- Open both ends of a large, long box (or tape two medium boxes together).
- Using a box cutter (away from baby!), cut small circles or star shapes into the top of the box.
- Drape a thin, light-colored scarf or piece of muslin over the top.
- Place a battery-operated lantern or a safe flashlight inside or just outside the holes to create dancing shadows.
As your baby crawls through, the changing light patterns and the enclosed space provide a gentle, cozy sensory experience. You can even hang strips of soft fabric from the ceiling of the tunnel for them to brush against, adding a tactile element that keeps them engaged and curious.
2. The Pincer-Grasp Post Box
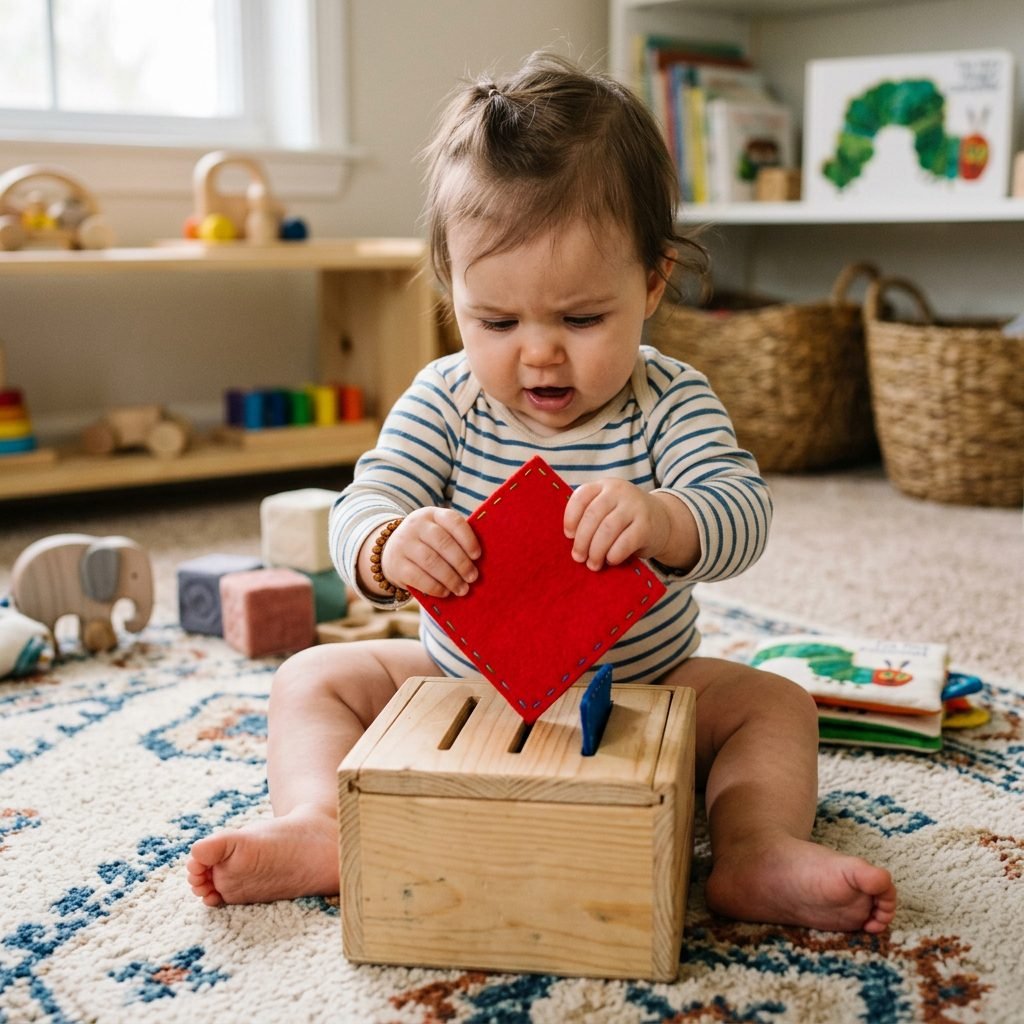
Around 9 to 12 months, you will notice your baby starting to pick up small objects with their thumb and forefinger. This is the celebrated pincer grasp! The Post Box activity is designed specifically to hone this fine motor skill, which is essential for later tasks like self-feeding and holding a pencil.
Step-by-Step Setup:
- Take a small to medium-sized box with a lid.
- Cut several thin slits and circular holes into the top.
- Gather safe, large items for ‘posting’—think large felt squares, jumbo popsicle sticks, or even plastic jar lids (ensure they are too large to be a choking hazard).
- Show your baby how to ‘post’ the item through the slot.
This activity isn’t just about the hands; it’s a lesson in object permanence. When the item disappears into the box, your baby learns that it still exists even though they can’t see it. The ‘thunk’ sound it makes when it hits the bottom provides immediate auditory feedback, reinforcing the concept of cause and effect.
3. The Sitting-Balance Ball Pit
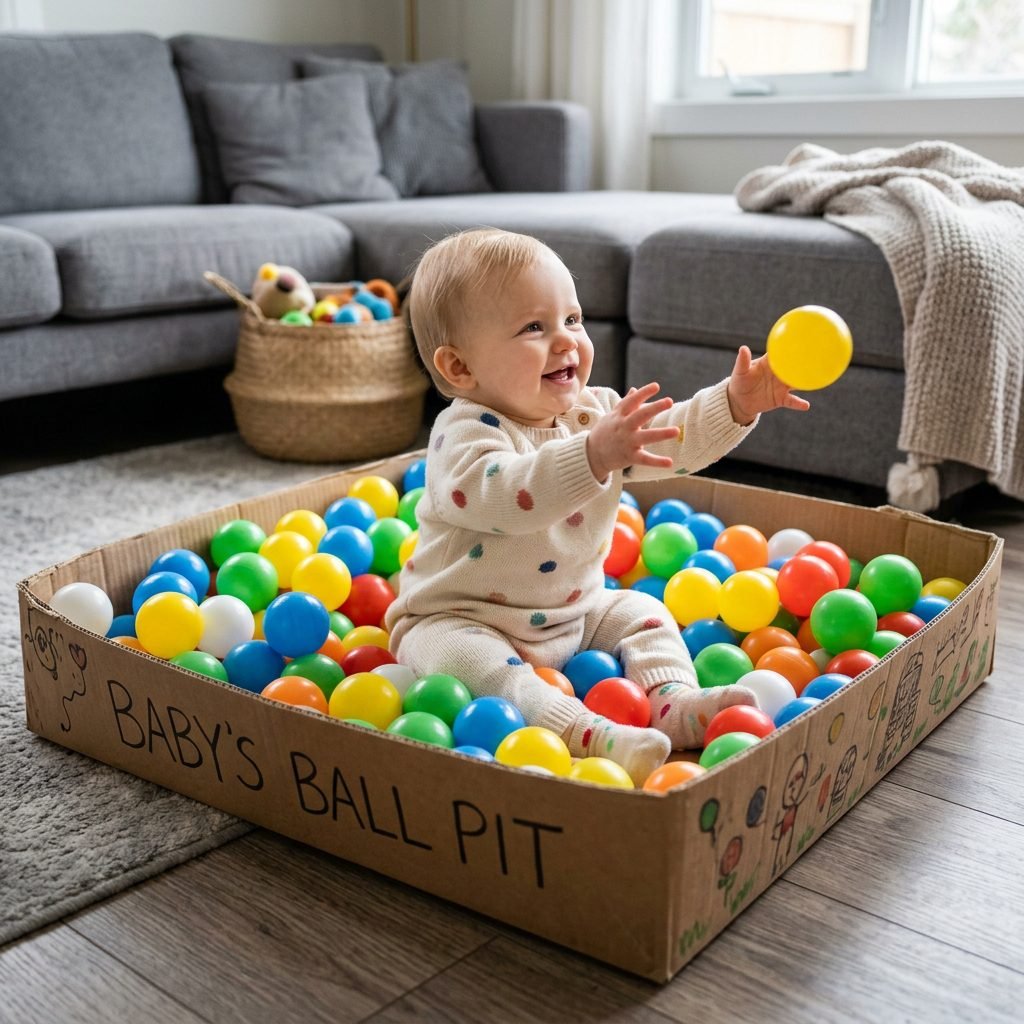
If your little one is at the stage where they are learning to sit independently, they need a safe ‘crash pad’ to practice their balance. A large, shallow cardboard box makes the perfect mini-ball pit. This contained environment helps them feel secure while they work on their core strength and trunk rotation.
Creating the Pit:
- Find a wide, shallow box (like a fruit crate or a large delivery box cut down to 6 inches high).
- Line the bottom with a soft blanket for extra comfort.
- Fill the box with soft pit balls, crumpled paper, or even clean socks.
- Place your baby in the center with a few favorite toys.
As they reach for the balls or toys around them, they are shifting their weight and strengthening their abdominal muscles. If they happen to topple over, the low sides and soft lining keep them safe. This is also a wonderful way to introduce color recognition by asking them to find the ‘red ball’ or the ‘blue sock’.
4. The Tactile Exploration Board
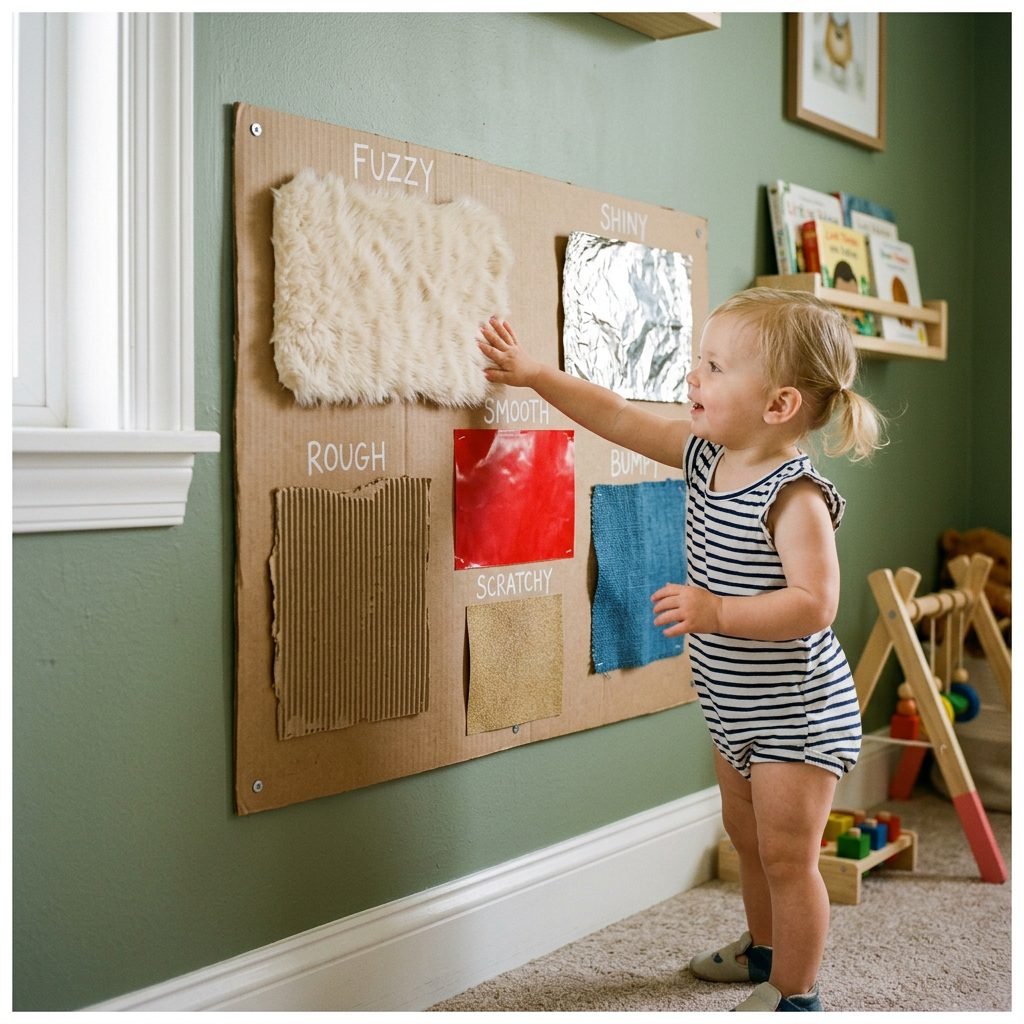
Babies explore the world through their sense of touch. A tactile board (or ‘busy board’) made from cardboard is a low-cost way to provide a variety of textures in one place. This activity is perfect for babies who are sitting up or starting to pull to a stand.
Material Ideas for Your Board:
- Smooth: A piece of aluminum foil (taped down securely) or silk fabric.
- Rough: A clean scouring pad or coarse sandpaper.
- Squishy: A sponge or a small bag filled with hair gel (double-bagged and taped).
- Bumpy: Corrugated cardboard or bubble wrap.
Simply glue or tape these items to a large, flat piece of cardboard. You can lean it against a wall or tape it to the floor for tummy time. As your baby touches each surface, use descriptive words like ‘soft,’ ‘bumpy,’ or ‘cold.’ This language immersion combined with sensory input is a powerful way to boost brain development.
5. The Object-Permanence Peek-a-Boo House
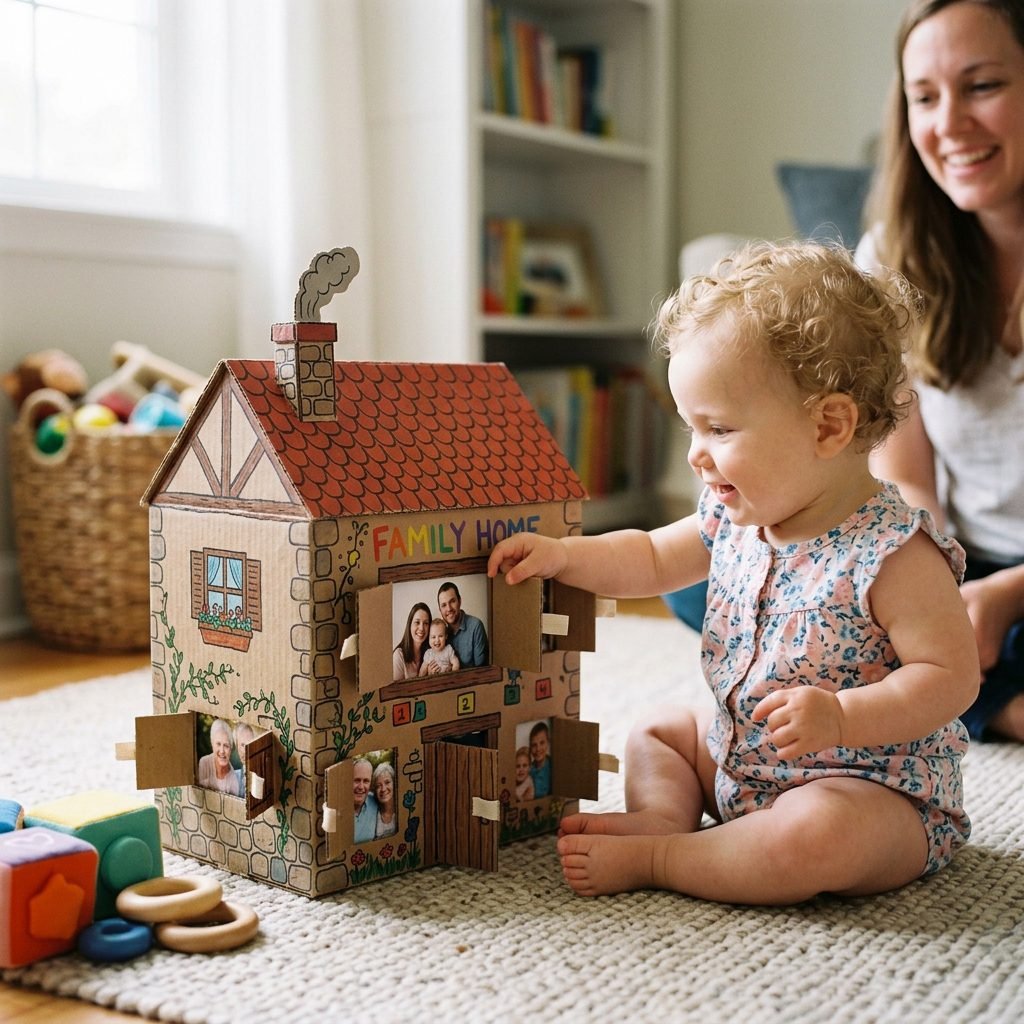
Object permanence is a major cognitive milestone usually reached between 4 and 7 months. It’s the understanding that things (and people!) continue to exist even when they are hidden. A cardboard ‘Peek-a-Boo House’ is a delightful way to practice this through play.
How to Make the House:
- On a medium box, cut 3 or 4 ‘windows’ or ‘doors’ but leave one side attached so they can flap open and shut.
- Behind each door, tape a photo of a family member, a pet, or a high-contrast image.
- Encourage your baby to reach out and open the door to find the ‘surprise’ inside.
The physical act of grasping the flap and pulling it open builds hand-eye coordination, while the emotional reward of seeing a familiar face builds social-emotional bonds. You can even add different fabrics to the flaps to make them easier to grab for younger babies.
6. The Cause-and-Effect Ribbon Box
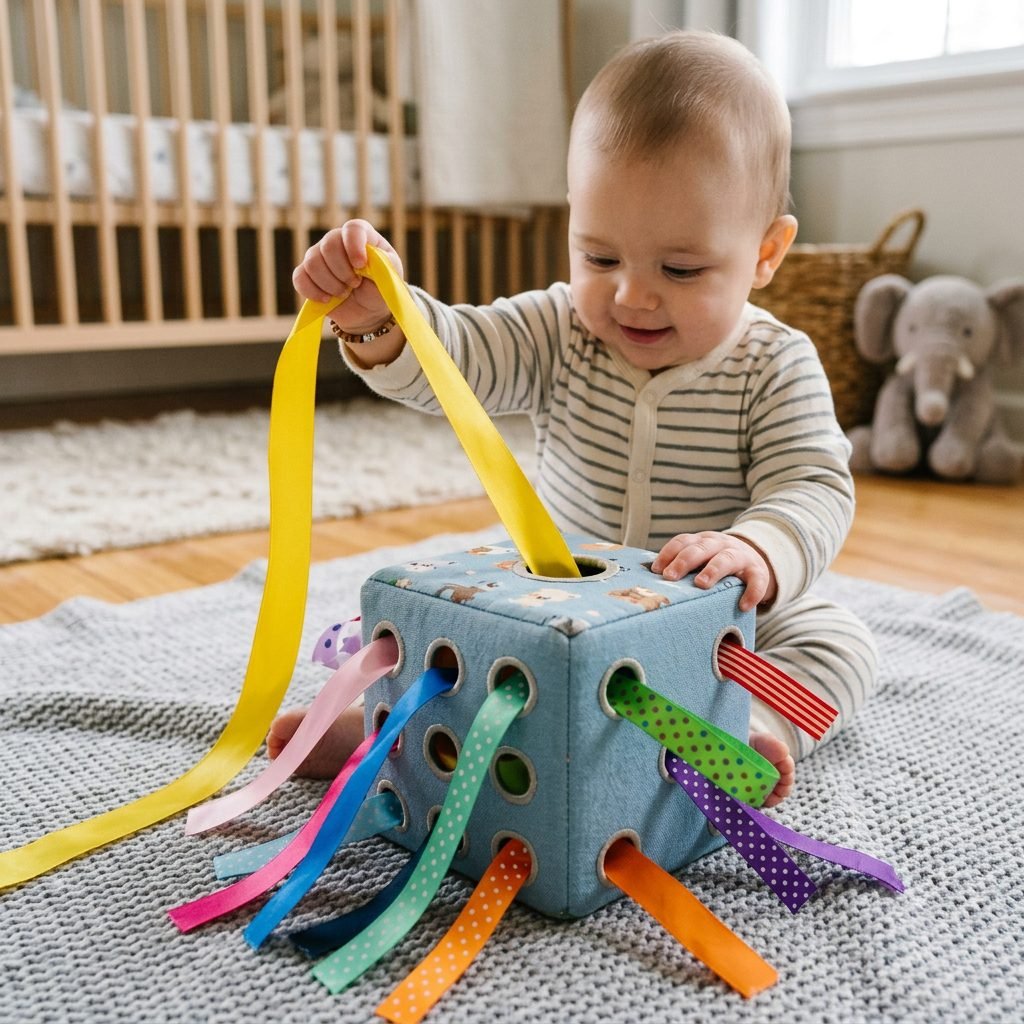
This is one of my favorite ‘quiet time’ activities. The Ribbon Box is mesmerizing for babies and toddlers alike. It teaches bilateral coordination (using both sides of the body at once) and the fundamental concept of cause and effect.
Assembly Instructions:
- Poke several small holes on opposite sides of a medium-sized box.
- Thread long, colorful ribbons through the holes and tie large knots at each end so they can’t be pulled all the way through.
- Make sure the ribbons are short enough that they don’t pose a tangle risk, but long enough to be pulled several inches.
- Watch as your baby pulls one side, and the other side gets shorter!
The resistance of the ribbon moving through the cardboard provides proprioceptive input to the joints in their hands and arms. It is a deeply satisfying task that encourages focus and persistence. It is also a great travel toy—a smaller version can keep a baby occupied in the car or a stroller.
7. The Pull-Up Sticky Wall
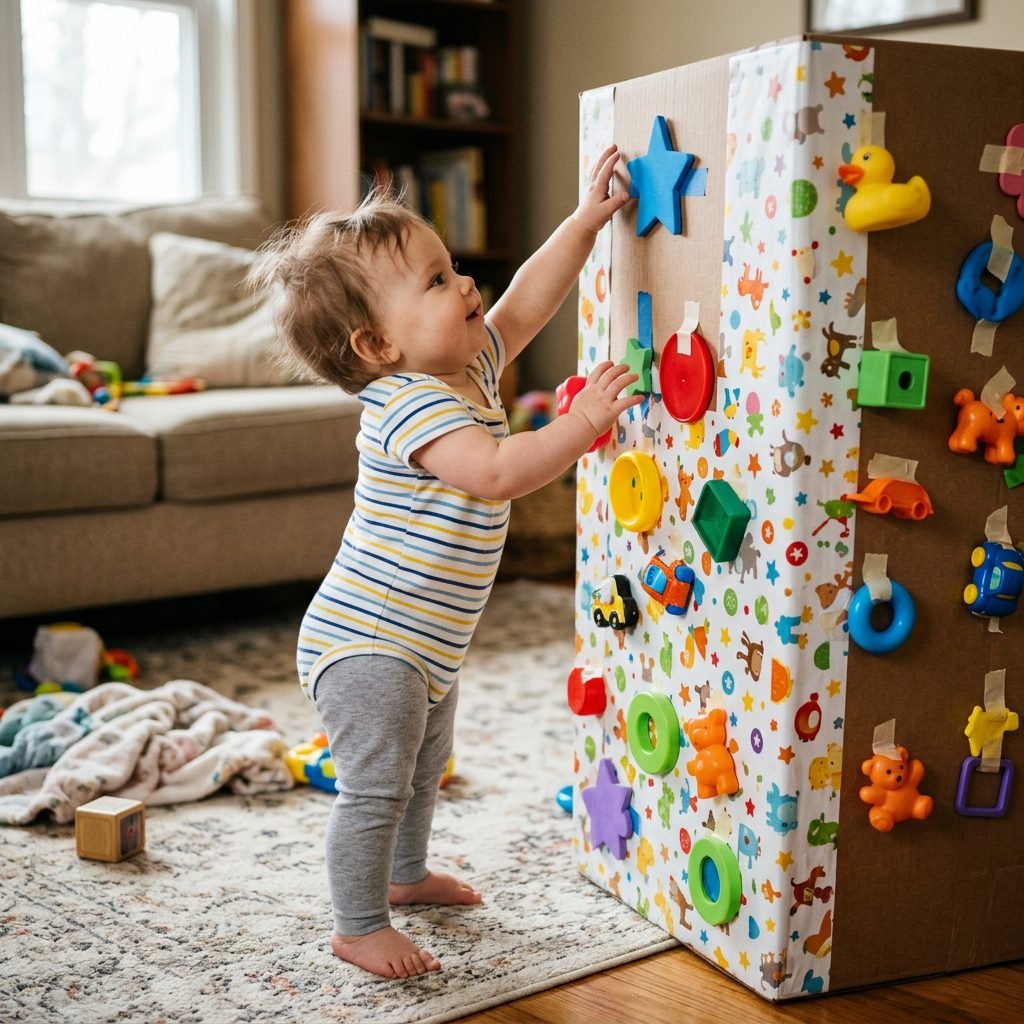
For the baby who is ready to stand, we want to provide motivation to stay upright and strengthen those little legs. The Sticky Wall uses contact paper to create a vertical play surface that is absolutely addictive for curious hands.
Setting Up the Wall:
- Find a tall, sturdy box (like a wardrobe box or a stacked set of boxes) and weight the bottom with heavy books so it won’t tip.
- Tape a large piece of contact paper to the side of the box, sticky side facing out.
- Stick lightweight items to the surface: feathers, bits of tissue paper, plastic jar lids, or foam shapes.
- Place your baby in front of the wall.
Your baby will naturally want to reach up and pull the items off the sticky surface. This ‘vertical play’ is essential for shoulder stability and core strength. The effort required to pull an object off the sticky paper also works the small muscles in the hand, preparing them for more complex tasks later on.
Conclusion: Small Moments, Big Growth
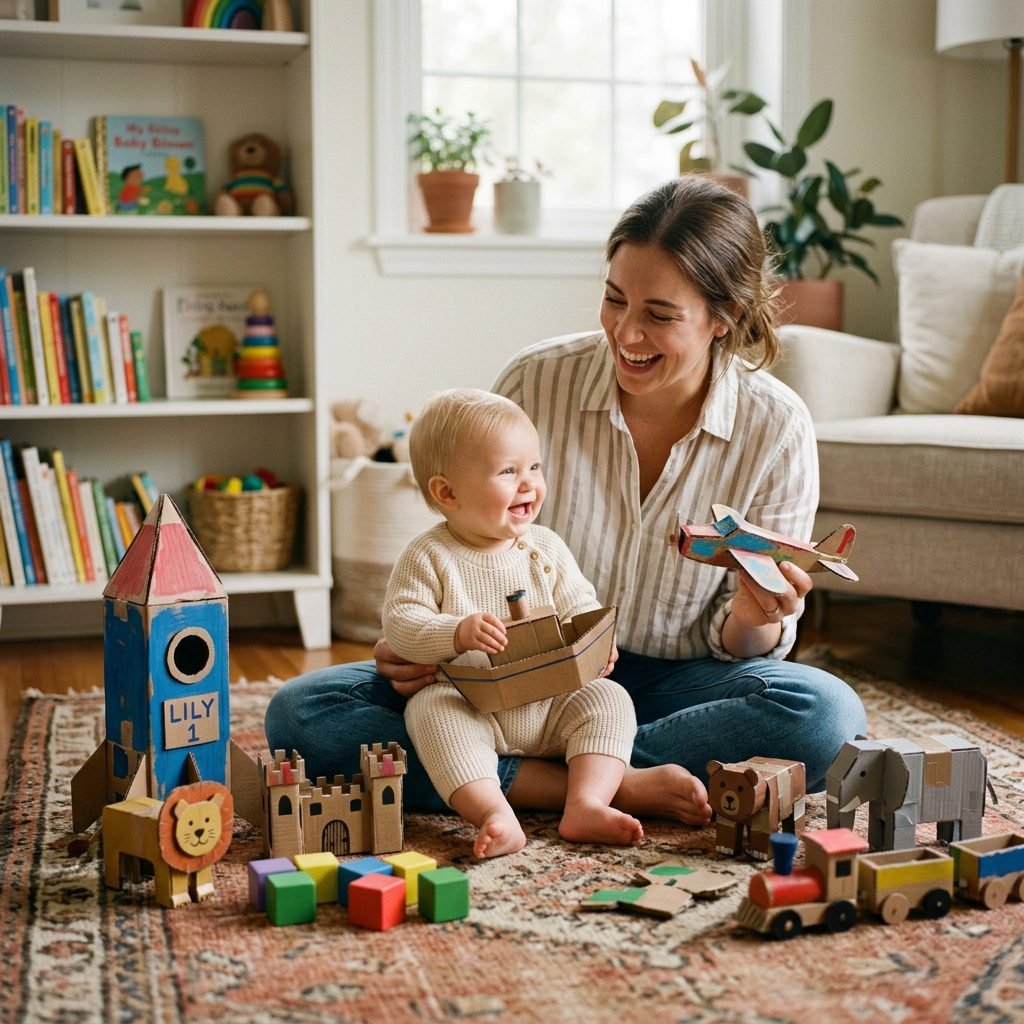
Mama, as we wrap up this journey through the world of cardboard creativity, I want you to take a deep breath and realize how much you have already accomplished. You don’t need a nursery full of expensive gadgets to foster a brilliant, curious, and capable child. By using these seven genius cardboard box activities, you are providing your baby with a rich, multi-sensory environment that respects their developmental pace and encourages natural exploration.
Remember, the goal isn’t to have a Pinterest-perfect craft; the goal is the connection and the process. If the box gets smashed, if the tape comes loose, or if your baby is more interested in chewing the corner of the cardboard than crawling through the tunnel—that is okay! That is play. You are building their brain, one recycled box at a time. Keep being the amazing, resourceful mother you are. You’ve got this!
Conclusion
In the end, the most powerful tool for your baby’s development isn’t something you can buy—it is the environment you create for them. These cardboard activities are more than just ‘hacks’; they are invitations for your child to discover their own capabilities. From the fine motor precision of the Post Box to the gross motor confidence of the Sticky Wall, you are laying the groundwork for a lifetime of learning. So, the next time that delivery truck pulls up, see it not just as a package, but as a new opportunity to play, grow, and bond with your little one. Happy crafting!