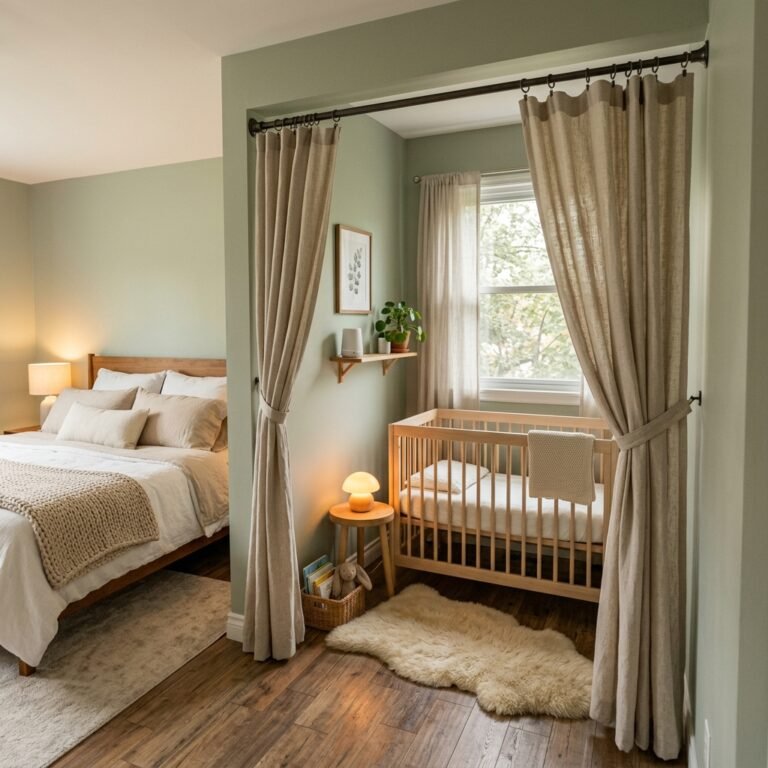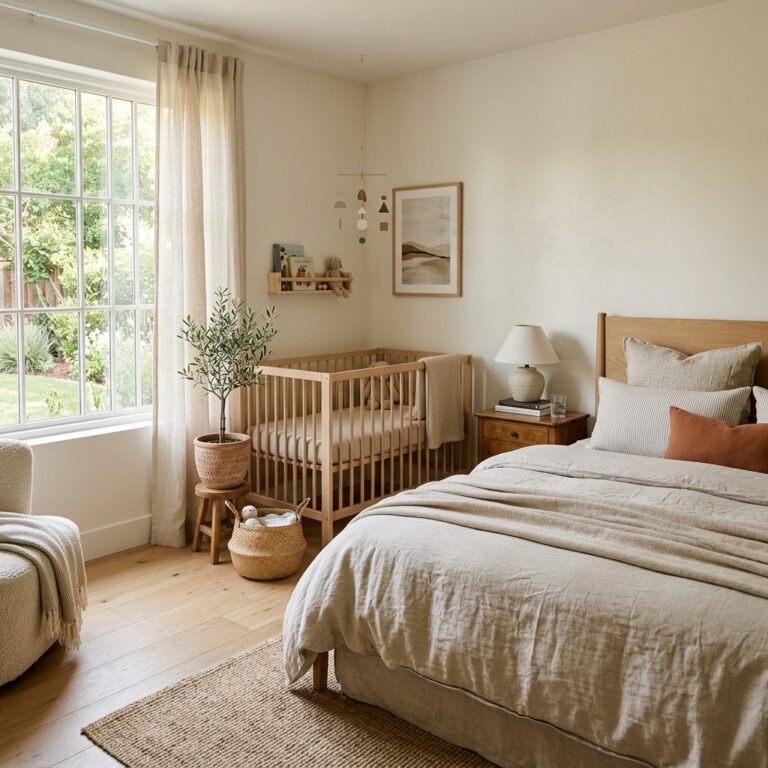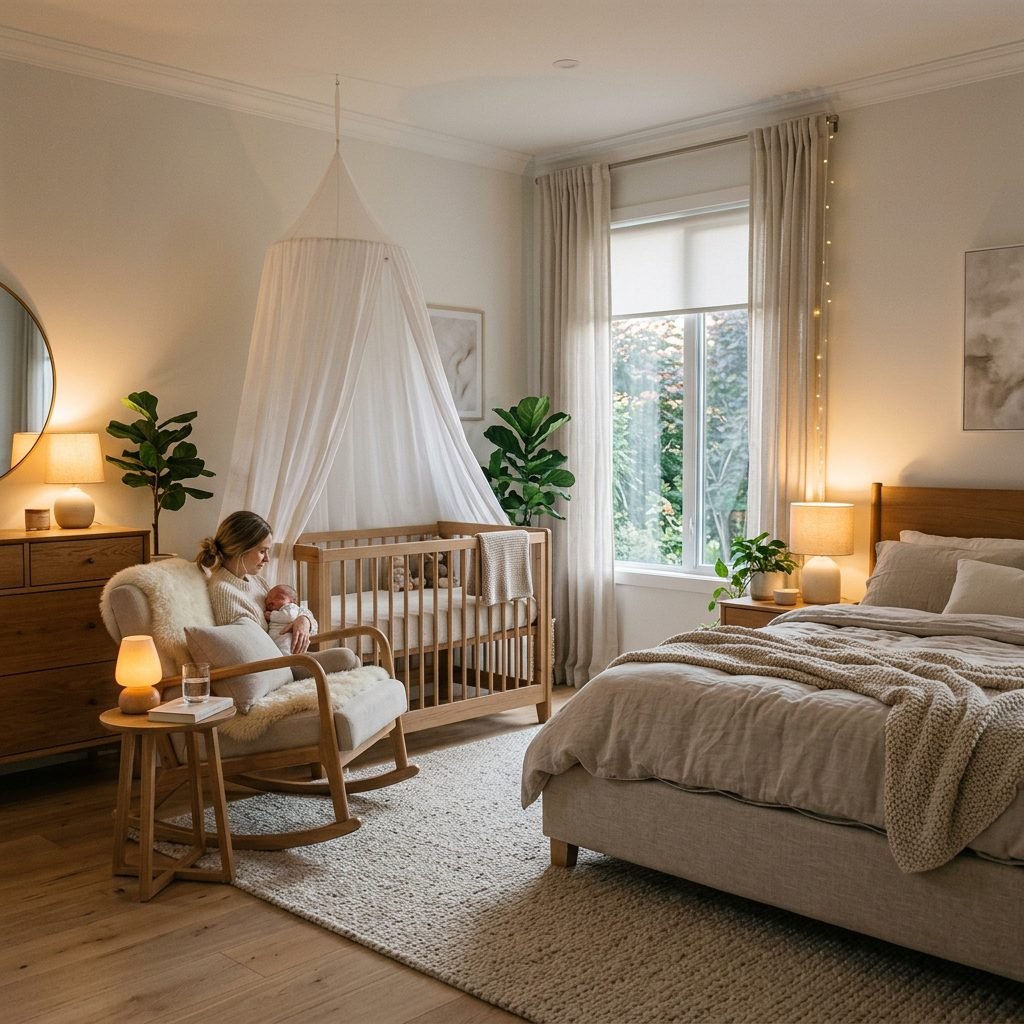
How to Create a Cozy Baby Nook in Your Master Bedroom Using a Crib Canopy
Welcome, mama! Whether you are currently in the thick of the nesting phase or you have just brought your little one home, creating a dedicated space for your baby within your own bedroom is one of the most beautiful ways to ease into the fourth trimester. As a doula, I often see parents struggling to balance the need for proximity with the desire to maintain a sense of ‘adult’ sanctuary in their primary bedroom. The American Academy of Pediatrics (AAP) recommends room-sharing for at least the first six months, and a cozy baby nook is the perfect solution.
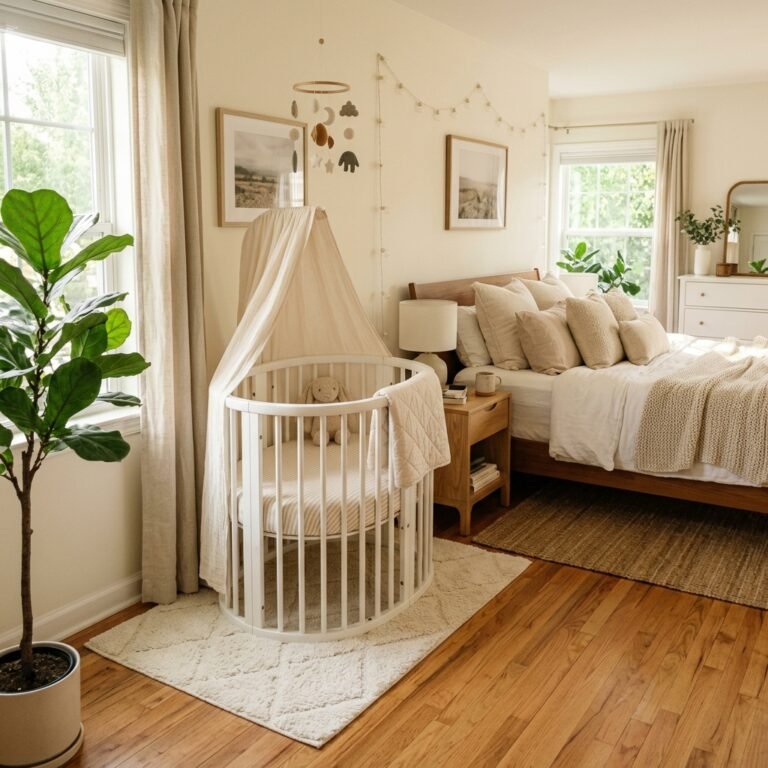
Using a crib canopy isn’t just about that dreamy, Pinterest-worthy aesthetic—though it certainly delivers on that! It serves a functional purpose by creating a visual ‘room within a room,’ helping to dampen light during daytime naps and providing a sense of security for your newborn as they transition from the snugness of the womb to the big, wide world. In this guide, we are going to walk through exactly how to style, organize, and—most importantly—safely install a crib canopy to create the ultimate master bedroom baby nook.
“Your bedroom is the first world your baby will know. Let it be a place of soft edges, gentle light, and infinite warmth.”
The Psychology of the Nook: Why a Dedicated Space Matters

When you bring a baby into your master bedroom, it can quickly feel like baby gear is taking over your entire life. By intentionally creating a ‘nook,’ you are setting boundaries that help you maintain your identity as a woman and a partner, while fully embracing your role as a mother. A crib canopy acts as a soft architectural element that defines the baby’s territory without requiring a physical wall.
Benefits of a Bedroom Baby Nook
- Enhanced Bonding: Having baby within arm’s reach makes middle-of-the-night feedings and soothing much easier, promoting better sleep for everyone.
- Visual Calm: A canopy helps hide the ‘clutter’ of a crib (like extra sheets or pacifiers) from your direct line of sight when you are trying to rest.
- Light Control: If you are reading with a bedside lamp, a canopy can provide a slight buffer of shade for a sleeping infant.
When planning your nook, consider the ‘flow’ of the room. You want the crib to be close enough for easy access but positioned so that you aren’t tripping over it in the dark. Pro tip: Place the nook in a corner away from direct air conditioning vents or drafty windows.
Choosing the Perfect Canopy: Style vs. Function
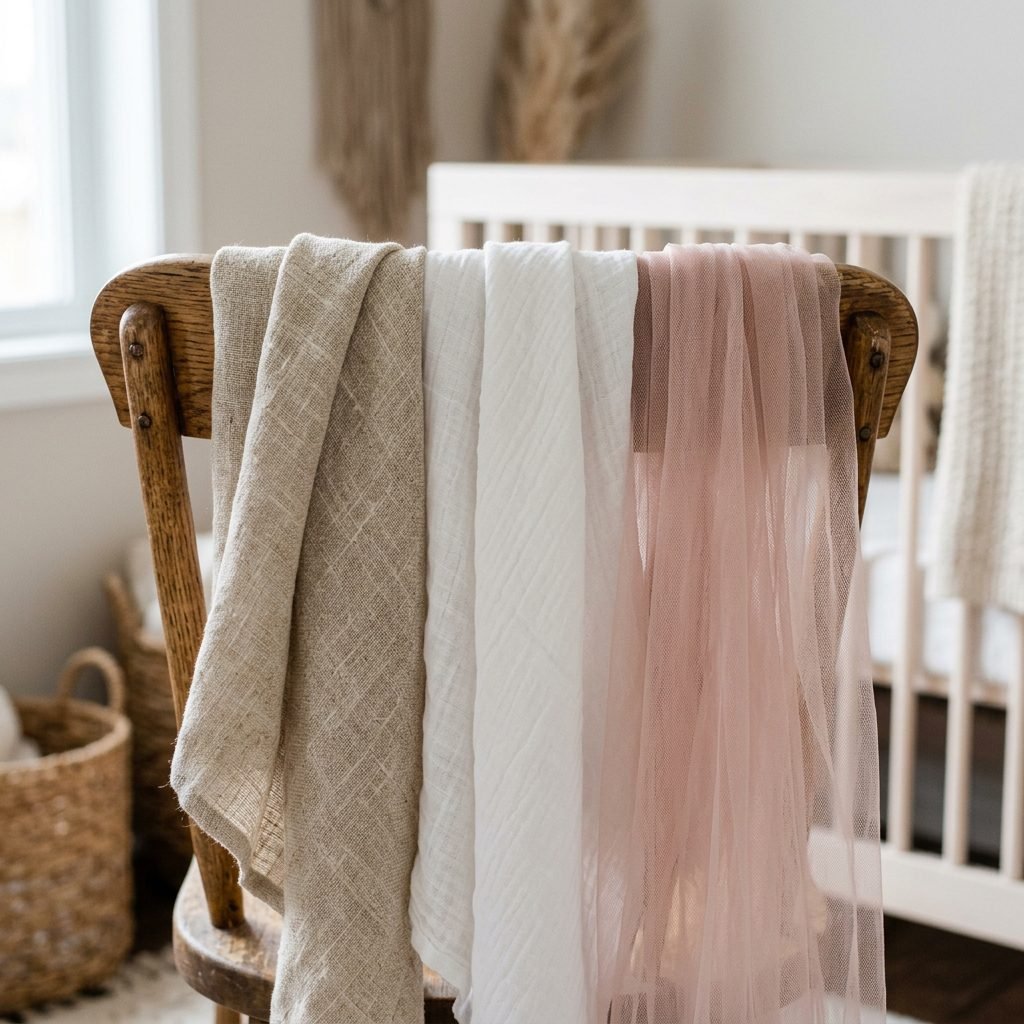
Not all canopies are created equal, mama! When you are shopping, you need to consider the material, the mounting style, and how it fits with your existing decor. For a master bedroom, I usually recommend breathable, natural fabrics like linen or cotton muslin. These materials allow for airflow and have a timeless, sophisticated look that won’t make your bedroom look like a playroom.
Canopy Mounting Types
| Mount Type | Pros | Cons |
|---|---|---|
| Ceiling-Mounted | Creates a dramatic, high-ceiling look; very stable if anchored correctly. | Requires drilling into the ceiling; permanent location. |
| Crib-Attached (Hoop) | Easy to move with the crib; no damage to walls or ceilings. | Can feel less ‘grand’; may be easier for an older baby to pull on. |
| Floor-Stand Canopies | Portable and versatile; no installation required. | Takes up extra floor space; potential tipping hazard if not weighted. |
If you are going for a Boho-Chic vibe, look for canopies with tassel details or pom-poms. For a Minimalist Modern look, a simple white or dove gray linen drape with clean lines is perfection. Always ensure the fabric is long enough to pool slightly on the floor if you want that high-end look, but be mindful of tripping hazards!
Safety First: The Doula’s Guide to Safe Canopy Use
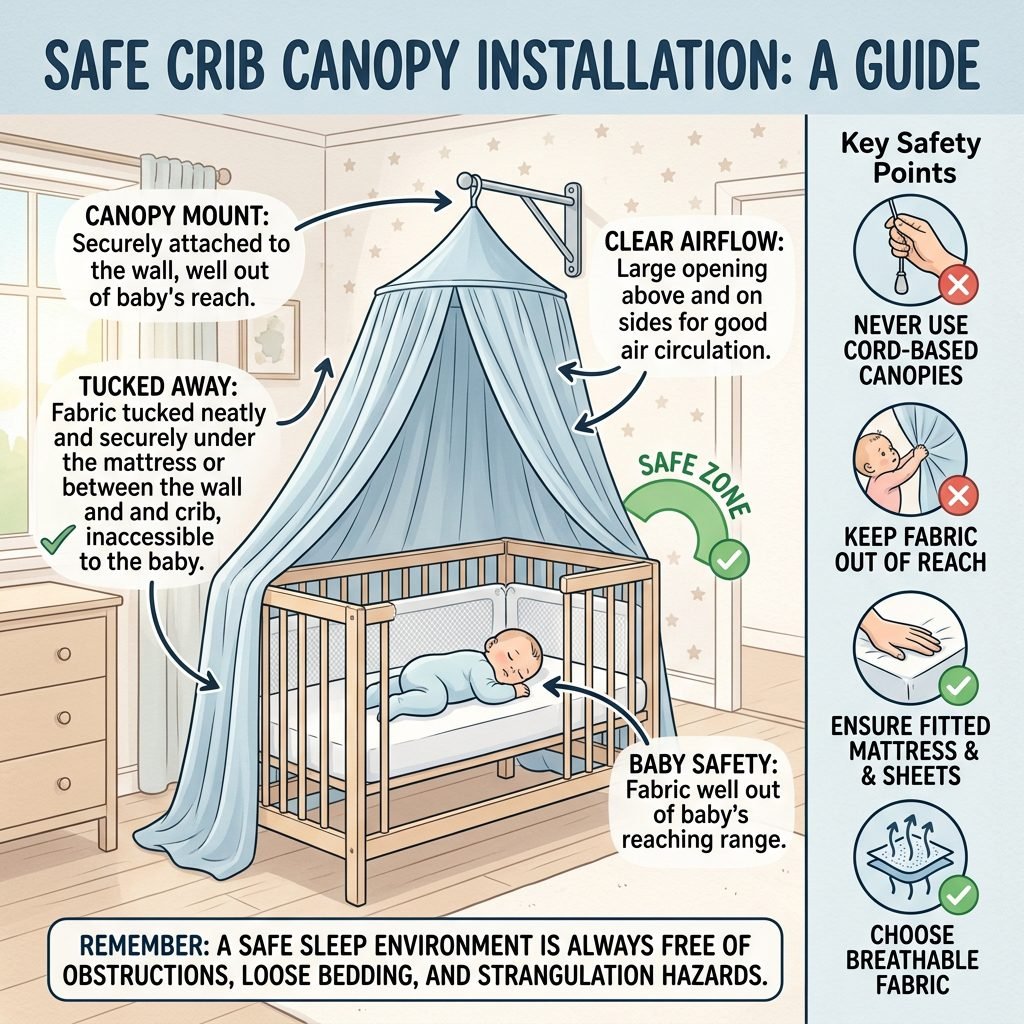
I have to put on my ‘safety expert’ hat for a moment, because your baby’s well-being is the top priority. While canopies are stunning, they must be used with extreme caution once your baby becomes mobile. As a doula, I recommend a strict ‘safety-first’ approach to installation.
Critical Safety Rules
- The ‘Reach’ Rule: Once your baby can sit up, pull themselves up, or reach the fabric, the canopy must be moved or removed. Fabric is a strangulation and entanglement hazard.
- Secure Anchoring: If you are ceiling-mounting, you must use a heavy-duty drywall anchor or screw directly into a ceiling joist. A falling canopy is a major risk.
- Airflow: Never drape the canopy entirely over the top of the crib like a tent. It should frame the back or the head of the crib, leaving the front and sides open for maximum ventilation.
- No Decorations Inside: Avoid hanging heavy mobiles, fairy lights, or garlands from the inside of the canopy where they could fall into the crib.
“Safe sleep is the best sleep. A beautiful nursery is only perfect when it is also a secure sanctuary.”
Check the mounting hardware weekly to ensure nothing has loosened over time. If you notice your little one starting to grab at the fabric during diaper changes or playtime, it’s time to transition the canopy to a reading nook in a different part of the room where they are supervised.
Step-by-Step: Setting Up Your Nook
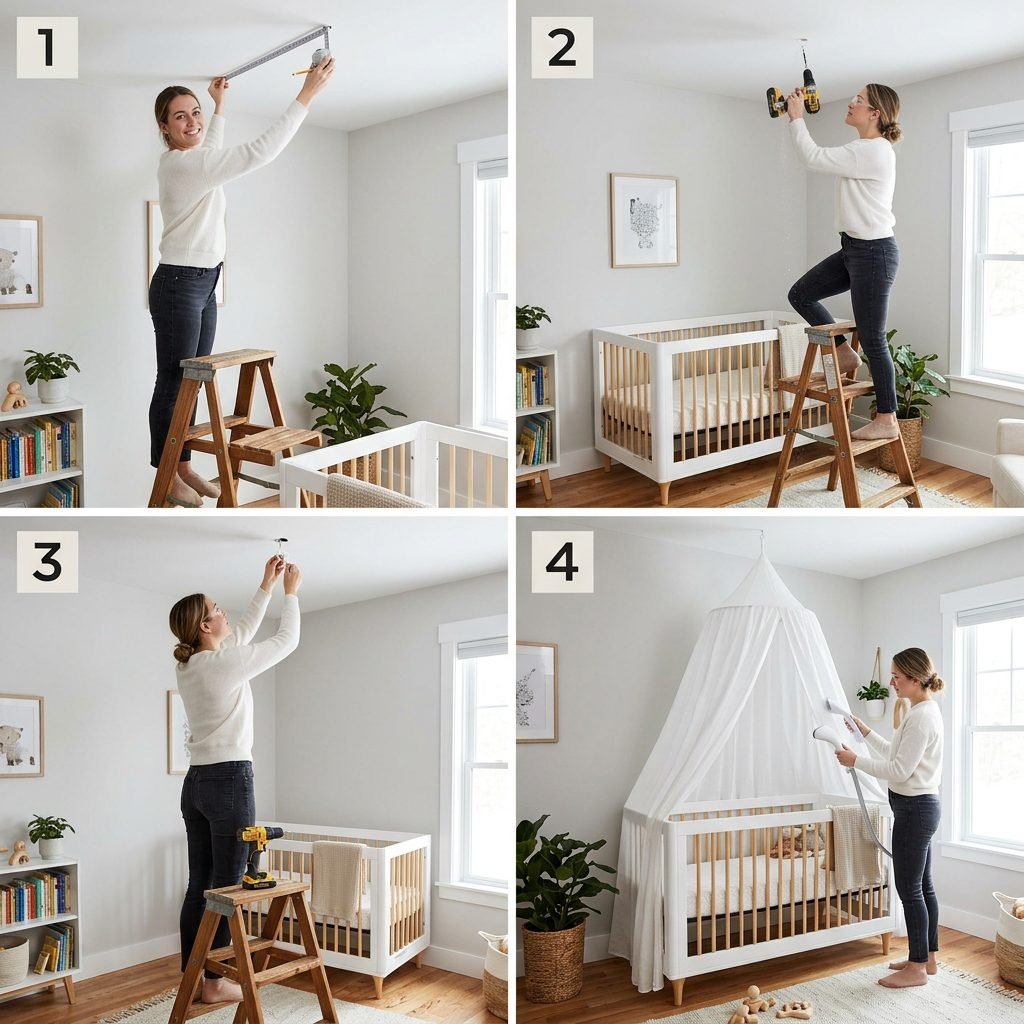
Ready to get your hands dirty? Let’s build this sanctuary! Creating the nook takes about 60 to 90 minutes of focused time. Grab a partner or a friend to help with the ceiling mounting.
Materials Needed
- Your chosen canopy (washed and steamed to remove wrinkles).
- A heavy-duty ceiling hook and anchor.
- A drill and bits.
- A measuring tape.
- Optional: A small dimmable warm-light lamp for the nook area.
Installation Steps
- Measure the Height: Measure from the ceiling to the floor. Most standard canopies are 90 to 100 inches long. You want the hoop to sit high enough that the fabric drapes elegantly but doesn’t create a massive pile of fabric that baby can grab.
- Mark Your Spot: Position the crib exactly where you want it. Mark the ceiling directly above the center-back of the crib.
- Install the Anchor: Drill your pilot hole and insert the anchor. Screw in the hook until it is flush with the ceiling.
- Hang and Steam: Hang the canopy and use a handheld steamer to release any packaging creases. This makes a huge difference in the final look!
- Style the Base: Arrange the fabric so it flows behind the crib. You can use small 3M hooks on the wall to ‘pin’ the fabric back if you want a more open look.
Small Space Storage Hacks for the Master Nook
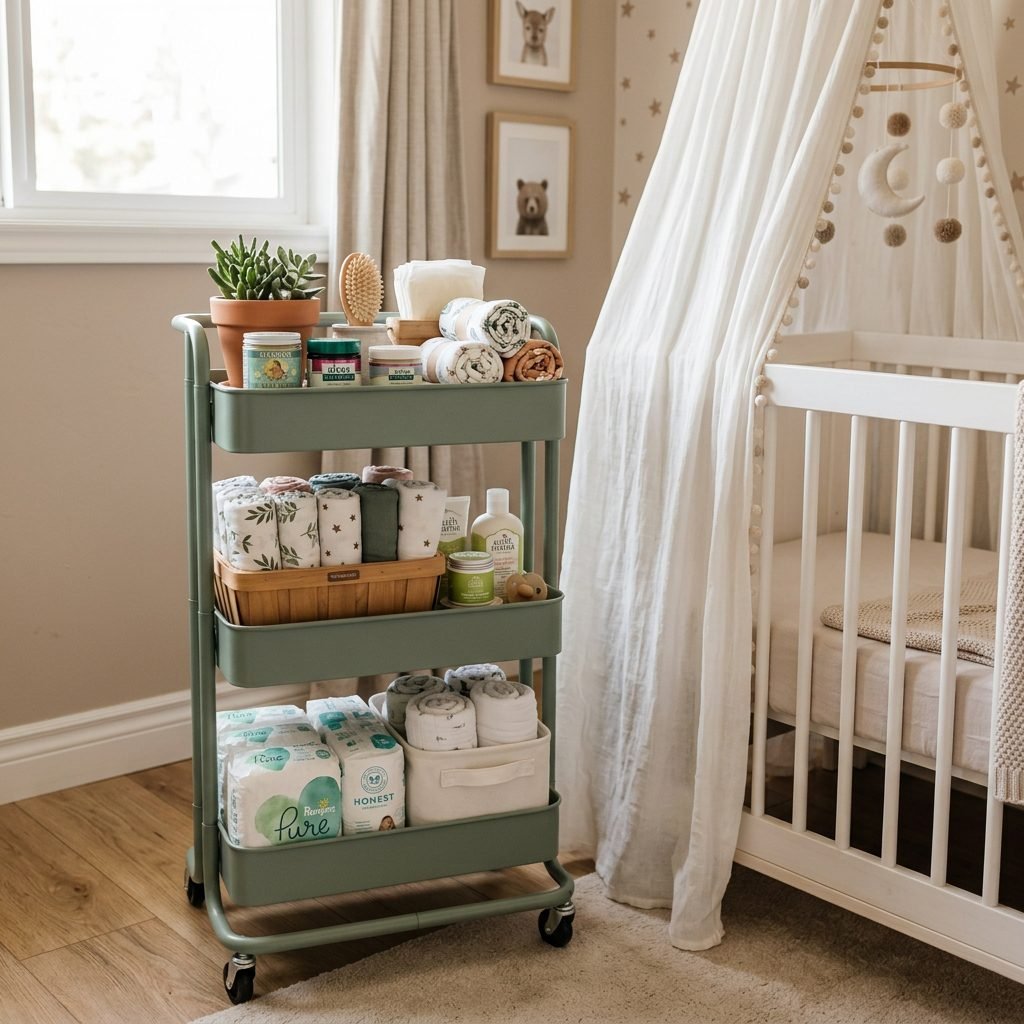
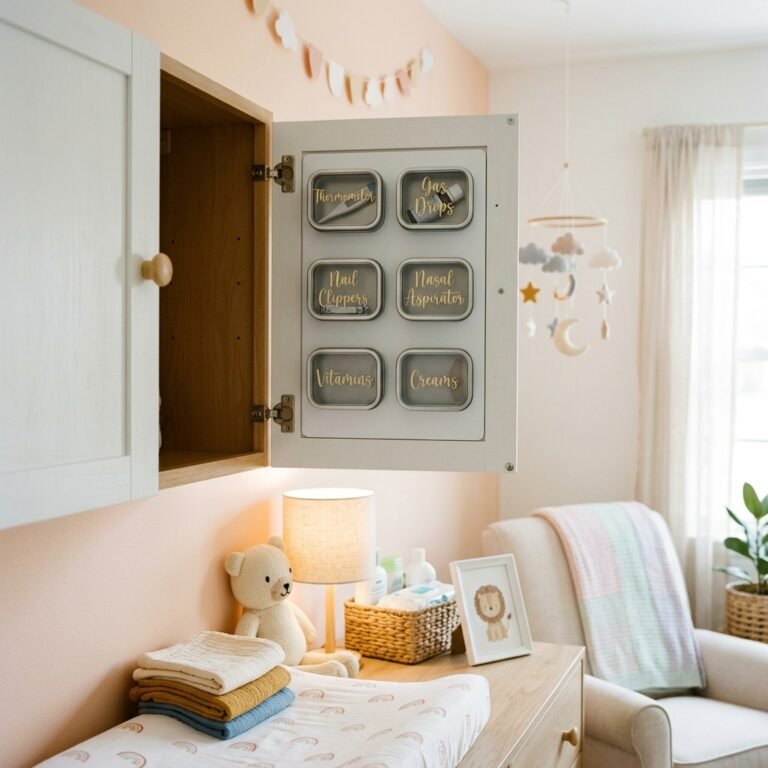
One of the biggest challenges of a bedroom nook is the lack of storage. You don’t want your beautiful master suite looking like a diaper warehouse! The key is vertical storage and dual-purpose furniture.
Nook Storage Essentials
| Storage Need | Space-Saving Solution |
|---|---|
| Diapers & Wipes | A rolling cart (like the IKEA Råskog) that can be tucked into a closet. |
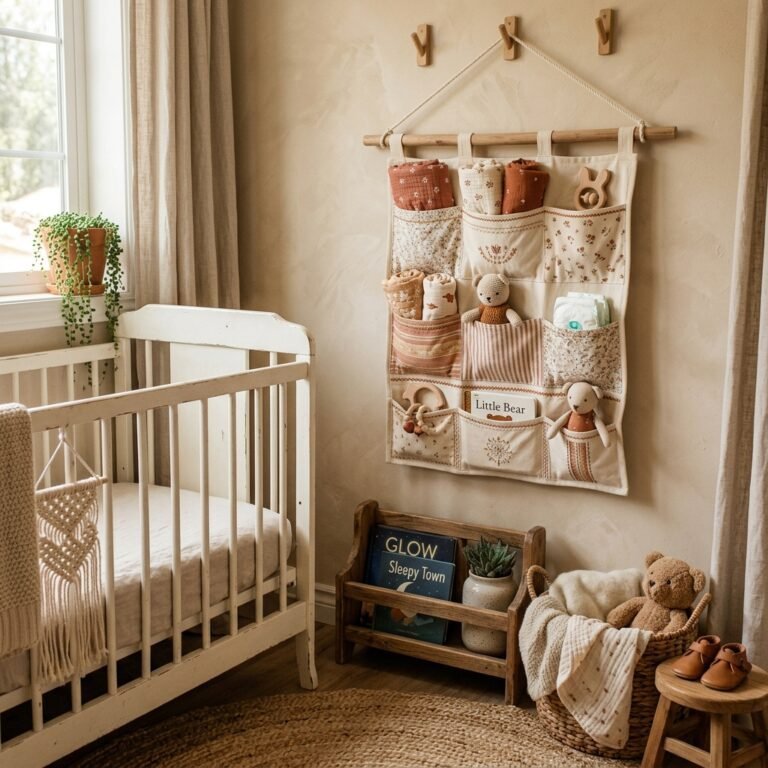
| Burp Cloths & Swaddles | Over-the-door clear organizers or hanging macrame baskets. |
| Midnight Snacks/Water | A small floating shelf installed next to your side of the bed. |
| Dirty Laundry | A slim, aesthetic wicker hamper that fits between the crib and the wall. |
Keep your ‘active’ supplies (the things you need at 3 AM) within arm’s reach of the crib, and store backstock (bulk diapers, next-size-up clothes) under your own bed in lidded bins. This keeps the nook area feeling airy and intentional rather than cramped.
Adding the Finishing Touches: Sensory and Aesthetic Details
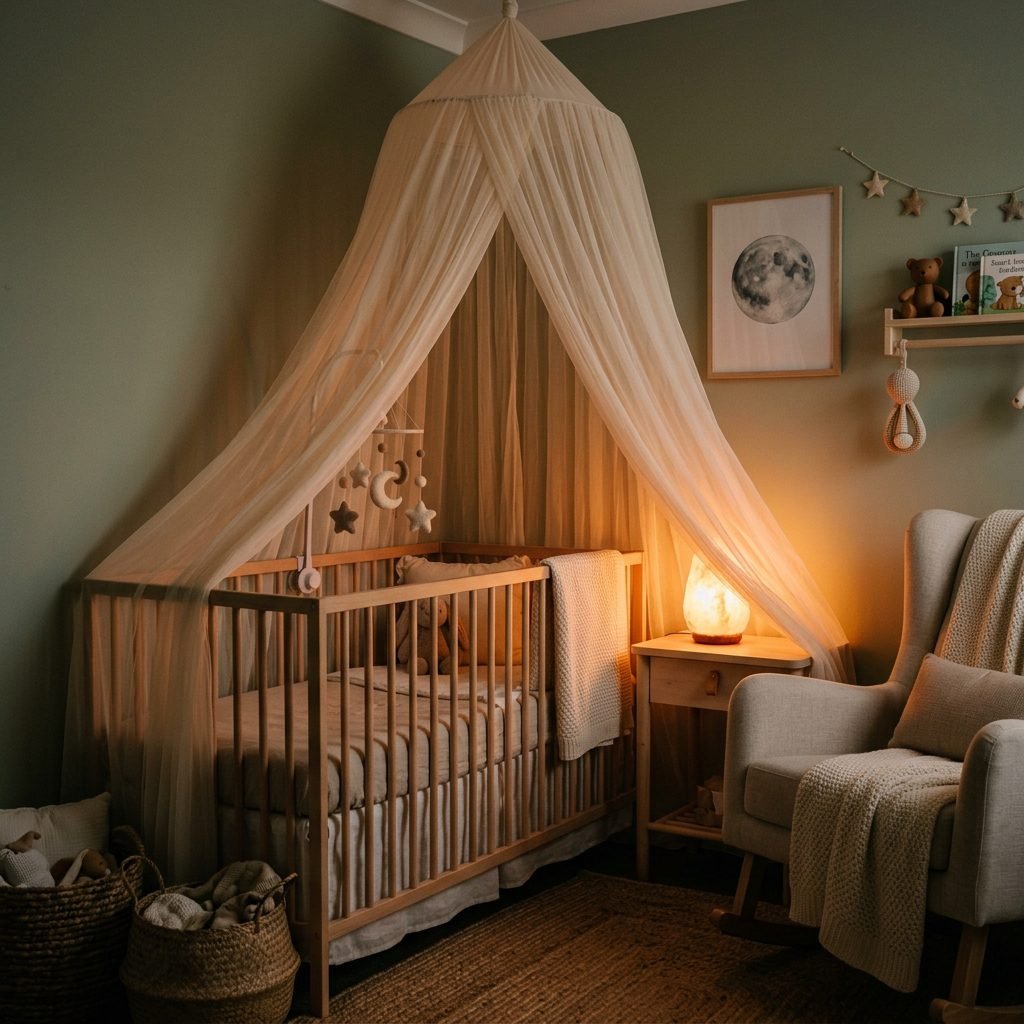
Now for the fun part! Let’s make it cozy. To create a cohesive look between your ‘adult’ space and the ‘baby’ space, stick to a unified color palette. If your bedding is navy and white, choose a light blue or crisp white canopy.
Styling Tips
- Texture is Key: Layer a soft sheepskin rug (for you to stand on during those late-night rocks!) next to the crib.
- Soft Lighting: Avoid harsh overhead lights. Use a small salt lamp or a dimmable LED ‘egg’ light inside the nook for low-stimulation diaper changes.
- Soundscape: Place a white noise machine on a low shelf nearby. This helps drown out your own movements (or snoring!) so baby stays asleep.
- Wall Art: A single piece of meaningful art—perhaps a framed birth affirmation or a botanical print—can ground the nook.
Remember, mama, this space is for you as much as it is for the baby. If looking at this beautiful little corner makes you feel calm and capable, then it’s doing its job perfectly.
Conclusion
Creating a cozy baby nook in your master bedroom is a beautiful act of preparation for the life-changing journey of motherhood. By using a crib canopy, you’ve not only designed a stylish ‘room within a room,’ but you’ve also created a functional, soothing environment that supports the precious bond between you and your newborn during those first few months. Remember to keep safety at the forefront of your design, and don’t be afraid to adjust the space as your baby grows and their needs change. You are doing an incredible job, mama. Enjoy these quiet, canopy-shrouded moments—they go by faster than you can imagine.