How to Paint and Arrange IKEA Mosslanda Picture Ledges for a Trendy Front-Facing Nursery Library
Hello, beautiful mama. If you are reading this, chances are that the nesting instinct has officially kicked in. You might be standing in the middle of a half-finished nursery, hands resting on your growing belly, dreaming of the quiet, cozy moments you will soon spend rocking your sweet baby to sleep. As a doula and a fellow mother, I want to validate this deeply primal urge to prepare your nest. Nesting isn’t just about decorating; it is a profound emotional preparation. You are literally making space in your home and your heart for your little one.
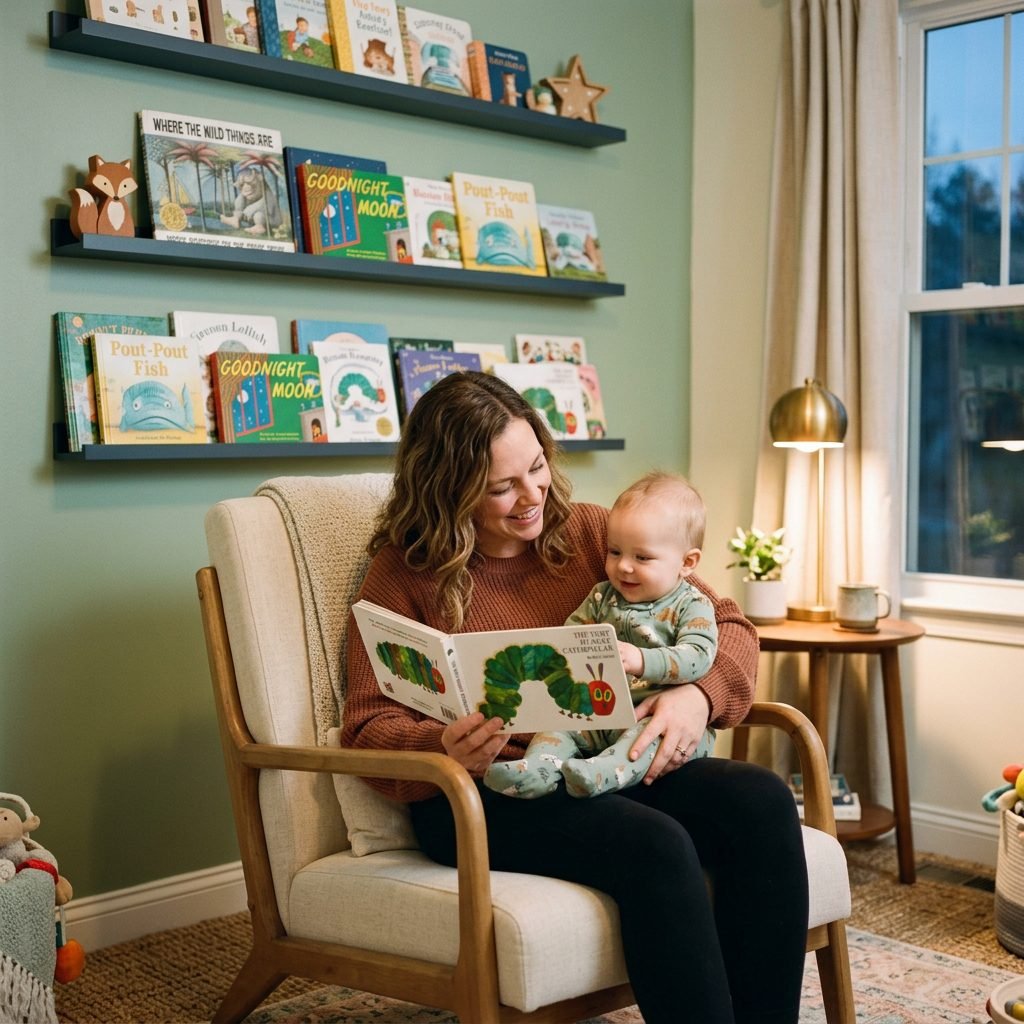
One of the most magical additions you can make to your baby’s room is a reading nook. But let’s be honest—traditional bookshelves can be bulky, take up precious floor space, and honestly, they hide the best part of children’s books: their gorgeous, colorful covers! Enter the front-facing nursery library. Not only does a front-facing book display look incredibly trendy and aesthetic, but it is also highly recommended by pediatric development experts and Montessori educators.
Today, we are going to talk about the ultimate nursery DIY: hacking the beloved IKEA Mosslanda picture ledge. These ledges are affordable, perfectly sized, and feature a brilliant little front lip that keeps books from sliding off onto the floor. However, they only come in basic colors like white, black, and wood veneer. What if you want a soft sage green, a warm terracotta, or a dusty rose to match your carefully curated nursery palette?
“Creating your baby’s space should be a joyful act of love, not a source of stress. Take this DIY one step at a time, listen to your body, and ask for help when you need it.”
In this comprehensive guide, we will walk through exactly how to properly paint IKEA laminate (which requires a special trick!), how to space your shelves for maximum storage, and how to safely anchor them to the wall so you can rest easy. Grab a cup of red raspberry leaf tea, put your swollen feet up for a moment, and let’s design the nursery library of your dreams.
Why a Front-Facing Library is a Nursery Must-Have
Before we dive into the paint and power tools, let’s talk about why this specific setup is so beneficial for your baby’s development. As a pediatric sleep consultant and doula, I always look at nursery design through two lenses: safety and developmental support. A front-facing library checks both boxes beautifully.
The Montessori Philosophy
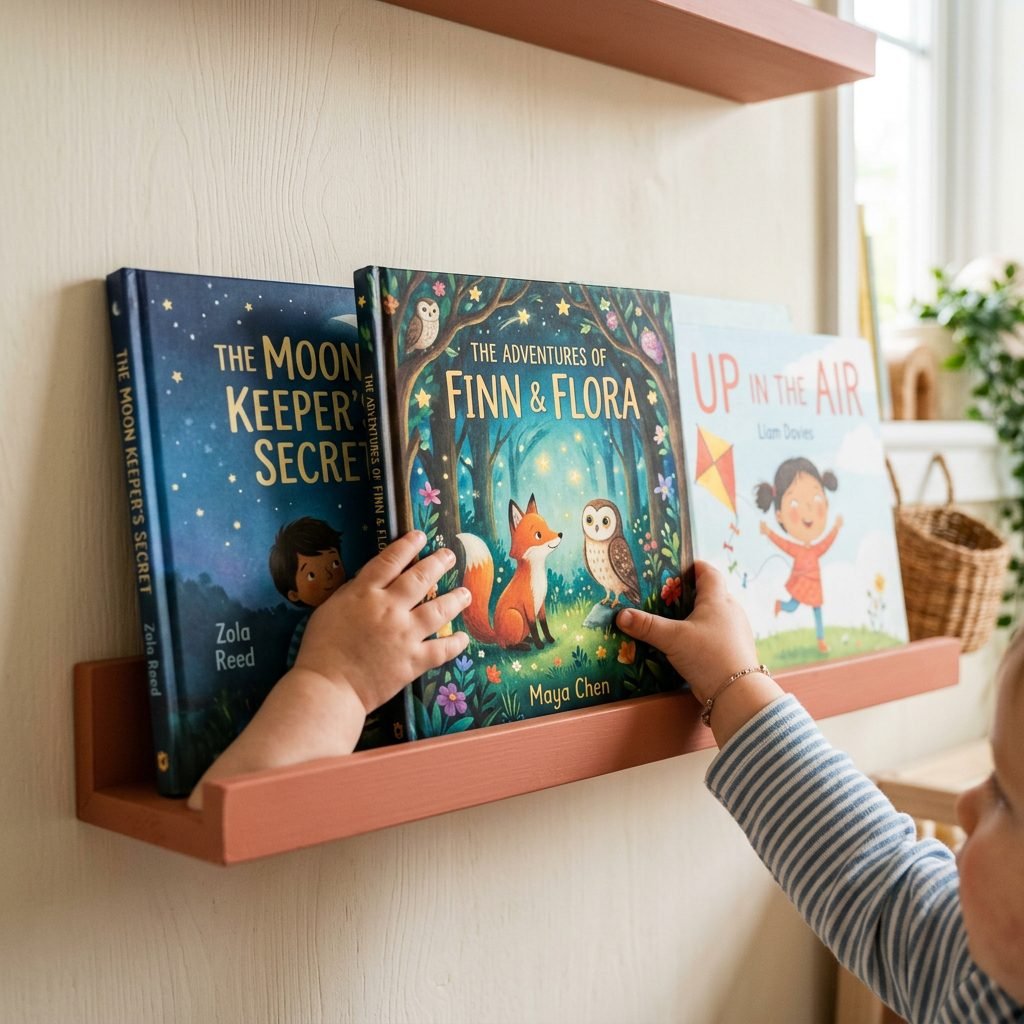
The Montessori method of education emphasizes independence, freedom of choice, and accessibility. When books are stored spine-out on a traditional shelf, a toddler only sees a sliver of colors and text they cannot read. They end up pulling every single book off the shelf just to find the one they want (hello, messy floor!).
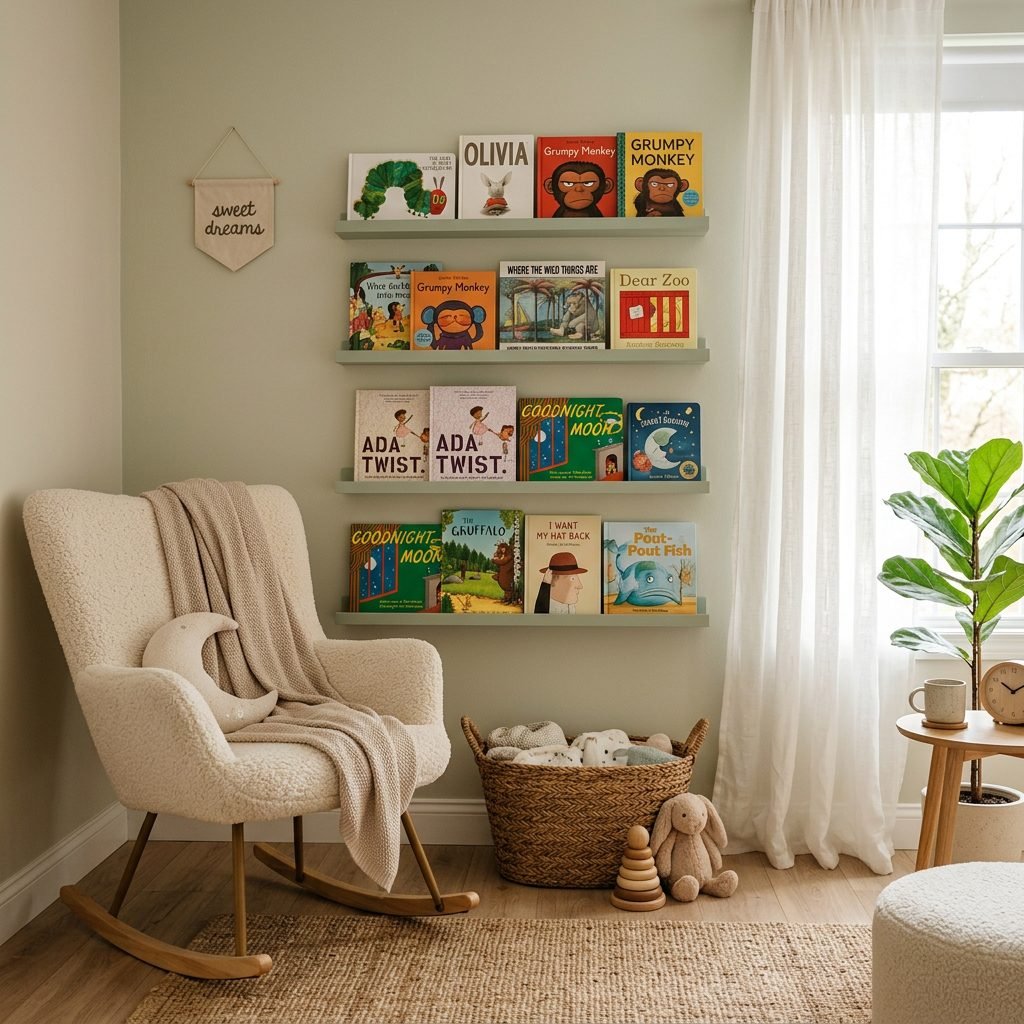
With a front-facing library using IKEA Mosslanda ledges, the beautiful, inviting cover art is displayed like a gallery. Even before your baby can walk, they can gaze at the high-contrast covers from their crib or play mat. As they grow into toddlers, they can easily point to the exact story they want, fostering a sense of autonomy and a lifelong love of reading.
Space-Saving Magic for Small Nurseries
Not everyone has a sprawling, cavernous room for their baby. Many of us are working with small spaces, shared bedrooms, or even a cozy closet-turned-nursery nook. The IKEA Mosslanda ledge is only 4.75 inches deep. It utilizes vertical wall space without eating into your precious floor footprint, leaving more room for a comfortable glider, a play gym, or that essential diaper pail.
Visual Stimulation and Calming Bedtime Routines
Books are visually stimulating. By arranging them beautifully on the wall, you are effectively creating functional art. Furthermore, having a dedicated reading corner helps establish a solid bedtime routine. When you dim the lights and move to the library wall, it signals to your baby’s brain that it is time to wind down, transitioning smoothly from playtime to sleep time.
Gathering Your Supplies: The DIY Nursery Checklist
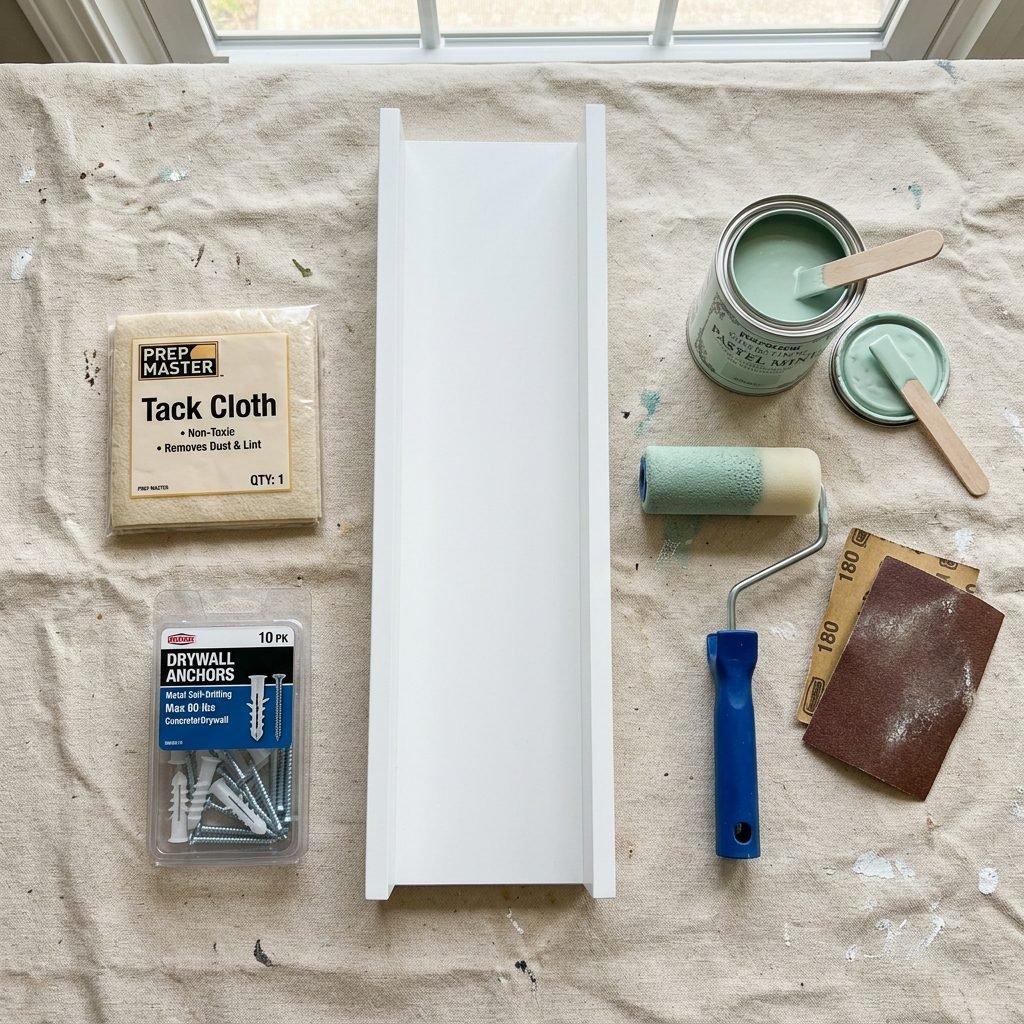
Alright, mama-to-be, let’s get organized! The key to a successful DIY project, especially when you are dealing with pregnancy fatigue or postpartum recovery, is having everything prepped and ready to go before you start. You do not want to be running back and forth to the hardware store.
Painting IKEA furniture is notoriously tricky because the pieces are usually covered in a smooth, slick laminate or foil finish. If you just slap standard latex wall paint onto a Mosslanda ledge, it will peel off the second a heavy board book scrapes against it. To get a durable, professional-looking finish, we need to focus heavily on the prep work and the primer.
Safe Painting During Pregnancy
If you are pregnant, safety is your number one priority. Always opt for Zero-VOC (Volatile Organic Compounds) paints to avoid inhaling harmful fumes. Even with safe paints, make sure you are working in a well-ventilated area—open the windows, run a fan, and take frequent breaks. If you are using a heavy-duty primer (like a shellac-based one), I highly recommend delegating that specific step to your partner, a friend, or a family member.
Here is your comprehensive shopping list and budget breakdown for this project:
| Supply Item | Purpose & Recommendation | Estimated Cost |
|---|---|---|
| IKEA Mosslanda Ledges | Available in 21.75″ or 45.25″ lengths. Buy according to your wall width. | $10 – $15 each |
| 120-Grit Sandpaper & Tack Cloth | To scuff the slick laminate surface and wipe away dust. | $8.00 |
| Bonding Primer (e.g., Zinsser B-I-N or KILZ Adhesion) | Crucial! This makes the paint stick to the laminate. | $15.00 |
| Zero-VOC Interior Paint | Choose an Eggshell or Satin finish for easy wipe-downs. | $20.00 (Quart) |
| High-Density Foam Rollers (4-inch) | Foam rollers provide a smooth, spray-like finish without brush strokes. | $6.00 |
| Heavy-Duty Drywall Anchors & Screws | For safely securing the ledges to the wall (Do not use the cheap plastic ones!). | $10.00 |
| Painter’s Tape & Drop Cloth | To protect your floors and walls. | $12.00 |
Step-by-Step: How to Prep and Paint IKEA Laminate
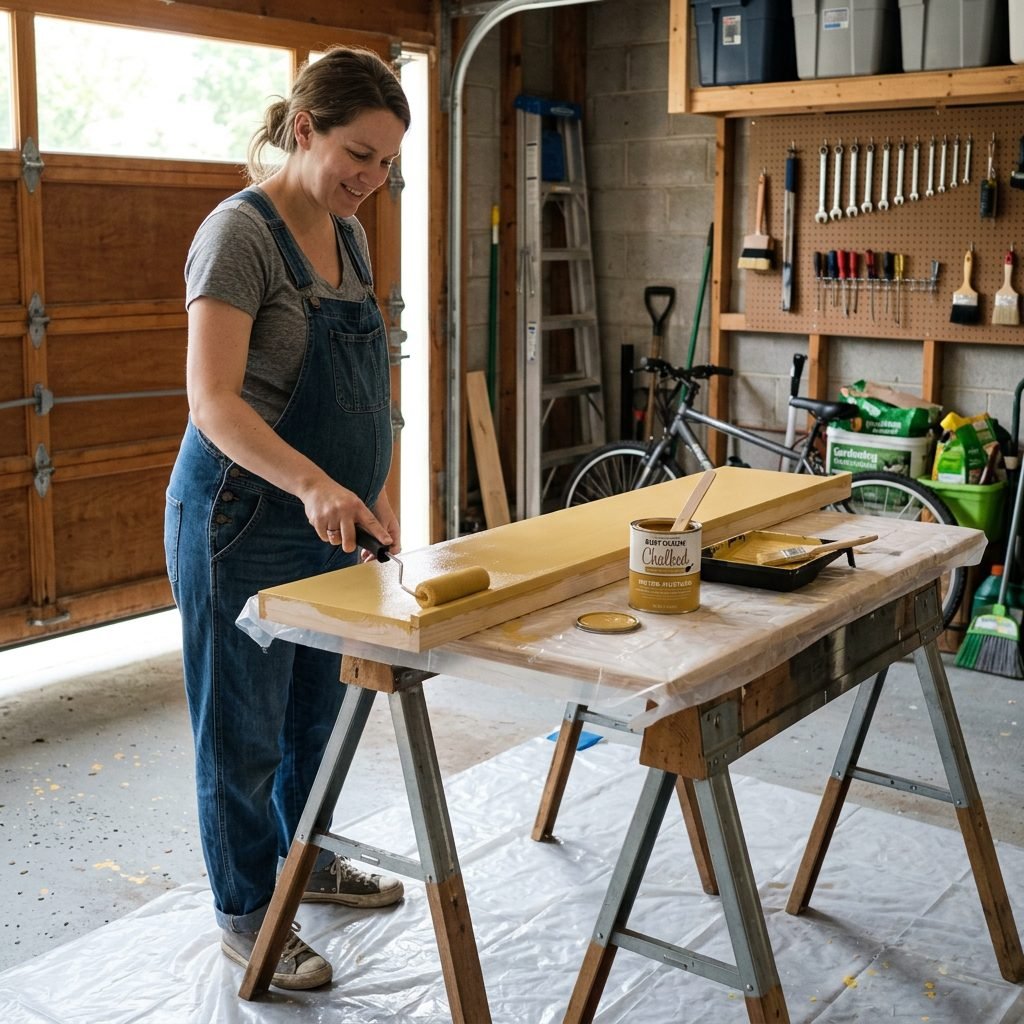
Now for the fun part! Take this slow, play your favorite relaxing playlist or a birth affirmation podcast, and enjoy the process. Transforming these shelves is incredibly satisfying. Follow these steps exactly to ensure your beautiful new ledges don’t chip.
Step 1: The Scuff Sand
Take your 120-grit sandpaper and lightly sand the entire surface of the Mosslanda ledge. You are not trying to sand the white finish completely off; you are simply trying to “scuff” it up so it loses its glossy sheen. This creates microscopic grooves for the primer to grab onto. Once sanded, use a tack cloth or a slightly damp microfiber rag to wipe away all the dust. Let it dry completely.
Step 2: The Magic Primer
This is the most critical step. Using your high-density foam roller, apply a thin, even coat of your bonding primer. Do not skip the primer!
- Roll gently to avoid creating bubbles in the primer.
- Use a small brush to get into the inner corners of the ledge where the roller can’t reach.
- Allow the primer to dry according to the can’s instructions (usually 1 to 2 hours).
“Doula Tip: If you are using a strong-smelling shellac primer, hand the roller to your partner and go put your feet up with some hydrating coconut water. Protecting your lungs is part of protecting your baby!”
Step 3: Painting Your Color
Once the primer is fully dry, it is time for your chosen nursery color! Pour your Zero-VOC paint into a small tray. Using a fresh foam roller, apply the first coat of paint. It might look a little streaky on the first coat—don’t panic! This is completely normal.
- Apply a thin first coat and let it dry for at least 2 hours.
- Apply a second thin coat. Two thin coats are always better than one thick, gloppy coat.
- If you chose a very dark or very bright color, you might need a third coat for perfect coverage.
Step 4: The Cure Time (Patience, Mama!)
Here is a secret that many DIYers don’t know: paint takes time to cure, not just dry. While the shelves might feel dry to the touch in a few hours, the paint needs several days to fully harden. If you put heavy, hard-cornered board books on the shelves immediately, the paint will dent and peel. Let your painted ledges sit in a safe, dry place for at least 3 to 5 days before installing them on the wall.
The Math of Motherhood: Spacing and Hanging Your Ledges
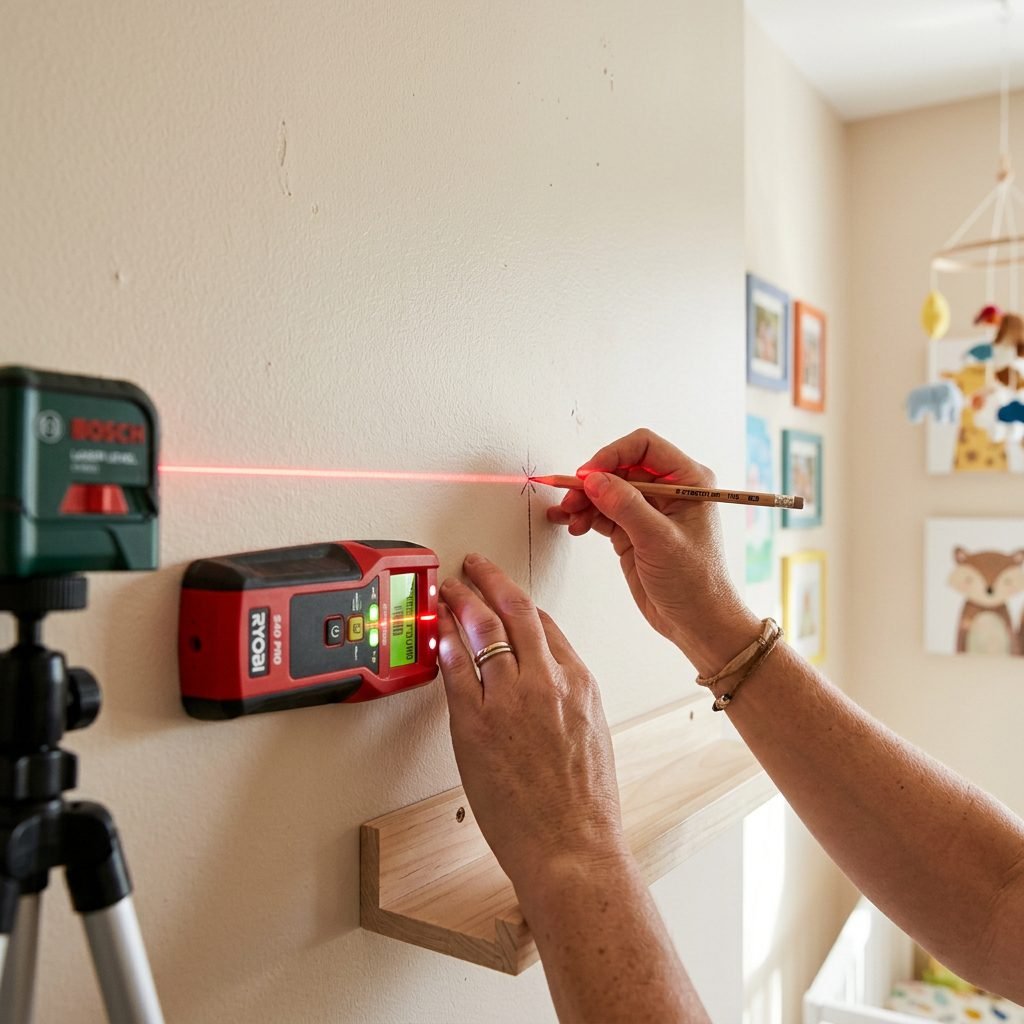
Your shelves are painted, cured, and looking gorgeous. Now we need to get them on the wall. Hanging things perfectly straight and evenly spaced can feel daunting, but with a little preparation, you will have a magazine-worthy gallery wall.
Determining the Spacing
How far apart should you space your Mosslanda ledges? The answer depends on the types of books you plan to display. Children’s books come in wildly different sizes—from tiny, chunky board books to massive, tall picture books.
| Book Type | Recommended Vertical Spacing (Shelf to Shelf) |
|---|---|
| Standard Board Books (for infants) | 10 to 12 inches apart |
| Mixed Picture Books & Storybooks | 14 to 16 inches apart (Most Popular) |
| Oversized / Tall Art Books | 18+ inches apart |
My Expert Recommendation: Space your shelves 15 inches apart. This is the “Goldilocks” zone. It is tall enough to accommodate 90% of children’s books, but tight enough that the shelves still look cohesive and connected as a single library wall.
Step-by-Step Installation
- Find the Studs: Use a stud finder to locate the wooden studs behind your drywall. Mark them lightly with a pencil.
- Measure and Level: Decide how high you want the bottom shelf to be. (If placing behind a glider, make sure it clears the back of the chair when it rocks!). Use a long bubble level or a laser level to draw a faint, straight pencil line across the wall.
- Mark the Holes: Hold the Mosslanda ledge up to your level line and use a pencil to mark where the pre-drilled holes in the ledge meet the wall.
- Drill and Anchor: If your marks align with a stud, great! You can screw directly into the wood. If your marks are over hollow drywall, you must use heavy-duty drywall anchors. Drill your pilot holes, tap in the anchors, and then screw the shelf securely to the wall.
“Safety Reminder: Babies grow into curious toddlers who love to climb. Never rely on the standard plastic anchors that come with basic hardware kits. Purchase heavy-duty toggle bolts or screw-in metal anchors rated for at least 50 lbs to ensure those shelves never budge.”
Styling Your Nursery Library Like a Pro
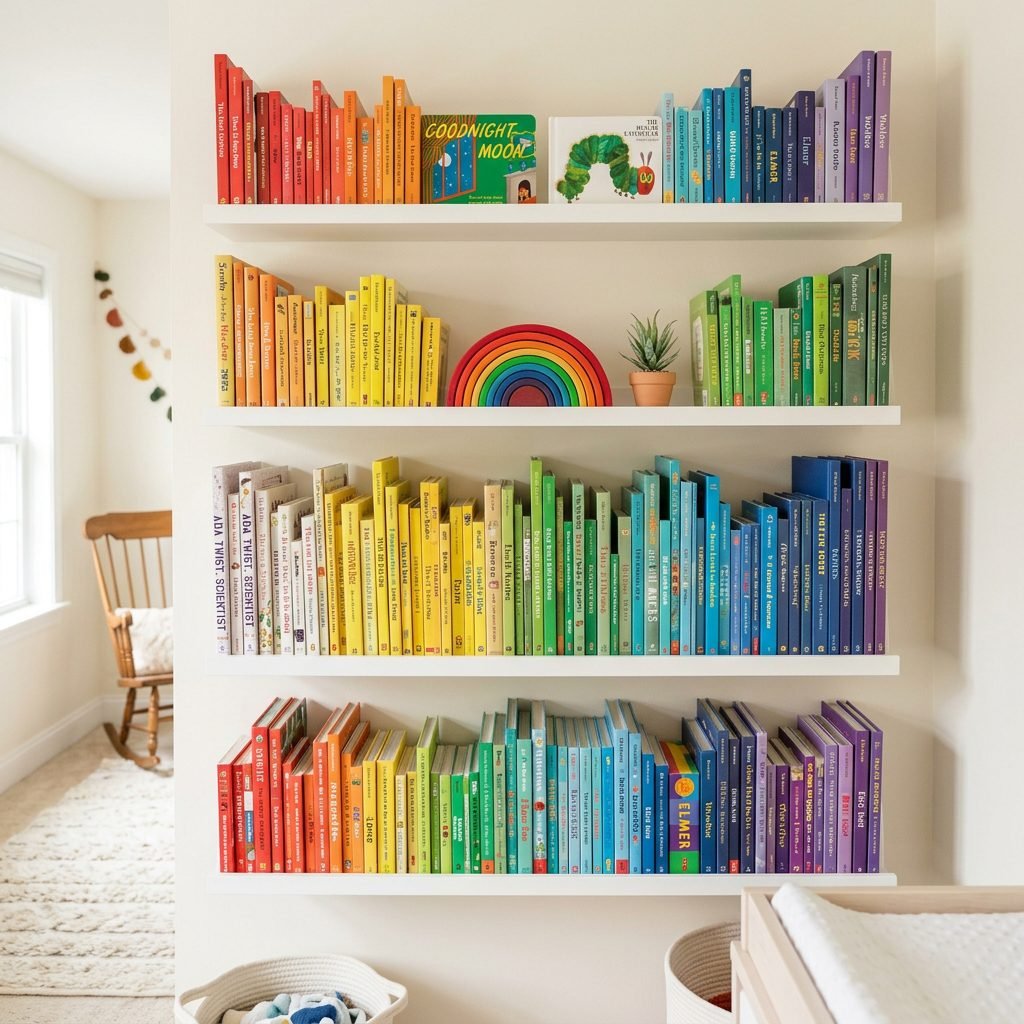
You did it! The shelves are safely anchored to the wall, and the paint looks flawless. Now comes the absolute best part: filling your beautiful new library. Styling a front-facing bookshelf is an art form, but it is incredibly easy to master with a few stylist tricks.
1. The Rainbow Method
One of the most popular ways to style a nursery library is by color-coordinating the book spines and covers to create a rainbow effect. Start with red books on the top left, transitioning through orange, yellow, green, blue, and purple as you move down the shelves. This is incredibly visually stimulating for a baby and adds a massive pop of joy to a neutral room.
2. The Thematic Rotation
Instead of cramming every single book you own onto the ledges, embrace the concept of book rotation. Keep the ledges styled with 15-20 books, and store the rest in a closet or under the crib. Every two weeks, swap the books out. You can theme the shelves based on the season (e.g., pumpkins and leaves for fall), holidays, or your baby’s current developmental milestones (e.g., books about animals when they start learning animal sounds).
- Tip for Overcrowding: The Mosslanda ledge has a groove in the middle. You can actually layer two books deep! Place a taller book in the back groove and a slightly shorter board book in front of it to maximize storage without looking cluttered.
3. Mixing in Decor and Sensory Objects
A library wall doesn’t have to be just books. To give it that high-end, professionally designed look, break up the rectangles with different shapes and textures. Nestling small, baby-safe items among the books adds depth and character.
- Wooden Toys: A beautiful wooden stacking rainbow or a small wooden pull-toy looks adorable perched on a ledge.
- Faux Plants: A tiny, lightweight faux trailing plant on the top shelf adds a touch of calming greenery.
- Framed Art: Mix in a small, framed ultrasound photo, a birth stats print, or a sweet piece of nursery art alongside the books.
Maintenance, Cleaning, and Growing with Your Baby
As your baby transitions from a sleepy newborn into a busy, messy toddler, you might be wondering how this beautiful library will hold up. The wonderful thing about this IKEA hack is its longevity.
Keeping It Clean
Nurseries get dusty, and toddlers have notoriously sticky fingers. Because you took the time to use a high-quality primer and a durable interior paint, cleaning your ledges will be a breeze. Simply use a slightly damp microfiber cloth to wipe down the ledges during your weekly nursery reset. Avoid harsh chemical cleaners, as they can break down the paint finish over time. A simple mix of warm water and a tiny drop of mild dish soap is all you need.
Adapting to Toddlerhood
When your baby begins to pull to stand and eventually walk, the lower shelves will become fully accessible to them. This is a beautiful developmental milestone! Encourage them to pick their own books. If you notice they are pulling all the books off the bottom shelf every day, don’t stress. This is normal “schema” play (specifically, the enveloping and transporting schemas). Simply keep only sturdy, indestructible board books on the bottom shelf, and move paper-page books to the higher ledges out of reach.
A Space for Connection
At the end of the day, these painted pieces of wood are so much more than just storage. They are the backdrop to hundreds of bedtime stories, sleepy cuddles, and moments of deep connection with your child. You have built a space that fosters learning, imagination, and comfort.
Conclusion
Mama, you should be so incredibly proud of yourself. Whether you tackled this DIY project completely on your own, or you played the crucial role of “Project Manager” while your partner handled the power tools, you have created something truly special for your baby. This beautifully painted, perfectly arranged front-facing library will be the heart of your nursery.
Remember, preparing for a baby is a marathon, not a sprint. If you only get one shelf painted today, that is a victory. Give yourself grace, enjoy the nesting process, and take plenty of time to rest. Soon enough, the quiet room will be filled with the sweet sounds of pages turning and soft giggles. You are doing a wonderful job, and you are going to be an amazing mother.