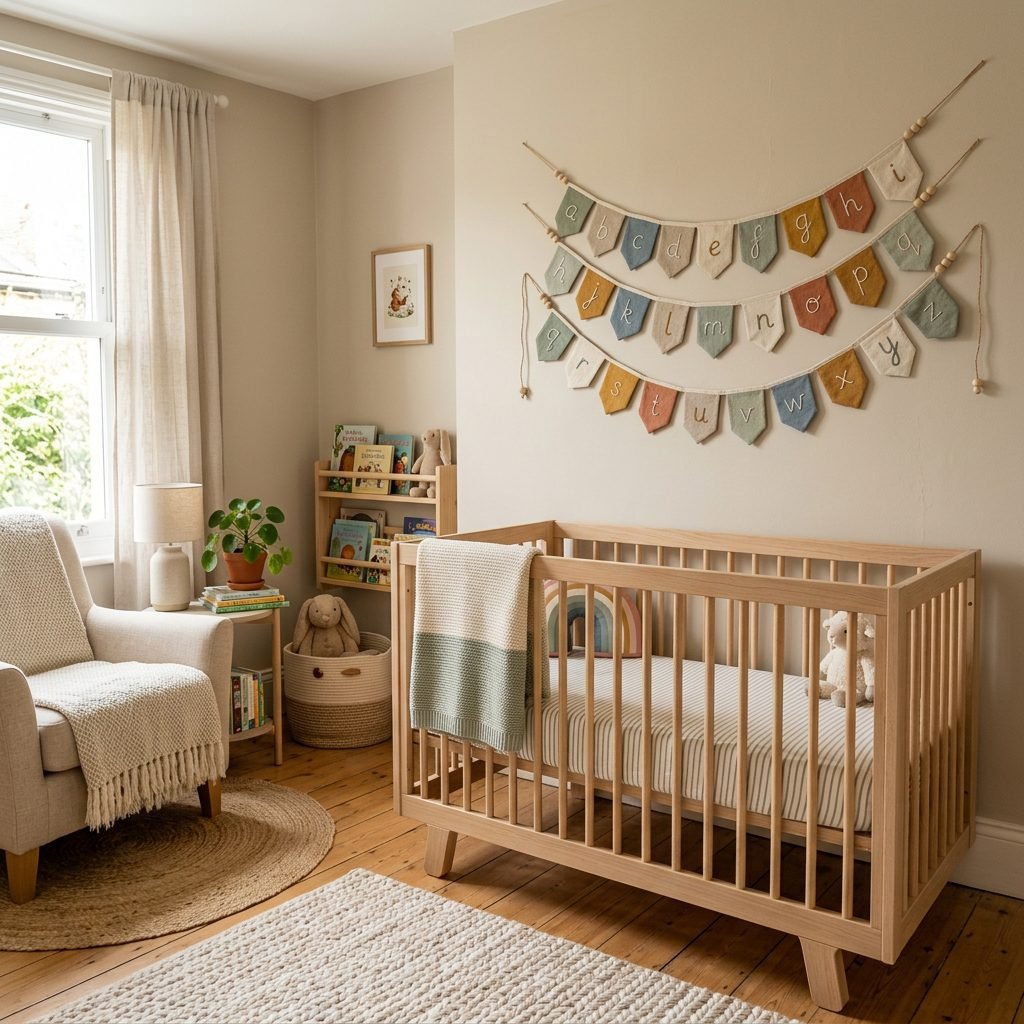
Step-by-Step DIY: How to Make a Fabric Alphabet Wall Banner for Your Baby’s Nursery
Oh, sweet mama, I see you. You are in that beautiful, slightly breathless phase where every fiber of your being wants to prepare the perfect, most loving space for your little one. It is called the ‘nesting instinct,’ and as a doula, I can tell you it is one of the most powerful rhythms of pregnancy. It is your heart’s way of saying, ‘I am ready to welcome you.’ While buying ready-made decor is easy, there is something profoundly grounding about creating something with your own two hands. A fabric alphabet banner isn’t just a piece of wall art; it is a tactile, sensory-rich tool that will grow with your baby from those first blurry-eyed gazes to their very first ‘A-B-C’s.
In this guide, I’m going to walk you through every single stitch and snip with the same care I’d give you during a home visit. We aren’t just making a banner; we are weaving love into the very walls of your nursery. Whether you are a seasoned seamstress or someone who hasn’t touched a needle since middle school, I’ve got you. We will focus on non-toxic materials, soothing palettes, and safety-first construction because your peace of mind is just as important as the aesthetic. So, grab a cup of red raspberry leaf tea, find a comfortable seat with a pillow behind your back, and let’s begin this creative journey together.
The Magic of Nesting: Why a Handmade Alphabet Banner Matters
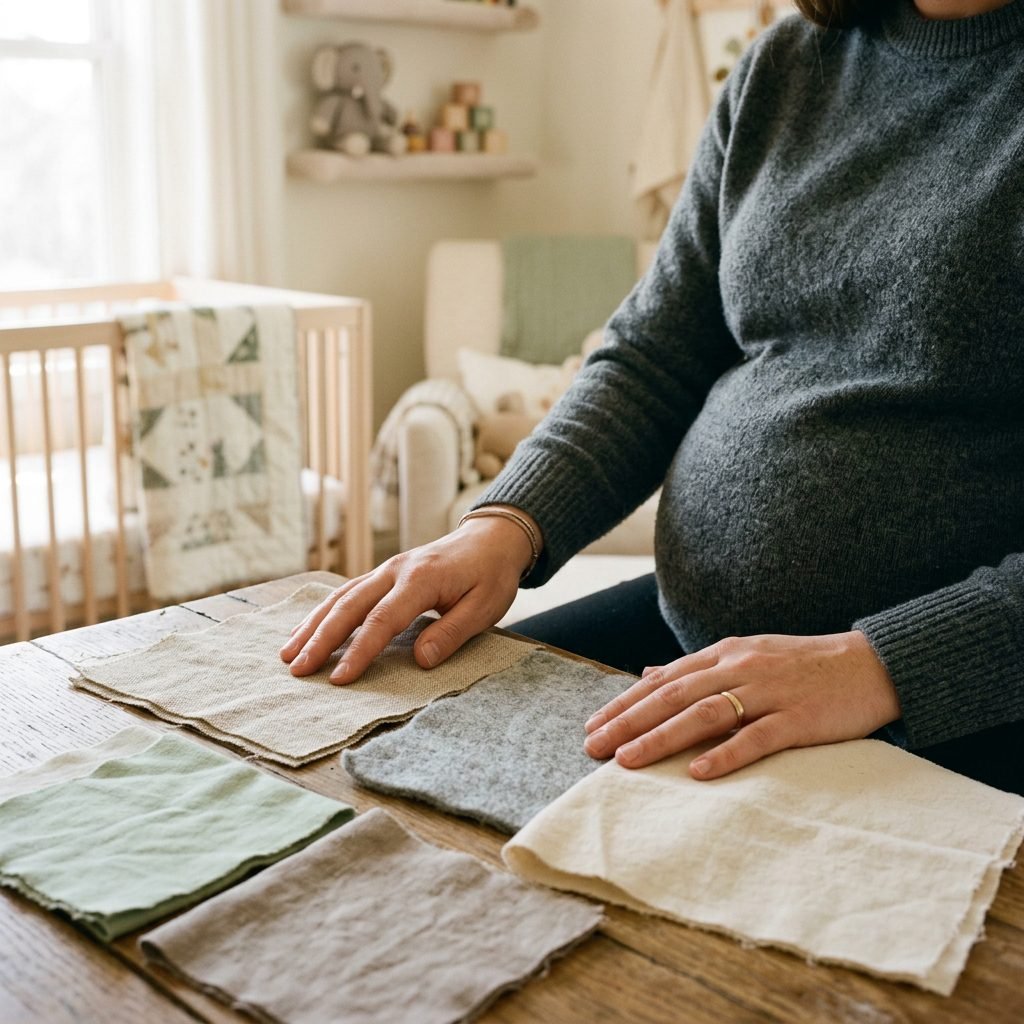
When we talk about nursery design, we often focus on the ‘look,’ but as a maternal wellness expert, I want us to focus on the ‘feel.’ Your baby’s environment is their first teacher. In those early months, their vision is still developing, and they are drawn to shapes, contrasts, and the gentle movements of shadows. A fabric banner provides a soft, matte surface that doesn’t reflect harsh light, making it easier on infant eyes than plastic or glossy posters.
Sensory and Developmental Benefits
- Tactile Exploration: As your baby grows into a curious toddler, they will love reaching out to feel the different textures of the fabrics—the fuzziness of felt, the grain of linen, or the smoothness of cotton.
- Visual Tracking: High-contrast letters (like navy on cream or forest green on white) help newborns practice tracking and focusing.
- Early Literacy: Having the alphabet as a permanent fixture in their environment creates a ‘print-rich’ space, normalizing the sight of letters long before they start school.
Nesting is a sacred time of preparation. Every intentional choice you make for this space is a whisper of love to your future self and your baby.
Gathering Your Treasures: Materials and Budget Breakdown
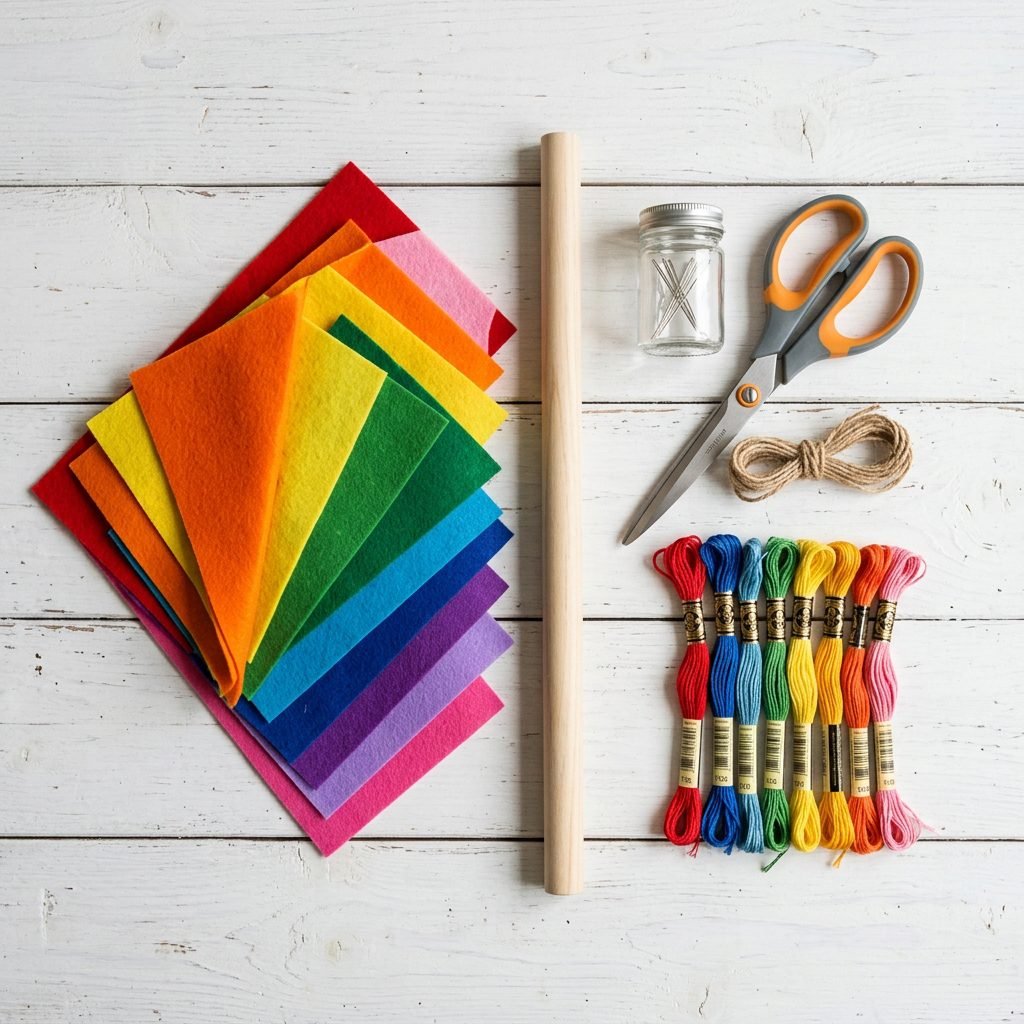
Before we dive into the ‘how-to,’ let’s make sure your craft basket is filled with safe, high-quality materials. I always recommend choosing natural fibers like 100% wool felt or organic cotton. Synthetic acrylic felts can sometimes have a ‘squeaky’ texture and may off-gas chemicals, which we want to avoid in a sleeping environment. Below is a breakdown of what you’ll need and what you can expect to spend.
| Material | Purpose | Estimated Cost (USD) |
|---|---|---|
| 100% Wool Felt or Linen Scraps | The base and the letters | $15 – $25 |
| Heat-n-Bond or Fabric Glue | For no-sew assembly | $5 – $10 |
| Wooden Dowel (12-18 inches) | The hanging support | $2 – $4 |
| Cotton Twine or Ribbon | For hanging the dowel | $3 – $5 |
| Embroidery Floss & Needle | For decorative stitching | $5 – $8 |
| Fabric Scissors | For clean, sharp edges | $10 – $15 |
Pro-Tip: If you’re on a budget, look through your own ‘to-be-donated’ pile. An old linen shirt or a soft flannel pillowcase can be repurposed into beautiful, sentimental banner pieces. This ‘upcycling’ adds a layer of family history to the project!
Step-by-Step: Crafting Your Alphabet Masterpiece
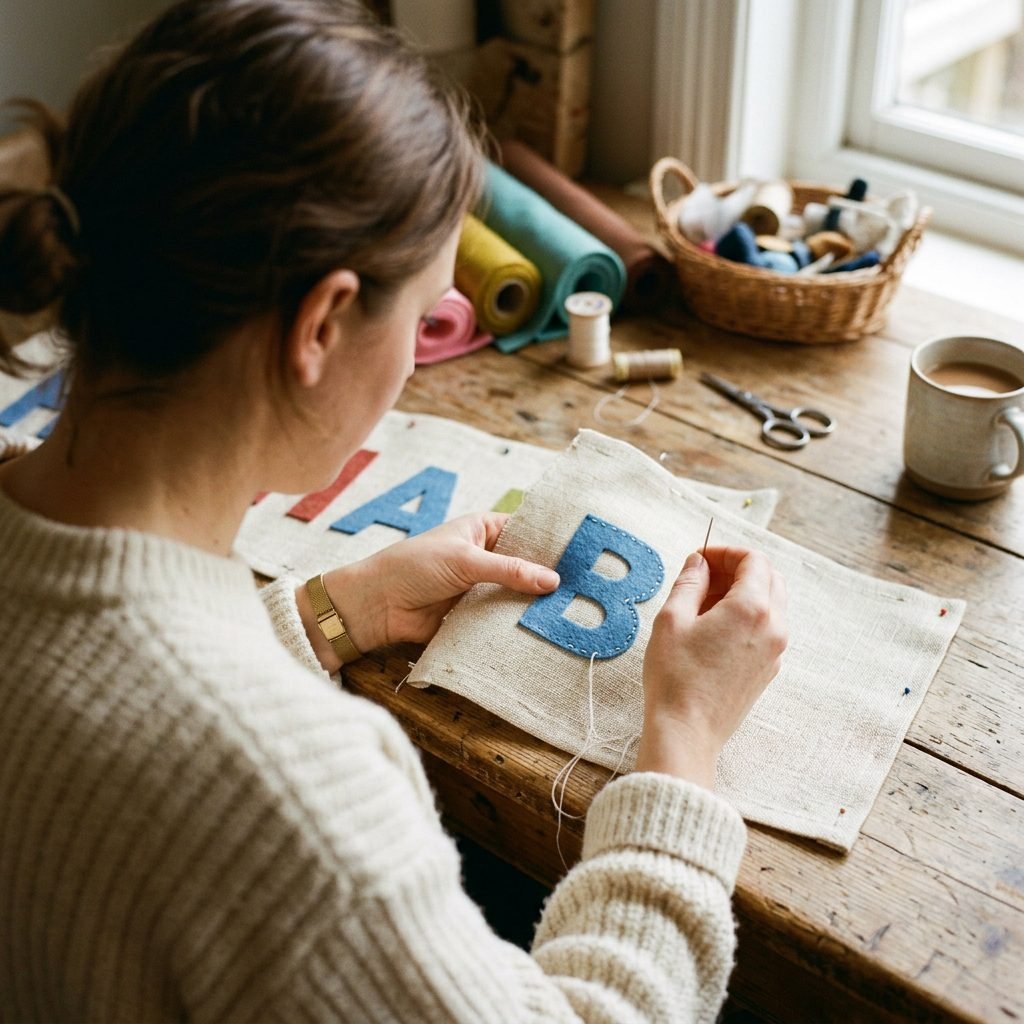
Now, let’s get into the heart of the project. I’ve broken this down into simple steps so you can work on it in short bursts—perfect for when that pregnancy fatigue hits and you need to take a nap between tasks.
1. Prepare Your Templates
You can find many free alphabet templates online, or you can simply type the alphabet in a font you love (I recommend a chunky, sans-serif font for easier cutting) and print it out. Aim for letters that are about 3 to 4 inches tall.
2. Cut and Stabilize
If you are using thin cotton fabric, I highly recommend ironing some lightweight interfacing onto the back before cutting. This prevents fraying and gives the letters a nice ‘body.’ If you are using wool felt, you can skip this step! Trace your letters onto the fabric and cut slowly. Precision here makes the final product look professional.
3. Arrange the Layout
Lay your large background fabric (the banner base) flat on the floor. Arrange your letters in rows. For a standard banner, a 5×5 or 6×4 grid usually works best. Leave at least 1 inch of space at the top to fold over for the dowel pocket.
4. Attach the Letters
You have two paths here, mama. Choose the one that feels most joyful to you:
- The No-Sew Path: Use fabric glue or iron-on adhesive (Heat-n-Bond) to secure the letters to the base. It’s fast, effective, and looks great.
- The Slow-Stitch Path: Use a simple running stitch or a blanket stitch with embroidery floss. This is very meditative and adds a beautiful ‘handmade’ texture.
- Apply adhesive to the back of the letter.
- Press firmly onto the base fabric.
- If sewing, keep your stitches about 1/8th of an inch apart for a consistent look.
Safety First: Hanging and Securing Your Nursery Decor

As a doula and a safety-conscious nurse, I have to emphasize the ‘where’ and ‘how’ of hanging your banner. We want this to be a source of joy, not a hazard. Babies grow fast, and before you know it, they will be standing in that crib and reaching for everything in sight.
The Golden Rules of Nursery Hanging
| Safety Feature | The ‘Why’ Behind It |
|---|---|
| Height Placement | Must be at least 3 feet above the top of the crib rail to prevent grabbing. |
| Secure Anchoring | Use a screw-in hook rather than a command strip to prevent it falling on baby. |
| Dowel Length | Ensure the dowel is sanded smooth with no splinters. |
| String Length | Keep the hanging twine short to eliminate any strangulation risk. |
A safe nursery is a peaceful nursery. When you know everything is secure, you can truly relax during those midnight snuggles.
Expert Tip: Instead of hanging the banner directly over the crib, consider hanging it over the changing table or in a dedicated ‘reading nook.’ This keeps the sleep space clear and provides a great distraction for baby during diaper changes!
Beyond Decor: Using Your Banner for Early Learning
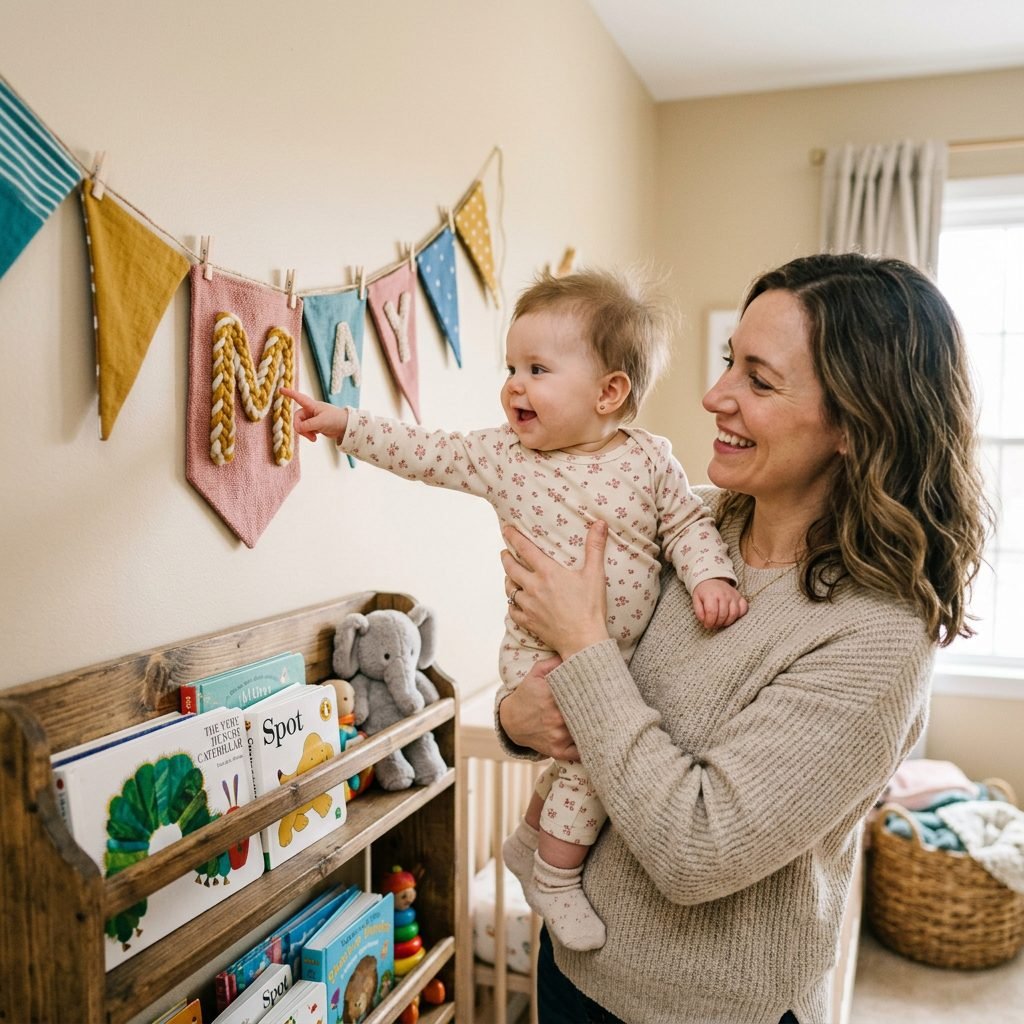
Once your baby arrives, this banner becomes more than just a pretty wall hanging. It becomes a tool for connection. During ‘tummy time’ or while you are rocking them, you can use the banner to engage their senses.
Interactive Ideas for Each Stage
- 0-3 Months: Point to the high-contrast letters and say the names of the letters in a soft, melodic voice. This helps with auditory processing.
- 6-12 Months: Encourage ‘reach and touch’ (while you hold them). Let them feel the edges of the letters. Ask, ‘Where is the letter A?’ and guide their hand.
- 18+ Months: Use the banner for color recognition. ‘Can you find the blue letter?’ or ‘Which letter starts your name?’
By integrating the banner into your daily rhythm, you are showing your child that learning is a natural, beautiful part of life. You are their first teacher, and this banner is your first classroom tool.
Conclusion
Mama, take a moment to look at what you’ve created. This fabric alphabet banner is more than just a DIY project; it’s a testament to the love and care you’re already pouring into your little one’s life. Whether your stitches are perfectly straight or a little bit ‘charming,’ they were made by you, and that makes them perfect. As you hang this in your nursery, let it be a reminder that you are capable, creative, and exactly the mother your baby needs. Enjoy these final weeks of preparation, lean into the rest when you can, and know that you are doing an incredible job. I can’t wait for you to see your baby’s eyes light up when they see the colors and shapes you’ve prepared just for them. You’ve got this!