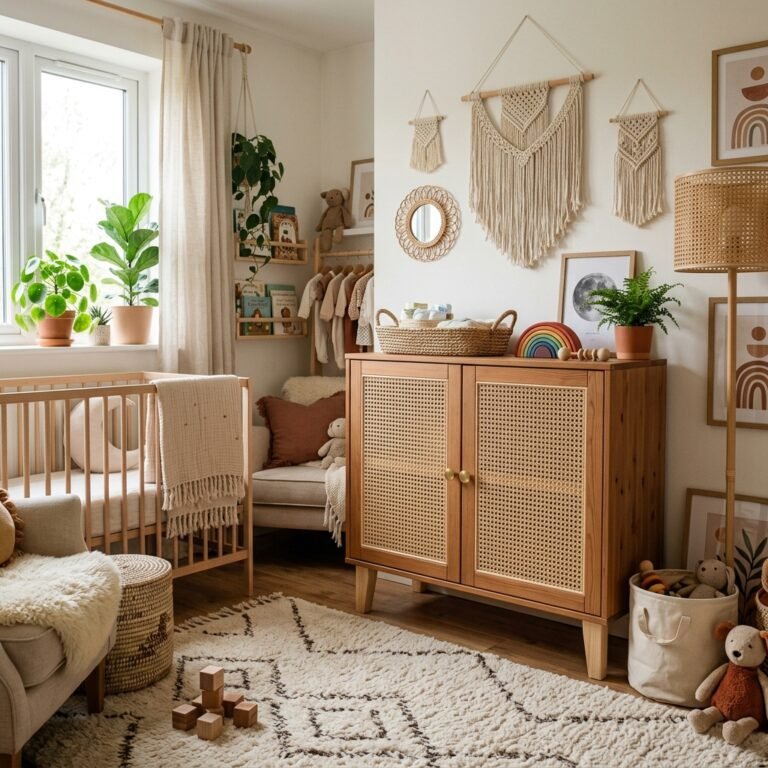
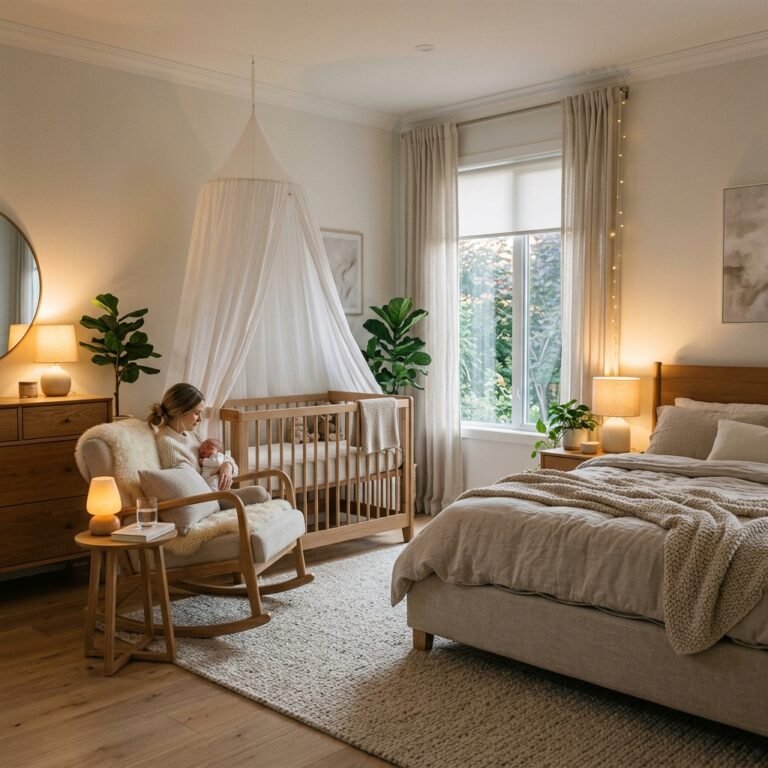
No Spare Room? How to Create a Chic Nursery Nook Using Just One Empty Corner
Welcome to the World of Micro-Nursery Magic, Mama!
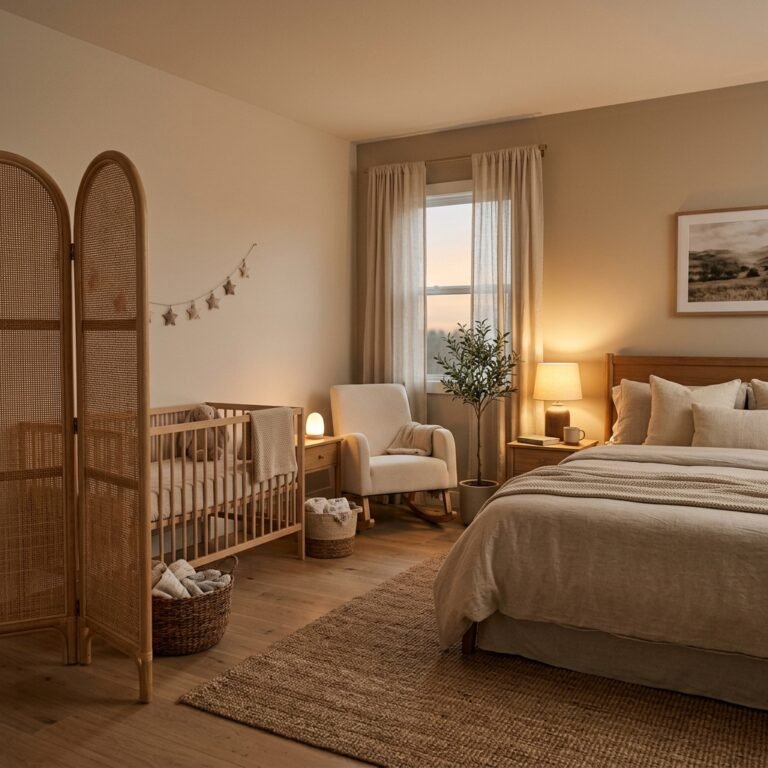
Oh, sweet friend, I see you. You are staring at that positive pregnancy test, then looking around your cozy apartment or your one-bedroom home, and wondering, ‘Where on earth is this baby going to go?’ First, take a deep breath. As a doula who has visited hundreds of homes, I want to tell you a secret: your baby does not need a sprawling, 200-square-foot Pinterest-perfect suite to feel loved, safe, and nurtured. In fact, for the first six to twelve months, the American Academy of Pediatrics actually recommends room-sharing! This means that creating a ‘nursery nook’ isn’t just a space-saving necessity; it is actually a beautiful way to keep your little one close while maintaining your own sense of style. In this guide, we are going to walk hand-in-hand through the process of reclaiming one single empty corner and turning it into a chic, functional sanctuary for your new arrival. We will talk furniture, vertical storage, and how to create boundaries without building walls. You’ve got this, mama!
The Foundation: Choosing the Perfect Corner and the Right Gear
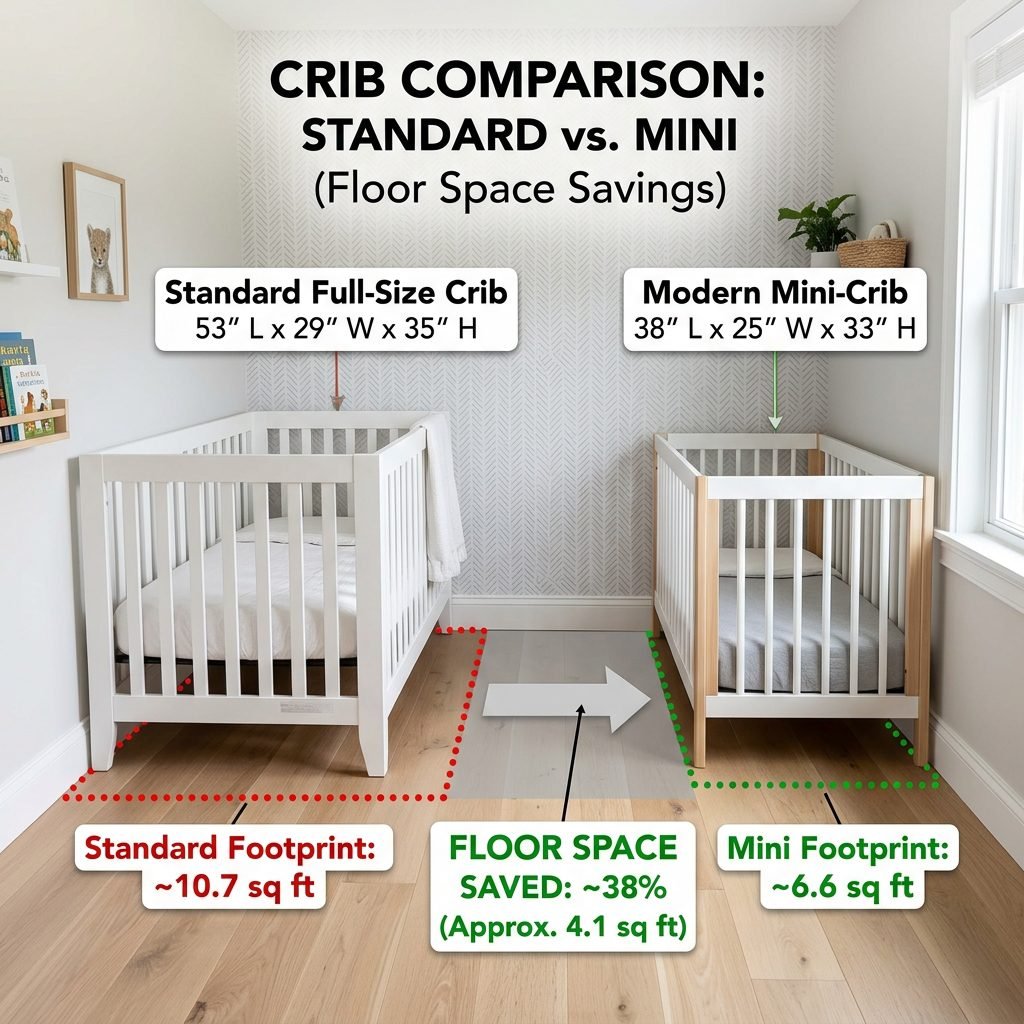
The first step in creating your nursery nook is identifying the ‘Goldilocks’ corner of your room. You want a spot that is away from direct drafts (like AC vents) and not directly under a window where cords or direct sunlight might be an issue. Once you’ve found your spot, the furniture you choose will make or break the functionality of the space. Forget the standard, bulky full-size crib; it’s time to embrace the mini-crib or the luxury bassinet.
Mini-cribs are a game-changer for small spaces because they offer the same longevity as a standard crib (often lasting until age two) but with a much smaller footprint. Many even come on wheels, allowing you to move the ‘nursery’ if you need to vacuum or rearrange. Let’s look at how these options compare to help you decide what fits your corner best.
| Furniture Type | Average Dimensions | Best For… | Longevity |
|---|---|---|---|
| Full-Size Crib | 28″ x 52″ | Large dedicated nurseries | 3-4 years |
| Mini-Crib | 24″ x 38″ | Small corners & apartments | 2 years |
| Bassinet | 18″ x 30″ | Bedside sleeping | 4-6 months |
| Wall-Mounted Changer | Foldable | Ultra-tight spaces | 1 year |
Mama, remember: Your baby’s world is very small at first. They find comfort in cozy, enclosed spaces that feel like the womb. A smaller nook can actually feel more secure to a newborn than a vast, empty room.
Going Vertical: The Secret to Small Space Storage
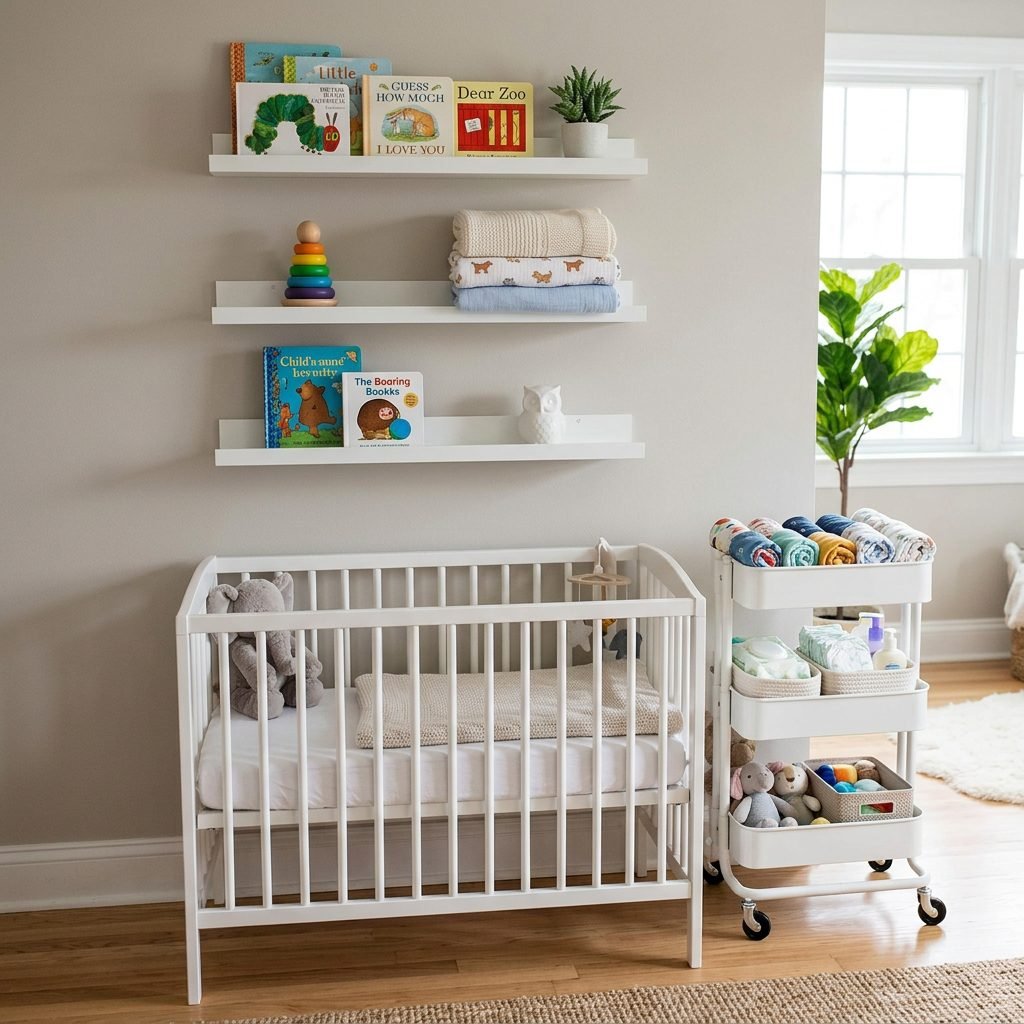
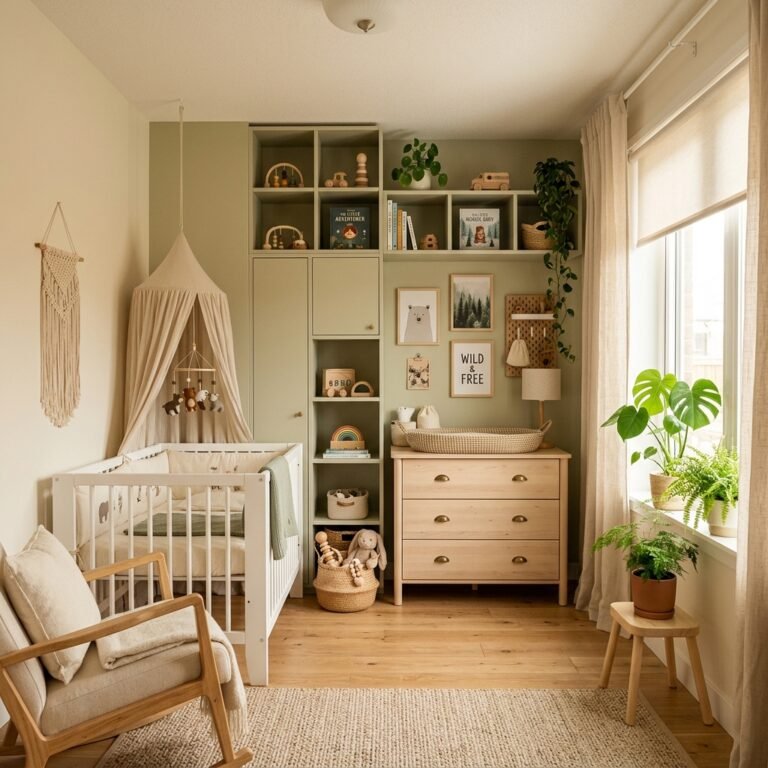
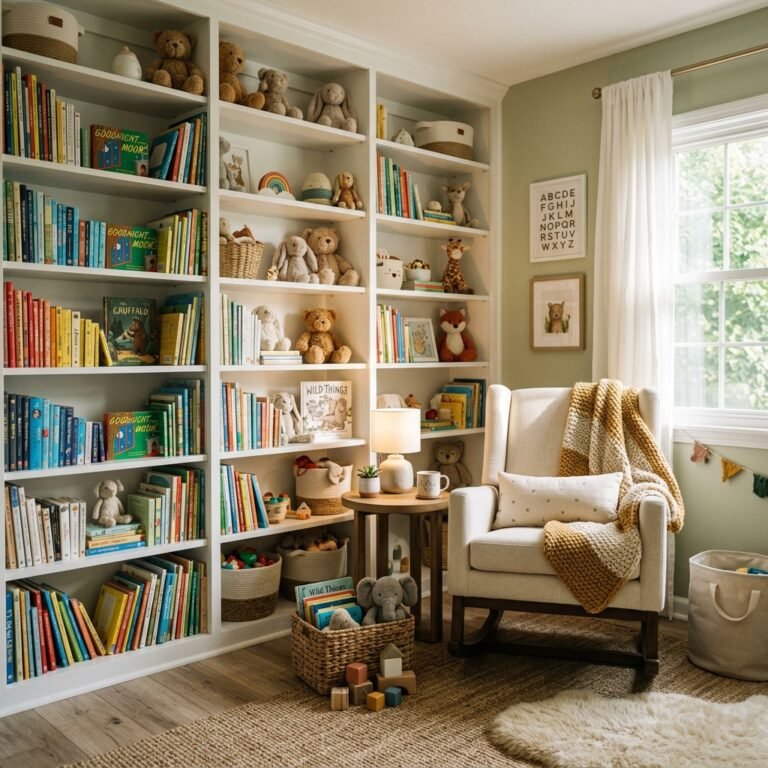
When you don’t have floor space, you must look up! Vertical real estate is your best friend in a nursery nook. Instead of a traditional heavy dresser, we are going to use the walls. Floating shelves and acrylic bookshelves are perfect because they keep items off the ground, making the room feel larger and less cluttered.
The Power of the IKEA Råskog Hack
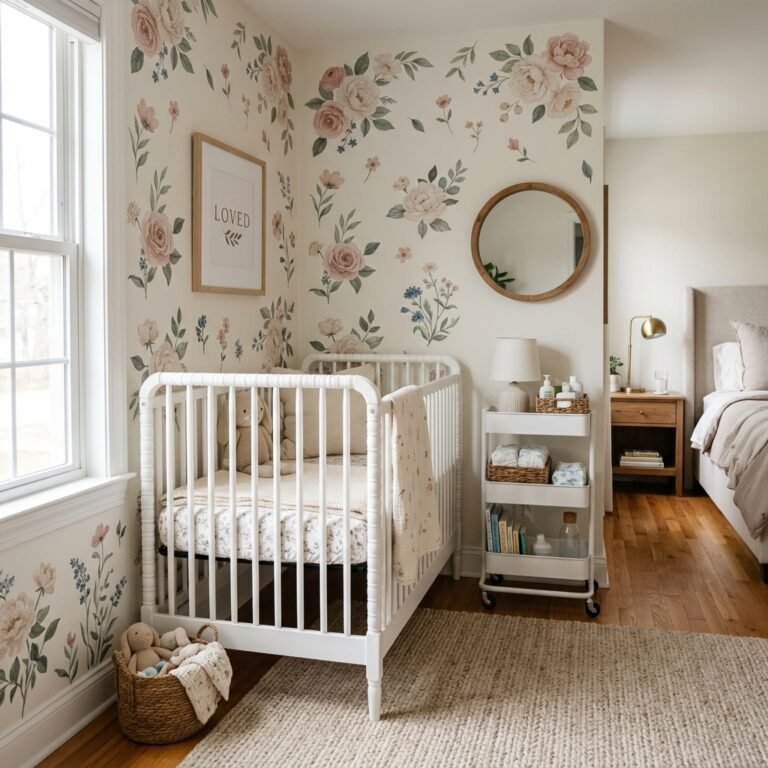
If there is one piece of furniture every small-space mama needs, it is the tiered rolling cart. This becomes your ‘mobile changing station.’ You can stock the top tier with diapers and wipes, the middle with onesies and swaddles, and the bottom with burp cloths and lotions. When it’s time for bed, you can tuck it into the corner; when it’s time for a change, you roll it right to you.
Closet Conversions (The ‘Cloffice’ for Babies)
If your ‘corner’ happens to be near a closet, consider removing the doors and tucking the mini-crib inside. This creates a built-in feel that separates the baby’s zone from your sleeping zone. You can then use the shelf above the crib for baskets of extra linens and out-of-season clothes. Pro-Tip: Use uniform hangers (like slim velvet ones) to make the small hanging space look organized and chic rather than chaotic.
Defining the Zone: Visual Boundaries Without Walls
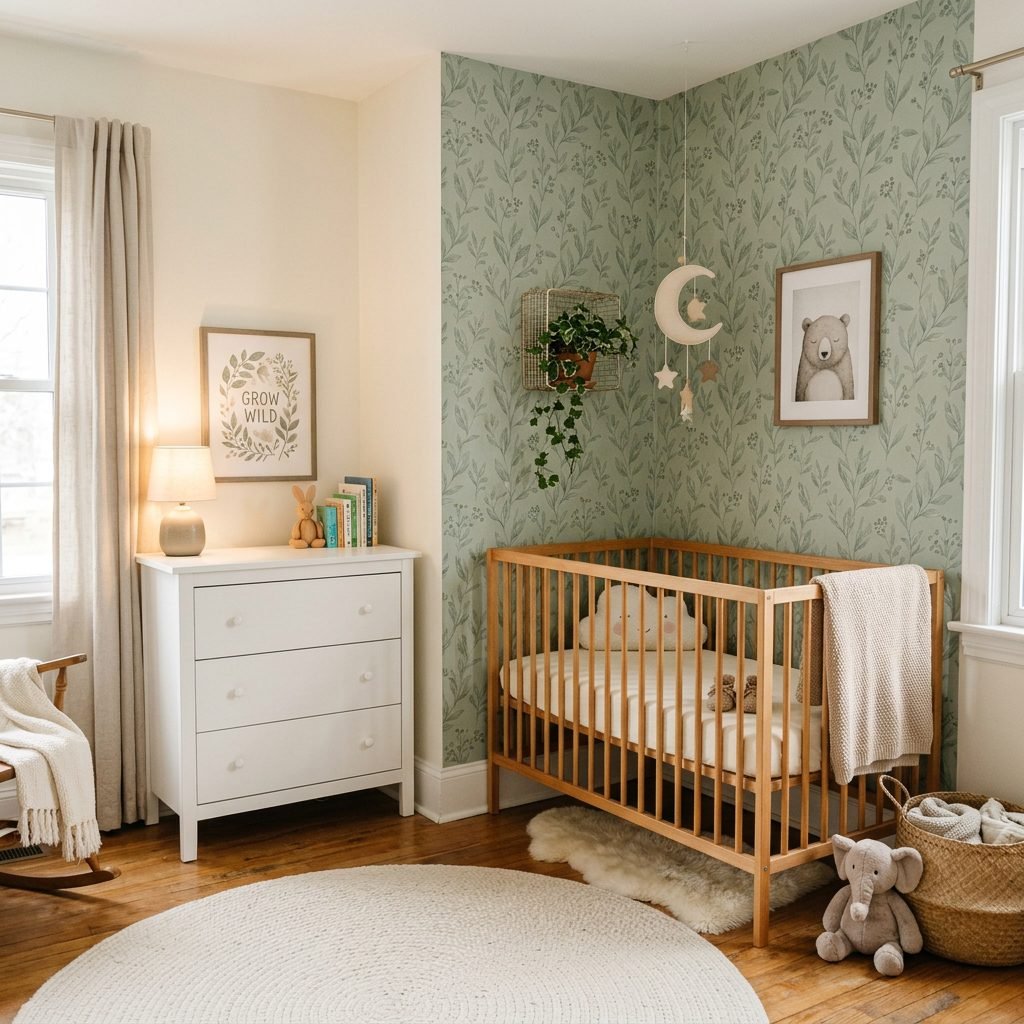
One of the biggest challenges of a nursery nook is making it feel like its own ‘room’ rather than just a crib shoved in a corner. We do this through visual cues. By using different textures and colors, you tell your brain (and eventually the baby’s) that this specific area is for rest and care.
- The Area Rug: Place a small, round rug (about 3-4 feet in diameter) partially under the crib. This ‘anchors’ the furniture and creates a physical boundary on the floor.
- Wall Treatments: You don’t have to paint the whole room! Use removable peel-and-stick wallpaper or a simple wall decal on just the two walls that form the corner. A soft botanical print or simple stars can define the space beautifully.
- Lighting: Avoid using the big overhead light during night changes. Install a dimmable wall sconce or a small clip-on reading light near your nursing chair or the changing area. This keeps the ‘nursery’ vibe cozy and calm.
| Design Element | Purpose | Budget Tip |
|---|---|---|
| Peel-and-Stick Wallpaper | Visual separation | Use a single ‘accent’ sheet |
| Round Jute or Plush Rug | Zoning the floor | Look for ‘entryway’ sizes |
| Sheer Canopy | Creating a ‘room’ feel | DIY with a ceiling hook and tulle |
| Floating Bookshelves | Storage & Decor | Use spice racks painted white |
The Minimalist Registry: What You Actually Need
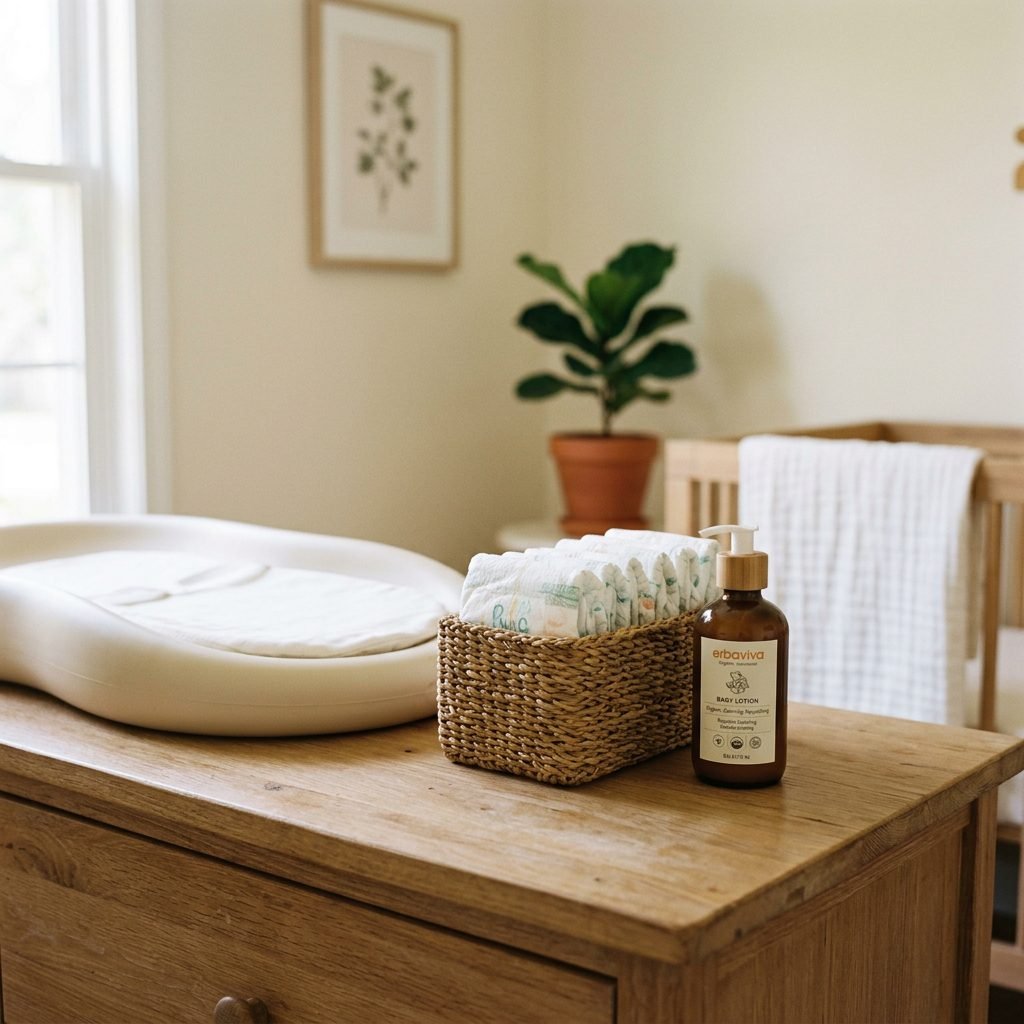
When you are living in a small space, every single item must earn its keep. You simply do not have room for ‘just-in-case’ gadgets. As your doula, I’m giving you permission to skip the wipe warmer, the diaper genie (if you take the trash out daily), and the bulky swing. Instead, focus on multi-functional items.
The ‘One-In, One-Out’ Rule
To keep your nook chic and functional, implement the one-in, one-out rule. If you buy a new pack of toys, a set of old ones must be donated or stored away in a vacuum-sealed bag. Keeping the visible items to a minimum prevents the ‘nook’ from overflowing into your ‘adult’ space.
Here is a checklist of the essentials that fit perfectly into a corner setup:
- A High-Quality Changing Pad: One that can sit safely on top of your existing dresser.
- A Foldable Baby Bouncer: Something like the BabyBjörn that can be tucked under the bed when not in use.
- A Sound Machine: Essential for blocking out ‘living’ noises while the baby sleeps in their nook.
- Multi-Use Swaddles: These double as blankets, nursing covers, and burp cloths.
Safety and Comfort in the Nook
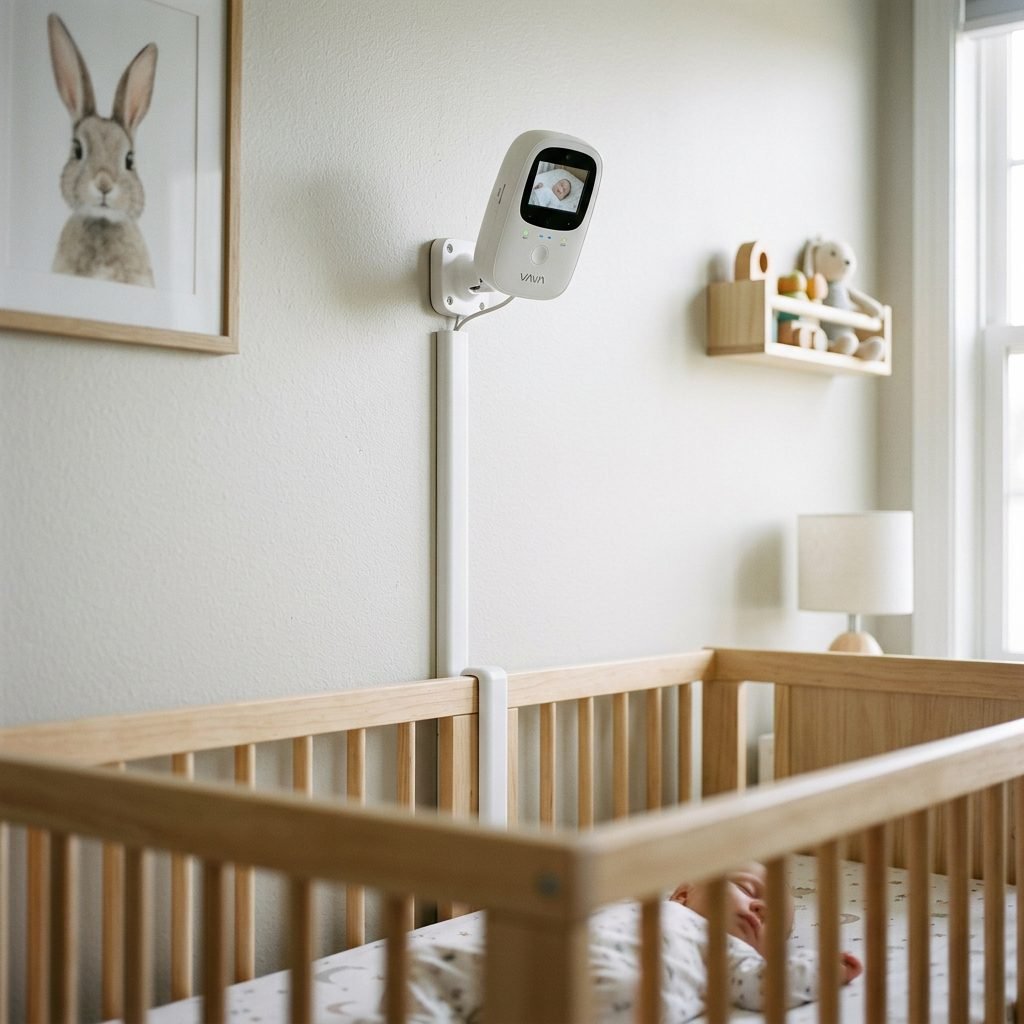
Safety is our top priority, especially when a nursery is integrated into a multi-use room. Since this corner is likely part of your bedroom or living area, you need to be extra vigilant about ‘adult’ items that could pose a risk to a curious baby.
- Anchor Everything: Even if it’s just a small bookshelf in the corner, anchor it to the wall. As soon as that baby starts pulling up, everything is a ladder.
- Cord Management: Ensure that monitor cords, lamp cords, and blind strings are at least 3 feet away from the crib. Use cord covers that match your wall color to keep it chic and safe.
- Breathability: Ensure there is good airflow in the corner. Don’t push the crib flush against the wall; leave an inch or two for air to circulate.
- Temperature Control: Since nooks are often in corners, they can sometimes trap heat or cold. Use a small room thermometer to ensure the nook stays between 68-72°F (20-22°C).
“Safety doesn’t have to be ugly. Choose cord covers that blend with your paint and acrylic wall anchors that disappear into the decor. A safe baby is a happy baby, and a happy baby makes for a relaxed mama.”
Step-by-Step: Setting Up Your Nook in a Weekend
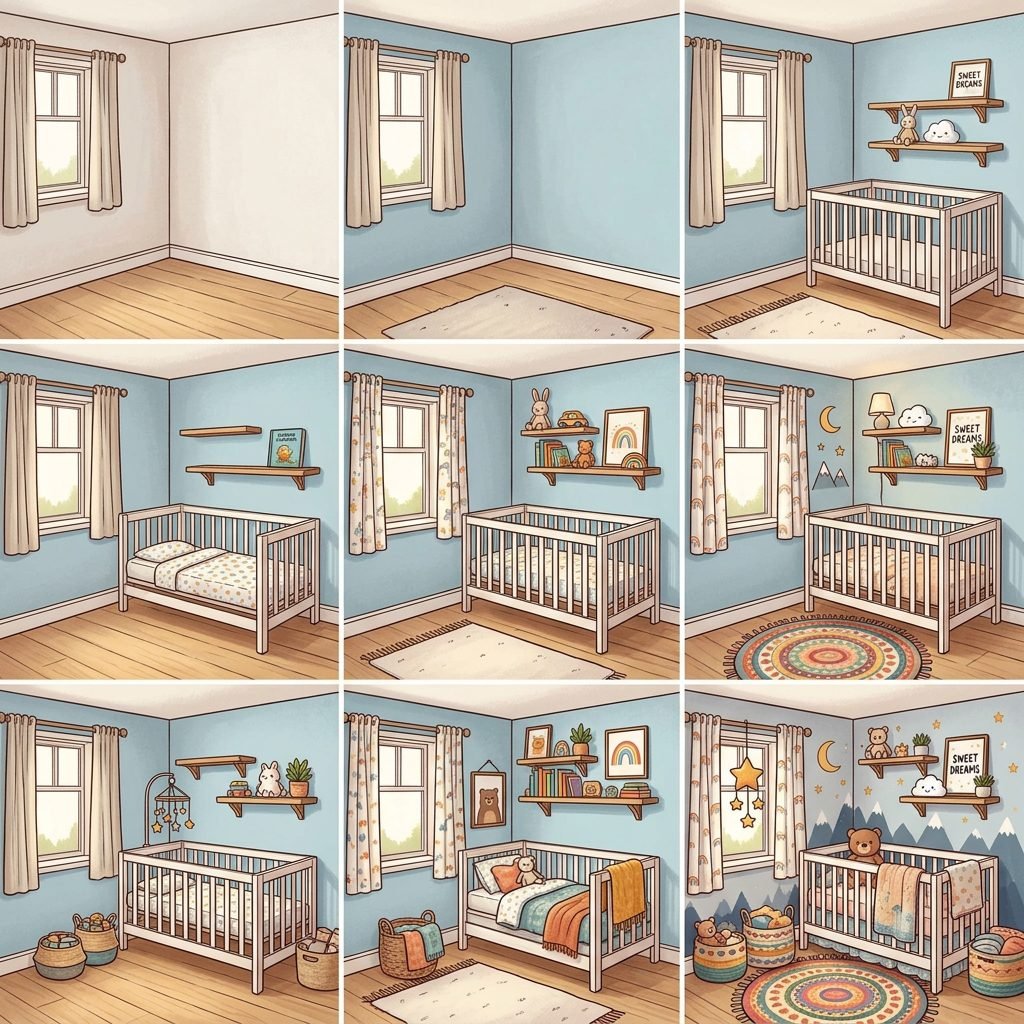
Ready to get to work? Here is your step-by-step plan to transform that empty corner into a nursery sanctuary over a single weekend. You can do this, mama!
Friday Evening: Clear and Clean
Remove everything from the corner. Vacuum the baseboards, wipe down the walls, and give the space a ‘fresh start’ energy. Measure the floor and wall space one last time before you head to the store or order online.
Saturday Morning: The ‘Big’ Elements
Apply your wallpaper or wall decals first. Then, assemble the mini-crib or bassinet. Position it in the corner, ensuring it’s not too close to outlets or windows. Lay down your accent rug to define the zone.
Saturday Afternoon: Vertical Storage
Install your floating shelves or wall hooks. This is the time to hang that beautiful ‘name sign’ or a piece of calming art. Assemble your rolling cart and stock it with the essentials.
Sunday: The Finishing Touches
Wash the crib sheets and the swaddles. Set up the sound machine and test the lighting. Take a moment to sit in your nearby bed or chair and look at the space. Does it feel peaceful? If so, it’s ready for your little one.
| Task | Time Estimate | Difficulty |
|---|---|---|
| Measuring & Clearing | 1 Hour | Easy |
| Wallpaper/Decals | 2-3 Hours | Moderate |
| Crib Assembly | 1.5 Hours | Moderate |
| Shelf Installation | 1 Hour | Moderate (requires drill) |
| Organizing/Stocking | 2 Hours | Easy/Fun! |
Conclusion
Your Love Fills the Space, Not Your Square Footage
Mama, as we wrap up this guide, I want you to remember one thing: Your baby will not remember the size of their nursery. They will remember the warmth of your arms, the sound of your voice singing them to sleep, and the feeling of being safe and close to you. By creating this chic, intentional nursery nook, you aren’t just saving space; you are creating a focused environment of love. You have proven that with a little creativity, a few floating shelves, and a beautiful mini-crib, you can make room for the biggest change of your life in the smallest of corners. Enjoy this nesting process—it is the first of many ways you will adapt and grow as a mother. You are doing an amazing job already!