How to Make Safe DIY Edible Sensory Mud for Baby Playtime
Embracing the Beautiful Mess of Discovery
Hello, sweet mama. If you are here, it is likely because you’ve noticed your little one has reached that magical, albeit slightly terrifying, stage where everything goes straight into their mouth. As a doula and a fellow mom, I want to reassure you: this is not just a phase to endure; it is a vital developmental milestone. Your baby is a tiny scientist, and their mouth is their most sensitive laboratory tool. Today, we are leaning into that curiosity by creating something that looks like ‘forbidden’ dirt but is actually a safe, taste-friendly, and developmentally rich sensory experience. We’re talking about DIY Edible Sensory Mud. This isn’t just about getting messy; it’s about neural pathways, fine motor skills, and that beautiful, giggly bonding time that makes the postpartum haze feel a little brighter. Let’s roll up our sleeves and dive into the gooey, chocolatey goodness of safe sensory play.
The Science of Sensory Play: Why We Get Messy
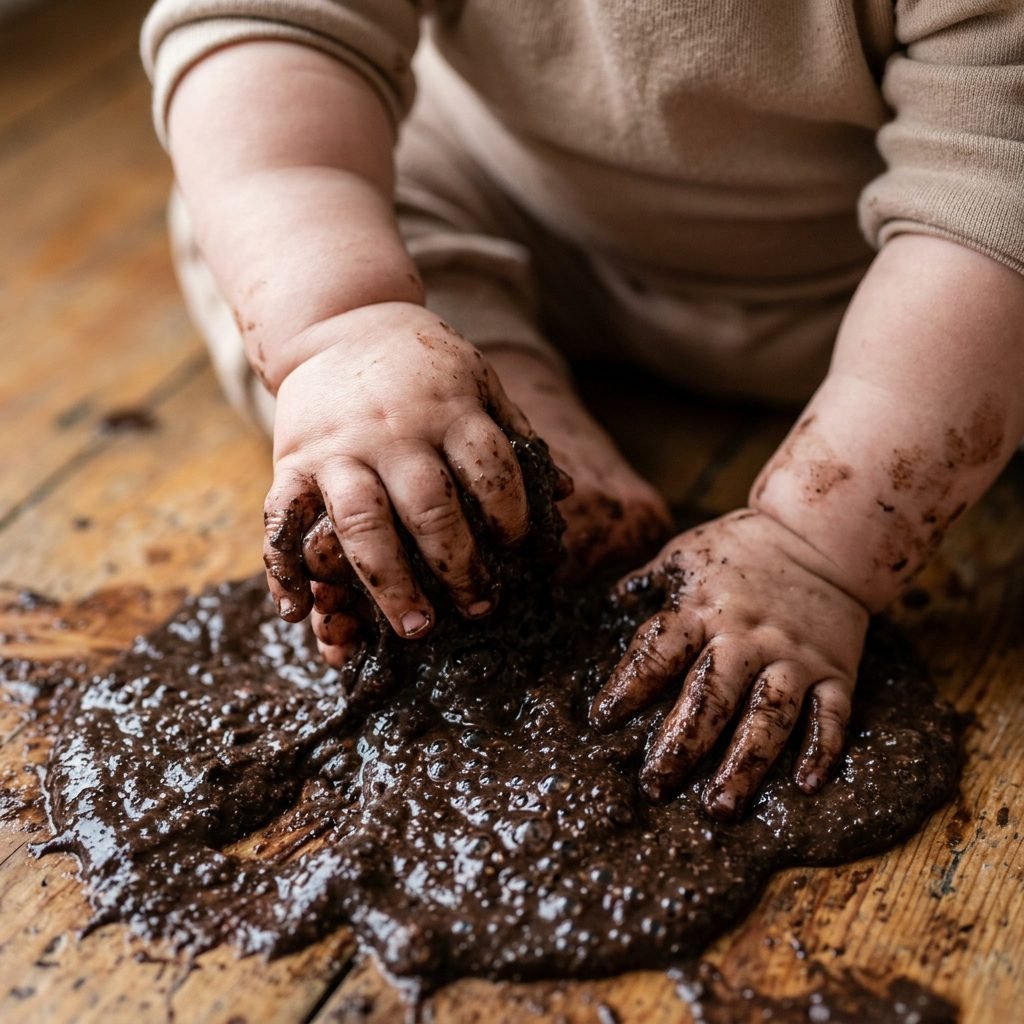
You might be looking at your clean kitchen floor and wondering, ‘Is the cleanup really worth it?’ As a pediatric-focused wellness advocate, I can tell you with 100% certainty: Yes, it is. Sensory play is the foundation of early childhood education. When your baby squishes their fingers into our edible mud, they aren’t just making a mess; they are engaging in ‘heavy work’ for their tactile system.
Benefits of Tactile Exploration
- Neural Connection: Sensory play builds nerve connections in the brain’s pathways, which lead to the child’s ability to complete more complex learning tasks.
- Language Development: As you describe the mud—’cold,’ ‘sticky,’ ‘gooey,’ ‘squishy’—you are building your baby’s descriptive vocabulary.
- Fine Motor Skills: Pinching ‘worms’ or squeezing handfuls of mud strengthens the small muscles in the hands that will eventually hold a pencil or tie a shoe.
- Emotional Regulation: Much like a warm bath or a weighted blanket, the repetitive motion of squishing mud can be incredibly grounding for a stimulated toddler.
By providing a safe environment for this exploration, you are telling your baby that the world is a place to be discovered, not feared. We are building confidence, one muddy handprint at a time.
Essential Materials and Budget Breakdown
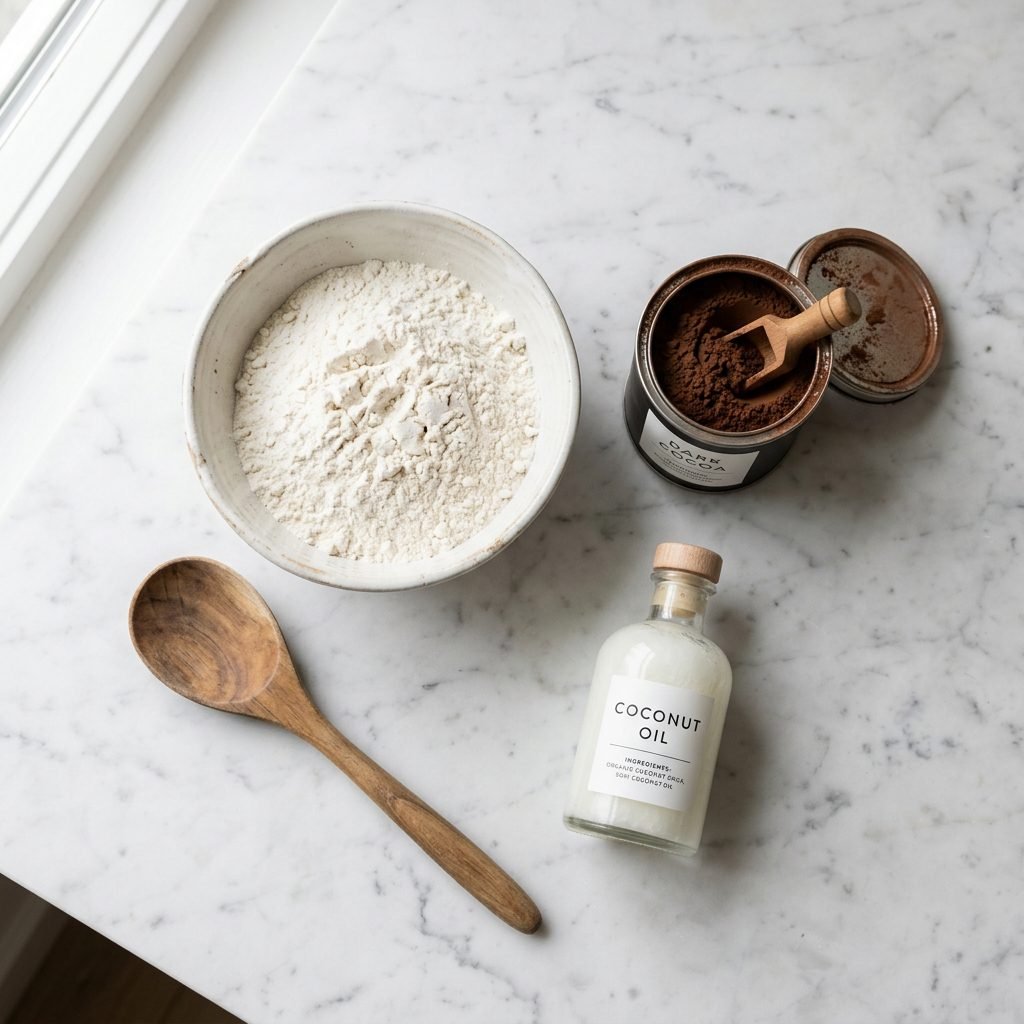
Creating a sensory masterpiece shouldn’t break the bank. In fact, most of these items are already sitting in your pantry. I always recommend using organic ingredients when possible, especially since we know a fair amount of this ‘mud’ might end up being sampled! Here is what you will need to gather for our primary recipe.
| Material Item | Purpose | Estimated Cost |
|---|---|---|
| All-Purpose Flour | The base ‘dirt’ texture | $2.00 – $4.00 |
| Unsweetened Cocoa Powder | Provides the dark mud color and scent | $3.50 – $6.00 |
| Water | Binds the ingredients together | $0.00 |
| Vegetable or Coconut Oil | Adds a ‘slick’ mud feel and prevents sticking | $3.00 – $7.00 |
| Large Shallow Bin | Contains the mess (I love the IKEA Trofast bins) | $5.00 – $12.00 |
| Plastic Animals/Trucks | For imaginative play and ‘washing’ stations | $0.00 (use what you have!) |
Pro-Tip: If your baby has a gluten sensitivity, you can easily swap the all-purpose flour for oat flour or a gluten-free blend. The texture remains just as delightful!
Safety First: The Critical Step of Heat-Treating Flour
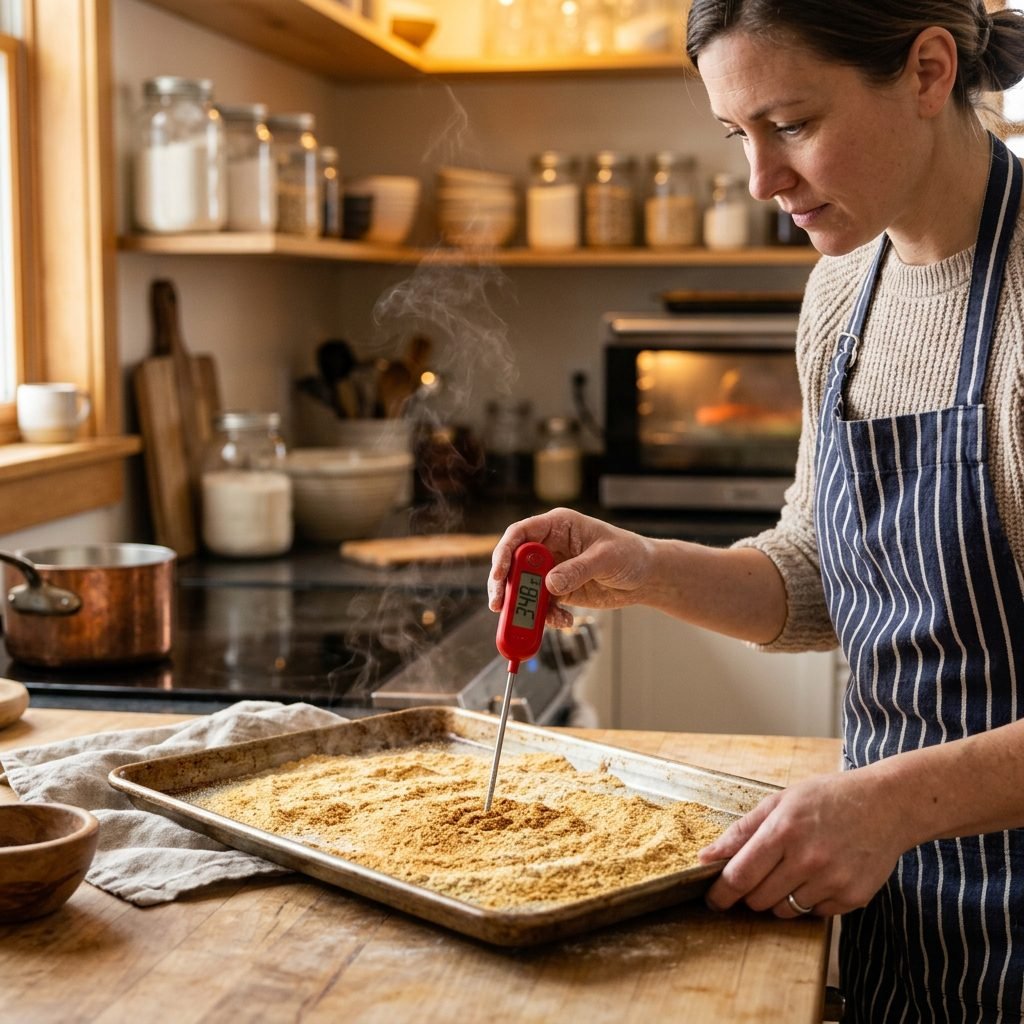
Mama, this is the most important part of the guide. While we call this ‘edible,’ we need to ensure it is pathogen-safe. Raw flour is actually considered a raw food, and it can carry bacteria like E. coli or Salmonella. Since our babies are in that ‘taste everything’ phase, we must heat-treat our flour before play begins.
How to Heat-Treat Your Flour
- Preheat your oven to 350°F (175°C).
- Spread your flour evenly across a large baking sheet.
- Bake the flour for approximately 5 to 7 minutes.
- Use a food thermometer to ensure the flour has reached 160°F throughout.
- Let it cool completely before mixing. This is vital to prevent burns!
If you prefer a quicker method, you can place the flour in a microwave-safe bowl and heat it in 30-second intervals, stirring in between, until it reaches that magic 160°F mark. Once cooled, your flour is officially safe for those curious little mouths.
The Ultimate Edible Mud Recipe
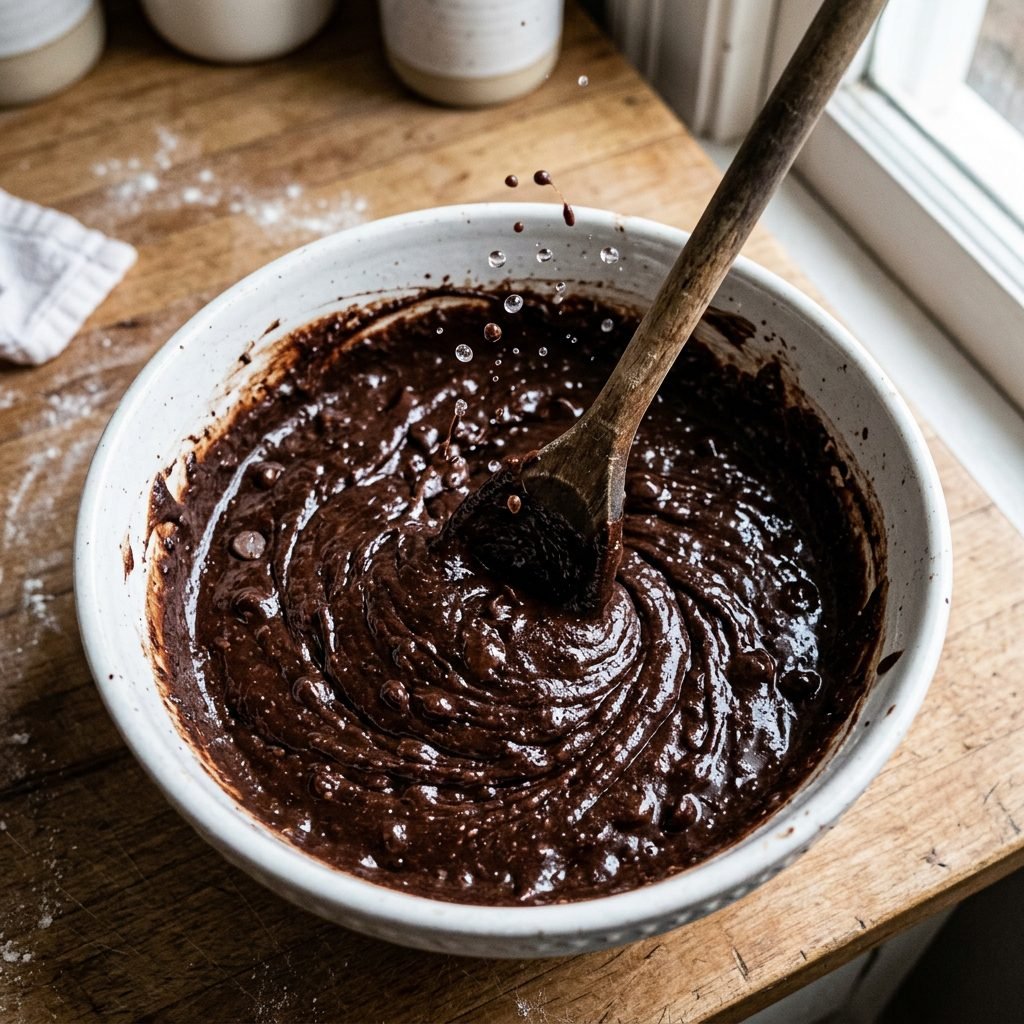
Now for the fun part! Let’s mix up a batch of the most realistic-looking mud your baby has ever seen. This recipe creates a thick, ‘sludgy’ consistency that holds its shape but remains fluid enough to pour.
Ingredients:
- 2 Cups of Heat-Treated Flour
- 1/2 Cup of Unsweetened Cocoa Powder
- 1.5 to 2 Cups of Warm Water (add slowly)
- 2 Tablespoons of Vegetable Oil (for that muddy sheen)
Instructions:
- In your large sensory bin or a separate mixing bowl, whisk together the cooled heat-treated flour and the cocoa powder until the color is a uniform light brown.
- Slowly pour in 1 cup of water and the oil. Start mixing with a large spoon or your hands (it’s therapeutic, I promise!).
- Continue adding water 1/4 cup at a time until you reach your desired ‘muddy’ consistency. If it’s too thick, add water. If it’s too runny, sprinkle in a bit more cocoa powder.
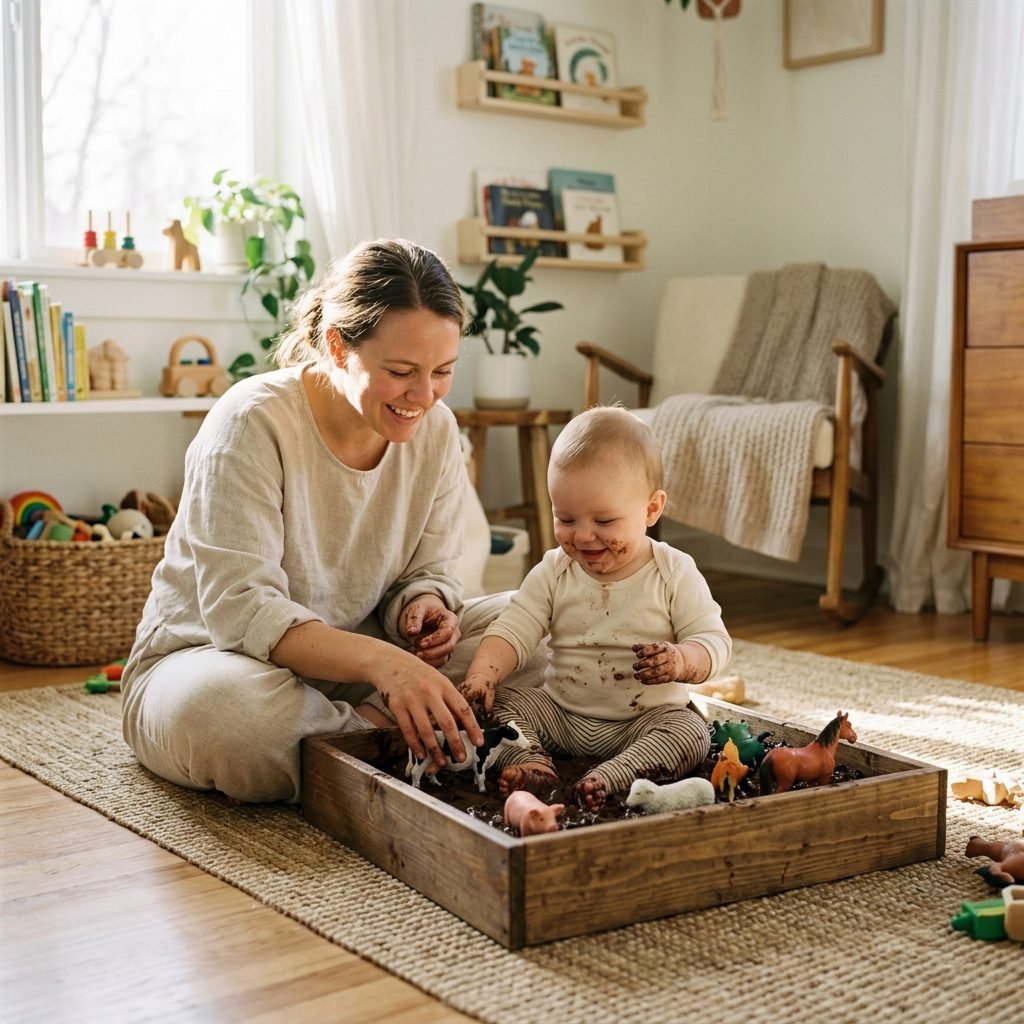
- Drop in some ‘surprises’ like plastic pigs, construction trucks, or large smooth stones to encourage play.
Affirmation: I am providing a rich, joyful environment for my child. The mess is a sign of a life well-lived and a brain well-nourished.
Themed Sensory Bin Ideas
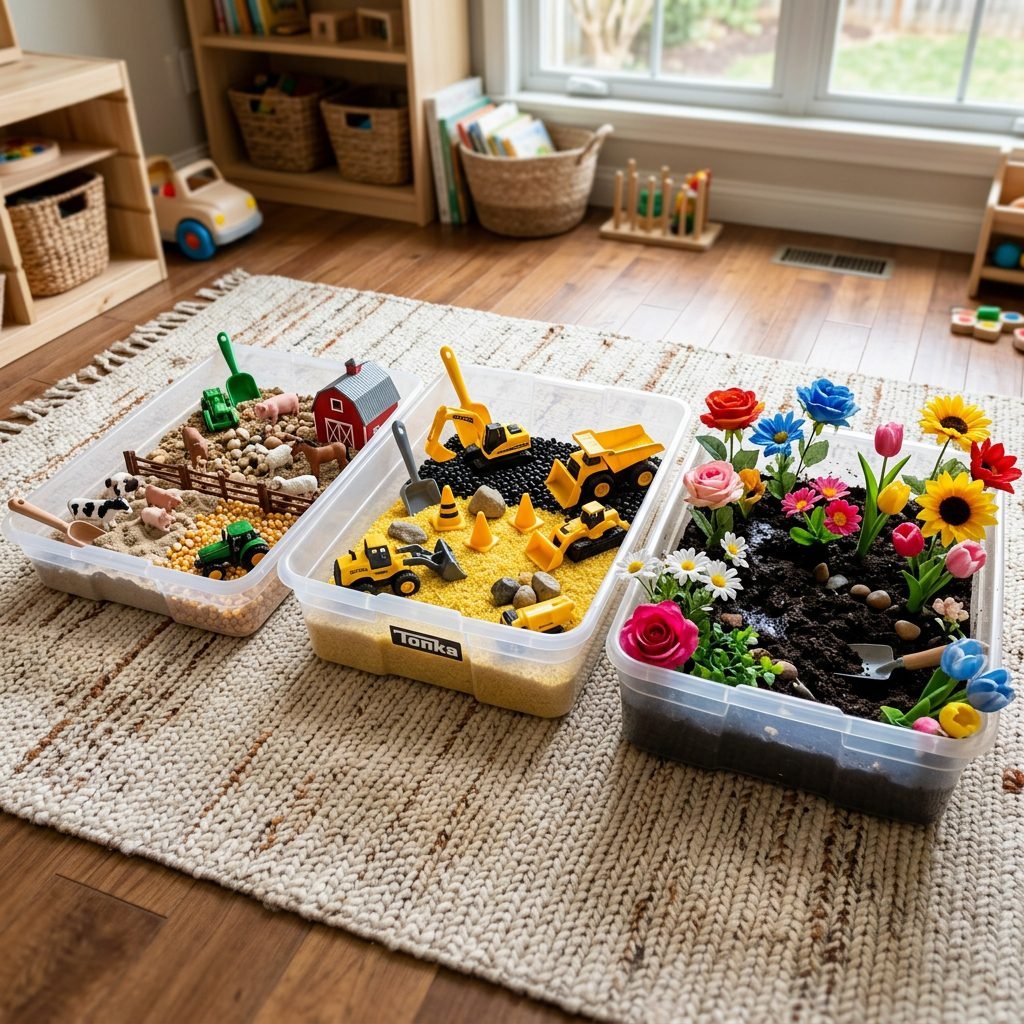
Once you have your mud, you can style it to fit different developmental themes. This keeps the activity fresh and engaging for your little one as they grow.
| Theme Name | Added Elements | Developmental Focus |
|---|---|---|
| The Dirty Farm | Plastic pigs, cows, and a ‘wash station’ (bowl of soapy water) | Object permanence and ’cause and effect’ (cleaning the animals) |
| Construction Site | Small dump trucks, shovels, and ‘boulders’ (large dry beans) | Hand-eye coordination and scooping/pouring skills |
| Garden Discovery | Silk flowers, plastic worms, and small pots | Fine motor precision and color recognition |
A Note on Allergic Reactions: If your baby has sensitive skin, the cocoa powder can occasionally cause a mild contact flush. Always do a small ‘patch play’ on their leg before letting them dive in head-first. If you need a cocoa-free alternative, you can use carob powder or simply darken the flour with a few drops of black and brown food coloring mixed with water.
The Practical Mama’s Clean-Up Guide
I know, I know—the mud looks great, but the thought of it on your rug is stressful. Let’s talk about containment and comfort. As a maternal stylist and organizer, I believe your home can be both beautiful and a playground.
Stress-Free Setup Tips
- The ‘Splash Zone’ Strategy: Place a large, wipeable splat mat or a cheap shower curtain liner under the sensory bin. When play is over, you just fold it up and shake it out (or hose it down).
- The Naked (or Diaper-Only) Approach: Sensory play is the perfect time for ‘diaper-only’ play. It minimizes laundry and allows the baby to feel the textures on more of their skin, which is a bonus sensory input!
- The Transition Bath: Have a warm bath ready to go before you start. When the ‘mud’ session ends, carry the baby straight to the tub. The ‘mud’ is water-soluble, so it will rinse off easily, and the bath becomes ‘Phase 2’ of the sensory experience.
Remember, mama, you don’t have to do this every day. Once a week—or even once a month—is enough to give your baby these incredible benefits without burning yourself out on the cleanup.
Conclusion
Growing Together Through Play
Watching your baby explore this DIY edible mud is a front-row seat to their development. You’ll see their eyes light up as they realize they can change the shape of the ‘dirt,’ and you’ll smile (and maybe cringe a little!) when they take that first curious lick. This is what motherhood is all about—creating safe spaces for our children to be exactly who they are: messy, curious, and brilliant. You are doing an amazing job, mama. Now, go grab that cocoa powder and let the muddy memories begin!