How to Make a DIY Object Permanence Box for Your 9-Month-Old
Welcome to the Magic of ‘Still There’
Oh, mama, isn’t the nine-month mark just magical? Your sweet little one is transitioning from a stationary observer to a curious explorer. They are starting to point, crawl, and—most importantly—begin to understand that the world exists even when they aren’t looking directly at it. This is the dawn of object permanence, a pivotal cognitive milestone where your baby realizes that just because Mommy walked into the kitchen, she hasn’t vanished from the universe.
As a doula and a mama who has spent countless hours on the nursery floor, I know we all want to provide the best developmental tools for our babies. But here is a little secret: you don’t need a designer budget to foster high-level brain development. The Montessori-inspired Object Permanence Box is a classic tool designed to help babies practice this concept through repetitive, joyful play. In this guide, we are going to walk through how to create a beautiful, safe, and effective version of this toy using materials you likely already have in your recycling bin.
Parenting is about connection, not perfection. This DIY project is a gift of your time and intention to your baby’s growing mind.
Understanding the Science: Why the 9-Month Milestone Matters
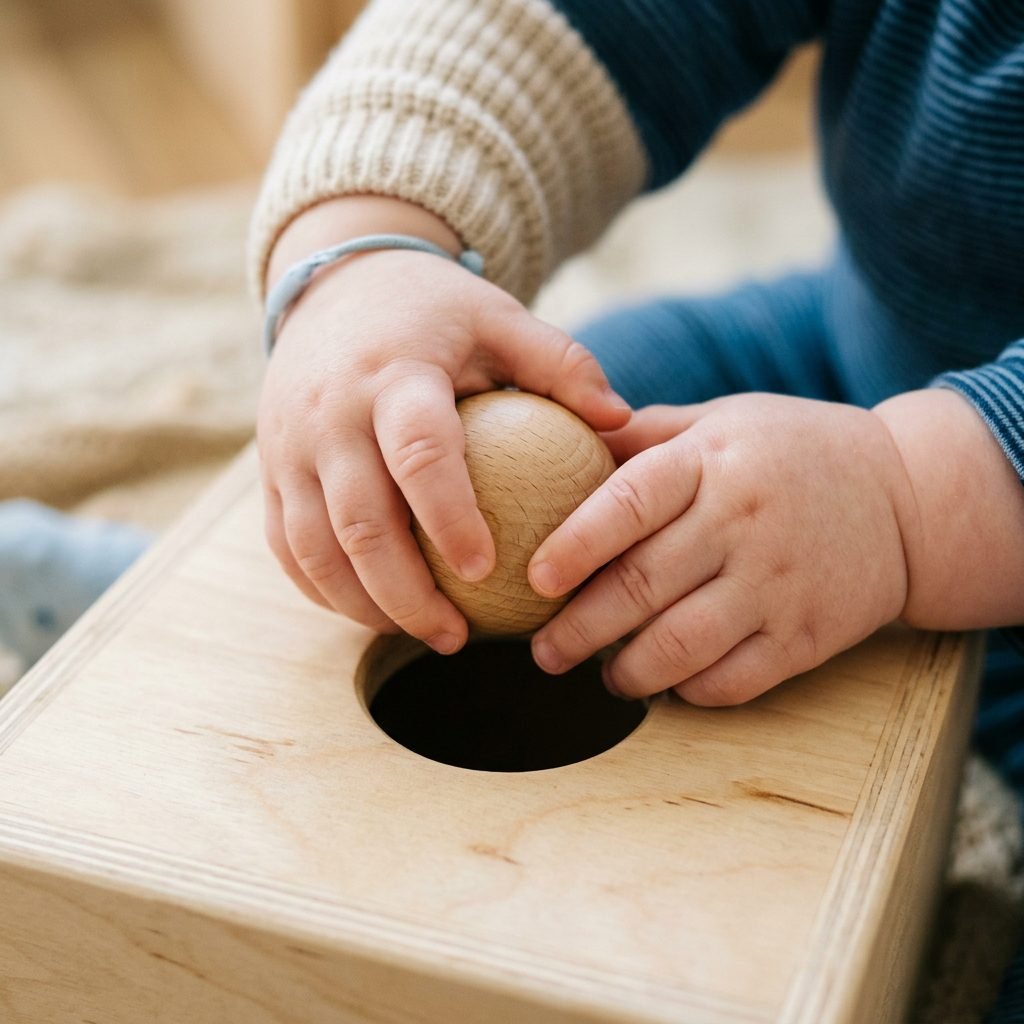
Between 8 and 12 months, a baby’s brain undergoes a massive shift. Before this stage, ‘out of sight’ truly meant ‘out of mind.’ If you hid a toy under a blanket, your baby would simply stop looking for it. By nine months, they are starting to develop the working memory to remember the toy exists underneath that fabric.
The Cognitive Benefits of the Box
- Hand-Eye Coordination: Picking up the ball and aligning it with the hole requires precise motor control.
- Grasp Development: Using a wooden ball or a soft felt ball encourages the development of the pincer grasp.
- Focus and Concentration: You will notice your baby doing this over and over again. This ‘repetition’ is how they build neural pathways.
- Emotional Regulation: Understanding that things return helps mitigate early separation anxiety.
By providing a dedicated ‘work’ station for this concept, you are giving your baby the chance to master a complex idea in a simplified, controlled environment. It’s evidence-based play at its finest, wrapped in the comfort of your home.
Gathering Your Eco-Friendly Crafting Essentials
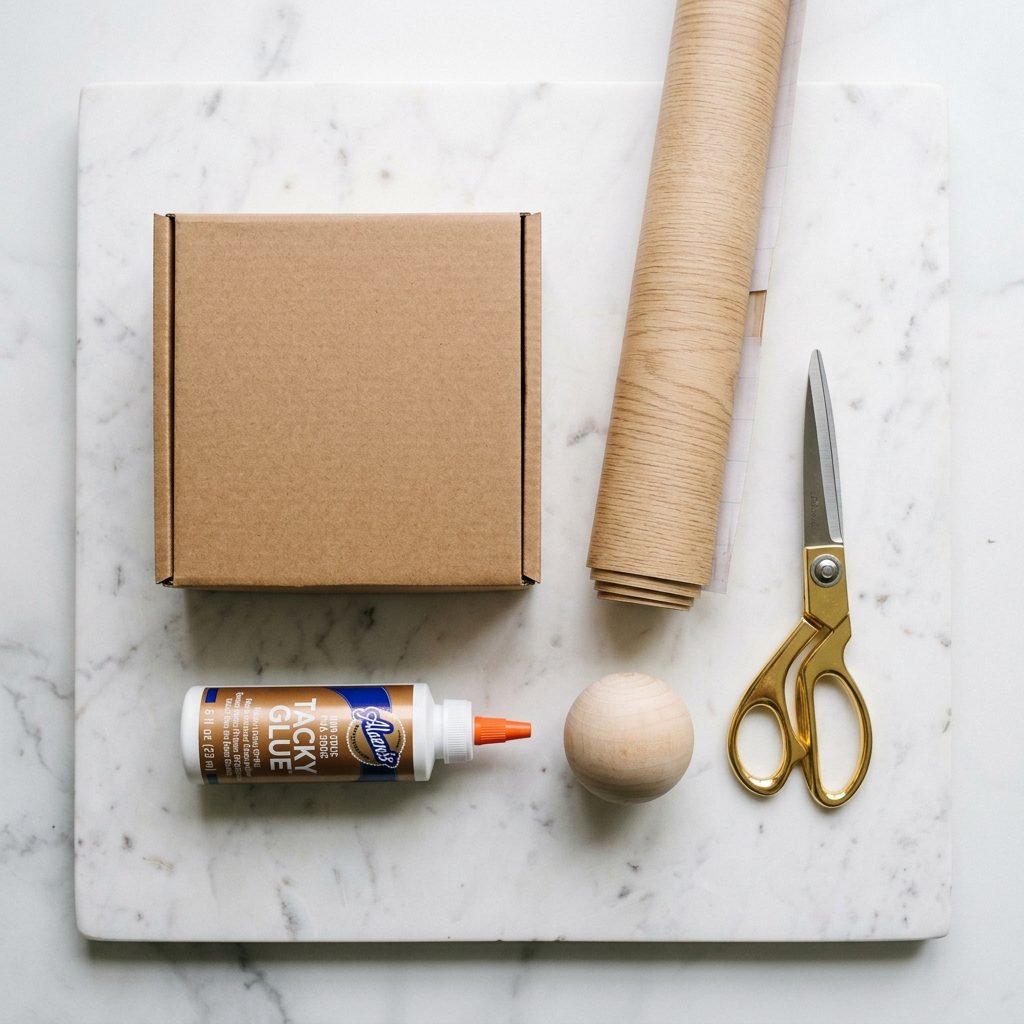
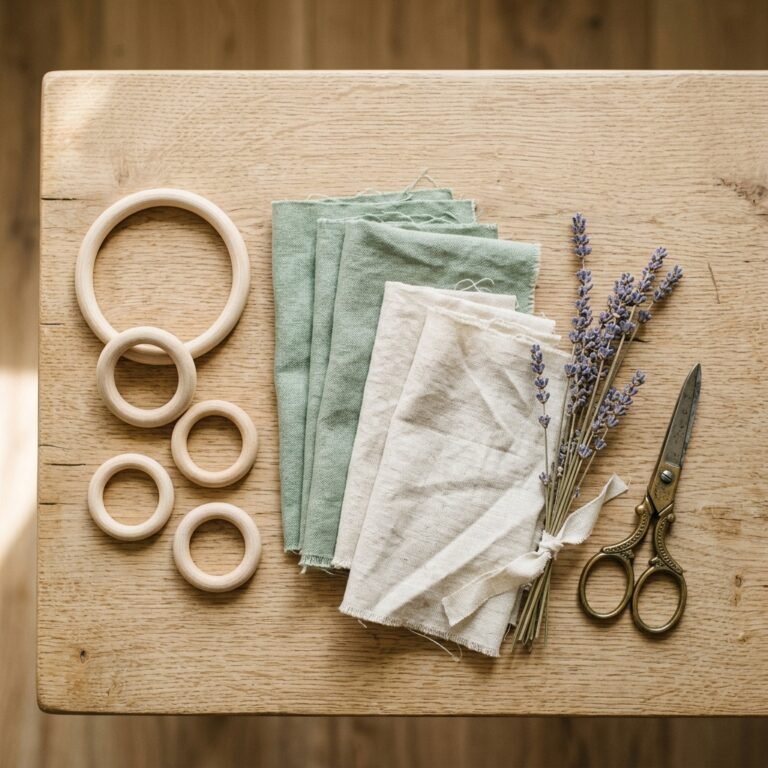
When we build for our babies, safety is our north star. We want materials that are non-toxic, sturdy enough to withstand a little ‘taste-testing,’ and aesthetically pleasing enough to sit in your living room. Below is a breakdown of what you will need to create your DIY masterpiece.
| Material | Purpose | Estimated Cost |
|---|---|---|
| Sturdy Shoe Box | The main structure of the box. | $0 (Upcycled) |
| Cardboard Scraps | To create the internal ramp. | $0 (Upcycled) |
| Non-Toxic Glue/Hot Glue | Securing the ramp and edges. | $3 – $5 |
| Wood-Grain Contact Paper | To give it a stylish, Montessori look. | $5 – $8 |
| Wooden Ball (40-50mm) | The object to be ‘lost’ and ‘found’. | $2 – $4 |
| Utility Knife/Scissors | For precise cutting. | On hand |
Pro-Tip: Ensure the ball you choose is large enough that it cannot pass through a standard toilet paper roll. This is the ‘gold standard’ for preventing choking hazards. I personally love using solid beechwood balls because they offer a lovely sensory weight and sound when they hit the bottom of the box.
Step-by-Step Tutorial: Crafting the Object Permanence Box
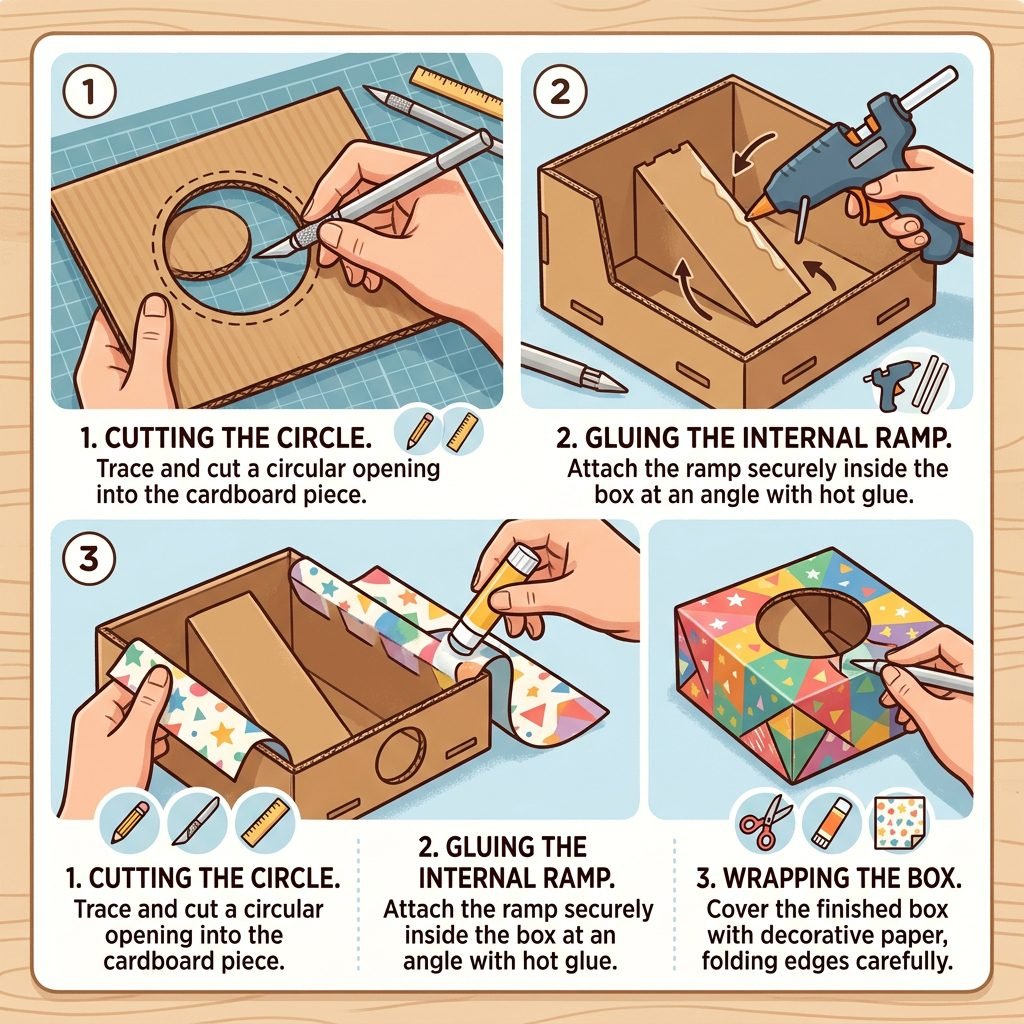
Ready to get crafty? Put on your favorite podcast, grab a cup of tea, and let’s build something wonderful for your little one. Follow these steps carefully to ensure the ‘reveal’ of the ball is smooth and satisfying.
- Prepare the Base: Take your shoe box and remove the lid. If the box is very deep, you may want to trim it down so it is about 5-6 inches tall. This makes it easier for a sitting baby to reach the top.
- Cut the Entry Hole: On the top surface (you can use the lid or a piece of cardboard taped to the top), trace a circle slightly larger than your ball. Use your utility knife to cut this out cleanly. Smooth the edges with a bit of sandpaper or masking tape so there are no sharp cardboard bits.
- Design the Internal Ramp: This is the ‘secret sauce.’ Cut a piece of cardboard the width of the box. Glue it inside at a 45-degree angle, starting from the back wall and sloping down toward a front opening. This ensures that when the ball is dropped in, it immediately rolls back out to the baby.
- Create the Exit Portal: Cut a large rectangular opening at the bottom of the front panel. This is where the ball will ‘magically’ reappear.
- Reinforce and Decorate: Use your non-toxic glue to secure all internal seams. Once dry, wrap the exterior in your contact paper or paint it with VOC-free, baby-safe paint. A neutral, wood-like finish helps the baby focus on the movement of the ball rather than distracting patterns.
Safety Check: Always tug on any glued parts to ensure they are rock-solid before handing the toy to your baby. We want no loose parts!
Styling Your Nursery: Integrating Montessori Aesthetics
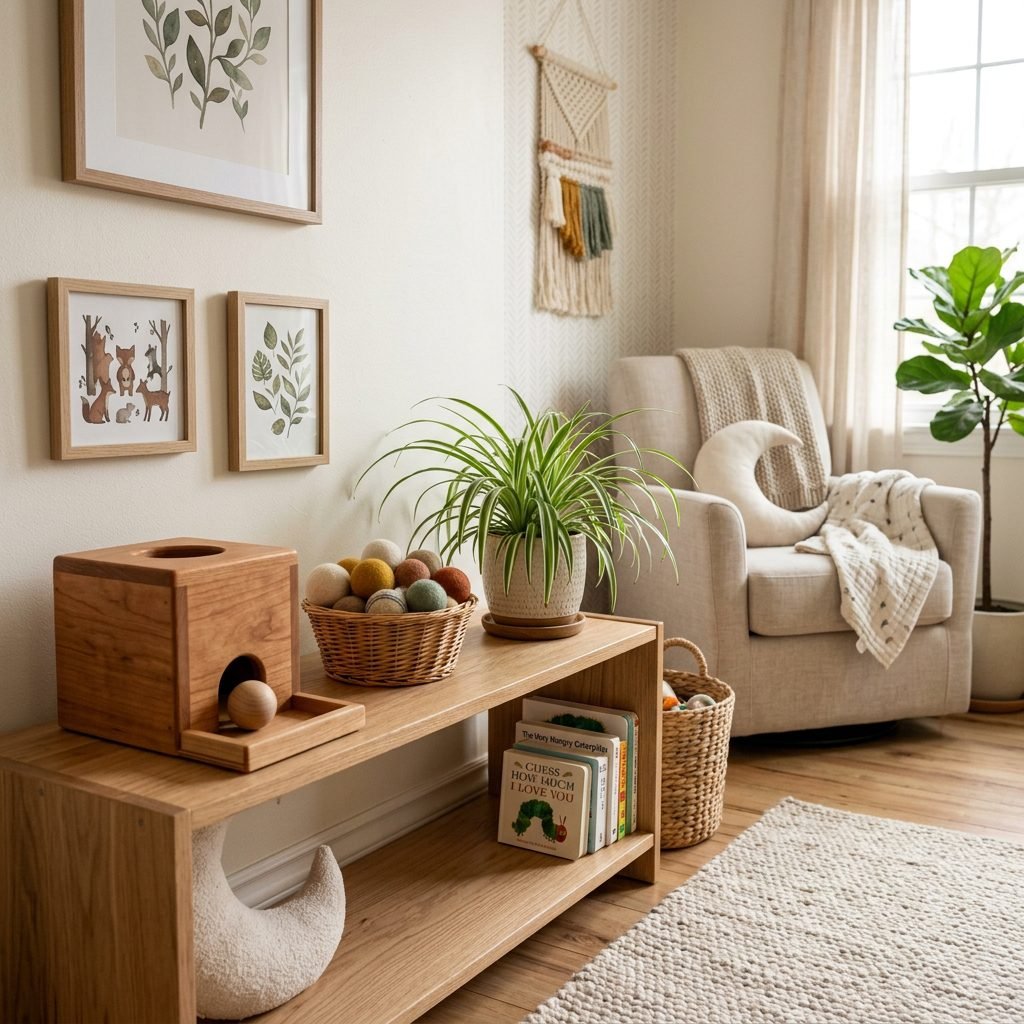
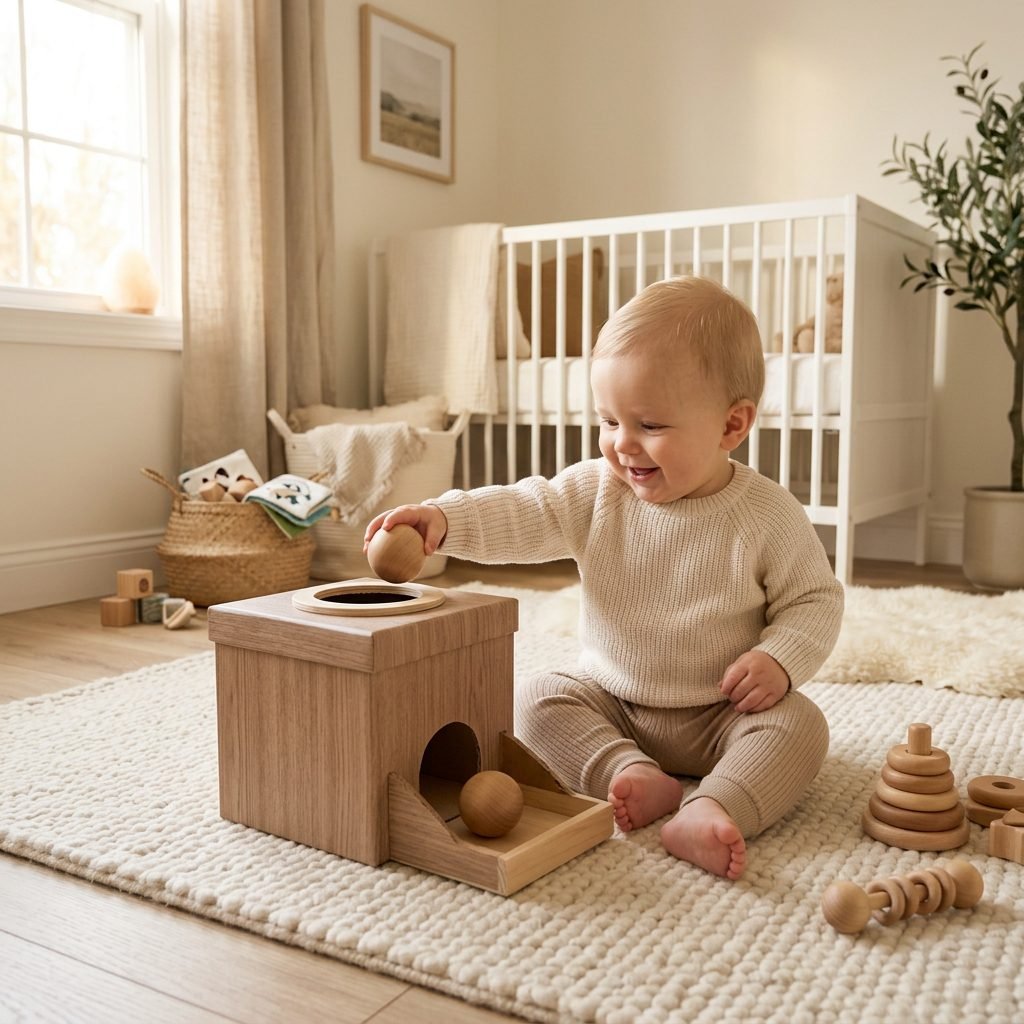
As a maternal stylist, I believe that a baby’s environment should be a place of serenity and order. The Montessori philosophy emphasizes ‘beauty and simplicity,’ which actually helps babies feel less overstimulated. Your DIY box doesn’t have to look like a ‘craft project’—it can look like a high-end toy.
Elevate the Look
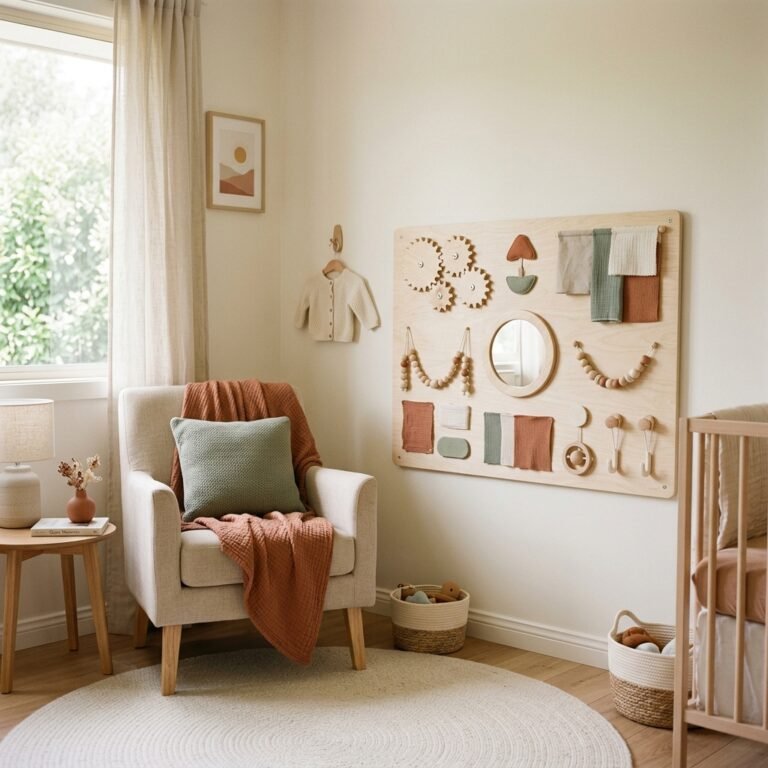
- Color Palette: Stick to muted tones like sage green, oatmeal, or natural wood. These colors are soothing for both you and the baby.
- Texture: Consider lining the bottom of the exit tray with a piece of felt or cork. This changes the sound the ball makes, adding an extra layer of sensory input.
- Placement: Place the box on a low shelf or a dedicated play mat. Use a small woven basket next to it to hold the balls when not in use.
By creating an inviting ‘play invitation,’ you are teaching your baby to respect their materials and find joy in focused activity. It’s about creating a ‘Yes Space’ where they are free to explore without hearing ‘no’ or ‘be careful’ every two minutes.
How to Introduce the Box to Your 9-Month-Old
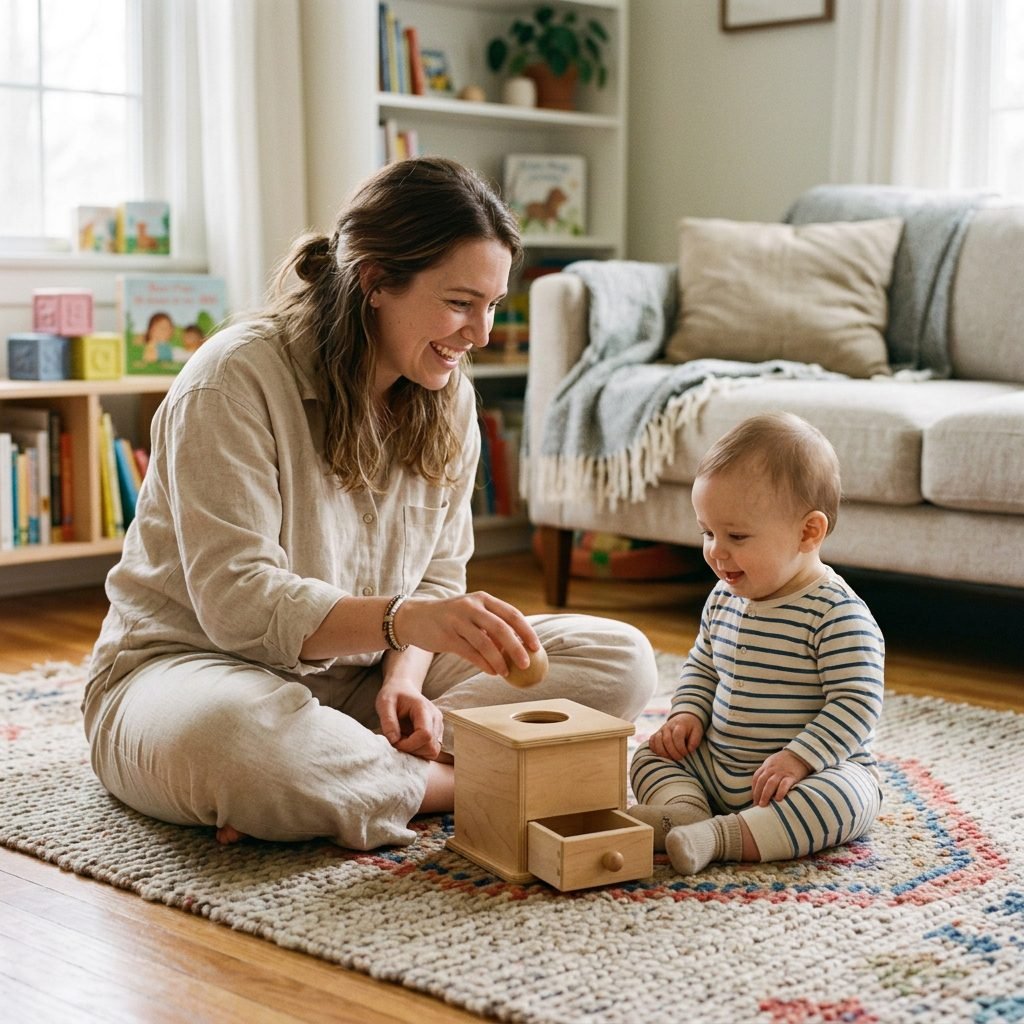
Now for the best part! Introducing the toy to your baby is a beautiful bonding moment. Remember, at nine months, they learn best through modeling and gentle encouragement.
The ‘Slow-Motion’ Method
Sit on the floor with your baby. Make sure you have their attention. Pick up the ball slowly. Hold it over the hole, and with a bit of ‘theatrical’ flair, let it drop. As it rolls out, use a soft, surprised voice: ‘Look! It came back!’
Scaffolding the Play
- Phase 1: Observation. Do it 3-4 times while they watch. Their eyes will track the ball.
- Phase 2: Hand-Over-Hand. If they seem hesitant, gently place your hand over theirs and help them drop the ball.
- Phase 3: Independent Play. Sit back and let them struggle a little. If they miss the hole, don’t fix it immediately. Let them problem-solve. This is where the real learning happens!
If your baby gets frustrated and throws the ball, that’s okay too! It might mean they are tired or that the task is a little too challenging today. We follow the child, always.
Troubleshooting & Maintenance: Keeping the Play Safe
Because this is a DIY project made of cardboard, it won’t last forever, but with a little ‘maintenance,’ it can survive the rigorous testing of a 9-month-old. Babies at this age are sensory seekers, which often means they use their mouths to explore.
Common Issues and Quick Fixes
- Soggy Cardboard: If your baby is teething, the edges of the hole might get a bit damp. You can reinforce the rim with a thin layer of clear packing tape or a non-toxic sealant to keep it moisture-resistant.
- Ramp Collapse: If the ball stops rolling out, the internal ramp might have come loose. Simply re-glue it and perhaps add a ‘support pillar’ made of a rolled-up piece of cardboard underneath the slope.
- Boredom: Once your baby masters the single ball, try introducing different objects. A large pom-pom, a silk scarf, or a different textured ball can make the ‘old’ toy feel brand new.
Always perform a ‘Daily Safety Sweep.’ Check for any peeling contact paper or loose glue bits. Your baby’s safety is the priority, and since you built this box, you are the expert on its structural integrity!
Conclusion
You’re Doing an Amazing Job, Mama
Building a DIY object permanence box is about so much more than saving a few dollars. It’s about witnessing the incredible unfolding of your baby’s mind. When you see that look of pure joy and surprise as the ball rolls back to them, you’re seeing neural pathways forming in real-time. You are their first teacher, their safe harbor, and their favorite playmate.
Take a deep breath and enjoy these floor-time moments. They go by so fast, but the foundation of curiosity and confidence you are building today will last a lifetime. Happy crafting, and even happier playing!