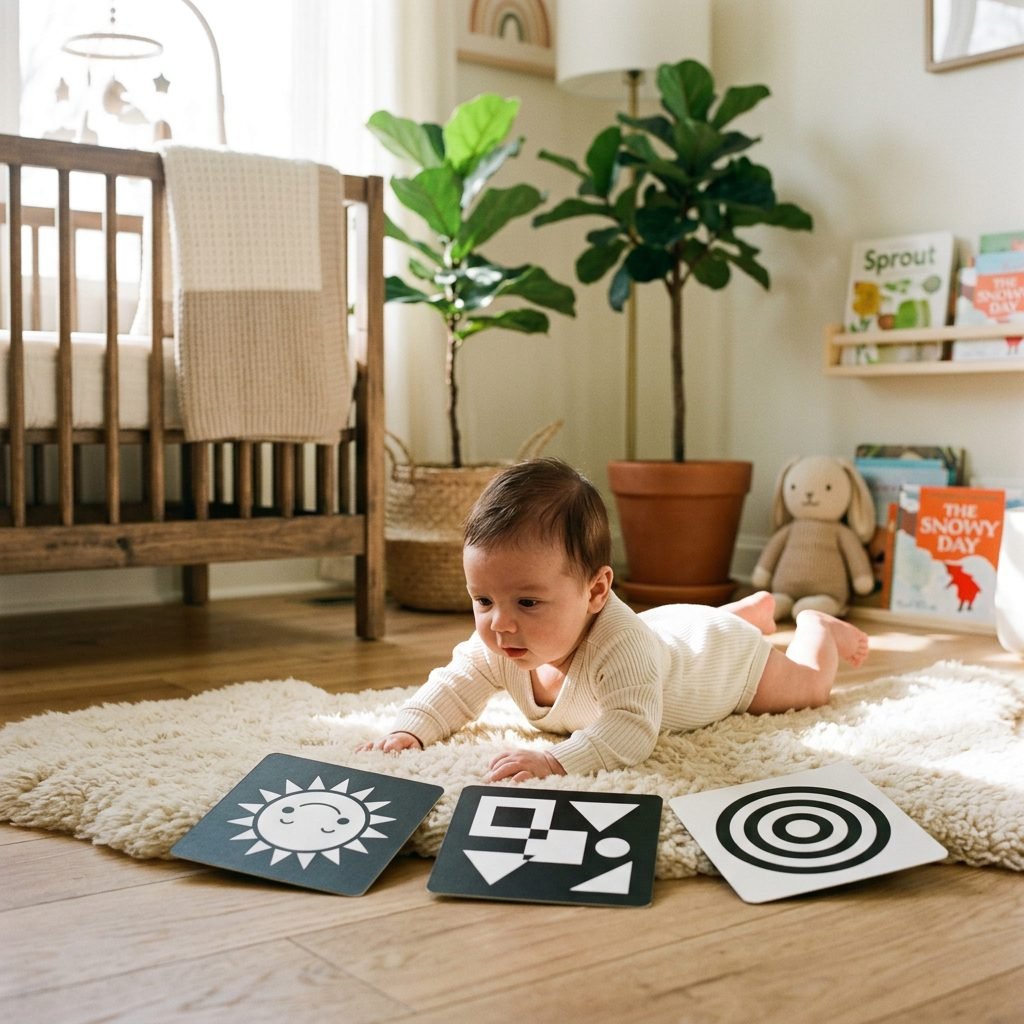
Why High Contrast Baby Cards Are Crucial (And How to Make Your Own for Free)
Welcome to Your Baby’s World of Wonder
Oh, sweet mama, welcome to those precious, blurry, and utterly beautiful first weeks of motherhood. As a doula, I’ve sat in many darkened nurseries, watching newborns blink at the world with those wide, curious eyes. It is a common misconception that babies see the world exactly as we do from the moment they are born. In reality, your little one’s visual world is quite foggy. They are born into a soft-focus landscape where colors are muted and edges are soft. This is where high-contrast baby cards come in—not just as a trendy nursery accessory, but as a vital tool for their developing brain.
In this guide, we are going to dive deep into the fascinating science of infant vision. We will explore why those bold black-and-white patterns are like a workout for your baby’s brain and, most importantly, I’m going to show you how to create your own gorgeous, stylish set of cards for zero dollars. Whether you are nesting during your third trimester or looking for ways to engage with your three-week-old during a wake window, this is for you. Let’s make something beautiful together that supports your baby’s growth.
The Blurry World of a Newborn: Understanding Visual Development
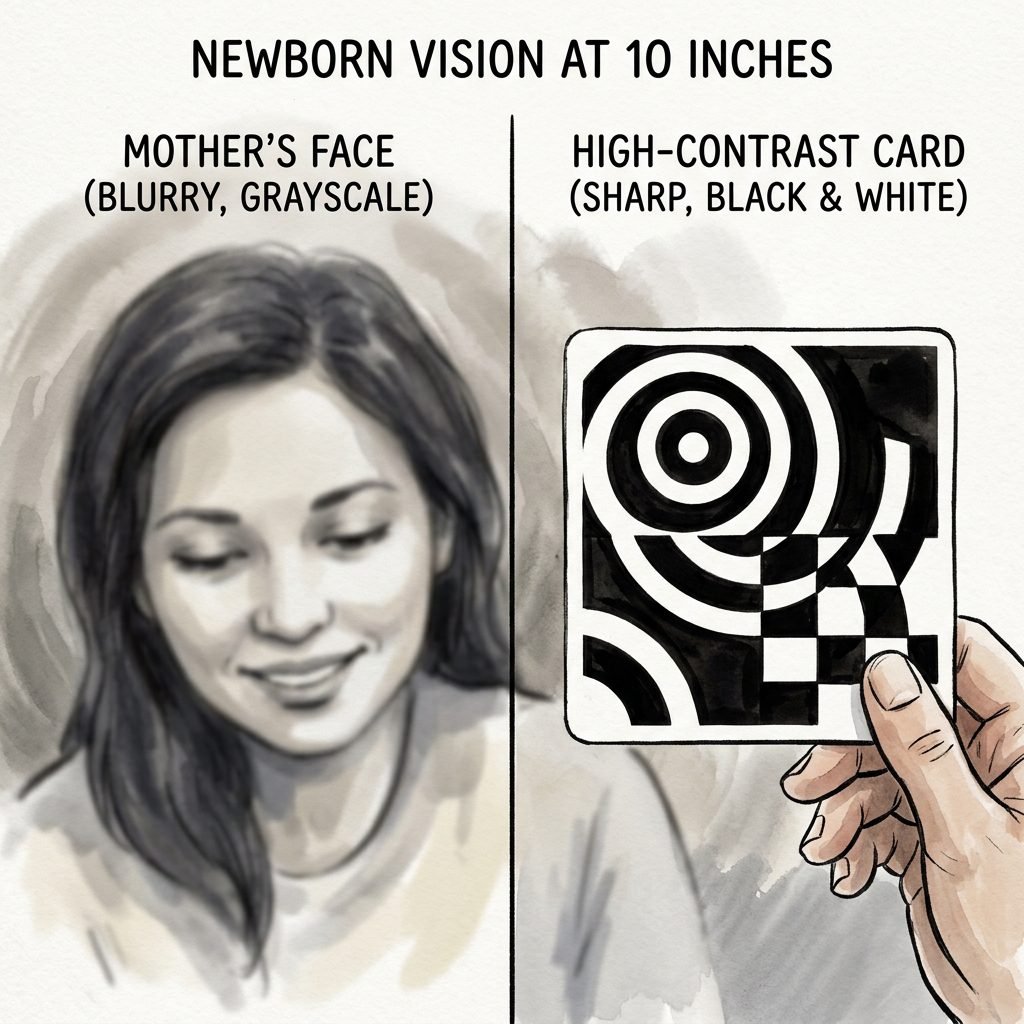
When your baby is first placed in your arms, their vision is the least developed of all their senses. While they can hear your voice and recognize your scent immediately, their eyes are still learning how to work together. At birth, a newborn’s eyes are physically capable of seeing, but their brain isn’t yet ready to process all the visual information of a colorful, high-definition world.
The 8-to-12 Inch Rule
Have you noticed how your baby seems most content when you hold them close to your face? There is a biological reason for that. A newborn can only focus on objects about 8 to 12 inches away from their face—which just happens to be the exact distance between your face and theirs during breastfeeding or cradling. Anything further away is a blur of light and shadow.
Why Color Doesn’t Matter (Yet)
The retina is the part of the eye that detects light and color. In newborns, the ‘cones’ (the cells that detect color) are not yet fully functional. However, the ‘rods’ (the cells that detect light and dark) are ready to go. This is why a pastel pink nursery, while beautiful to us, looks like a sea of light gray to a newborn. High-contrast images, specifically black and white, provide the strongest signal to the baby’s brain, helping the optic nerve grow and the primary visual cortex to strengthen.
Remember, mama: Your baby isn’t ignoring those colorful toys; they literally cannot see them clearly yet. By providing high-contrast visuals, you are meeting them exactly where they are developmentally.
The ‘Why’ Behind the Black and White: Cognitive Benefits
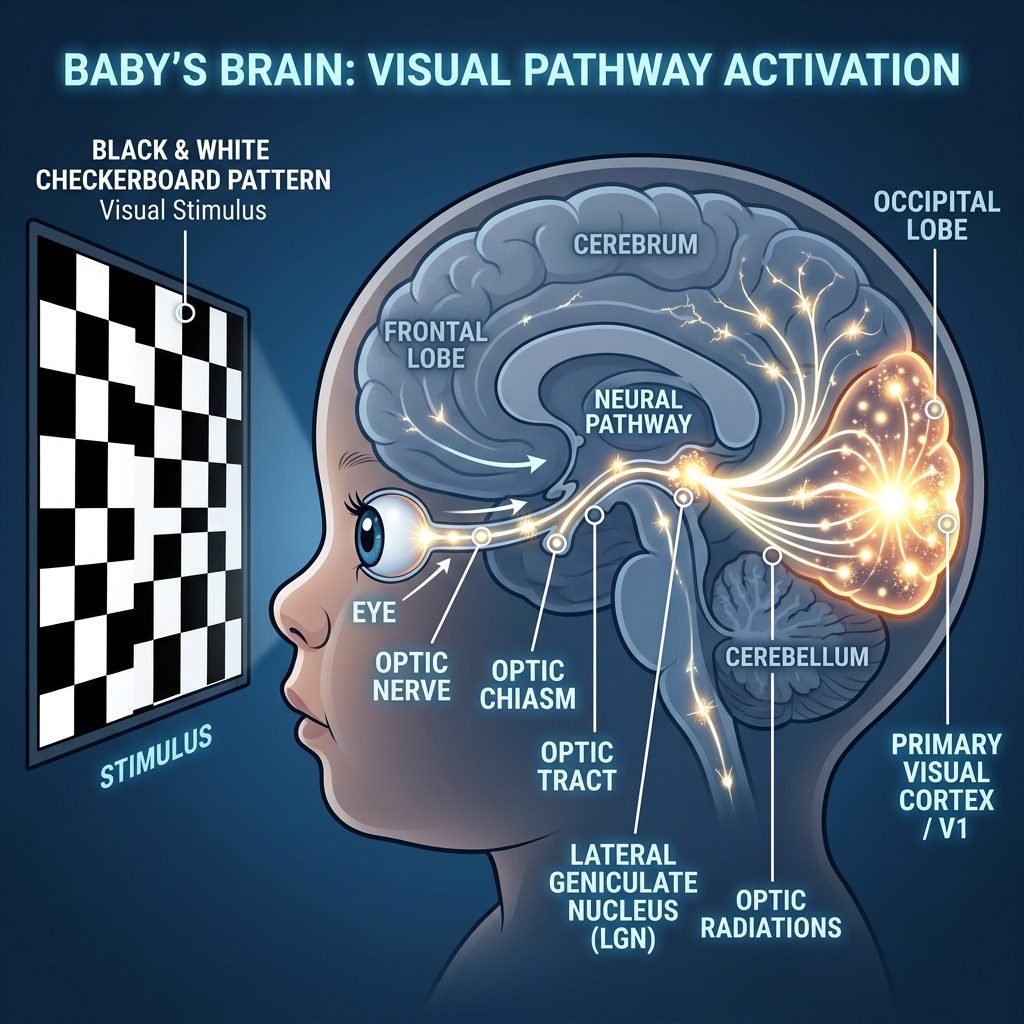
Using high-contrast cards isn’t just about ‘entertaining’ your baby; it’s about neurodevelopment. When a baby focuses on a high-contrast image, it’s like they are lifting weights for their brain. Here are the primary benefits of incorporating these cards into your daily routine:
- Increased Concentration: Studies show that newborns will look at a high-contrast image for significantly longer than a low-contrast or colored one. This helps build their attention span from day one.
- Visual Tracking: As you slowly move a card from left to right, your baby learns to track objects with their eyes, a skill crucial for later milestones like reaching and crawling.
- Nervous System Soothing: Surprisingly, having something clear to focus on can be very grounding for a baby who is easily overstimulated by the chaos of the world.
- Brain Growth: Strong visual input triggers the growth of synapses in the visual cortex.
| Age Range | Visual Milestone | Best Pattern Type |
|---|---|---|
| 0-1 Month | Focusing on high contrast | Simple large shapes (circles, squares) |
| 1-2 Months | Tracking moving objects | Bolder patterns and simple faces |
| 2-3 Months | Beginning to see primary colors | Patterns with a splash of red or yellow |
| 4+ Months | Depth perception improving | Complex scenes and varied textures |
Strategic Play: Where and How to Position Your Cards

Now that we know why they are important, let’s talk about how to use them without it feeling like another ‘chore’ on your long list of motherhood tasks. We want this to be a joyful, bonding experience.
The Tummy Time Buddy
Tummy time can be a struggle for many babies (and moms!). It’s hard work for those little necks! Placing high-contrast cards on the floor in front of them or propped up against a pillow gives them a ‘target’ to look at, which can distract them from the physical effort and encourage them to lift their heads.
The Diaper Change Distraction
Tape a few cards to the wall next to your changing table. It gives your baby something to focus on during those frequent (and sometimes messy) changes, keeping them still and engaged while you work your magic.
The ‘Side-Lying’ View
When your baby is awake and alert but lying on their back, place cards to their left or right. This encourages them to turn their head, helping to prevent flat spots (plagiocephaly) and strengthening neck muscles.
Affirmation for the weary mom: ‘I am providing a rich, stimulating environment for my baby just by being present and offering these simple moments of connection.’
The Ultimate DIY Guide: Crafting Your Own High-Contrast Kit
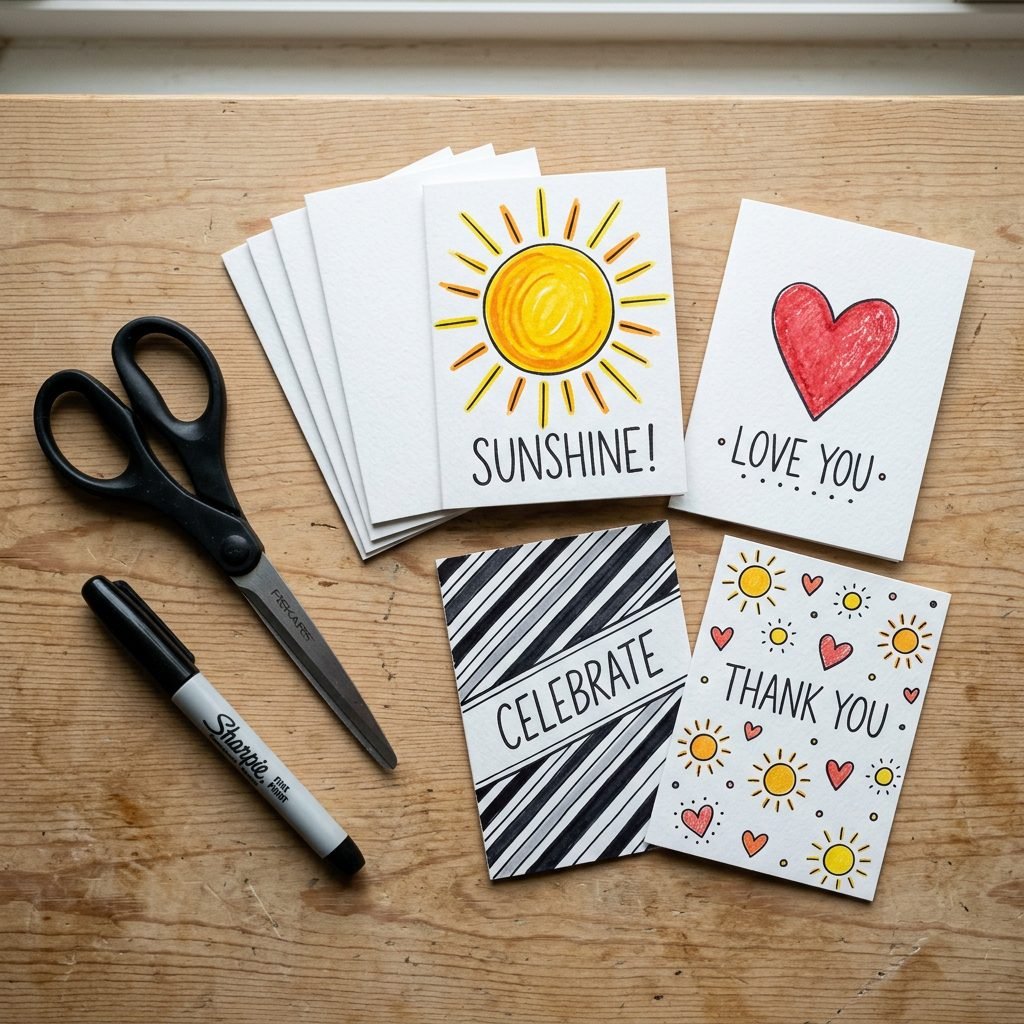
You don’t need to spend $30 on a boutique set of cards. You likely have everything you need in your junk drawer or office right now. Here is how to make a stylish, durable set for free.
Materials Needed
| Item | Purpose | Budget Alternative |
|---|---|---|
| White Cardstock | The base of the card | Backs of cereal boxes painted white |
| Black Sharpie/Marker | Drawing the patterns | Black acrylic paint or electrical tape |
| Clear Packing Tape | ‘Laminating’ for durability | Contact paper or skip if baby won’t touch |
| Scissors | Cutting to size | Paper trimmer for straight edges |
Step-by-Step Instructions
- Size Your Cards: Cut your cardstock into 5×5 or 6×6 inch squares. This size is easy for babies to see and easy for you to handle.
- Sketch Your Designs: Use a pencil to lightly sketch your designs. Think bold! Thick lines are better than thin ones.
- Inking: Fill in your designs with a heavy black marker. Ensure there is a sharp, crisp line between the black and white areas.
- Double-Sided Magic: Glue two different designs back-to-back so you can flip the card over for a fresh view.
- Laminate: Cover both sides with clear packing tape. This protects the cards from drool and makes them easy to wipe down.
- Round the Corners: Use your scissors to round off the sharp corners so they are safe for little hands to eventually grab.
Pattern Play: Choosing the Best Designs for Your Baby
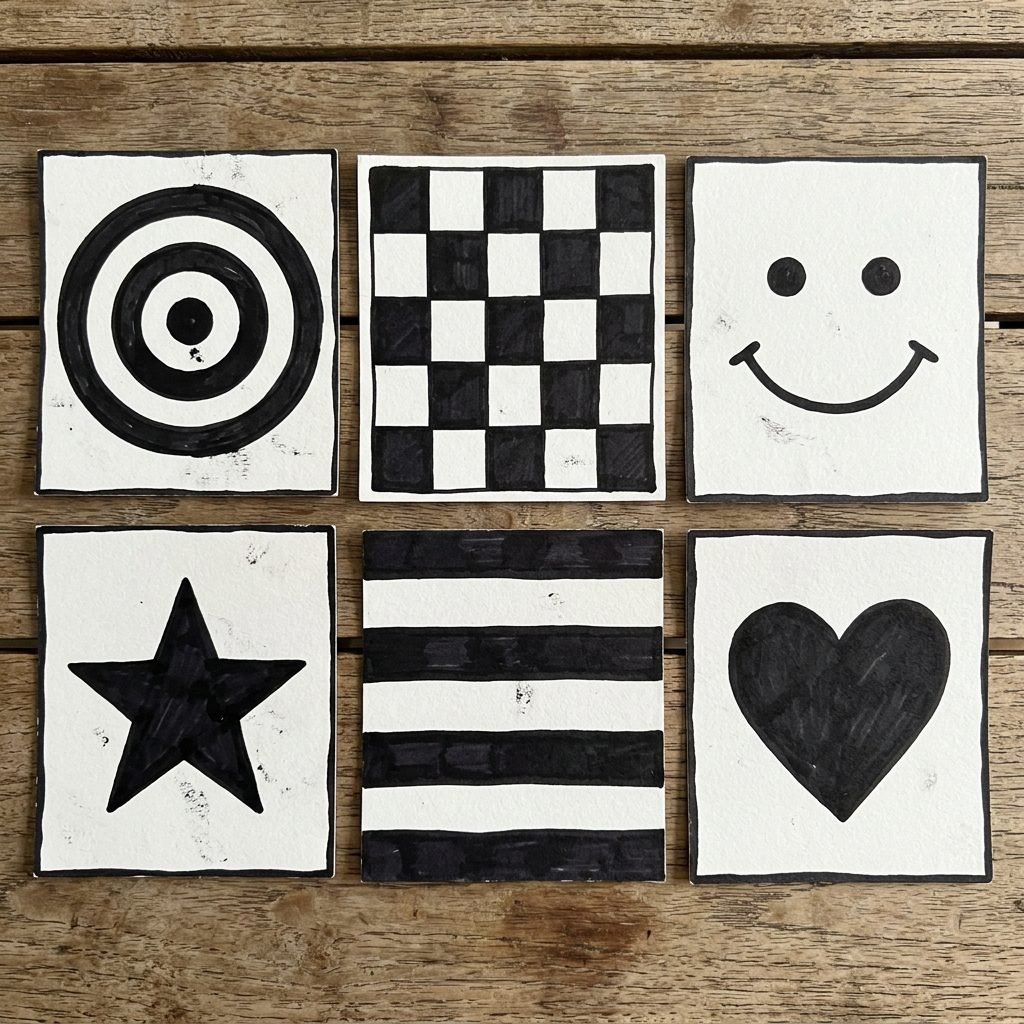
Not all patterns are created equal! To maximize the developmental benefits, you want a variety of ‘visual frequencies.’ Here are the best patterns to draw or print:
- Geometric Shapes: A large solid circle, a thick-bordered square, or a bold triangle. These are the easiest for a newborn to process.
- Radiating Lines: A sunburst or a target/bullseye. These draw the baby’s eye toward the center of the card, helping them learn to focus their gaze.
- Checkerboards: The classic high-contrast pattern. It provides many ‘edges’ for the eyes to follow.
- Simple Faces: Babies are biologically hardwired to look for faces. Draw a very simple ‘smiley face’ with two large black dots for eyes and a thick curved line for a mouth.
- Nature Silhouettes: A simple leaf, a cloud, or a moon. These are aesthetically pleasing for your nursery while still being functional.
Pro Tip: As your baby reaches the 2-month mark, you can add a single dot of bright red or yellow to the center of your black and white designs. This introduces color processing in a way that isn’t overwhelming.
Safety First: Non-Toxic Tips for Sensory Toys
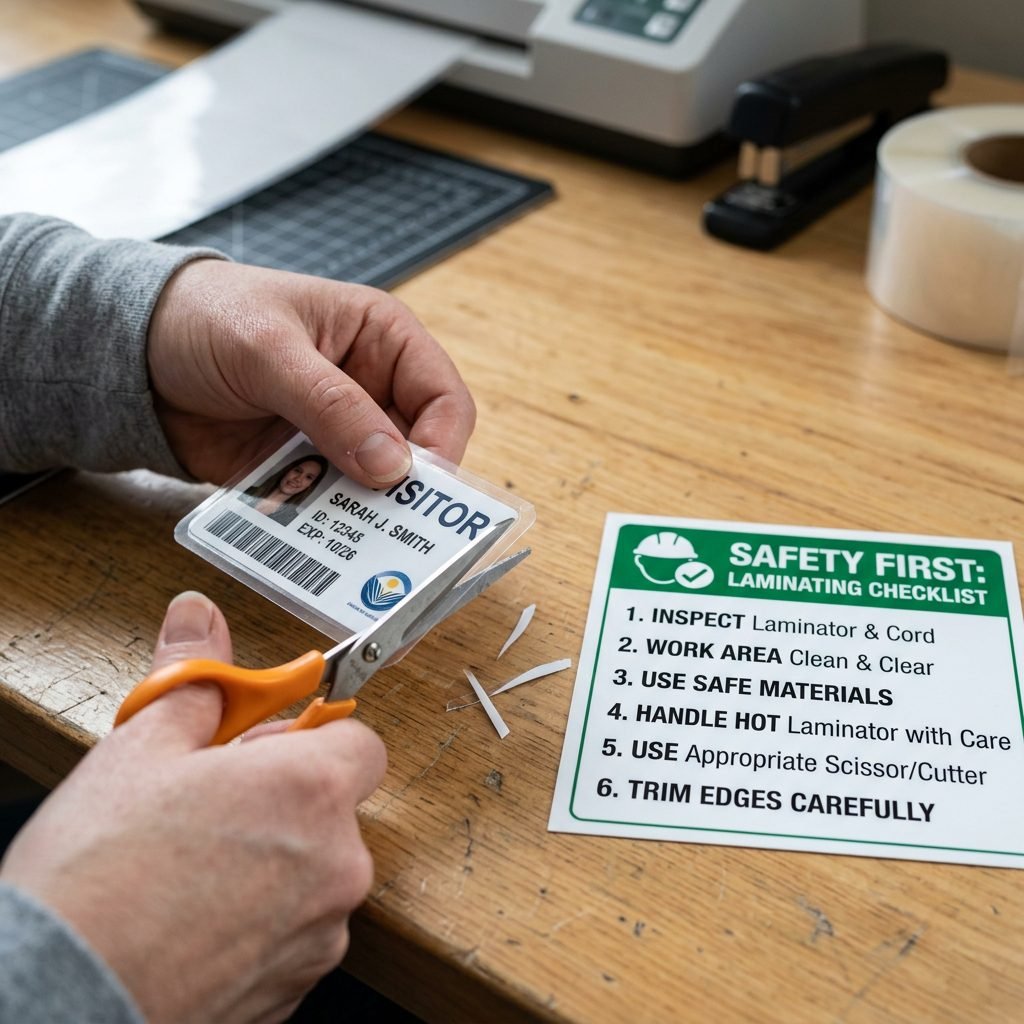
As a doula and a mom, safety is always my top priority. When you are making your own baby gear, keep these three rules in mind:
- Non-Toxic Markers: Ensure you are using permanent markers that are labeled non-toxic. Once the ink is dry and ‘laminated’ with tape, it is generally safe, but always keep an eye on your little one.
- Supervised Play: These cards are meant for visual stimulation, not as teething toys. Always supervise your baby during card play to ensure they don’t accidentally poke themselves or try to chew on the tape.
- Check for Wear: Over time, the tape might peel. Check your cards weekly and discard any that are falling apart to avoid choking hazards.
If you prefer not to use markers, you can use black construction paper cutouts glued onto white paper. This creates a beautiful, textured look that is completely ink-free!
Conclusion
Your Baby’s Bright Future Starts Here
It is truly incredible how something as simple as a black-and-white drawing can have such a profound impact on your baby’s neurological development. By taking twenty minutes to craft these cards, you aren’t just saving money—you are intentionally creating a space for your baby to learn, focus, and grow.
Remember, mama, you are your baby’s first and best teacher. Whether you use these cards during a quiet morning nursing session or as a way to get through a fussy tummy time afternoon, you are doing an amazing job. Soak in those long stares and those first little smiles of recognition. The world is becoming clearer to them every single day, and you are right there to guide them through it. Happy crafting!