How to Make Your Own Safe Wooden Grasping Toys for Quick Infant Fine Motor Development
The Soulful Connection of Handmade Play
Hello, sweet mama. There is something deeply grounding about holding a piece of smooth, warm wood in your hands, knowing that it was crafted with love for the tiny hands that will soon explore it. As a doula and a lover of all things intentional, I believe that the objects we surround our babies with during their first year of life matter immensely. In a world filled with flashing lights and noisy plastic, wooden grasping toys offer a serene, sensory-rich alternative that respects your baby’s developing nervous system.
These toys aren’t just beautiful additions to your nursery aesthetic; they are precision-engineered tools for fine motor development. When your little one reaches out to grab a wooden ring or shifts an interlocking disc from one hand to the other, they are building the neural pathways required for everything from feeding themselves to eventually holding a pencil. In this guide, I’m going to walk you through how to create these heirloom pieces safely, affordably, and with the expert care your baby deserves. Let’s create something magical together.
Why Wood Wins: The Science of Sensory Play
The Developmental Benefits of Natural Materials
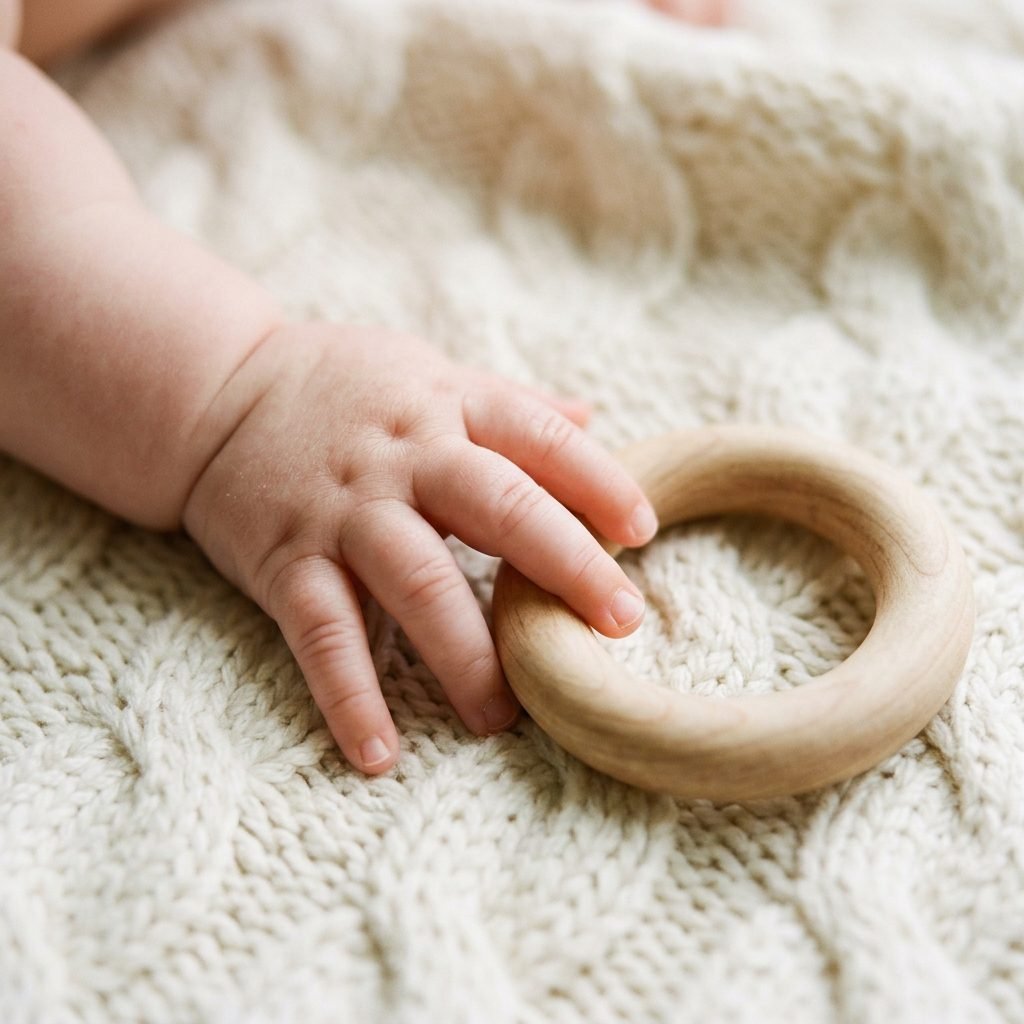
Before we dive into the ‘how-to,’ let’s talk about the ‘why.’ Why do we see so many Montessori and Waldorf educators leaning toward wood? It’s not just for the ‘gram,’ I promise! Wood has a natural weight and texture that plastic simply cannot replicate. This is known as sensory feedback. When a baby holds a wooden toy, they receive clear information about its size, weight, and temperature.
- Antibacterial Properties: Unlike plastic, many hardwoods have natural antimicrobial properties that help inhibit the growth of bacteria—perfect for toys that spend 90% of their time in a baby’s mouth!
- Weight and Resistance: Wood provides a gentle resistance that helps strengthen the tiny muscles in the hands and wrists.
- Simplicity: Without the distraction of electronic sounds, your baby focuses entirely on the grasping and manipulation of the object.
Your baby’s hands are their primary tools for learning. By providing simple, high-quality materials, you are giving them the freedom to master their environment at their own pace.
Safety First: Choosing Non-Toxic Woods and Finishes
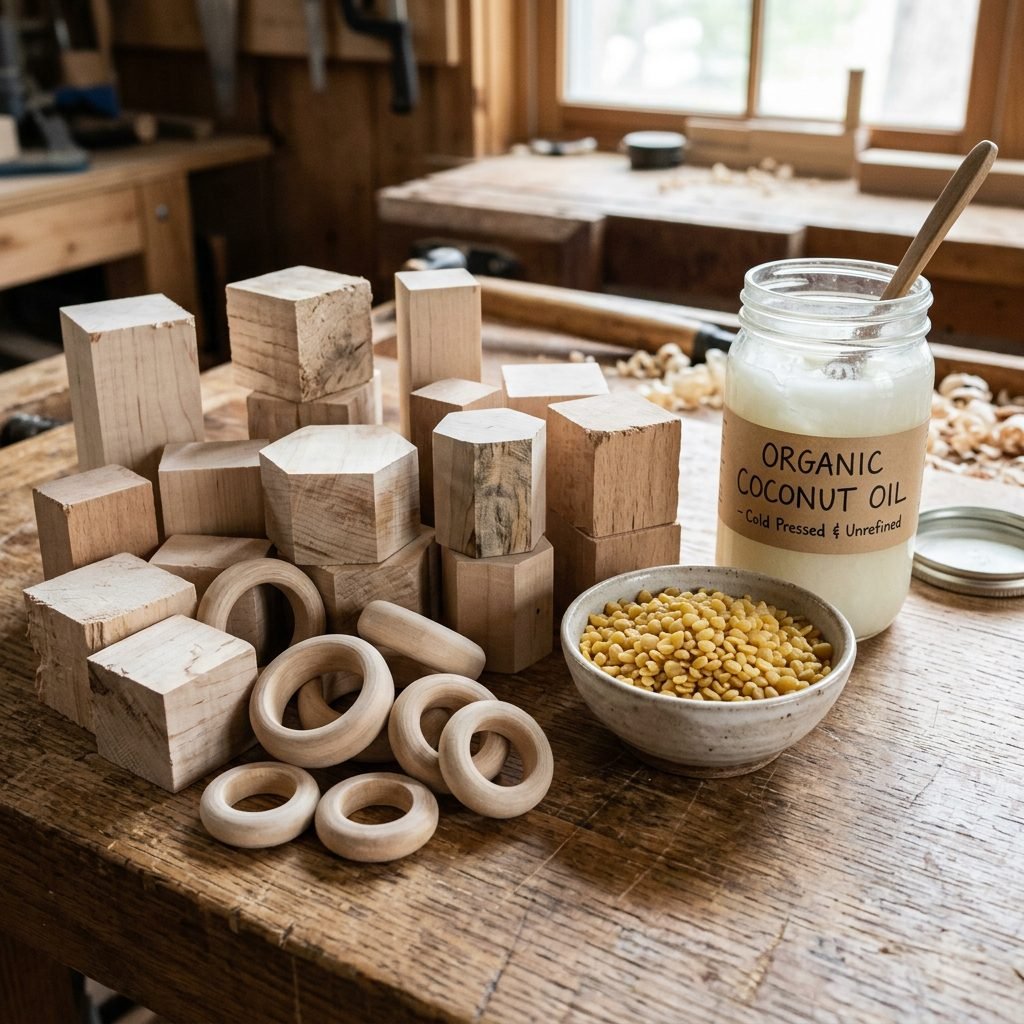
The Golden Rules of DIY Toy Safety
As a mom, safety is your North Star. When making toys for an infant who will inevitably use them as a teether, you must be incredibly selective about your materials. We want to avoid any wood that splinters easily or contains natural toxins.
Top Recommended Woods
Stick to hardwoods. Softwoods like pine can splinter or leak sap, which is a no-go for little mouths. Here are my favorite choices:
- Hard Maple: The gold standard. It’s dense, durable, and naturally antibacterial.
- Beech: Very common in European toy making; it’s smooth and splinter-resistant.
- Birch: A beautiful, light-colored option that sands down to a buttery finish.
- Cherry or Walnut: If you want a darker, more sophisticated look without using stains.
The ‘Safe vs. Avoid’ Guide
| Material/Finish | Safety Status | Reasoning |
|---|---|---|
| Hard Maple & Beech | Safe | Dense grain, no splinters, non-toxic. |
| Food-Grade Beeswax | Safe | Natural sealer, smells amazing, edible. |
| Raw Organic Coconut Oil | Safe | Easy to apply, moisturizes the wood. |
| Pressure-Treated Lumber | AVOID | Contains harsh chemicals and pesticides. |
| Plywood/MDF | AVOID | Contains glues and formaldehydes. |
| Conventional Paint/Varnish | AVOID | Toxic fumes and chipping hazards. |
Essential Tools and Budget Breakdown
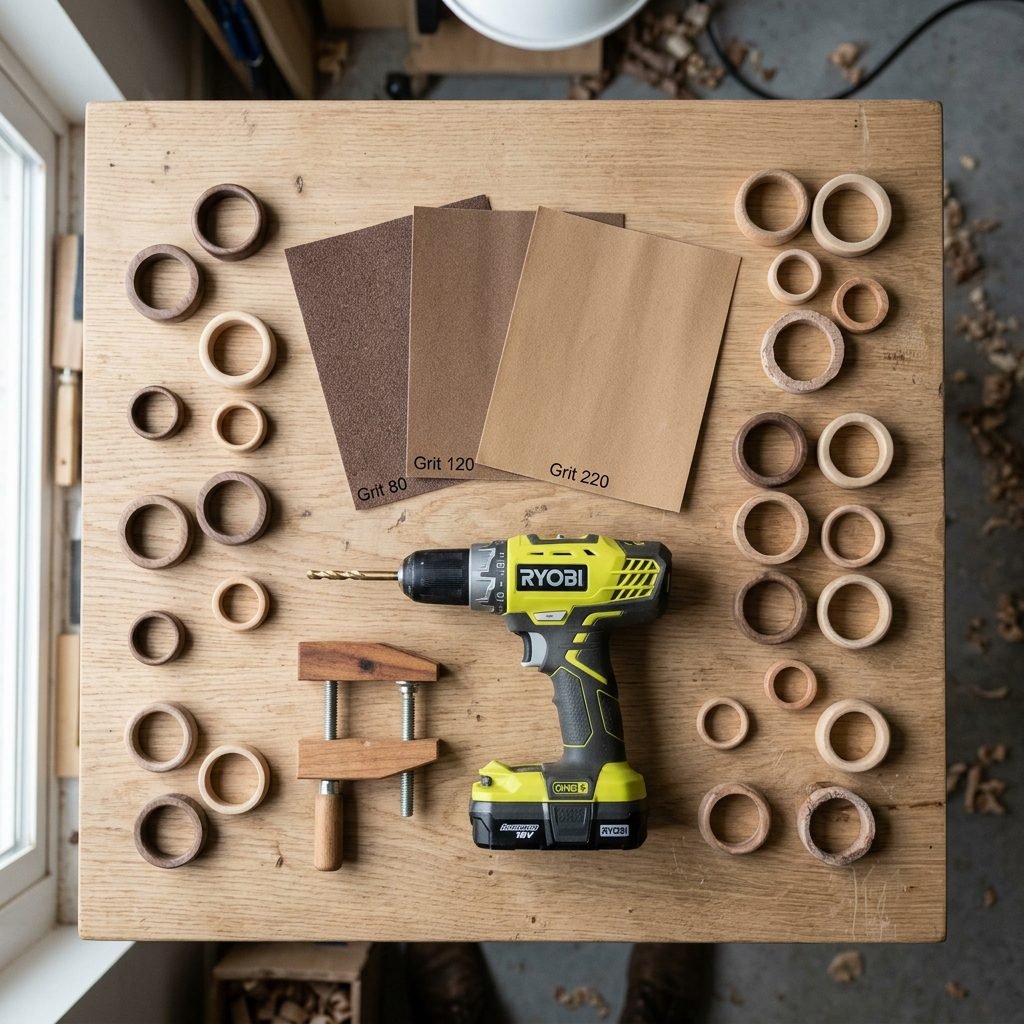
Setting Up Your Crafting Nook
You don’t need a professional woodshop to make these toys. A small corner of your kitchen table or garage will do just fine. The goal is to keep things practical and budget-friendly. Most of these items can be found at your local craft store or hardware shop.
The DIY Toolkit
- Sandpaper: You’ll need a variety of grits. Start with 80-grit for shaping, move to 120-grit for smoothing, and finish with 220-grit or 400-grit for that ‘soft as a baby’s bottom’ feel.
- Drill & Spade Bits: If you’re making beads or rings from scratch.
- Clamps: To hold pieces steady while you sand.
- Microfiber Cloth: To wipe away sawdust before finishing.
- Double-Boiler: (Or a glass bowl over a pot) to melt your beeswax and oil mixture.
Budget Breakdown for 5 Toys
| Item | Estimated Cost | Notes |
|---|---|---|
| Hardwood Scraps/Rings | $15.00 | Look for ‘toy grade’ pre-cut rings online to save time. |
| Sandpaper Variety Pack | $8.00 | Will last for multiple projects. |
| Beeswax & Oil | $12.00 | You only need a tiny amount; the rest is for your skin! |
| Cotton Cord (Optional) | $5.00 | For ‘grasping beads’ style toys. |
| Total | $40.00 | Equals approx. $8 per heirloom toy. |
Step-by-Step: Crafting the Interlocking Discs
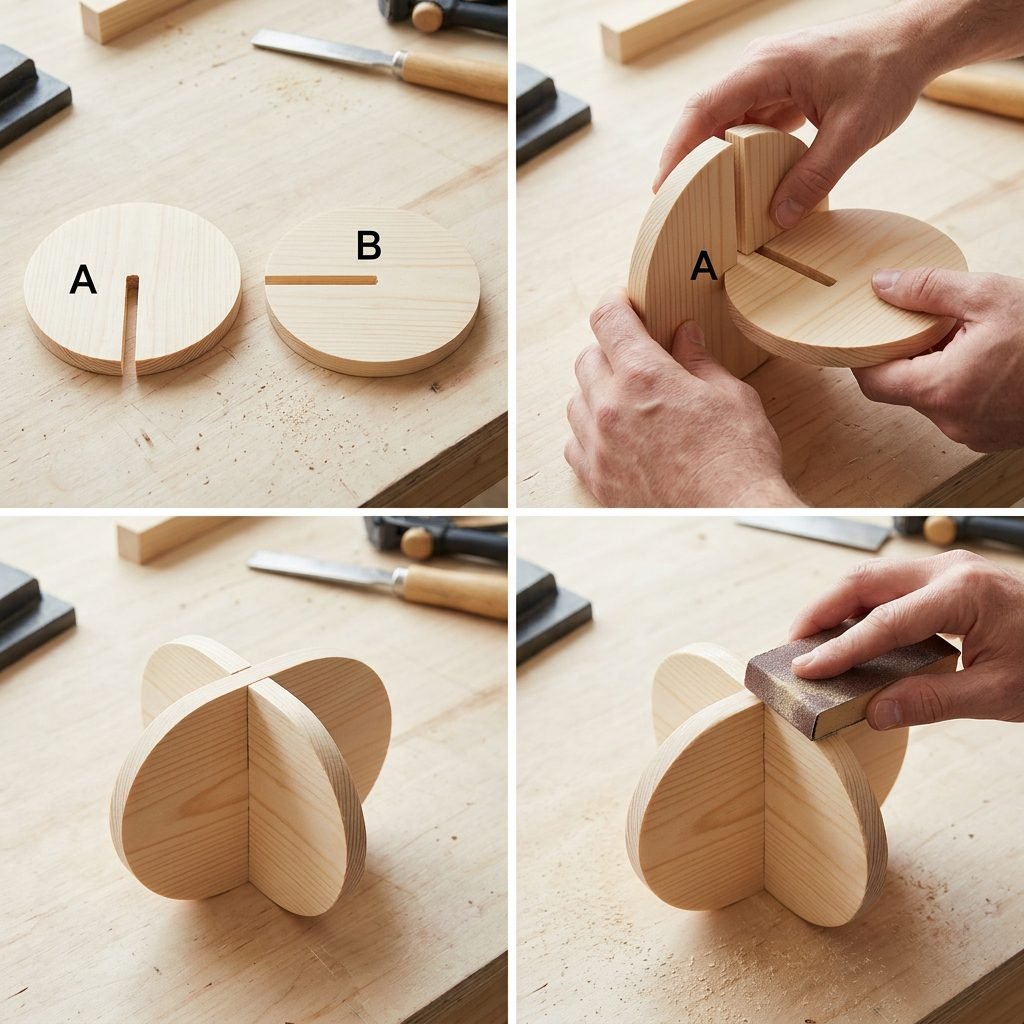
The Ultimate First Toy
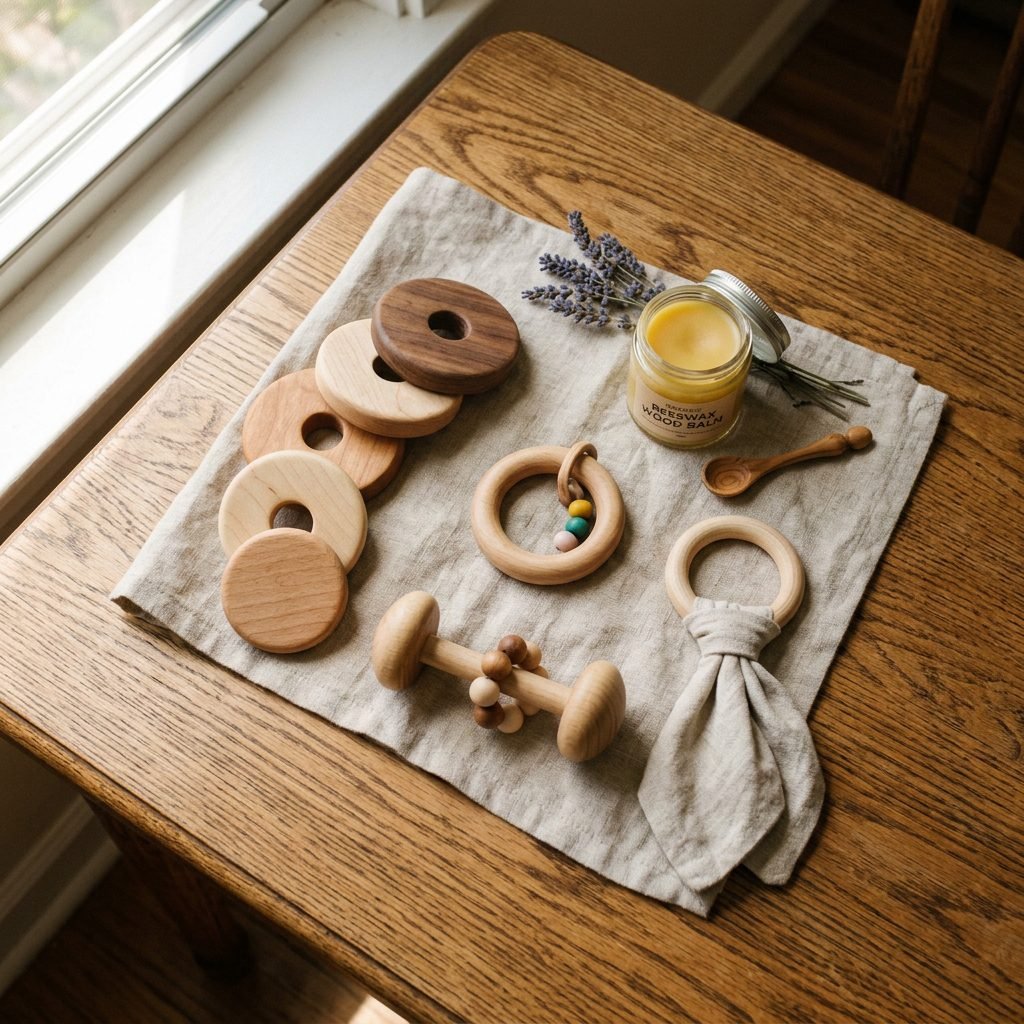
The interlocking discs are a classic Montessori material designed for babies around 3 months old. They encourage the baby to practice the ‘hand-to-hand transfer,’ which is a major neurological milestone. Here is how you can make a safe, beautiful pair.
Instructions:
- Select Your Discs: Purchase two 2-inch or 3-inch hardwood discs. They should be about 1/4 inch to 1/2 inch thick.
- The Notch: Using a small saw or a dremel tool, cut a notch halfway through the center of each disc. The width of the notch should match the thickness of the wood.
- The Fit: Slide the two discs together at a 90-degree angle. They should fit snugly.
- Glue (Optional but Recommended): Use a tiny drop of non-toxic, formaldehyde-free wood glue (like Titebond III, which is indirect food-contact safe) to secure the joint.
- Sanding: This is the most important step! Sand every single edge until there are no sharp corners. Round the edges of the discs so they feel smooth in the hand.
- The Finish: Apply your beeswax/oil mixture (see the recipe in the next section) and buff with a soft cloth.
Affirmation: I am creating a tool for my child’s growth. Every stroke of sandpaper is an act of love and protection.
The Magic Finish: Recipe for ‘Mummy’s Wood Butter’
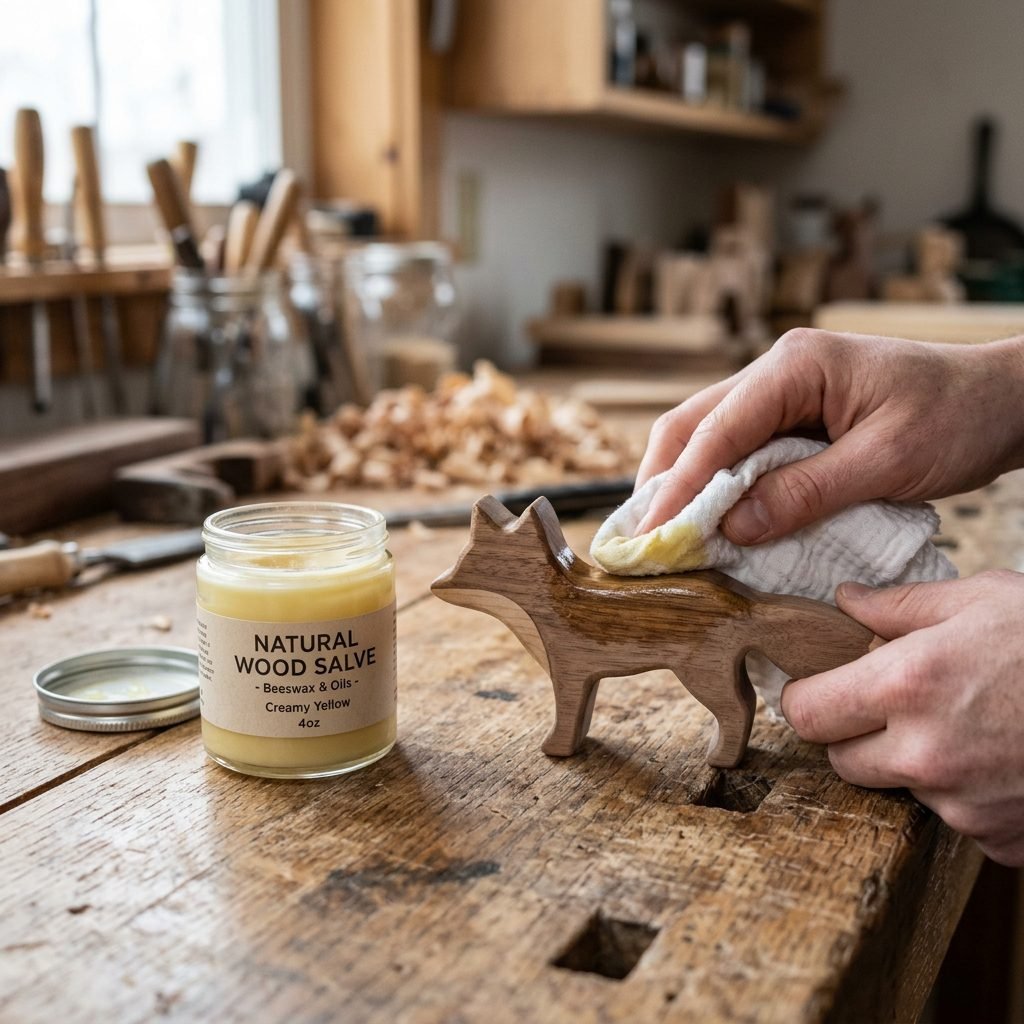
A Taste-Safe Sealant
Since your baby will be exploring these toys with their mouth, we need a finish that is 100% edible and safe. This ‘wood butter’ is my favorite secret weapon—it’s also great for conditioning wooden spoons and cutting boards!
Ingredients:
- 1 Part Organic Yellow Beeswax (pellets are easiest to melt).
- 3 Parts Organic Carrier Oil (Fractionated Coconut Oil or Olive Oil work best).
Instructions:
- Place the beeswax and oil in a glass jar.
- Set the jar in a pot of simmering water (the double-boiler method).
- Stir gently with a wooden skewer until the wax is completely melted.
- Carefully remove from heat and let it cool until it reaches a creamy, buttery consistency.
- Apply a generous amount to your wooden toy using a clean rag. Let it soak in for 24 hours, then buff away the excess.
Pro-Tip: Re-apply this finish every few months or whenever the wood starts to look ‘thirsty’ or dry after being washed.
Milestones and Play: How to Use the Toys
Matching the Toy to the Age
As a doula, I love watching babies reach those ‘aha!’ moments. Understanding when to introduce each toy will help prevent frustration and encourage ‘quick’ development as mentioned in our title.
Developmental Timeline
| Age Range | Motor Milestone | Best DIY Toy |
|---|---|---|
| 0-2 Months | Reflexive Grasp | Simple 3-inch Maple Ring (for looking and light touching). |
| 3-4 Months | Palmar Grasp & Reaching | Interlocking Discs (to practice passing between hands). |
| 5-7 Months | Pincer Grasp Prep | Grasping Beads (large wooden beads on a thick cotton cord). |
| 8-10 Months | Controlled Release | Wooden Pegs and Cups (practicing putting in and taking out). |
How to Encourage Play
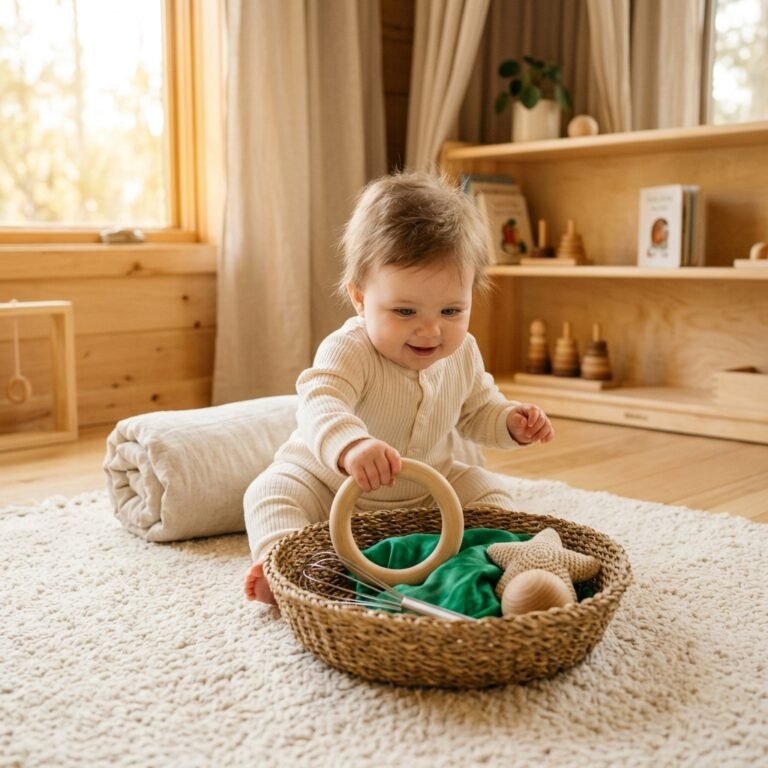
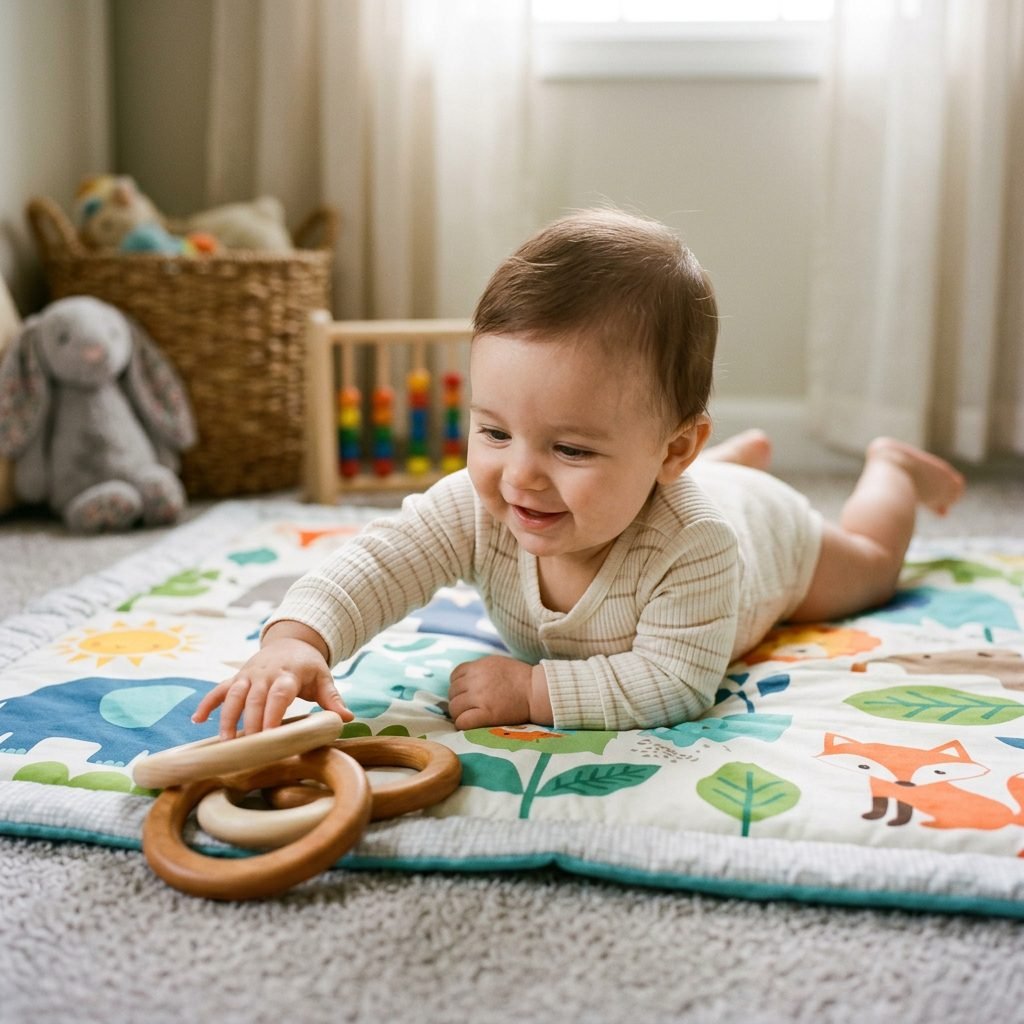
Place the toy just within your baby’s reach during tummy time. Avoid placing it directly in their hand; let them make the effort to reach, close their fingers, and pull it toward them. This ‘struggle’ is where the muscle building happens!
Conclusion
A Legacy of Love and Learning
Creating your own wooden grasping toys is a beautiful way to slow down and connect with the journey of motherhood. Not only are you saving money and avoiding the ‘plastic trap,’ but you are also providing your baby with the very best start for their fine motor development. These toys, smoothed by your hands and finished with your care, will likely become the keepsakes you tuck away in a memory box years from now.
Remember, mama, you don’t have to be a master carpenter to do this. Your baby doesn’t need perfection; they need safe, simple, and stimulating environments to thrive. Take it one sanding block at a time, and enjoy the process of crafting joy for your little one. You’ve got this!