How to Take Pinterest-Worthy Monthly Milestone Photos of Your Baby at Home
Capturing the Fleeting Magic of the First Year
Welcome, mama. If you are reading this, you are likely navigating the beautiful, blurry, and breathtaking whirlwind of your baby’s first year. As a doula and a fellow mother, I know exactly how it feels—one moment you are bringing them home from the hospital, and the next, they are pushing up on their tiny elbows and flashing you that first gummy smile. Time has a way of slipping through our fingers during the postpartum period, which is why monthly milestone photos are such a precious gift to your future self.
You don’t need a thousand-dollar DSLR camera or a professional studio to create those dreamy, high-end images you see on your Pinterest feed. With a little bit of natural light, a dash of styling strategy, and a whole lot of patience, you can document your little one’s growth right in the comfort of your own home. In this guide, we are going to walk through the physical setup, the styling secrets, and the gentle techniques to keep your baby happy and safe while you capture these memories. Let’s create something beautiful together.
The Foundation: Mastering Natural Light and Location
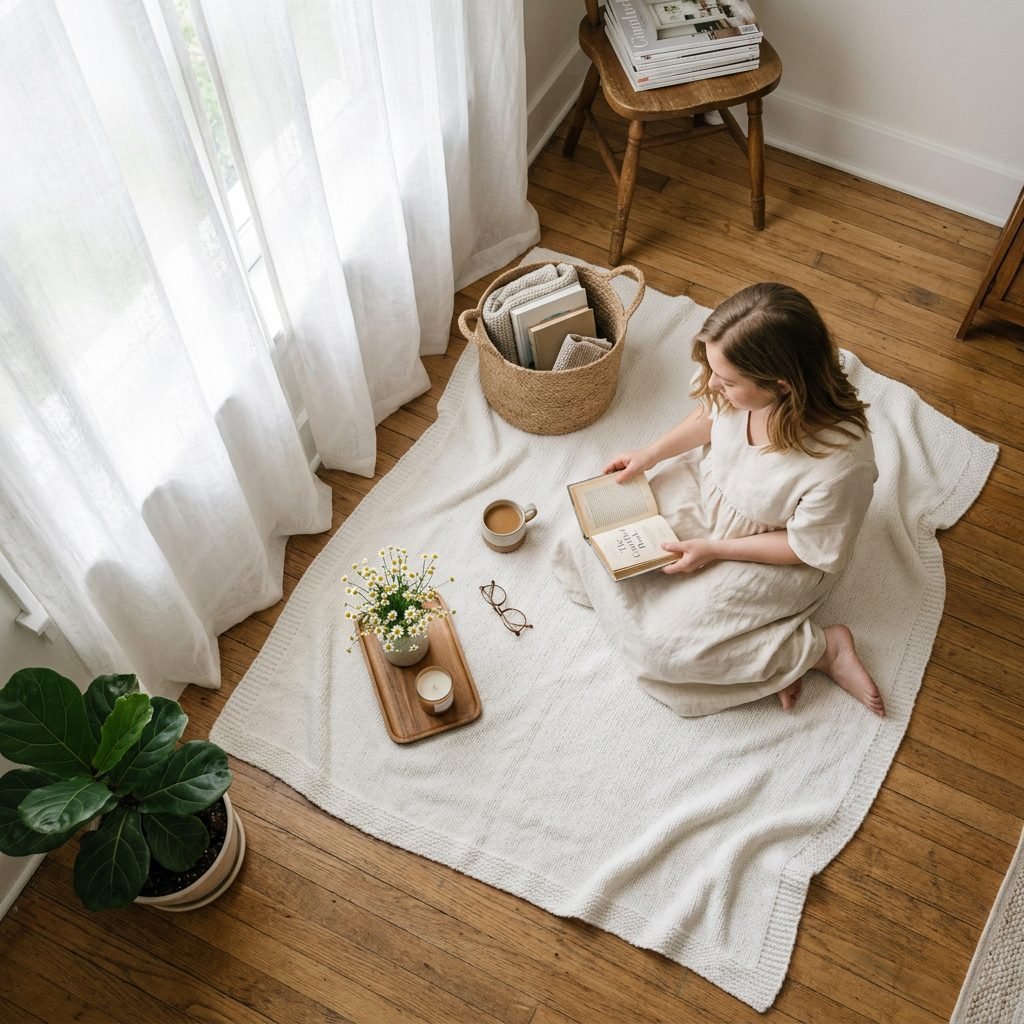
Finding Your ‘Golden Hour’ Indoors
The secret to those airy, soft, and professional-looking photos isn’t a fancy filter—it is natural light. As a doula, I often tell my clients that light is the most important ‘prop’ you have. You want to find a spot in your home that receives bright, indirect sunlight. Avoid direct sunbeams, which create harsh shadows and make your baby squint.
Choosing the Perfect Spot
- North or South-Facing Windows: These typically provide the most consistent, soft light throughout the day.
- The Floor is Your Friend: Most milestone photos look best from a ‘bird’s eye view’ (looking straight down). Clear a small 4×4 foot space near a window.
- Turn Off Overhead Lights: Artificial yellow light can create strange skin tones. Rely entirely on the sun for that clean, Pinterest aesthetic.
Pro-tip: If the light is too bright, hang a sheer white curtain or even a thin white bedsheet over the window to diffuse the glow into a soft, angelic light.
The DIY Photography Toolkit: Essentials and Budgeting
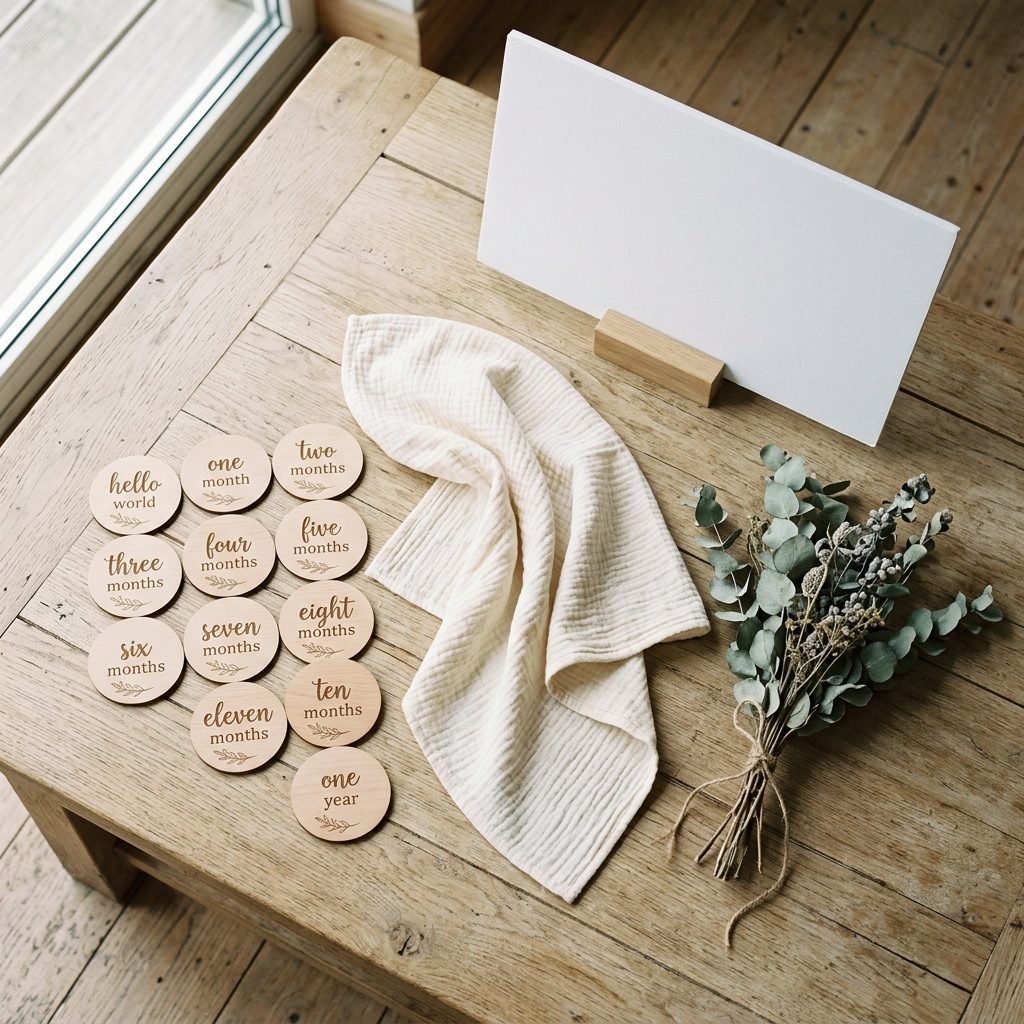
Setting the Stage Without Breaking the Bank
You likely already have many of the items needed for a stunning photoshoot. The key is consistency. Using the same backdrop or a recurring prop every month allows the viewer to truly see how much the baby has grown in relation to the object. Here is a breakdown of what you’ll need and the estimated costs if you’re starting from scratch.
| Item | Purpose | Estimated Cost |
|---|---|---|
| Neutral Backdrop | A plain white, cream, or oatmeal linen sheet or muslin swaddle. | $0 – $25 |
| Milestone Markers | Wooden discs, felt numbers, or a milestone blanket. | $15 – $40 |
| Reflector | A large piece of white foam board to bounce light back onto the baby. | $5 |
| Comfort Essentials | A heating pad (to warm the spot before laying baby down) and a white noise machine. | $0 – $30 |
| Styling Props | Fresh flowers, a favorite wooden toy, or a knit bonnet. | $5 – $20 |
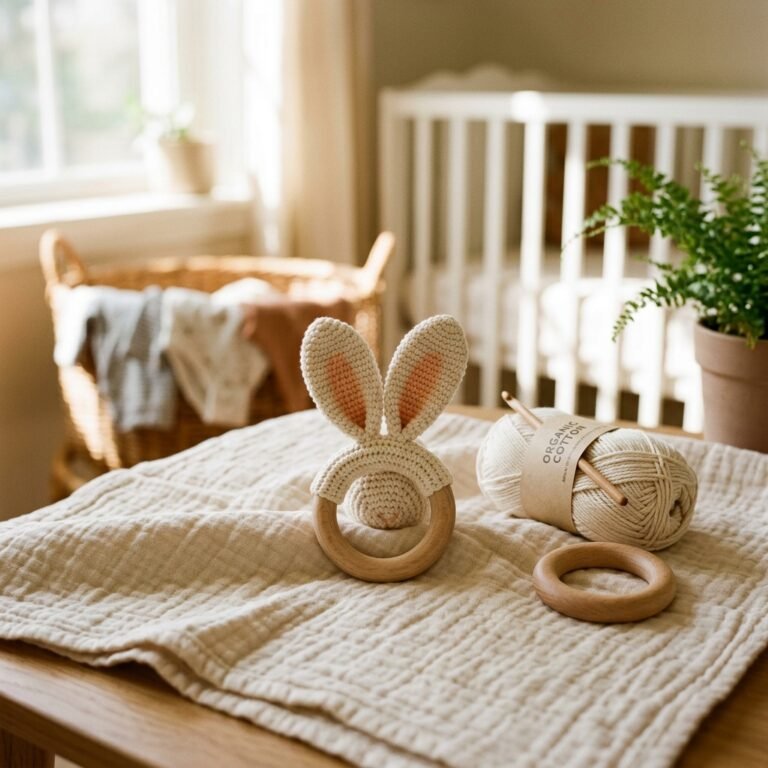
When choosing your backdrop, look for non-reflective fabrics. Linen and cotton are wonderful because they don’t create a ‘glare’ when the light hits them. Keep your color palette muted—think sage greens, dusty roses, or warm earth tones—to ensure the focus remains on your baby’s sweet features.
Step-by-Step Guide to a Stress-Free Photoshoot
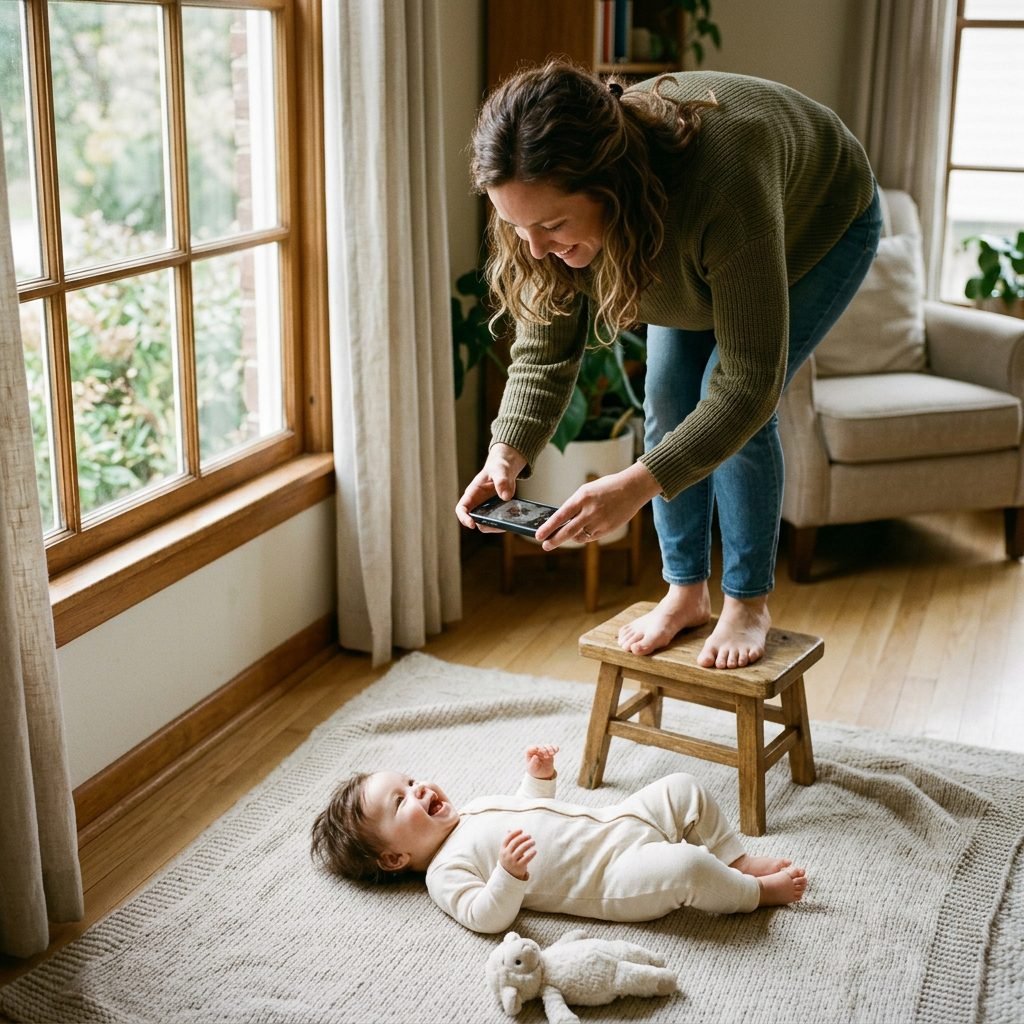
The ‘Happy Baby’ Workflow
Timing is everything. You cannot force a photoshoot on a hungry or overtired baby. As a pediatric sleep consultant, I recommend the ‘Feed, Wake, Snap’ method. You want your baby in that ‘sweet spot’ of being full, well-rested, and alert.
- Pre-heat the ‘Studio’: If your baby is a newborn, use a heating pad to warm the blanket for 5 minutes. Remove it before laying the baby down. A warm surface prevents the ‘startle reflex’ when they touch the fabric.
- The ‘Diaper Check’: Ensure the diaper is snug and not peeking out of the outfit. A fresh diaper also prevents mid-shoot accidents!
- Position the Light: Place the baby so the light from the window is coming from the top or side of their head. Never have light shining up their nose from the bottom; it creates ‘ghoul lighting’ which isn’t flattering.
- Engage and Distract: Use a rattle or a high-contrast card held right above your phone lens to get them to look at the camera.
- Take the Shot: Stand on a sturdy stool to get directly over the baby. Keep your phone parallel to the floor to avoid distortion.
Remember, mama: If they start to cry, stop. The goal is to capture their essence, not to cause stress. A photo of a crying baby is also a valid (and often hilarious) milestone memory!
Posing and Safety by Age and Stage
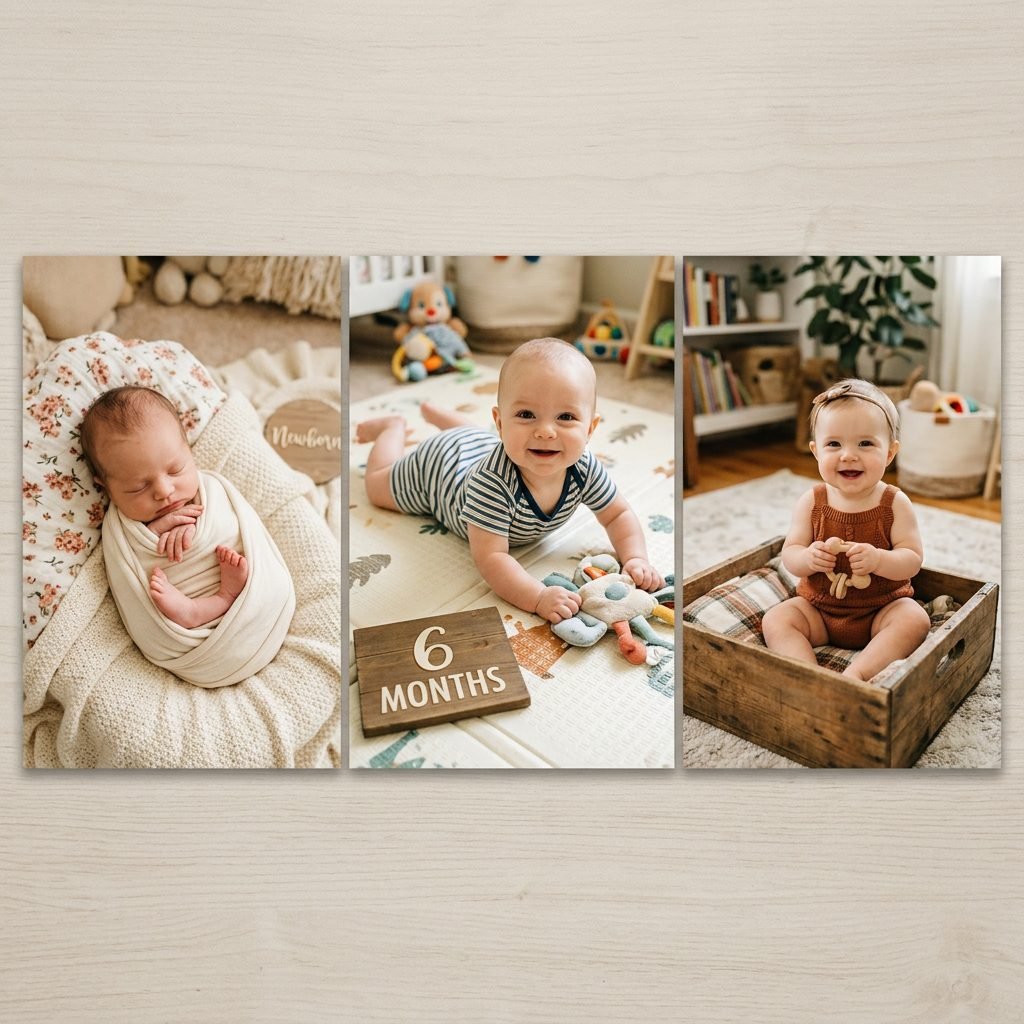
Adapting as They Grow
As your baby develops, their ability to stay still—and their safety needs—will change. Here is how to adjust your ‘Pinterest’ setup for every stage of the first year.
0-3 Months: The Sleepy Scrunches
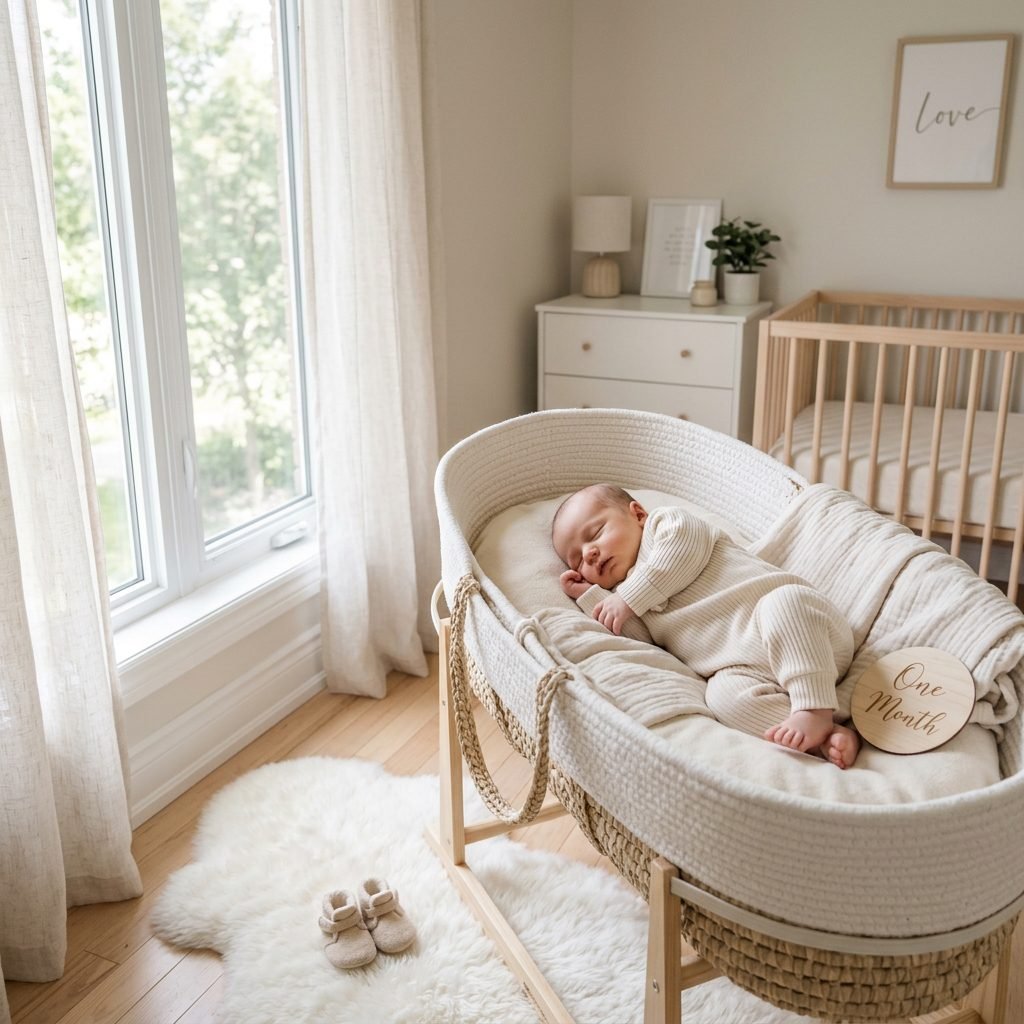
At this stage, babies are still very ‘curled.’ Use a boppy pillow or a rolled-up towel hidden underneath the backdrop to support their head and neck. This creates a gentle incline that makes it easier to see their face from above. Always keep a hand nearby to ensure they don’t roll.
4-7 Months: The Tummy Time Pros
Once they can hold their head up, capture those adorable tummy time shots. Place a favorite toy just out of frame to encourage them to look up. If they are sitting but wobbly, use a heavy basket or a ‘Bumbo’ seat hidden under a beautiful knit blanket for support.
8-12 Months: The Great Escape
This is the ‘challenging’ phase! Your baby is likely crawling or pulling to stand. Instead of fighting the movement, embrace it. Sit them in a beautiful wooden crate or a vintage washbasin to ‘contain’ them for a few seconds while you snap the photo. Use fast shutter speeds (or ‘Burst Mode’ on your iPhone) to catch those quick smiles.
Styling Formulas for the ‘Pinterest’ Look
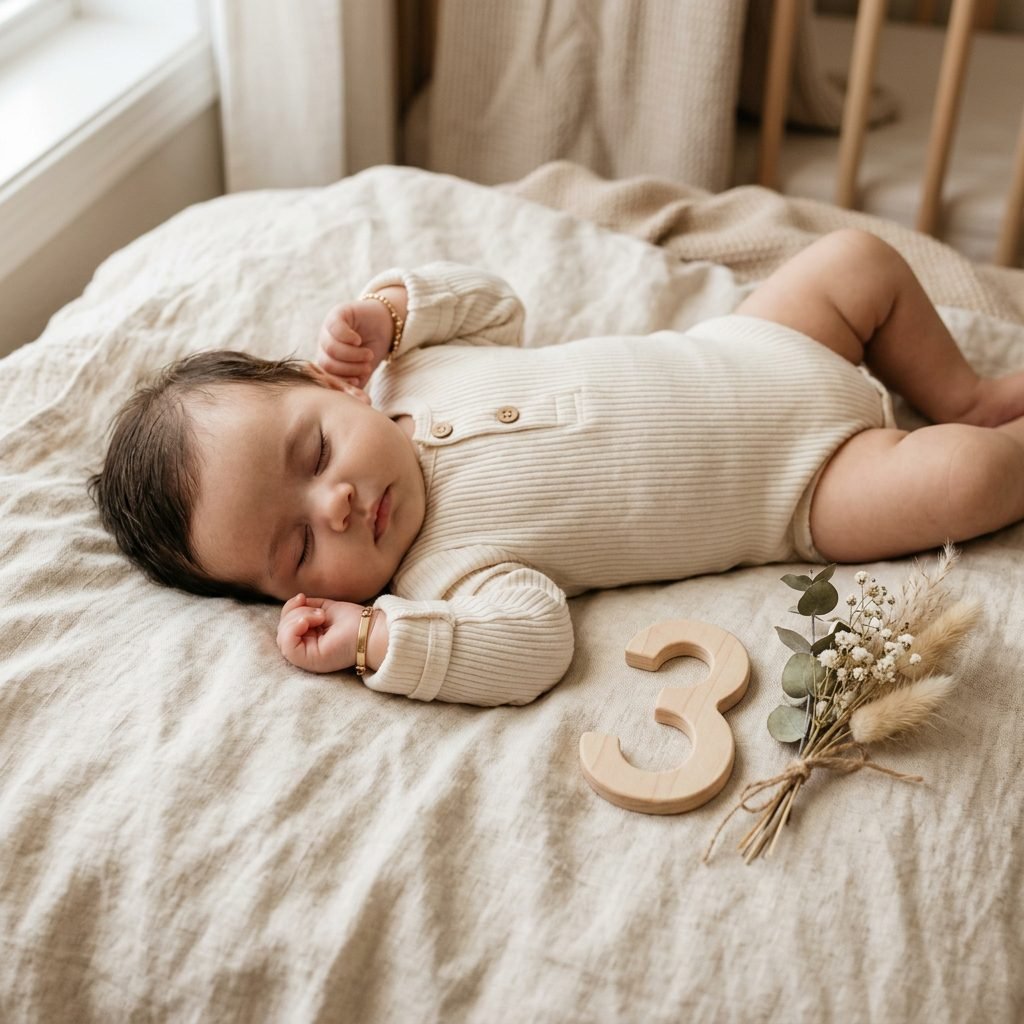
Three Aesthetic Themes to Try
If you aren’t sure where to start with styling, follow these tried-and-true formulas that always look great in a digital album or a printed baby book.
- The Minimalist: A solid white onesie, a white sheet, and a single wooden milestone disc. This puts 100% of the focus on the baby’s growth.
- The Seasonal Story: Incorporate elements from the month. For October, use tiny white pumpkins; for June, a few sprigs of fresh lavender or daisies.
- The Heirloom: Use a quilt made by a grandmother or a vintage silver rattle. This adds deep emotional meaning to the visual story.
Wardrobe Tip: Avoid large logos or busy patterns. Textures like waffle knit, linen, or ribbed cotton photograph beautifully and add depth to the image without being distracting.
Editing and Preserving the Memories
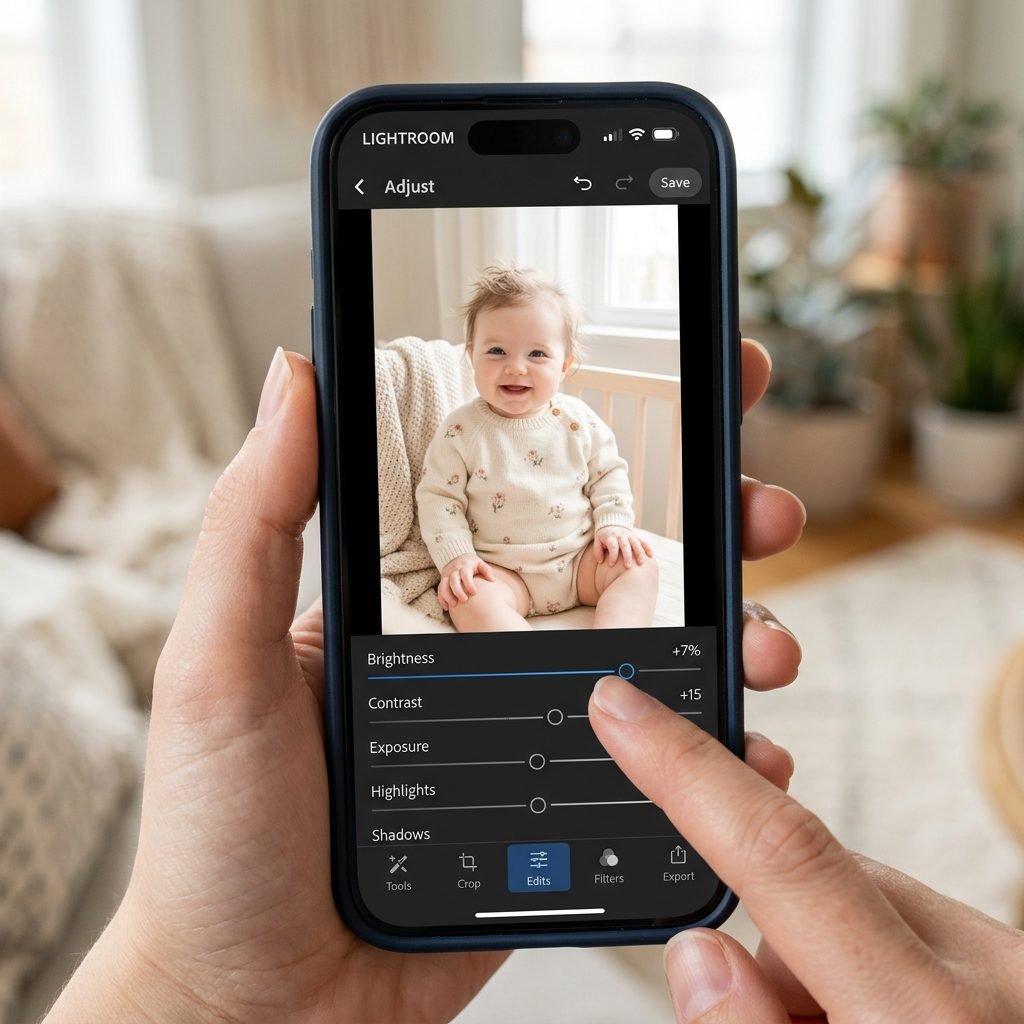
The Final Polish
Once you’ve captured the raw images, a tiny bit of editing can make them pop. You don’t need Photoshop; free apps like Lightroom Mobile or Snapseed are incredible tools for busy moms.
Quick Editing Checklist:
- Exposure: Brighten the image slightly if it looks a bit dim.
- Saturation: Lower the saturation slightly for a ‘timeless’ look, or boost it for a vibrant, joyful feel.
- Straighten: Ensure the lines of the floor or the backdrop are perfectly horizontal or vertical.
- Consistency: Use the same ‘preset’ or filter every month so that when you view the 12-month collage, the colors and lighting look uniform.
Once you have all 12 photos, consider printing them in a high-quality linen photo book or a large-scale ‘First Year’ frame for the nursery. Digital files are great, but physical memories are what your child will hold in their hands twenty years from now.
Conclusion
You’re Doing Great, Mama
At the end of the day, these photos aren’t about achieving ‘perfection’ for social media. They are about documenting the miraculous growth of the tiny human you are raising. Some months, the photo will be perfect. Other months, the baby might be teething, the lighting might be gray, and you might be running on three hours of sleep. Take the photo anyway.
Years from now, you won’t look back and see the slightly wrinkled sheet or the imperfect lighting. You will see those tiny toes that eventually learned to run, and that sweet face that changed so much in just 365 days. You are the historian of your family’s heart. Happy snapping!