Step-By-Step Pressed Flower Birth Announcement Frame DIY Tutorial
Embracing the Slow Magic of the Fourth Trimester
Welcome, sweet mama. If you are reading this, you are likely in the thick of one of life’s most transformative seasons. Whether you are nesting and preparing for your little one’s arrival or you are currently cradling a newborn in that hazy, beautiful fourth trimester, I am so glad you’re here. As a doula, I often tell my clients that the first few weeks after birth are like a ‘thin place’—a time when the world slows down, and every tiny detail of your baby feels like a miracle you want to bottle up forever.
The traditional paper birth announcement is a lovely tradition, but there is something deeply soulful about creating a botanical heirloom that literally preserves a moment in time. Pressed flower frames are not just nursery decor; they are a form of creative mindfulness. This project allows you to step away from the digital noise, put down your phone, and engage in a tactile, grounding activity that honors your journey into motherhood. In this guide, I will walk you through every delicate step of creating a professional-quality pressed flower birth announcement that will hang on your nursery wall for years to come.
The Soul of the Keepsake: Why We Press Memories
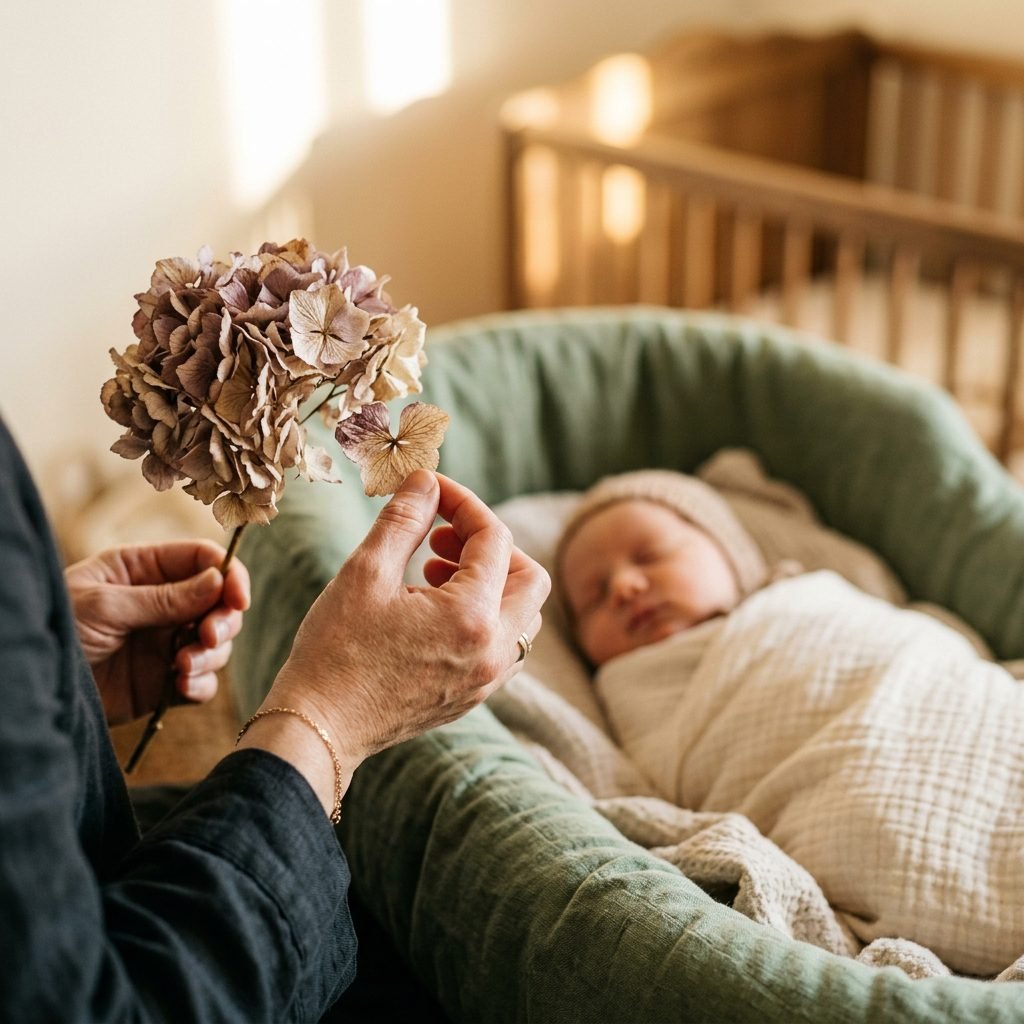
In our fast-paced world, we often rush through milestones. We snap a photo, post it, and move on. But your baby’s birth deserves a pause. Pressing flowers is an ancient art form that symbolizes patience, preservation, and beauty in transition—much like motherhood itself. By choosing to create this frame, you are creating a physical space for your memories to live.
The Therapeutic Benefits for New Mothers
Postpartum recovery isn’t just physical; it’s emotional and spiritual. Engaging in a low-stress craft like flower pressing can help lower cortisol levels and provide a sense of accomplishment during those days when you feel like all you’ve done is change diapers. It is a form of gentle art therapy that fits perfectly into the pockets of time when the baby is napping.
“In the garden of motherhood, we find ourselves blooming in ways we never expected. Preserving these petals is a way of saying: I remember this beauty. I honor this growth.”
Botanical Selection: Choosing Flowers with Meaning
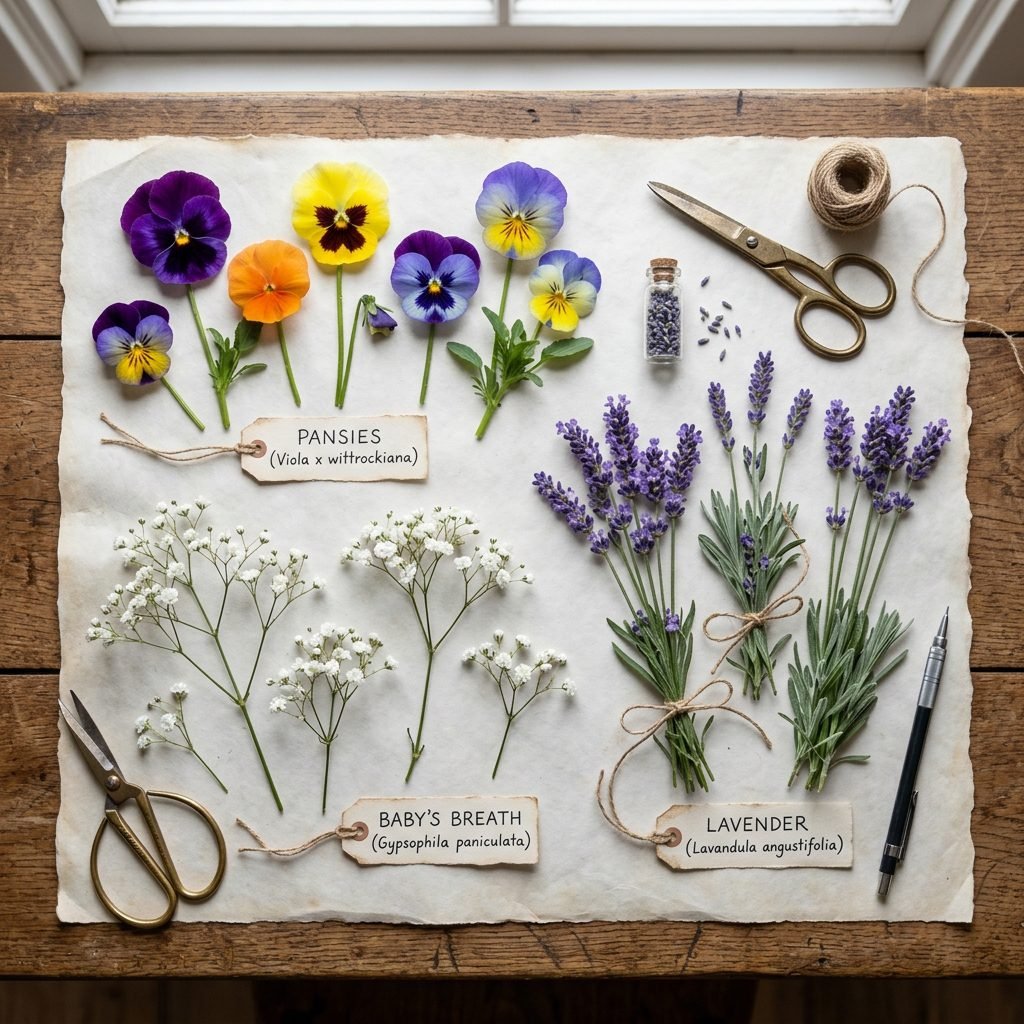
Not all flowers are created equal when it comes to pressing. For a birth announcement, you might want to choose blooms that have sentimental significance. Did someone bring you a specific bouquet in the hospital? Did you have certain flowers at your baby shower? Or perhaps you want to use the birth month flower of your little one.
Best Flowers for Pressing Success
- Baby’s Breath (Gypsophila): Symbolizes everlasting love and innocence. They press beautifully and maintain their white color.
- Pansies and Violas: Their flat faces make them the easiest flowers for beginners to press.
- Larkspur: Perfect for adding height and structure to your arrangement.
- Lavender: Adds a wonderful scent to your workspace and represents devotion and calm.
- Hydrangea Petals: Use individual florets rather than the whole head for a delicate, paper-thin look.
Pro-Tip: Avoid thick, succulent-like flowers or heavy roses unless you plan to take them apart petal by petal. Moisture is the enemy of a good press, and thick centers can often lead to mold before they fully dry.
The Essential Supply Kit & Budget Breakdown
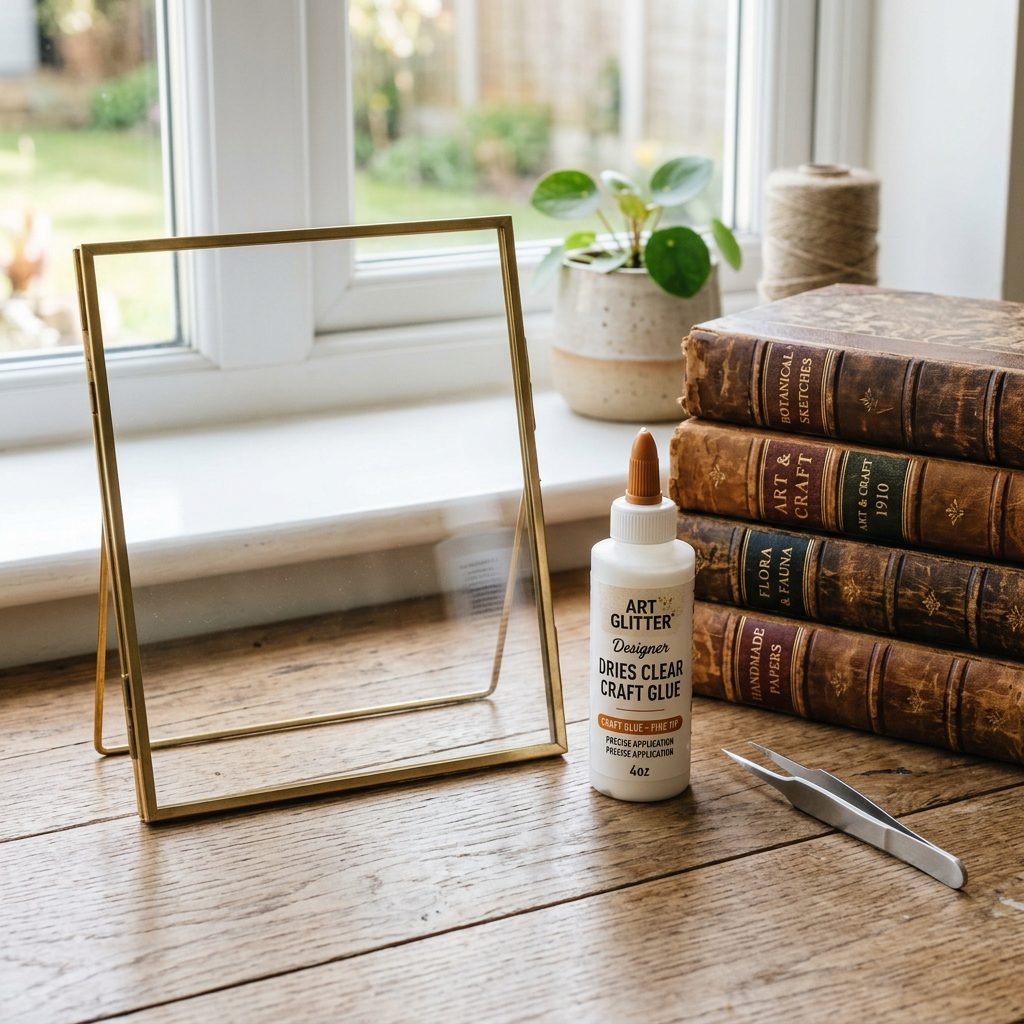
You don’t need a professional studio to create a museum-quality piece. Most of these items can be found around your home or at a local craft store. I’ve put together a budget breakdown to help you plan your project without any added stress.
| Item | Purpose | Estimated Cost |
|---|---|---|
| Floating Glass Frame | Provides a modern, double-sided look | $15 – $30 |
| Heavy Books or Flower Press | To apply even pressure for drying | $0 (Home items) |
| Acid-Free Cardstock | For printing the birth details | $5 |
| Parchment Paper | Wicks away moisture during pressing | $4 |
| Fine-Tip Tweezers | For precise placement of petals | $3 |
| Acid-Free Clear Glue | To secure the arrangement | $6 |
When selecting your floating frame, look for one with UV-resistant glass if possible. This will prevent your flowers from fading too quickly when exposed to the natural light in your nursery.
The Art of the Press: A Step-by-Step Guide
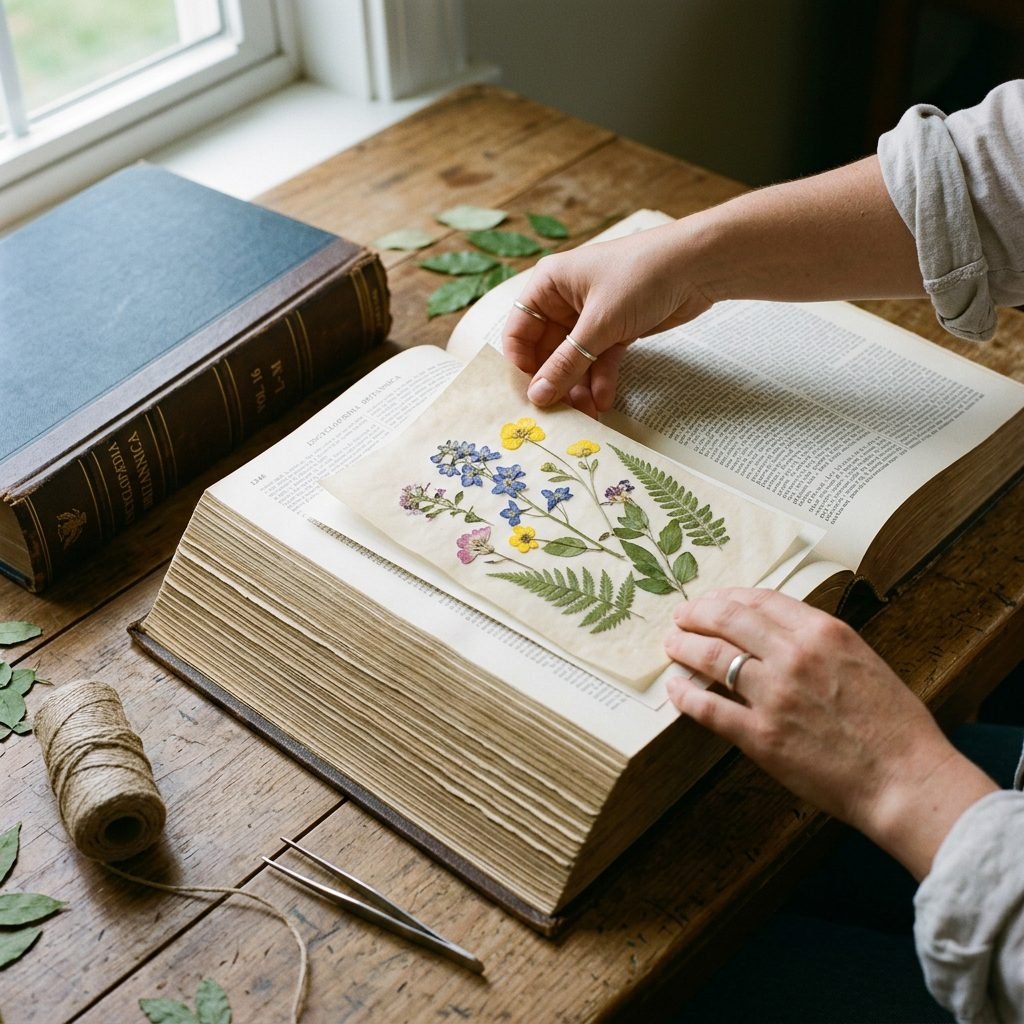
The key to vibrant pressed flowers is speed and dryness. You want to get your flowers into the press as soon as possible after they are picked or delivered.
Step-by-Step Pressing Instructions
- Preparation: Ensure your flowers are completely dry from dew or rain. If they are from a bouquet, pat the stems dry.
- The Sandwich Method: Cut two pieces of parchment paper. Place your flowers on one sheet, ensuring none of the petals are overlapping (unless you want them to dry stuck together).
- Layering: Place the second sheet of parchment over the flowers. Carefully slide this ‘sandwich’ into the middle of a heavy book.
- Weighting: Close the book and stack 3-4 more heavy books on top. You want significant, even pressure.
- The Waiting Game: Leave the flowers undisturbed for 2-3 weeks. Resist the urge to peek! Checking too early can tear the delicate, half-dried petals.
Doula Wisdom: Use this waiting period to practice your own ‘stillness.’ While the flowers are pressing, take five minutes a day to simply breathe and be present with your baby.
Curating the Canvas: Layout and Typography
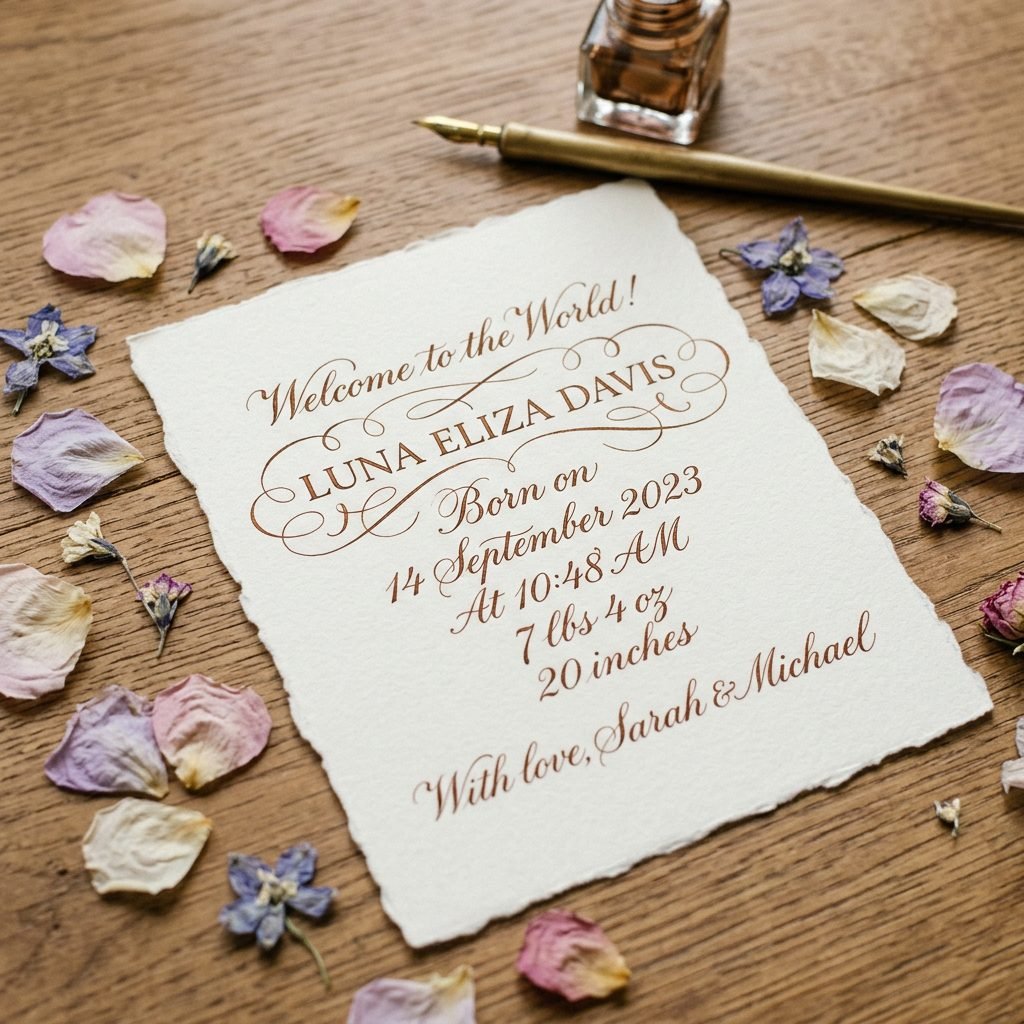
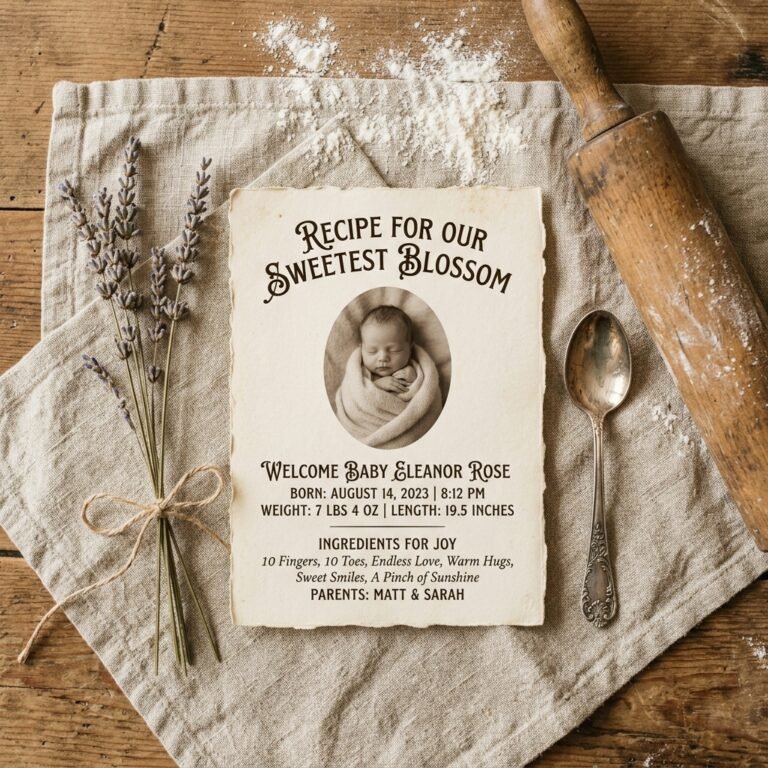
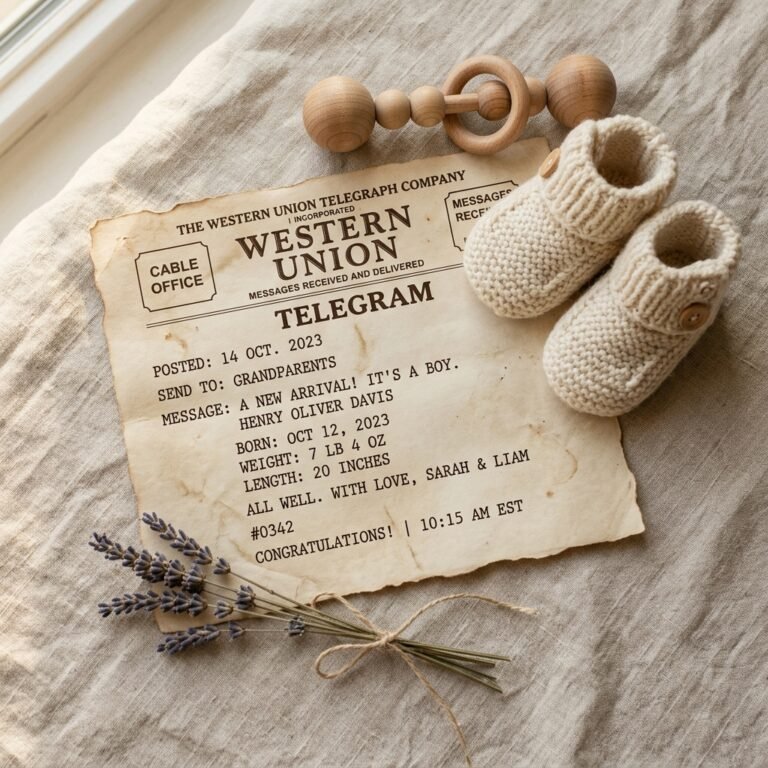
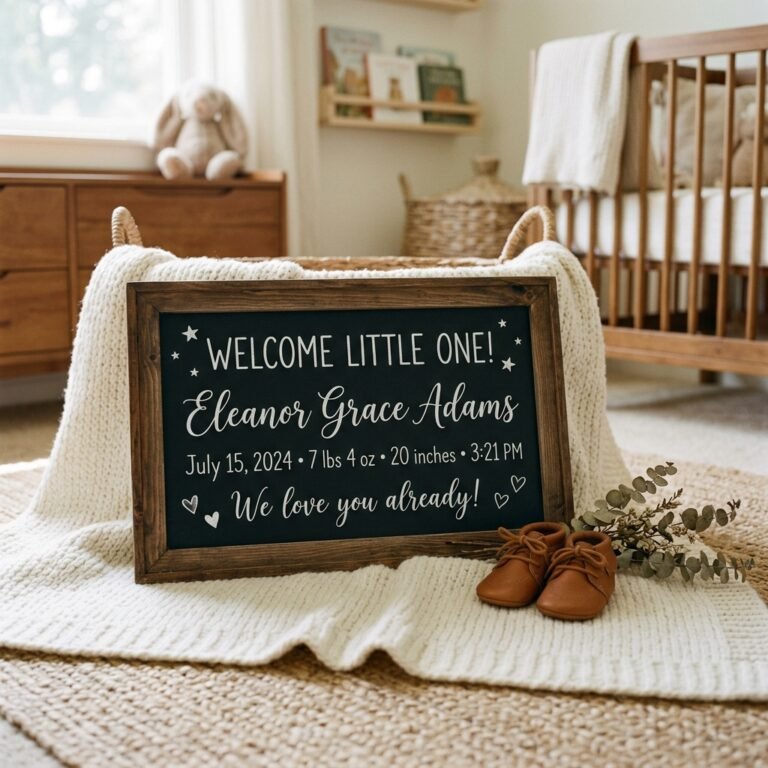
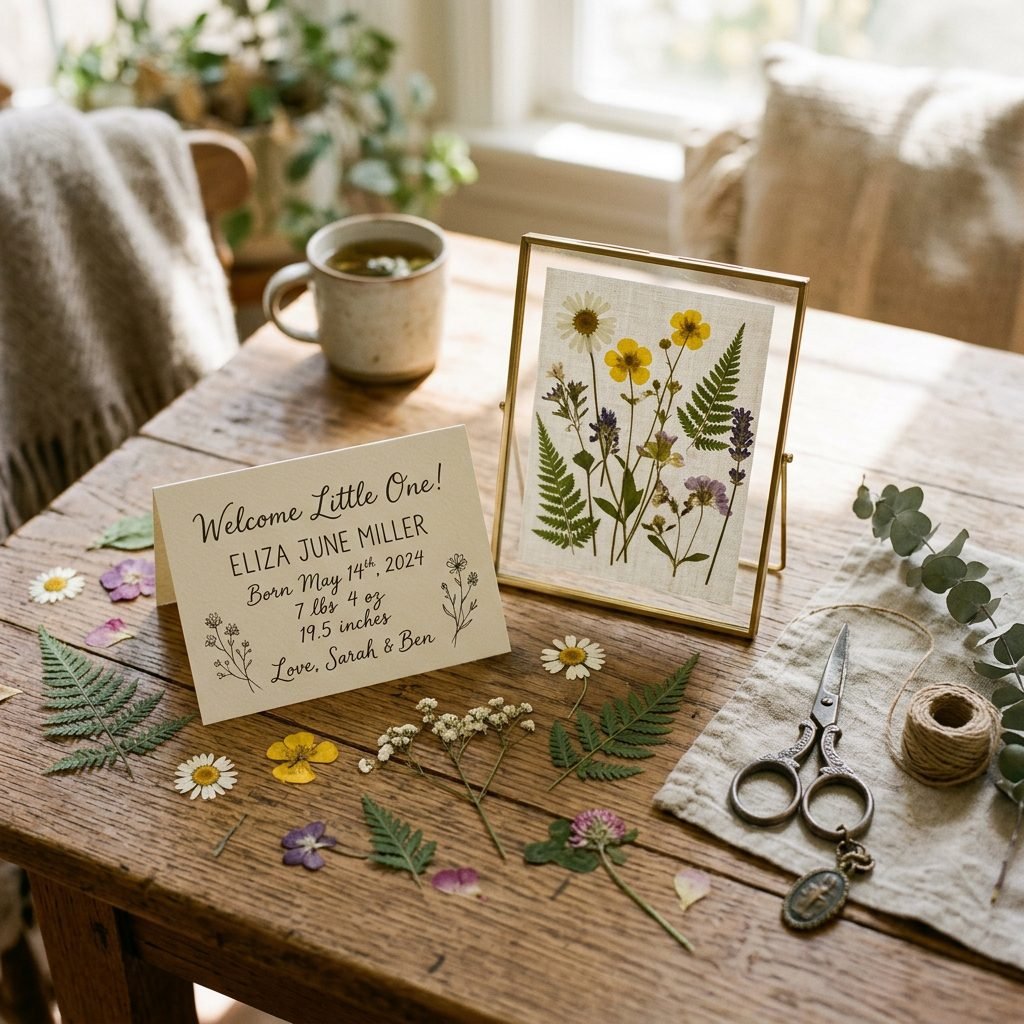
While your flowers are drying, it’s time to design the heart of the announcement: the text. This is where you list the statistics that changed your world forever.
What to Include:
- Baby’s Full Name
- Date of Birth
- Time of Arrival
- Weight and Length
- City and State of Birth
You can hand-write this on high-quality cardstock for a personal touch, or use a beautiful serif font on your computer and print it. If you choose to print, ensure you use a laser printer if possible, as inkjet ink can sometimes bleed if it comes into contact with the moisture of the flowers.
“Name: Willow Grace. Weight: 7lbs 4oz. Length: 20 inches. Born in the quiet of dawn, forever in our hearts.”
Consider the negative space. You don’t need to fill every inch of the frame. Often, a minimalist cluster of flowers around the text creates the most sophisticated and calming look for a nursery.
Assembly and Long-Term Preservation
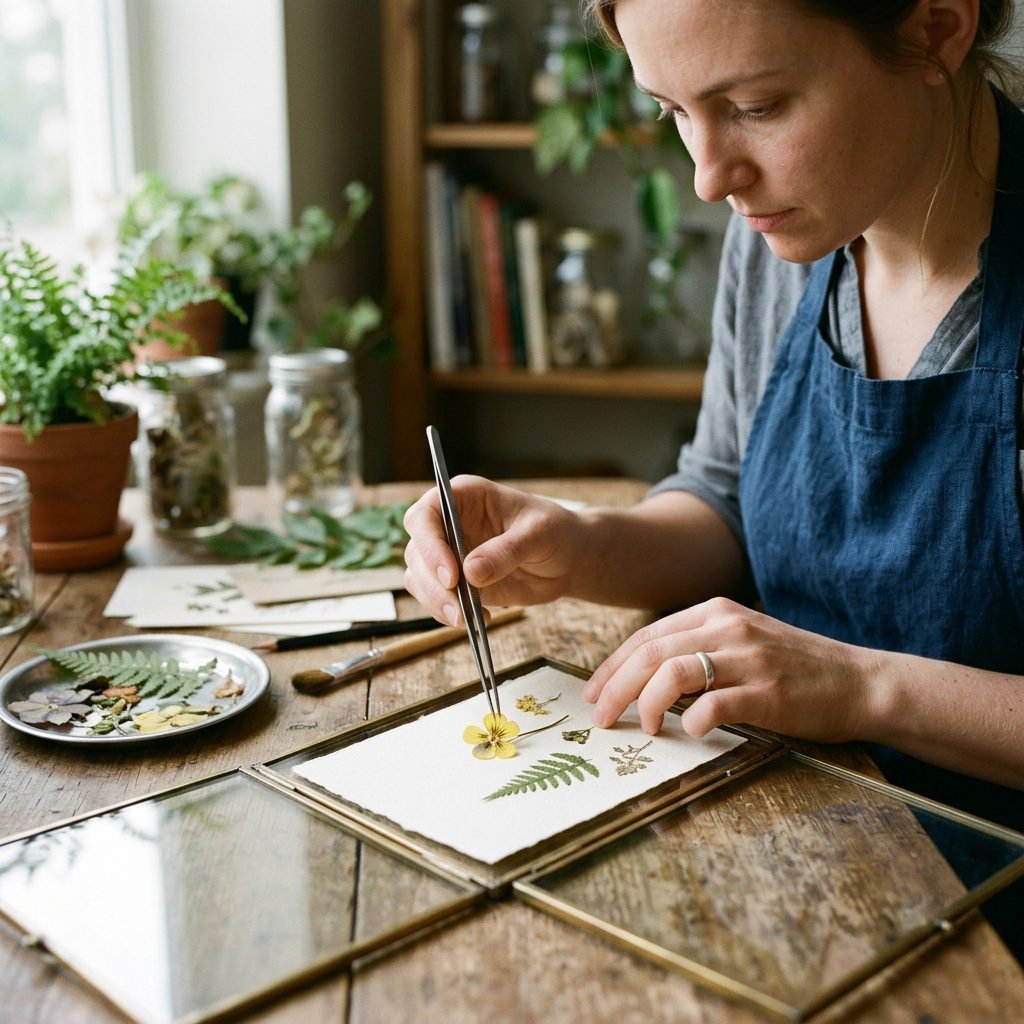
This is the most rewarding part! Once your flowers are paper-thin and brittle to the touch, they are ready to be mounted. Handle them with the utmost care, as they are now as fragile as a butterfly wing.
The Assembly Process
- Clean the Glass: Use a lint-free cloth and glass cleaner to ensure there are no fingerprints on the inside of your floating frame.
- Dry Run: Place your printed announcement in the center. Use your tweezers to arrange the flowers around it without glue first. Take a photo of your layout so you remember it!
- The Dot Method: Using a toothpick or a fine-tip glue bottle, place a tiny dot of acid-free glue on the thickest part of the flower (usually the center). You don’t need much; the pressure of the glass will do most of the holding.
- Final Seal: Carefully lower the top pane of glass. If you are using a floating frame, ensure the latch is secure.
Warning: Do not use hot glue or standard school glue, as these can discolor the petals or create bulk that prevents the frame from closing flush.
Styling Your Nursery with Sentimental Art
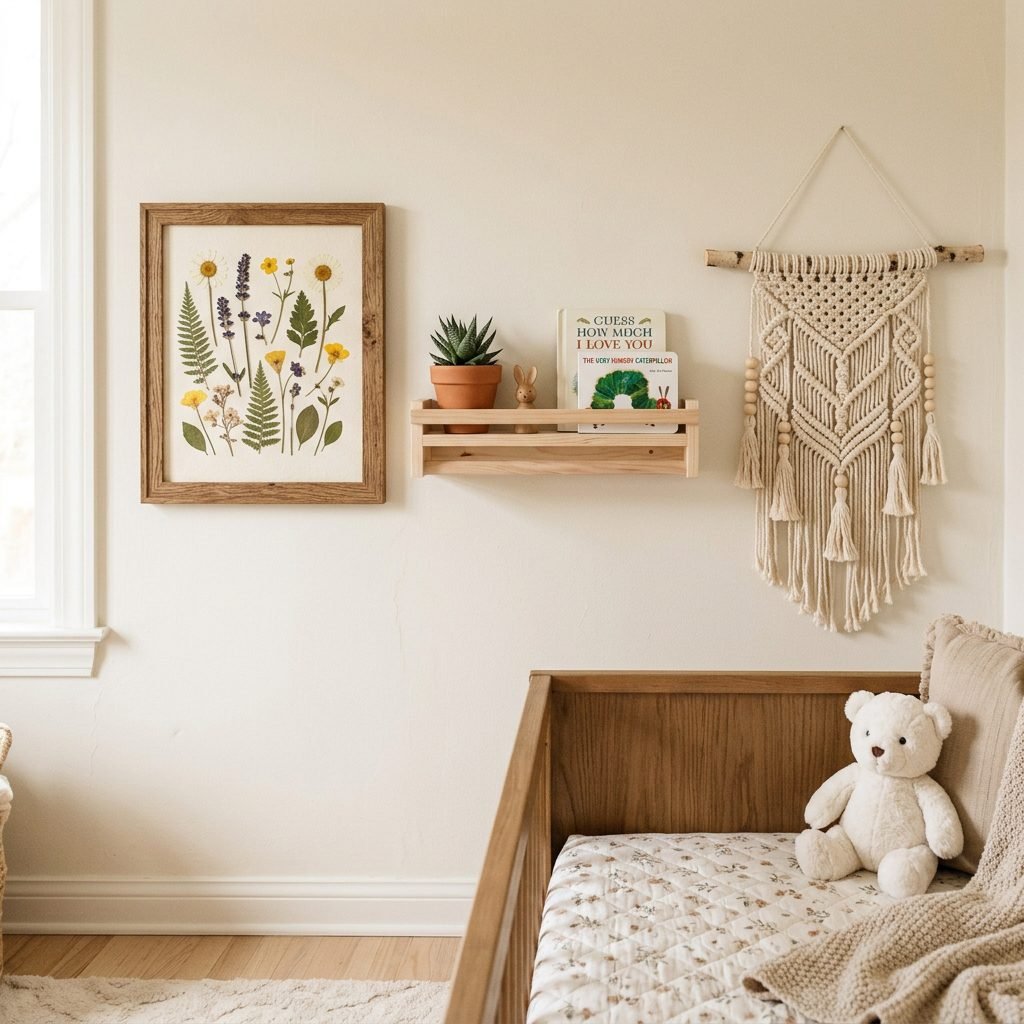
Now that your masterpiece is finished, where should it live? This frame is more than decor; it’s a visual anchor for your baby’s room. Because it is a floating frame, it looks stunning against any wall color, as the paint peeks through the glass.
Styling Tips
- The Gallery Wall: Pair your announcement frame with a black-and-white newborn photo and a small wooden shelf holding a pair of first shoes.
- The Lighting: Hang it where it catches the soft morning light, but avoid direct afternoon sun which can bleach the natural pigments of the flowers over time.
- Height Matters: Hang the frame at eye level when you are standing, or slightly lower if it’s placed near a rocking chair where you spend your time nursing and cuddling.
This frame serves as a daily reminder of the day your life changed for the better. It is a testament to your strength and the delicate beauty of new beginnings.
Conclusion
A Legacy in Bloom
Congratulations, Mama. You have created something truly special. This pressed flower birth announcement is more than just a DIY project; it is a labor of love that captures the essence of your baby’s arrival. As the years go by and your little one grows, these petals will remain—a frozen moment of the season they were born.
Remember that motherhood itself is a series of seasons. Some are for planting, some are for growing, and some are for simply preserving the beauty of the present moment. I hope this tutorial has given you a pocket of peace and a beautiful heirloom to cherish. Wear your heart on your walls, and keep blooming.