How to Design a Beautiful Watercolor Moon Phase Birth Announcement
Welcome, sweet mama. There is something profoundly magical about the night your little one finally decided to join us earthside. As a doula, I often remind my clients that birth is a cosmic event—a literal shifting of the heavens as a new soul arrives. One of the most beautiful ways to honor that specific moment in time is by capturing the phase of the moon as it hung in the sky on your baby’s birthday. A watercolor moon phase birth announcement is more than just a piece of stationery; it is a soulful artifact, a snapshot of the universe’s alignment when your world changed forever. Whether you are currently nesting and looking for a peaceful creative outlet, or you are a new mother soaking in those postpartum snuggles and wanting to document the magic, this guide is designed for you. We are going to blend the ethereal beauty of watercolor with the precision of lunar cycles to create a keepsake that feels as soft and timeless as a lullaby. You don’t need to be a professional artist to do this; you only need a little bit of patience, a few simple supplies, and a heart full of love for your new arrival.
“The moon is a loyal companion. It never leaves. It’s always there, watching, steadfast, knowing us in our light and dark moments, changing forever just as we do.”
The Soulful Significance of Lunar Cycles in Birth
In the world of birth work, we often talk about the ‘lunar effect.’ While science debates the statistics, every doula and labor nurse has stories about the surge of arrivals during a full moon. The moon governs the tides of our oceans, and since our bodies are composed mostly of water, it is no surprise that many mothers feel a deep, rhythmic connection to the lunar cycle. Choosing a moon phase theme for your birth announcement honors this ancient connection between womanhood and the celestial bodies.
Understanding Your Baby’s Moon Sign
Beyond the visual beauty, the moon phase at birth is said to influence a person’s emotional blueprint. A baby born under a New Moon might be a seed-planter, full of potential and quiet beginnings, while a Full Moon baby might be vibrant, expressive, and luminous. By painting this specific phase, you are acknowledging the unique energy your child brings into the world. It’s a way of saying, ‘This is the light that guided you home.’
A Creative Ritual for Postpartum Healing
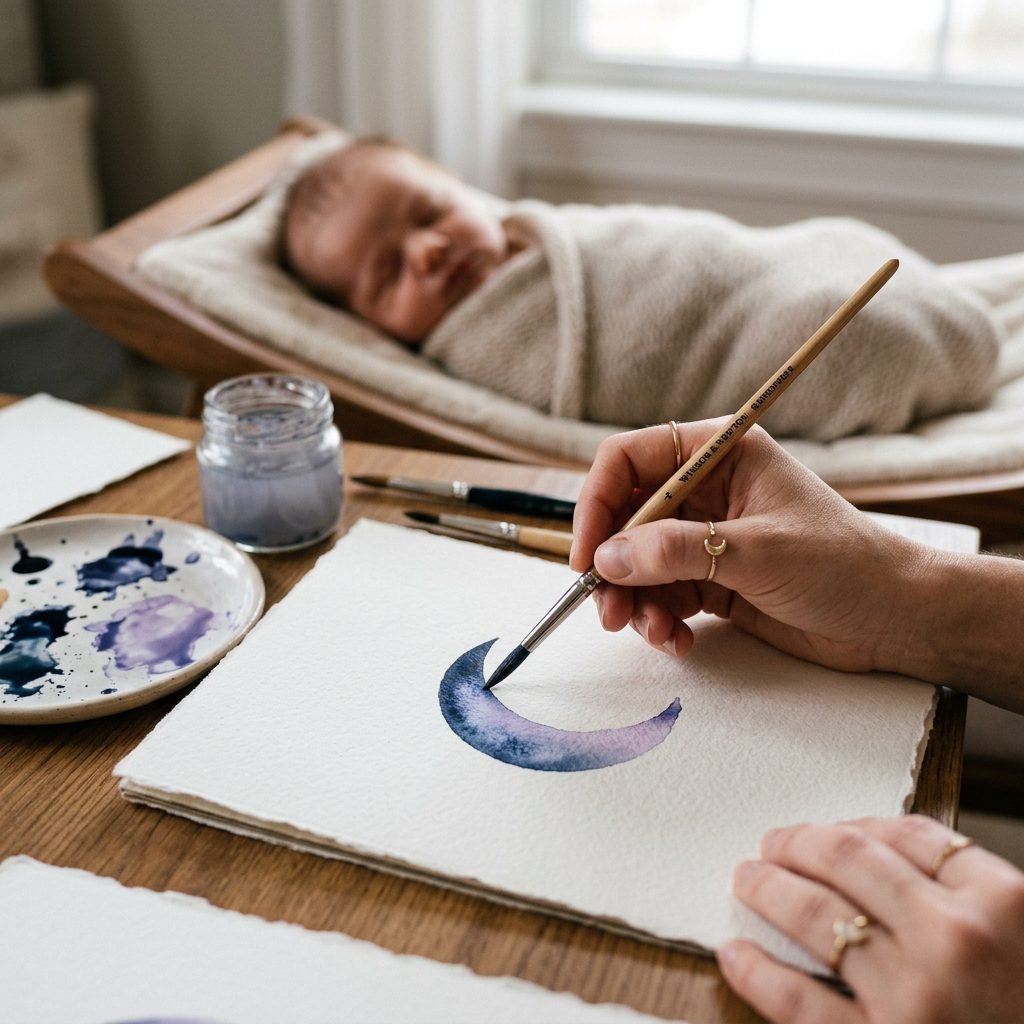
The postpartum period can be a whirlwind of emotions. Engaging in a slow, tactile craft like watercolor painting can be incredibly grounding. The way the pigment flows into the water mirrors the fluid nature of early motherhood—unpredictable, beautiful, and requiring a gentle touch. This project allows you to sit in a space of reflection, focusing on the details of your baby’s birth while creating something tangible and beautiful. It is a form of creative mindfulness that celebrates your transition into this new chapter.
Gathering Your Celestial Art Toolkit
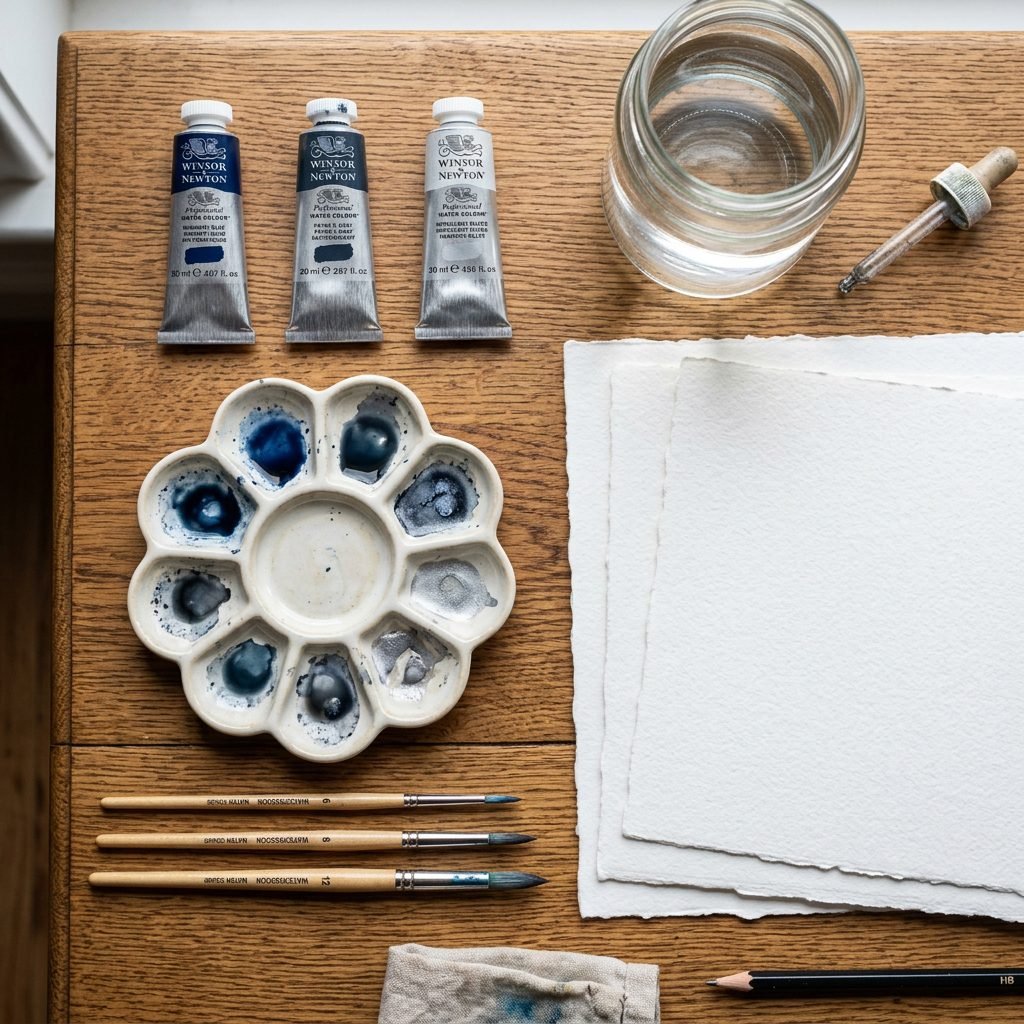
To create a piece that lasts a lifetime, you’ll want to invest in materials that offer both beauty and longevity. Watercolor is a forgiving medium, but the quality of your paper and pigment makes a significant difference in the final result. For a birth announcement, we want archival-quality materials so the colors don’t fade as your child grows.
Essential Supplies and Budgeting
You don’t need a massive studio, but a few key items are non-negotiable. Cold-press watercolor paper is essential because its texture (the ‘tooth’) mimics the craters and shadows of the moon’s surface perfectly. For paints, look for ‘artist grade’ tubes or pans, which have a higher pigment load than student-grade sets. This ensures your ‘lunar seas’ (the dark spots on the moon) look deep and velvety rather than chalky.
| Item | Description | Estimated Cost |
|---|---|---|
| Watercolor Paper | 140lb Cold-Press (Acid-Free) | $12.00 – $18.00 |
| Paint Set | Indigo, Payne’s Gray, and Metallic Silver | $20.00 – $35.00 |
| Round Brushes | Sizes 0 (detail), 4 (medium), and 8 (wash) | $15.00 – $25.00 |
| Masking Fluid | To preserve white space or stars | $8.00 – $12.00 |
| White Ink/Gouache | For splattering stars and fine details | $7.00 – $10.00 |
| Total Estimate | High-Quality Starter Kit | $62.00 – $100.00 |
Setting Up Your Creative Sanctuary
As a mom, your ‘studio’ might be the kitchen table or a small corner of the nursery. That’s okay! To make the process smoother, keep a jar of clean water, a paper towel for blotting, and a small mixing palette nearby. If you’re currently pregnant, ensure your chair is supportive and you have a pregnancy pillow behind your back. If you’re postpartum, wait for a nap window and put on some soothing white noise or lunar-themed lofi beats to set the mood.
Step-by-Step: Painting the Lunar Phase
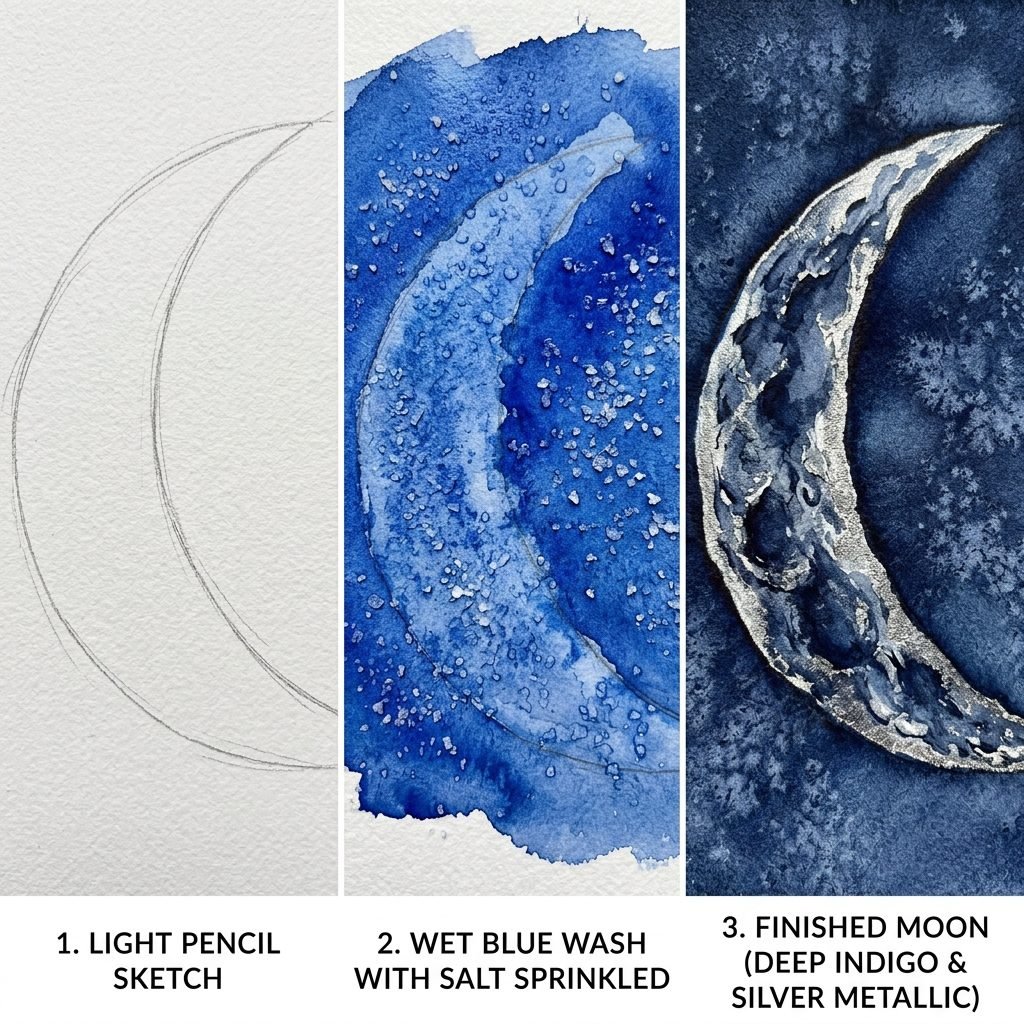
Now, let’s get into the heart of the project. Painting a moon is about layering light and shadow. We will use a technique called ‘wet-on-wet’ to create those soft, dreamy transitions that make watercolor so special. Follow these steps to bring your baby’s birth moon to life.
- Identify the Phase: Use a reputable lunar calendar online to find the exact phase of the moon on your baby’s birth date and location. Note if it was waxing (growing) or waning (shrinking).
- Sketch the Silhouette: Using a light pencil (2H is best), trace a perfect circle using a bowl or compass. If the moon was a crescent or gibbous, lightly sketch the curve of the shadow within that circle.
- The First Wash: Dip your size 8 brush in clean water and lightly dampen the area of the moon you want to color. While the paper is wet, drop in a very pale wash of Payne’s Gray or Soft Blue. This creates the base layer of the ‘lunar highlands.’
- Creating Texture (The Salt Trick): While the first wash is still damp, sprinkle a tiny pinch of table salt onto the wet paint. The salt will pull the pigment toward it, creating beautiful, crystalline textures that look exactly like craters and moon dust. Let this dry completely before brushing the salt off.
- Building the Seas (Maria): Using your size 4 brush and a deeper Indigo, paint the darker areas of the moon. Refer to a photo of the moon to see where these shadows lie. Soften the edges with a damp, clean brush so they bleed gently into the lighter areas.
- Adding the Glow: If you have metallic silver paint, add a few shimmer highlights to the brightest edge of the moon. This gives it a magical, ethereal quality when it catches the light.
“Remember, mama: there are no mistakes in watercolor, only ‘happy accidents.’ The moon isn’t a perfect, smooth surface; its beauty lies in its craters, shadows, and imperfections—just like the journey of motherhood itself.”
Composition, Calligraphy, and Birth Details
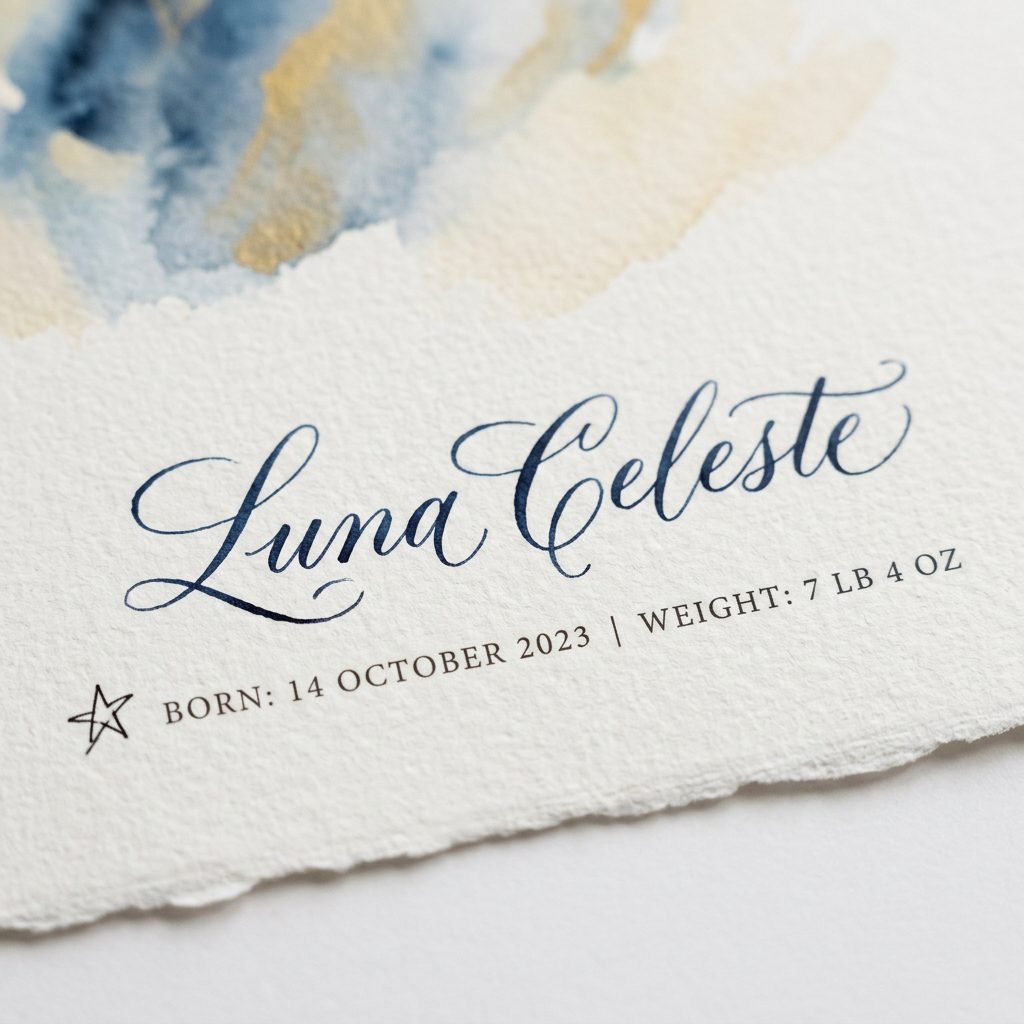
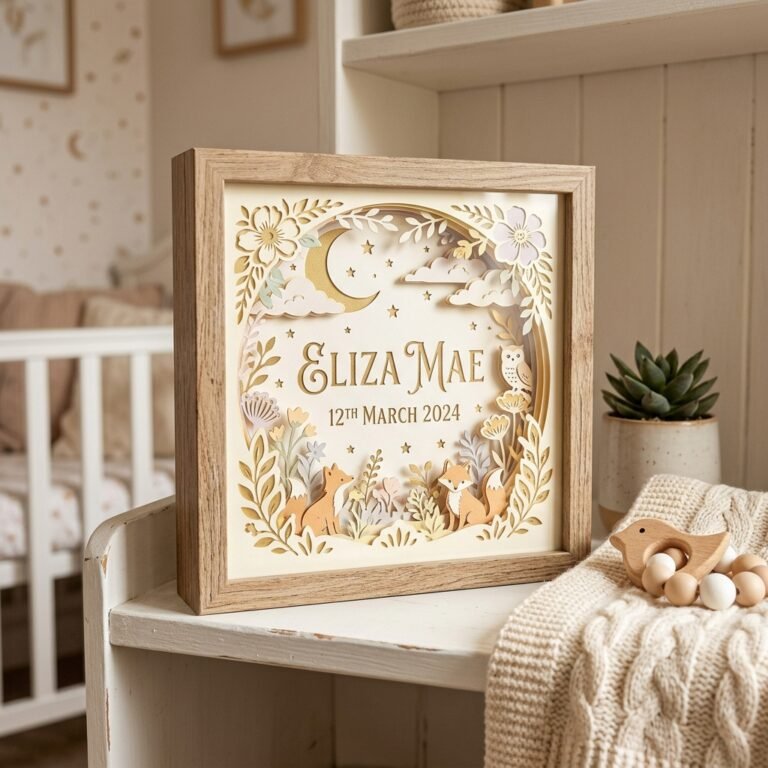
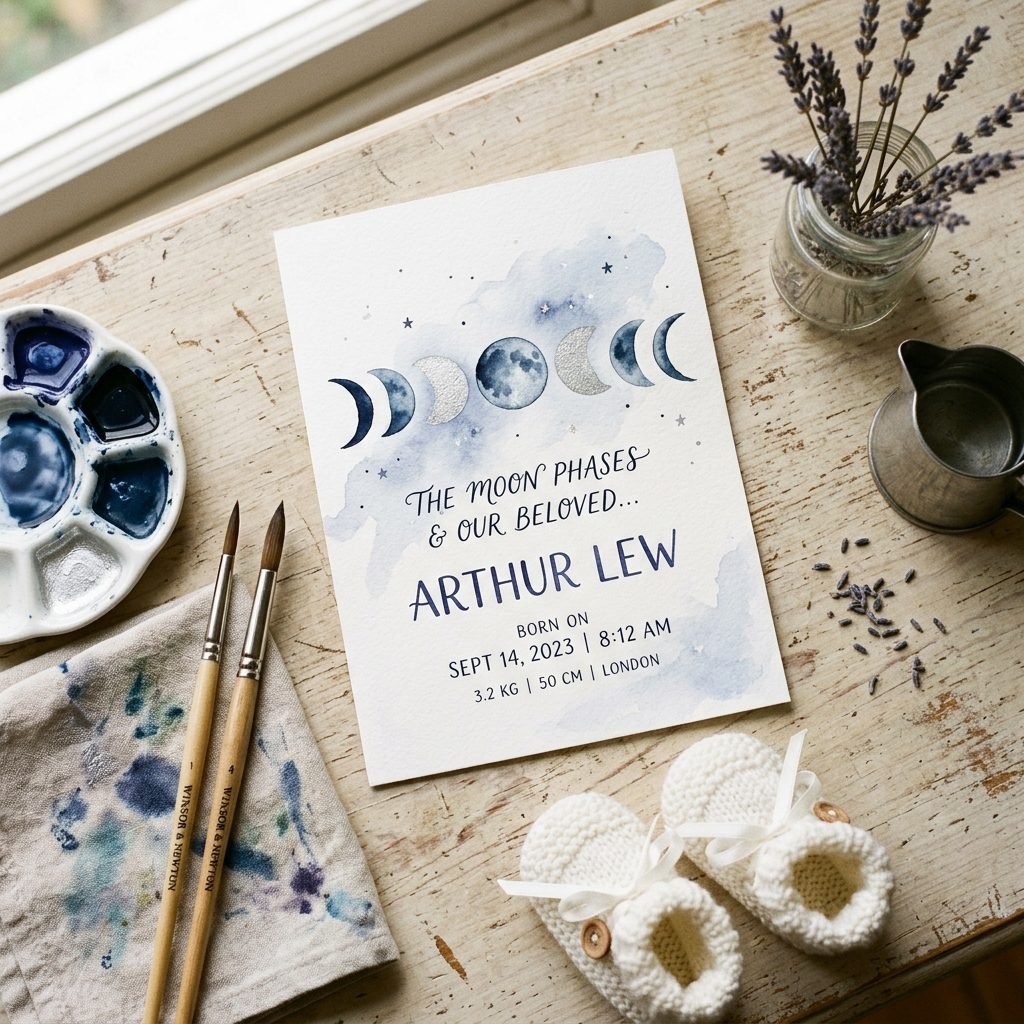
Once your moon is dry and glowing, it’s time to add the vital statistics that make this a true birth announcement. The layout should feel balanced and airy, allowing the moon to be the star of the show. You want to include the baby’s full name, birth date, time of arrival, weight, and length.
Choosing Your Placement
Most designers prefer a centered approach. Place the moon in the upper two-thirds of the page, leaving the bottom third for the text. This creates a ‘grounded’ feeling. Alternatively, you can place a small moon in the center and wrap the text in a circular path around it for a more modern, celestial-mandala look.
Faux-Calligraphy for Beginners
You don’t need to be a master of the pointed pen to get beautiful results. Faux-calligraphy is a simple trick where you write the name in your best cursive and then go back and thicken every ‘downstroke’ (any time your pen moves toward the bottom of the page). This mimics the look of a professional calligraphy nib. Use a fine-liner pen that is waterproof so it doesn’t smudge if it touches any stray watercolor drops.
The ‘Moon Phase’ Caption
A lovely touch is to add a small caption beneath the stats, such as: ‘The moon as it appeared on the night you were born’ or ‘Under this moon, our greatest adventure began.’ This adds a layer of storytelling to the piece that will touch the hearts of everyone who receives it.
Digitizing and Sharing Your Masterpiece
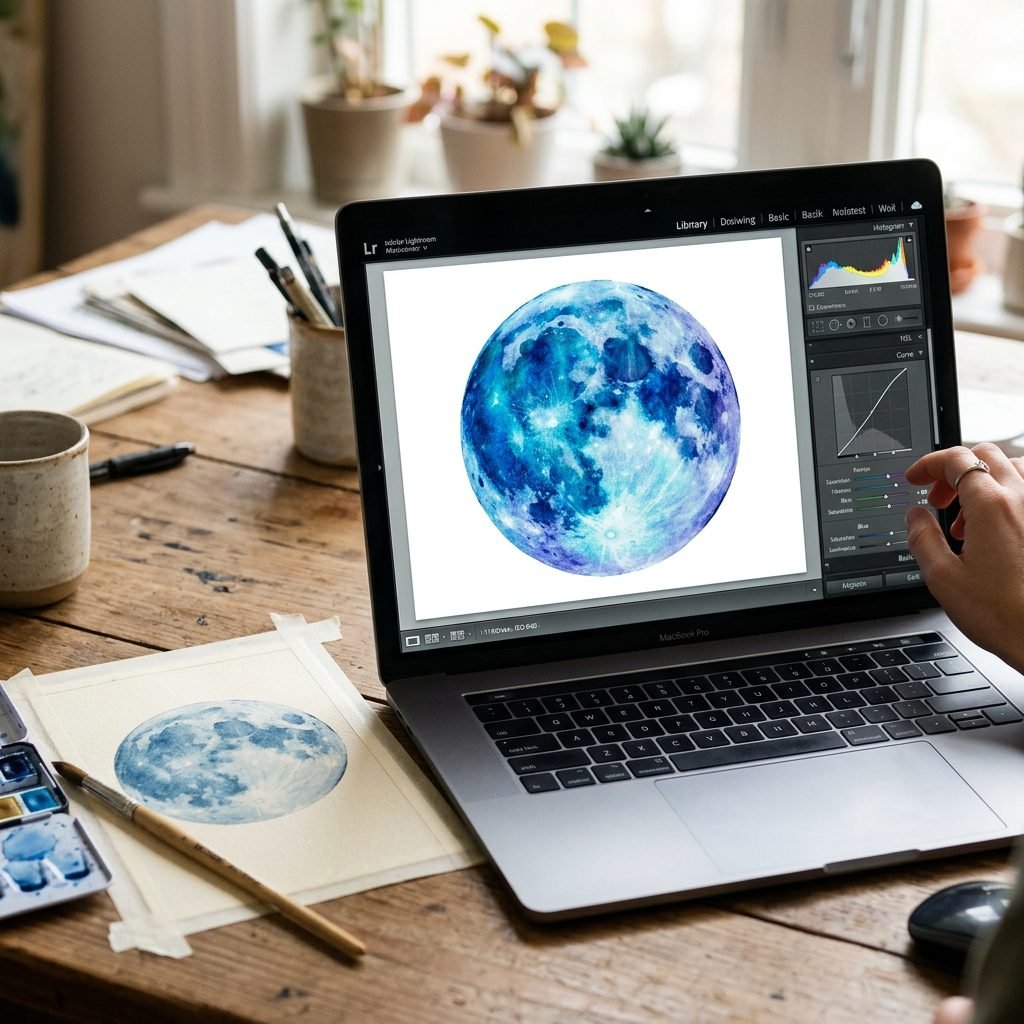
If you plan on sending this announcement to fifty relatives, you probably don’t want to hand-paint fifty moons! The best way to share your art is to digitize it. This allows you to print high-quality copies while keeping the original safe in your baby’s memory box or framed in the nursery.
Scanning for Best Results
Use a flatbed scanner if possible, setting the resolution to at least 600 DPI (dots per inch). This captures all the fine details of the watercolor texture and the paper’s tooth. If you don’t have a scanner, take a photo in bright, indirect sunlight (like near a large window) using a high-quality camera or smartphone. Ensure you are standing directly over the piece to avoid perspective distortion.
Editing and Printing
You can use free tools like Canva or more advanced software like Photoshop to clean up the background. Use the ‘Levels’ tool to make the white paper look crisp and bright, and the ‘Saturation’ tool to make your indigo blues pop. When you’re ready to print, choose a heavyweight cardstock with a matte or ‘linen’ finish to maintain that hand-painted feel. Many boutique printers offer ‘Giclée’ printing, which uses archival inks that are perfect for art reproductions.
A Note for the Digital Announcement
If you are sharing the announcement via social media or email, you can even add a subtle ‘shimmer’ effect using a video editing app to make the metallic silver parts of your moon look like they are twinkling. It’s a modern way to bring your traditional art to life!
Displaying and Preserving Your Keepsake

Your original painting is a piece of your family history. To ensure it stays beautiful for decades, you must protect it from its two biggest enemies: UV light and moisture. Watercolor pigments can fade if left in direct sunlight, so placement in the nursery is key.
Framing Your Art
Choose a frame that complements the celestial theme—natural wood, matte black, or brushed silver all work beautifully. Use an acid-free mat to keep the paper from touching the glass; this prevents any potential condensation from damaging the paint. If your budget allows, ‘Museum Glass’ is a wonderful investment as it is virtually invisible and blocks 99% of UV rays.
The Memory Box Tradition
If you prefer not to hang it, place the announcement in an acid-free sleeve within your baby’s memory box. Include a small note about how you felt while painting it. Years from now, when your child is grown, they will look at that moon and know exactly how much care and love went into welcoming them. It’s a legacy piece, a bridge between the stars and the home you’ve built for them.
Conclusion
Designing a watercolor moon phase birth announcement is a labor of love that honors both your creativity and the incredible journey of your baby’s arrival. From the first wash of indigo paint to the final stroke of the pen, you are weaving together a story of the cosmos and the tiny human who now sleeps in your arms. Whether your moon was a sliver of a crescent or a glowing full orb, it was the witness to your transformation into a mother. I hope this process brings you peace, joy, and a beautiful reminder that you and your baby are forever written in the stars. Congratulations, mama—you’ve created something truly celestial.