Flatten Your Shelf: Exact Techniques to Massage Your C-Section Scar
Welcome Home to Your Body, Mama
Oh, sweet friend, I am so glad you’re here. Whether you are six weeks or six years postpartum, your C-section scar is a testament to the incredible strength you displayed to bring life into this world. But let’s be honest—that little ‘shelf’ or overhang that often forms above the incision can feel like a stranger on your own body. As a doula and recovery specialist, I want you to know two things immediately: you are not alone, and that shelf is not just about fat or skin; it is often about scar tissue and adhesions.
In the world of postpartum recovery, we often focus so much on the baby that we forget the mother has undergone major abdominal surgery. Your body didn’t just ‘have a baby’; it navigated a complex procedure involving seven layers of tissue. When those layers heal, they can sometimes stick together like internal Velcro. This is what creates that pulling sensation or the ‘shelf’ look. The good news? You have the power to help those layers slide and glide again. Through the art of desensitization and scar mobilization, we can encourage blood flow, break up those sticky adhesions, and help you feel more connected to your core. Grab a cup of tea, find a quiet corner, and let’s walk through this healing journey together, sister to sister.
Understanding the ‘Shelf’: Why Scar Tissue Sticks

To effectively massage your scar, you first need to understand what is happening beneath the surface. A C-section involves an incision through the skin, fat, fascia, muscle, and the uterus. As your body heals, it produces collagen to bridge the gaps. However, collagen doesn’t always lay down in neat, organized rows; it can be chaotic, leading to adhesions—where the skin sticks to the muscle, or the muscle sticks to the bladder.
The Layered Reality of Healing
Imagine your abdominal wall as a stack of silk scarves. In a healthy state, they slide over one another easily. After surgery, it’s as if someone spilled glue between those scarves. The ‘shelf’ is often the result of the skin being tethered down to the deeper layers while the tissue above it remains mobile. By performing regular massage, we are essentially ‘unglueing’ those layers.
Remember: Your scar is a symbol of your transition into motherhood, but it doesn’t have to be a source of physical discomfort or restriction.
| Layer of Tissue | Function in Recovery | How Massage Helps |
|---|---|---|
| Skin & Dermis | Primary barrier | Reduces numbness and sensitivity |
| Fascia | Connective tissue web | Restores elasticity and ‘glide’ |
| Muscle (Rectus Abdominis) | Core stability | Reactivates proper engagement |
| Uterus | Organ health | Prevents internal pulling on the bladder |
The Golden Timeline: When to Begin Your Massage Practice
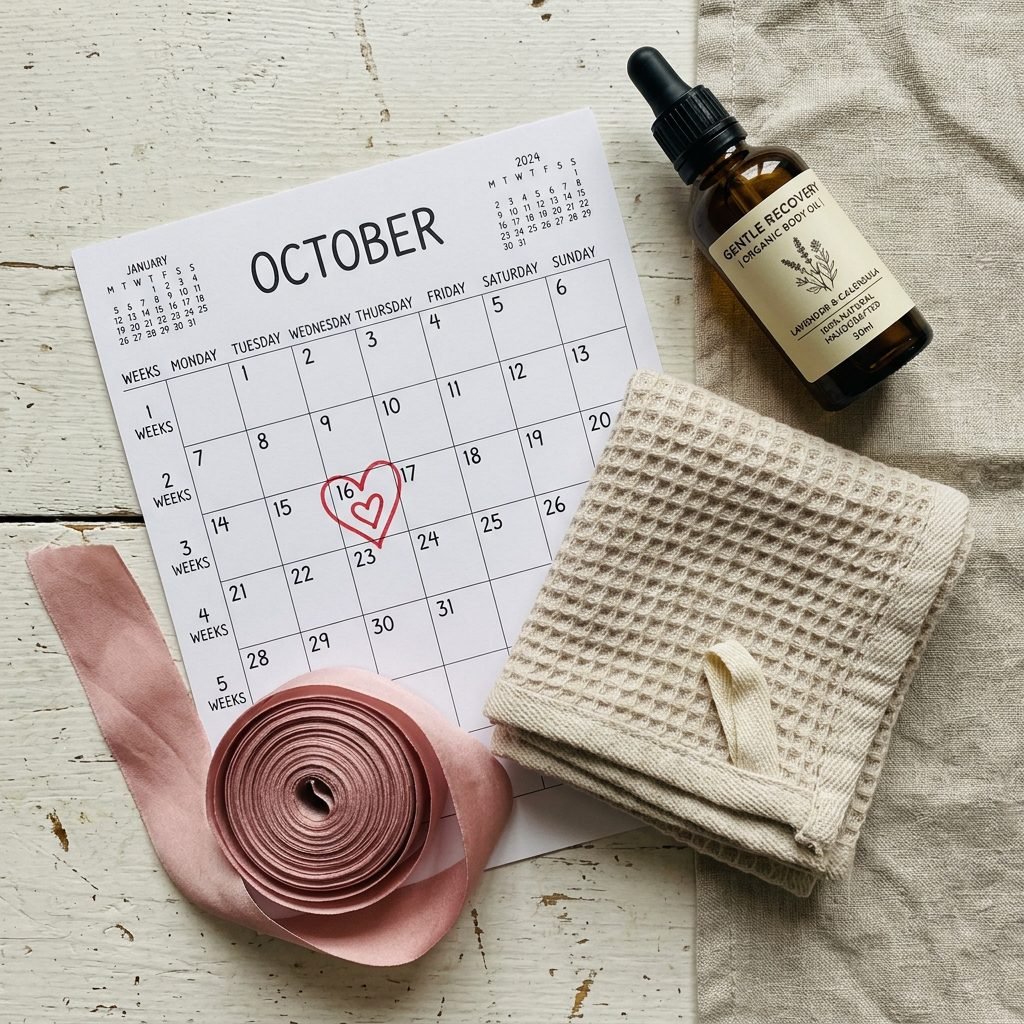
Patience is your best friend in the early weeks of postpartum. We never want to massage a scar that is still actively knitting itself back together. Generally, the 6-to-8-week mark is the ‘green light’ zone, but only after your healthcare provider has confirmed the incision is fully closed with no scabbing or drainage.
Safety First Checklist
Before you begin, ensure you meet the following criteria to prevent infection or injury:
- The incision is 100% closed with no open spots.
- There is no redness, heat, or unusual swelling around the scar.
- You have completed your 6-week postpartum checkup.
- You feel emotionally ready to touch the area (it’s okay if it takes longer!).
If you feel a sense of ‘disconnect’ or even revulsion toward your scar, start with desensitization. This involves gently rubbing different textures (like a silk scarf, then a cotton towel, then a soft brush) over the scar to tell your nervous system that touch is safe. Healing is as much mental as it is physical.
Step-by-Step: The 3-Tiered Massage Technique
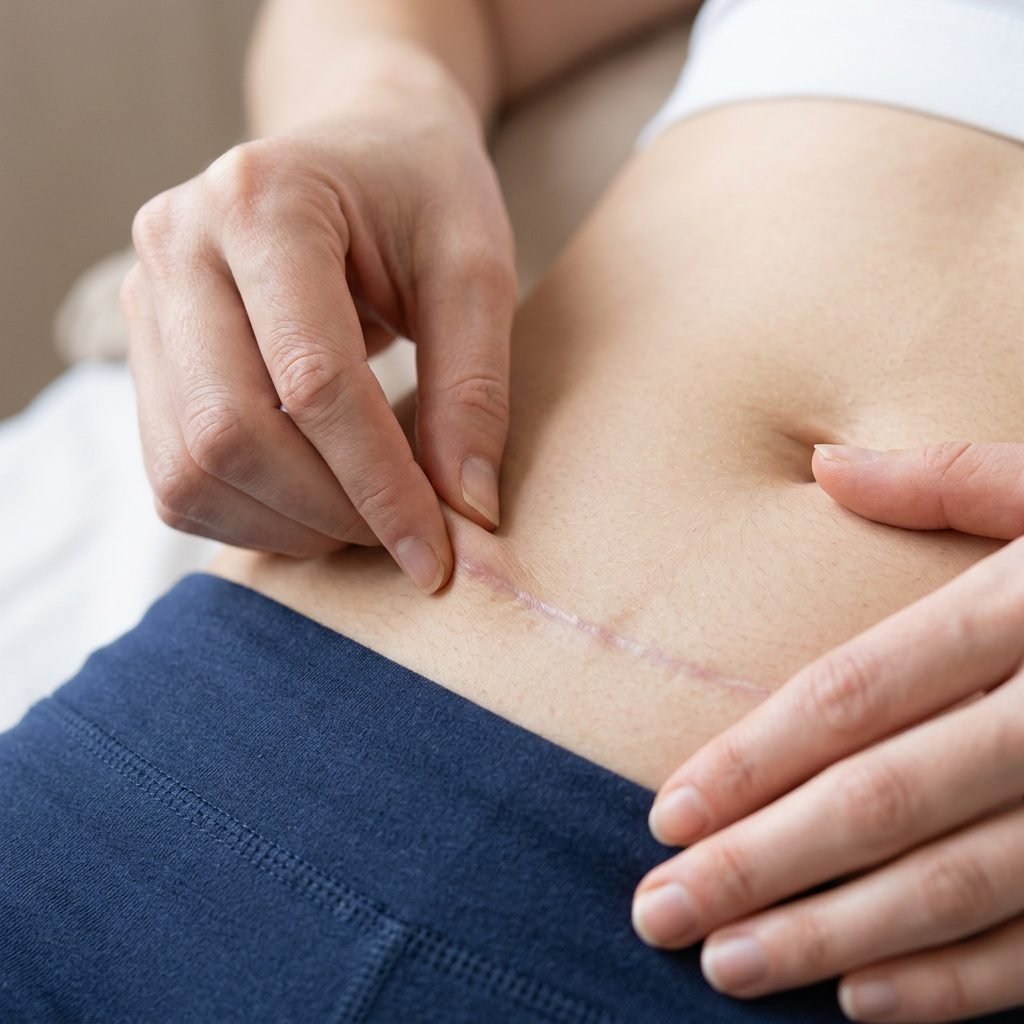
Now, let’s get into the exact movements. You’ll want to be lying down in a comfortable spot, perhaps with a pillow under your knees to take the tension off your abs. Use a small amount of organic coconut oil, Vitamin E oil, or a specialized scar cream to provide a gentle glide.
Phase 1: The Superficial Glide (Skin Level)
Start by placing your fingers about an inch above the scar. Gently move the skin in up-and-down, side-to-side, and circular motions. We aren’t moving the scar itself yet; we are moving the skin over the scar. If you find a spot that feels ‘stuck’ or tight, hold gentle pressure there for 30-60 seconds until you feel a release.
Phase 2: The Skin Roll (Fascia Level)
This is the most effective move for ‘the shelf.’ Try to gently pinch the skin between your thumb and forefingers, creating a small ‘roll.’ Attempt to walk this roll across the length of your scar. If it’s too tight to pick up, go back to Phase 1 for a few days. This technique breaks the vertical tethers that create the overhang look.
Phase 3: The Deep Mobilization (Muscle Level)
Once the skin is moving well, place two fingers directly on the scar. Use firm (but not painful) pressure to move the scar tissue in small J-strokes. Imagine you are trying to pull the scar away from the pubic bone. This reaches the deeper adhesions that can affect your bladder and pelvic floor health.
| Technique | Direction | Duration |
|---|---|---|
| Parallel Strokes | Side-to-side along the scar | 2 Minutes |
| Perpendicular Strokes | Up-and-down across the scar | 2 Minutes |
| Clockwise Circles | Small circular motions over ‘knots’ | 3 Minutes |
| Skin Rolling | Pinch and ‘walk’ along the length | 2 Minutes |
The Best Oils and Tools for Scar Healing
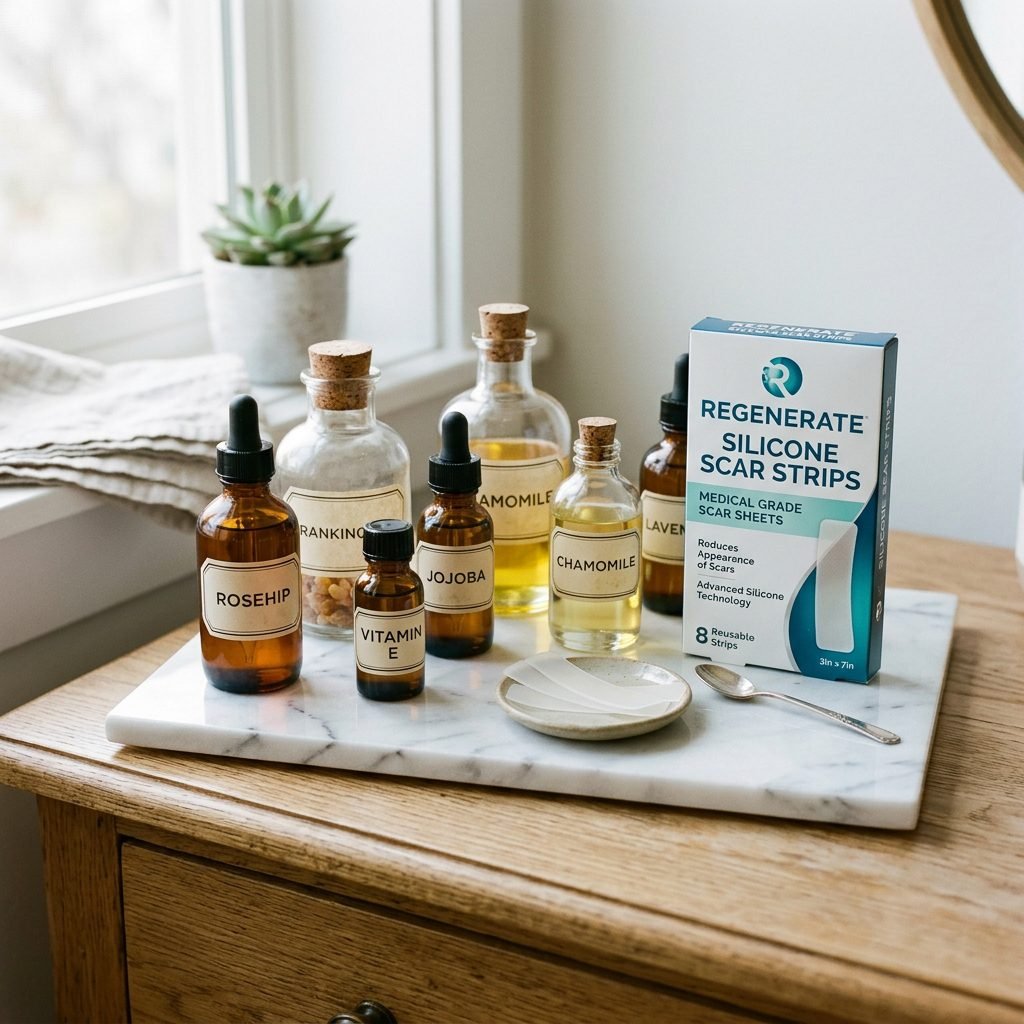
While your hands are the best tools you have, choosing the right medium can enhance the healing process. You want something that nourishes the skin without clogging pores or causing irritation.
- Vitamin E Oil: Excellent for skin regeneration and softening tough collagen fibers.
- Fractionated Coconut Oil: Anti-microbial and provides a long-lasting glide.
- Rosehip Seed Oil: High in Vitamin A and C, which helps with hyperpigmentation (the redness of the scar).
- Silicone Scar Sheets: While not for massage, wearing these 12-24 hours a day between massages is clinically proven to flatten raised (hypertrophic) scars.
Avoid heavily scented lotions or products with ‘parabens’ during the first few months, as the new skin is quite sensitive. Consistency is more important than the specific oil you choose. Aim for 5-10 minutes of massage, 3 to 5 times a week.
Affirmation: My body is soft, my body is strong, and I am worthy of the time it takes to heal.
When to See a Professional: Red Flags & Pelvic PT
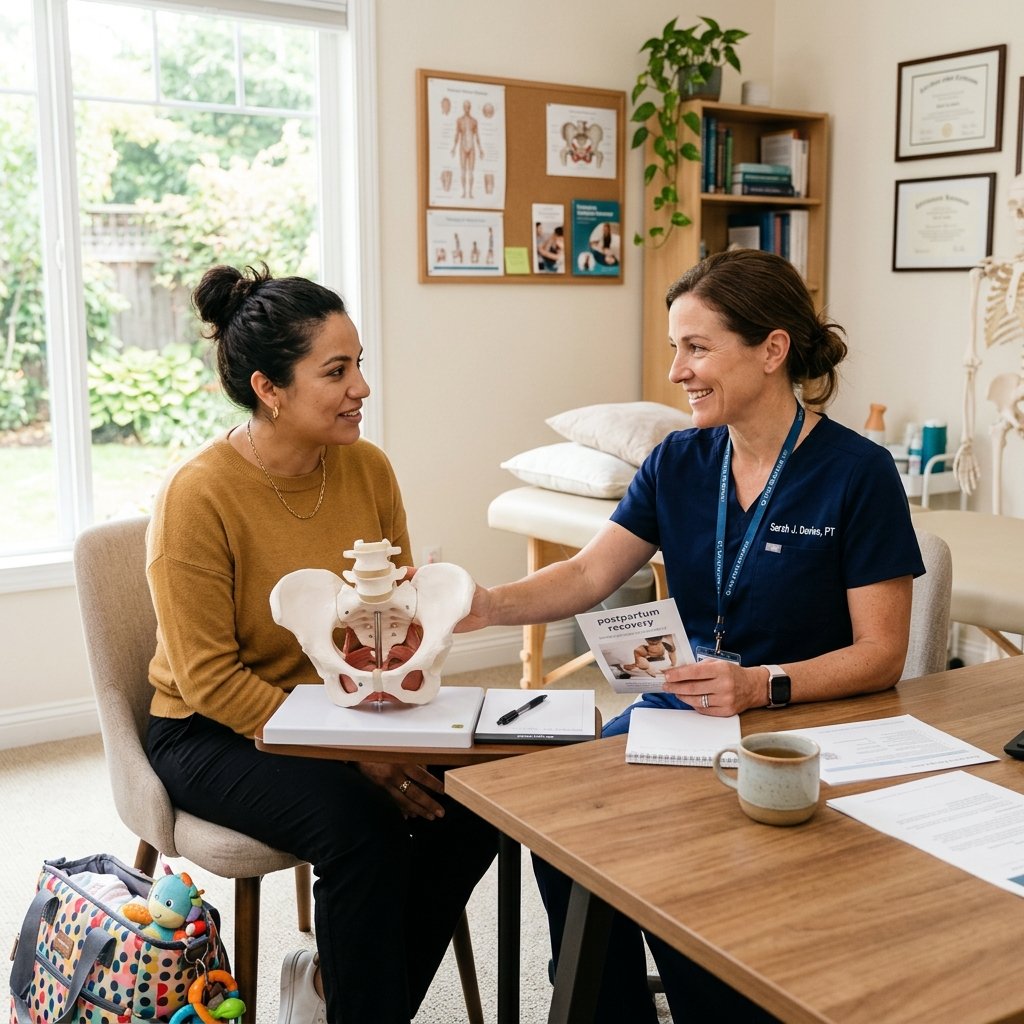
Sometimes, despite our best efforts at home, scar tissue can be stubborn. If you experience any of the following, it might be time to seek out a Pelvic Floor Physical Therapist. They are the ‘gold standard’ for C-section recovery.
Red Flags to Watch For
- Pain during intercourse: This can be a sign that scar tissue is pulling on the vaginal vault or pelvic muscles.
- Urinary urgency or frequency: Adhesions can ‘tether’ the bladder, making it feel full even when it isn’t.
- Sharp, stabbing pain: If massage causes acute pain rather than a ‘good hurt’ stretch, stop and consult a professional.
- The scar is thick, ropy, and red: You may be prone to keloid scarring, which requires specialized treatment.
A Pelvic PT can perform internal myofascial release and use tools like cupping or dry needling to release the deepest layers of the ‘shelf’ that you can’t reach on your own. There is no shame in needing a professional hand to guide your recovery.
Conclusion
You Are Whole and Healing
Mama, as you begin this practice of massaging your C-section scar, I want you to remember that your body is not ‘broken’ or ‘ruined.’ It is transformed. Flattening the shelf is a physical goal, but the emotional connection you build with your body through this touch is the real victory. Be patient with yourself. Some days the scar will feel tighter than others, and some days you might feel emotional as you touch the place where your baby emerged. That is all part of the process.
Keep showing up for yourself, five minutes at a time. You deserve to move without pulling, to dress without discomfort, and to feel at home in your skin. You’ve got this, sister.