How to Design a Retro Blueprint Style Birth Announcement at Home
The Art of Announcing Your Masterpiece
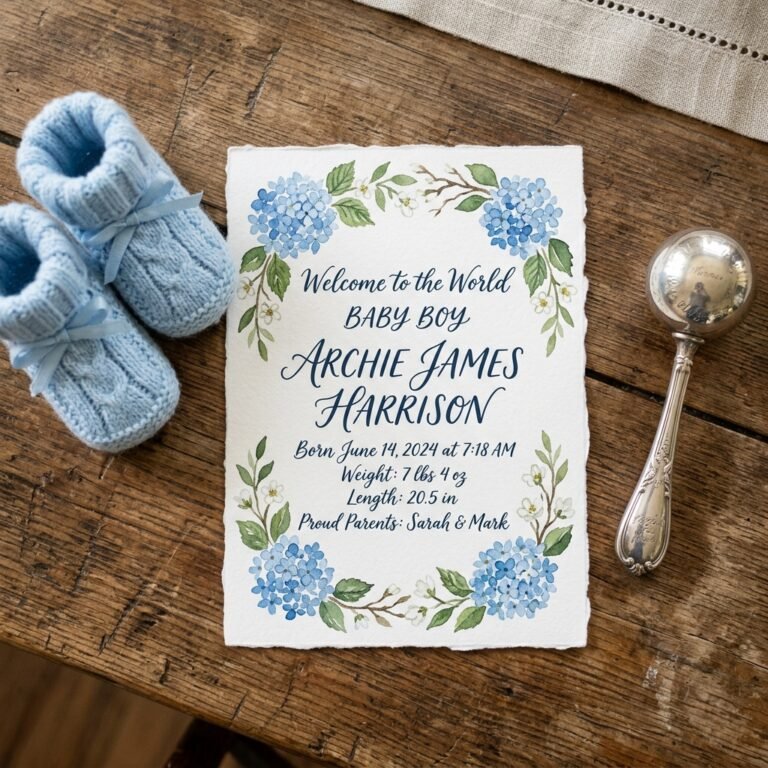
Welcome home, mama. You’ve just spent the last nine months performing the most incredible feat of engineering known to humankind: building a life. As a doula and a design enthusiast, I often tell my clients that pregnancy is the ultimate drafting phase, and birth is the grand unveiling. What better way to celebrate your new ‘build’ than with a Retro Blueprint Style Birth Announcement? This aesthetic isn’t just trendy; it’s a soulful nod to the intricate, technical, and miraculous process of creation.
Designing this at home allows you to infuse your personality into every pixel while saving a bit of that precious nursery budget. Whether you’re a seasoned graphic designer or a first-time crafter with a sleeping infant in a wrap, this guide is designed to be your gentle companion. We’re going to walk through the photography, the ‘cyanotype’ color palettes, and the architectural typography that will make your little one’s debut feel like a timeless work of art. Grab a cup of lukewarm tea (we know how it goes!), and let’s start drafting.
The Blueprint Concept: Why Retro Tech is the New Sweet
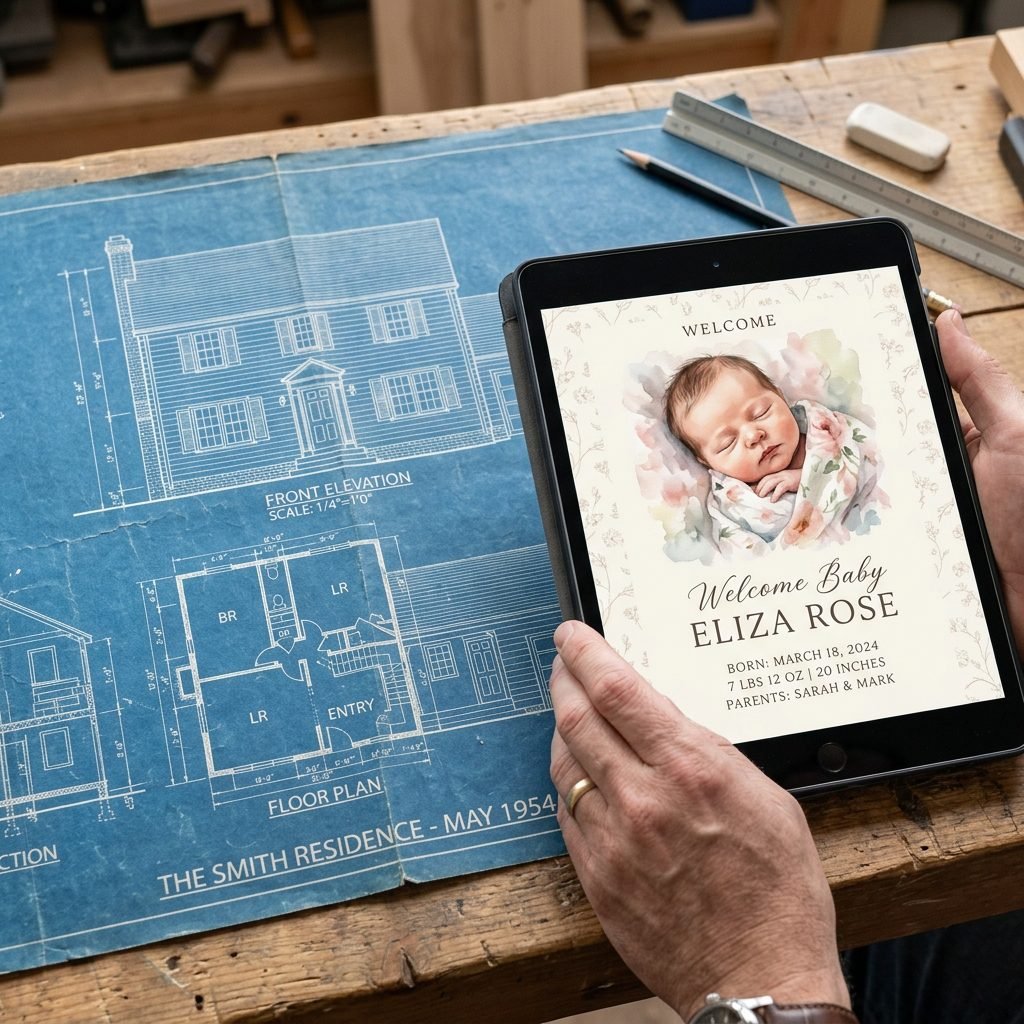
In a world of soft watercolors and pastel florals, the blueprint aesthetic stands out as bold, structured, and deeply meaningful. Historically, blueprints (or cyanotypes) were used by architects to map out every detail of a structure before it was built. By choosing this style, you are framing your baby’s birth stats—weight, length, and time—as the ‘technical specifications’ of a miracle.
Why This Style Works for New Moms
- Visual Contrast: The deep Prussian blue of a traditional blueprint makes the soft, delicate skin of a newborn pop beautifully in photos.
- Gender Neutrality: It’s a sophisticated choice that works for any baby, moving away from traditional gender tropes.
- Storytelling: It honors the ‘work’ of labor and the ‘design’ of your family.
Your body was the architect, your heart was the builder, and your baby is the beautiful result. This announcement is simply the official record of your success.
Gathering Your Drafting Tools: Budget & Materials
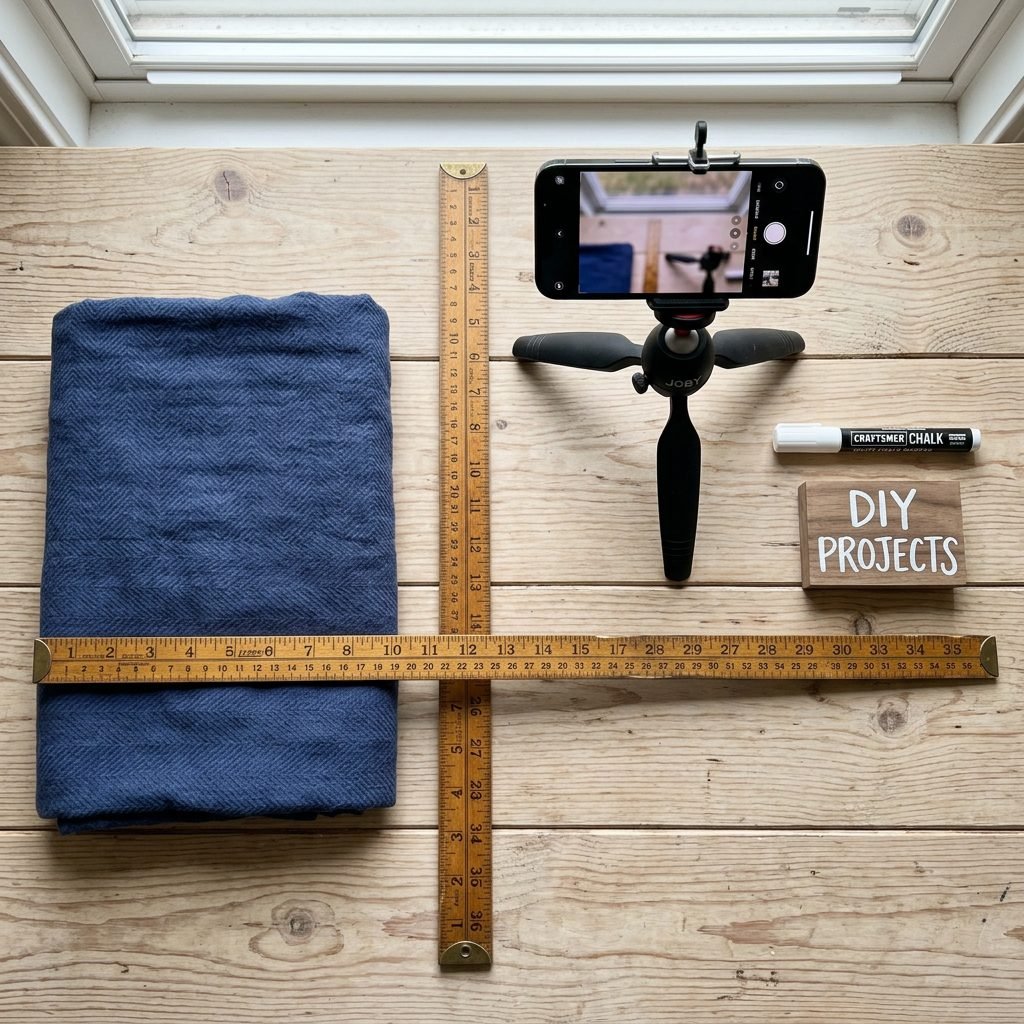
You don’t need a professional studio to achieve this look. Most of what you need is likely already in your home or accessible via a few simple apps. Below is a breakdown of what you’ll need to create a high-end look on a DIY budget.
| Category | Essential Item | Budget Tip |
|---|---|---|
| Photography | Smartphone or DSLR | Use natural window light (it’s free!) |
| Background | Navy blue sheet or large cardstock | A dark blue swaddle or tablecloth works perfectly |
| Props | Vintage rulers, measuring tape, pencil | Borrow from a grandparent’s toolkit or use a sewing tape |
| Software | Canva, Photoshop, or Over app | Use the free version of Canva with ‘Blueprint’ templates |
| Paper | Heavy 110lb cardstock | Order small batches from local print shops to save on shipping |
When choosing your background fabric, look for something matte. Shiny fabrics reflect light and can ruin the ‘paper blueprint’ illusion. A simple navy blue cotton jersey or a flat bedsheet is your best friend here.
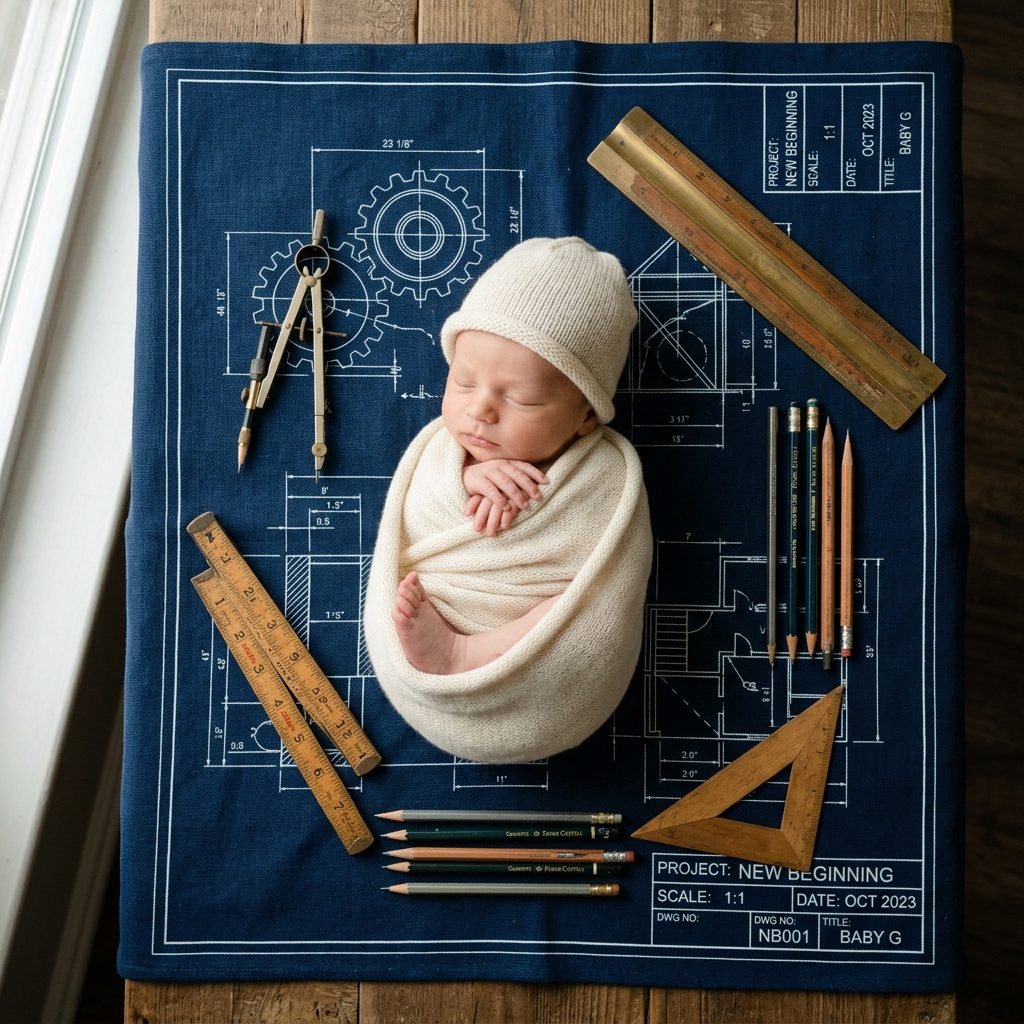
Capturing the ‘Technical Drawing’ Photo
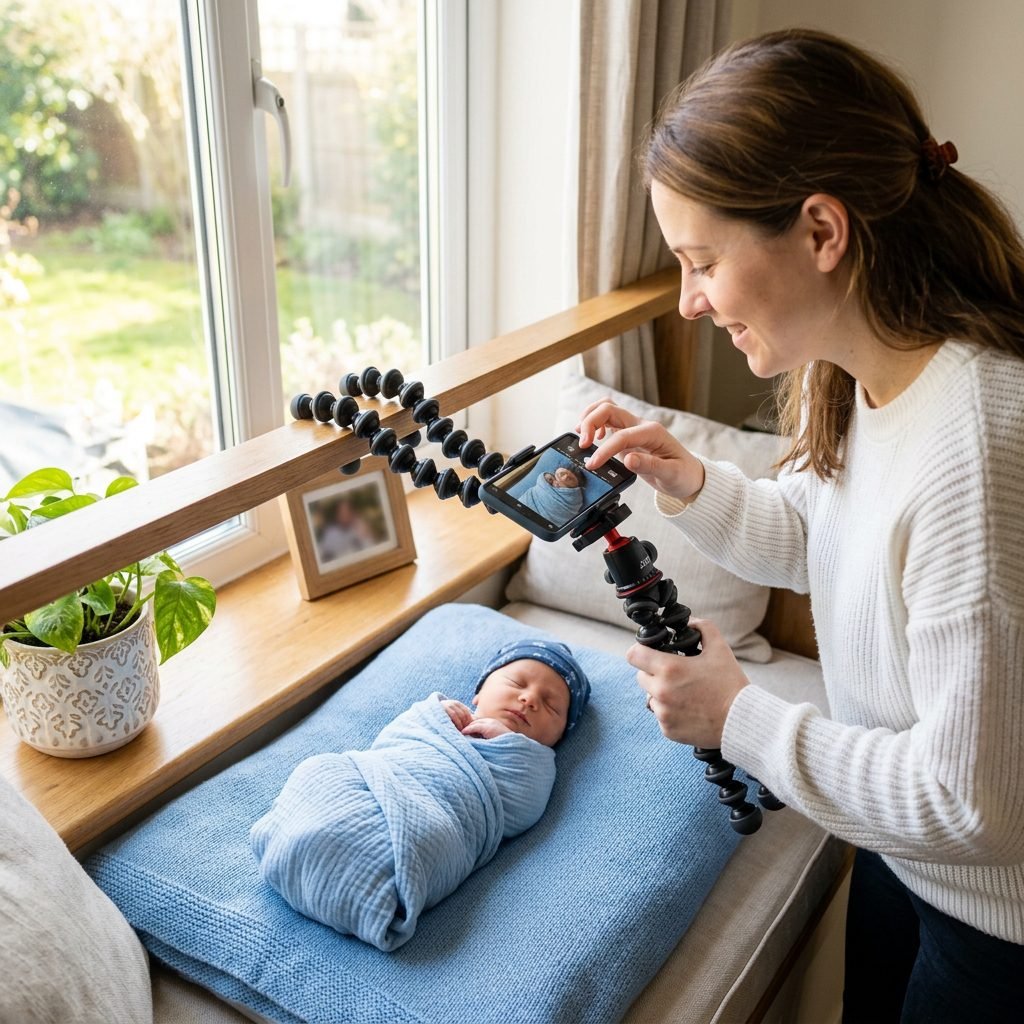
The key to a blueprint announcement is the overhead flat-lay. You want the baby to look like they are the ‘subject’ of a technical drawing. Here is how to get the shot safely and beautifully:
- Timing is Everything: Aim for the ‘Golden Hour’ of newborn sleep—usually about 30 minutes after a full feed. A ‘milk drunk’ baby is much easier to pose.
- Safety First: If you are standing on a stool to get the overhead shot, always have a partner nearby or use a secure tripod. Never stand directly over the baby without a neck strap on your camera.
- Lighting: Place your blue background on the floor next to a large window. Do not use the flash! Natural light creates the soft shadows that give the photo depth.
- The Pose: Place the baby in the center. You can keep them in a simple diaper to show off those ‘new build’ rolls, or use a tight swaddle. Place your props (the ruler or measuring tape) along the edges of the frame to act as a border.
Pro Tip: Use a white chalk marker or a piece of white string on the blue fabric to create ‘grid lines’ or ‘dimension arrows’ around the baby before you take the photo. This adds to the authentic blueprint feel!
Step-by-Step Digital Design Tutorial
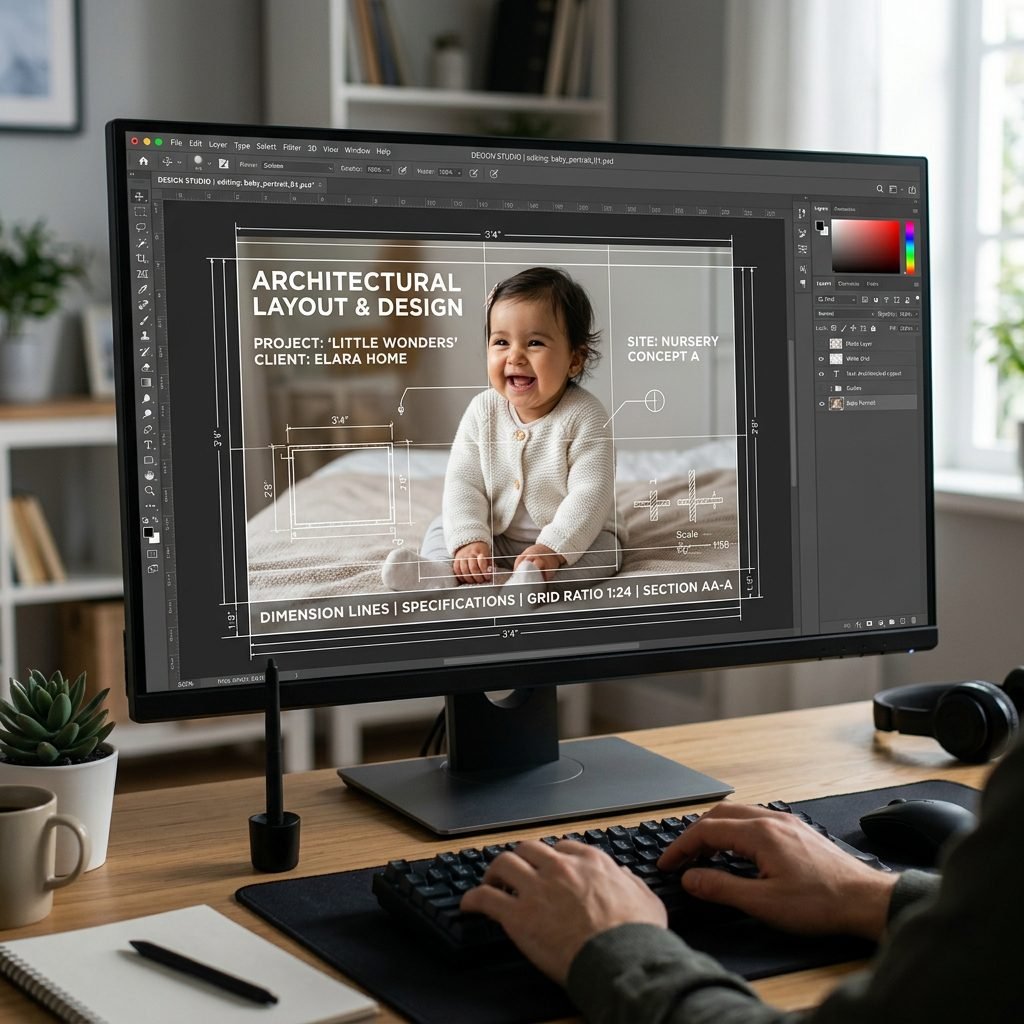
Now that you have your photo, it’s time to turn it into a blueprint. This is where the magic happens. We want to achieve that iconic white-on-blue or blueprint-blue look.
The ‘Cyanotype’ Filter Effect
If your photo background isn’t quite the right blue, don’t worry! In your editing app, increase the Contrast and Saturation. Then, apply a blue tint or ‘duotone’ filter. The goal is to make the background a deep navy and the highlights (the baby) stand out clearly.
Choosing Your Fonts
To keep it authentic, you need ‘Architectural’ or ‘Drafting’ fonts. Look for styles that resemble hand-lettering or typewriter text:
- Courier: Gives a classic, government-document feel.
- Josefin Sans: A clean, geometric font that looks like modern architectural plans.
- Architects Daughter: Perfect for that ‘hand-penciled’ note look on the margins.
When adding text, use pure white or a very light blueprint grey. Avoid colors like pink or yellow, as they break the retro technical theme.
The Spec Sheet: Creative Wording for Your Announcement
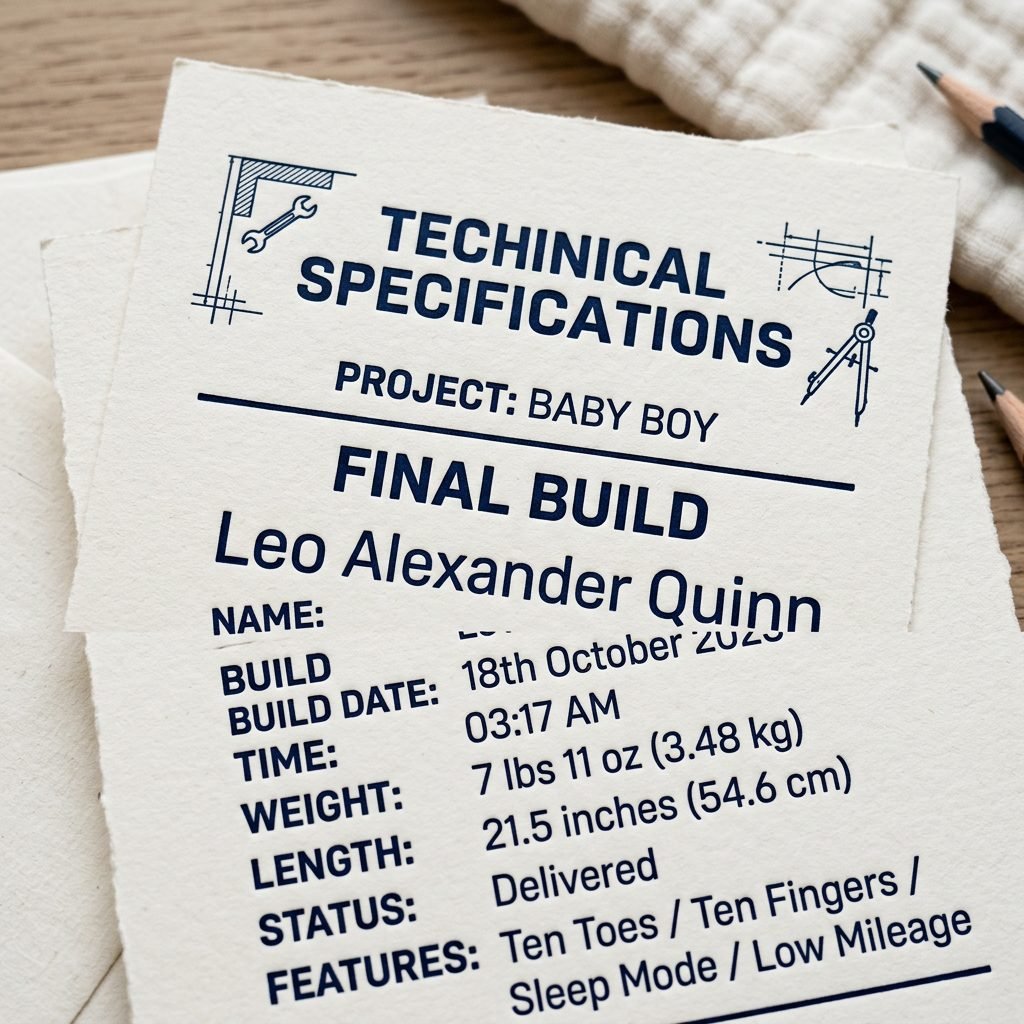
Instead of the usual ‘Welcome to the world,’ lean into the theme with architectural and engineering terminology. It’s a fun, quirky way to share the stats everyone is waiting for.
Project Name: [Baby’s Name]
Release Date: [Birth Date]
Build Duration: 40 Weeks, 3 Days
Final Dimensions: [Length] inches / [Weight] lbs
Chief Architects: [Mom’s Name] & [Dad’s Name]
You can also add little ‘notes’ in the corners of the design, such as:
- “Note: Model requires frequent refueling and maintenance.”
- “Structure is currently under 24-hour security (Grandma).”
- “Designed with love in [Your City].”
Using this terminology makes the announcement a conversation starter and a keepsake that feels more like a poster than a simple card.
Printing, Textures, and Final Touches
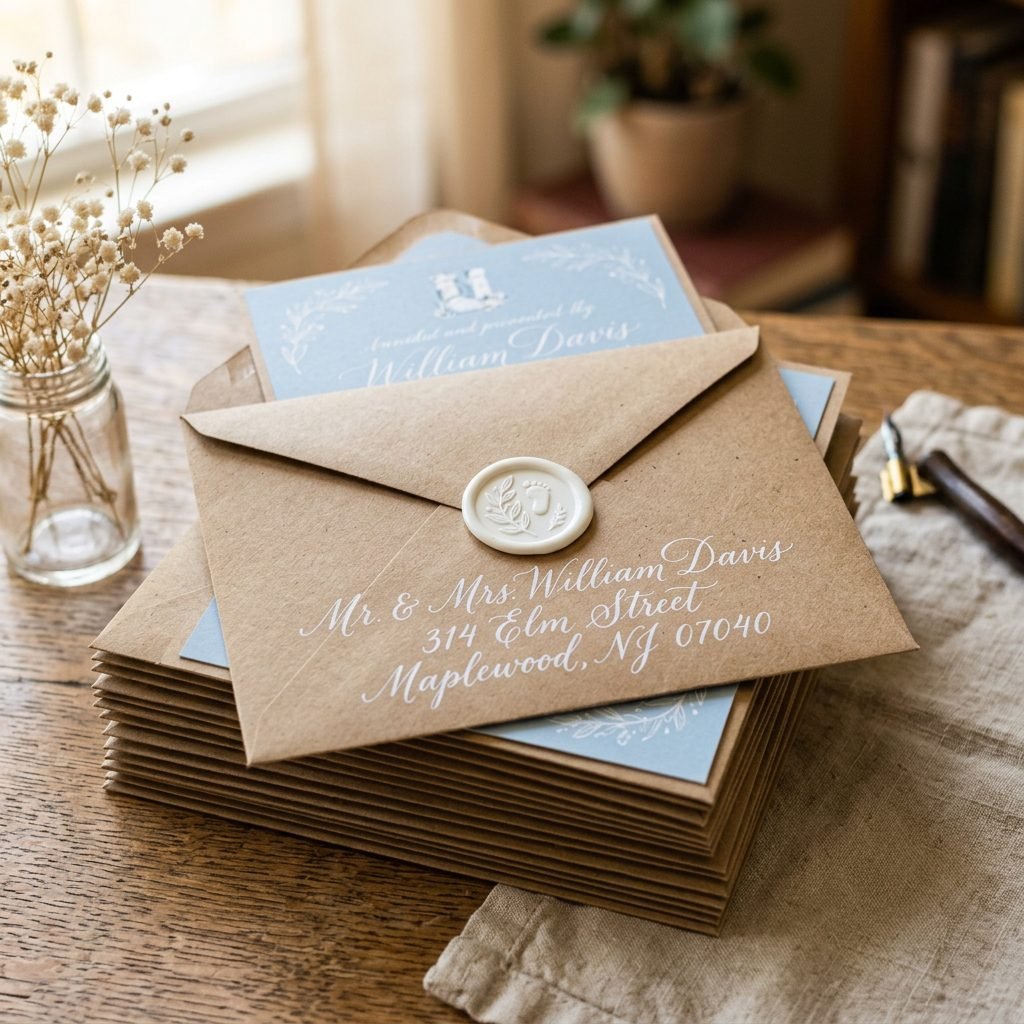
The final step in the ‘construction’ process is the physical print. Blueprints are traditionally printed on thin, slightly textured paper, but for a birth announcement, you want something more durable.
Paper Selection
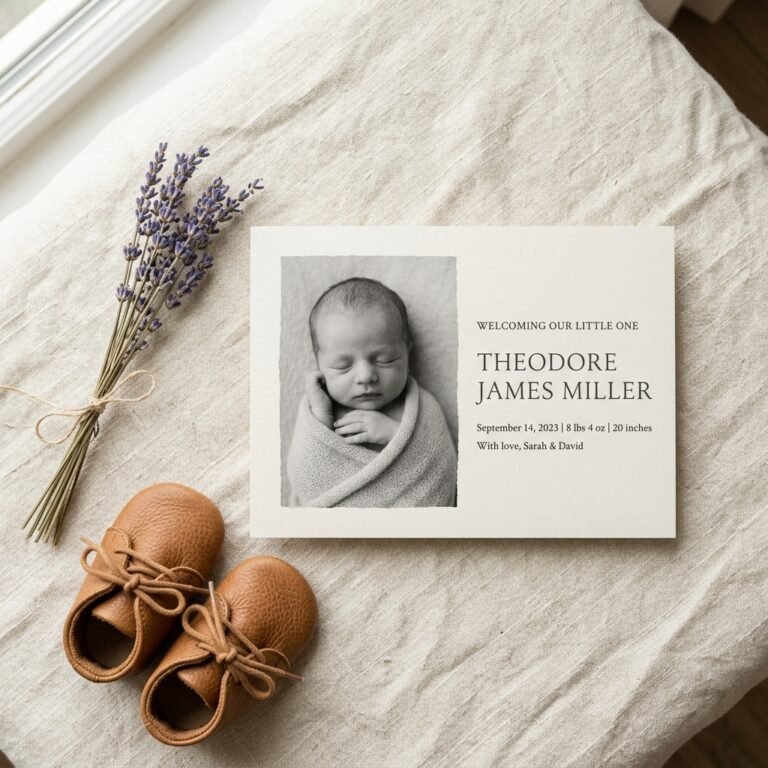
I recommend a matte or ‘eggshell’ finish cardstock. Avoid glossy paper at all costs; it will make the deep blues look like a standard photo rather than a vintage document. If you want to go the extra mile, look for linen-textured paper which mimics the feel of old drafting cloth.
The Envelope and Seal
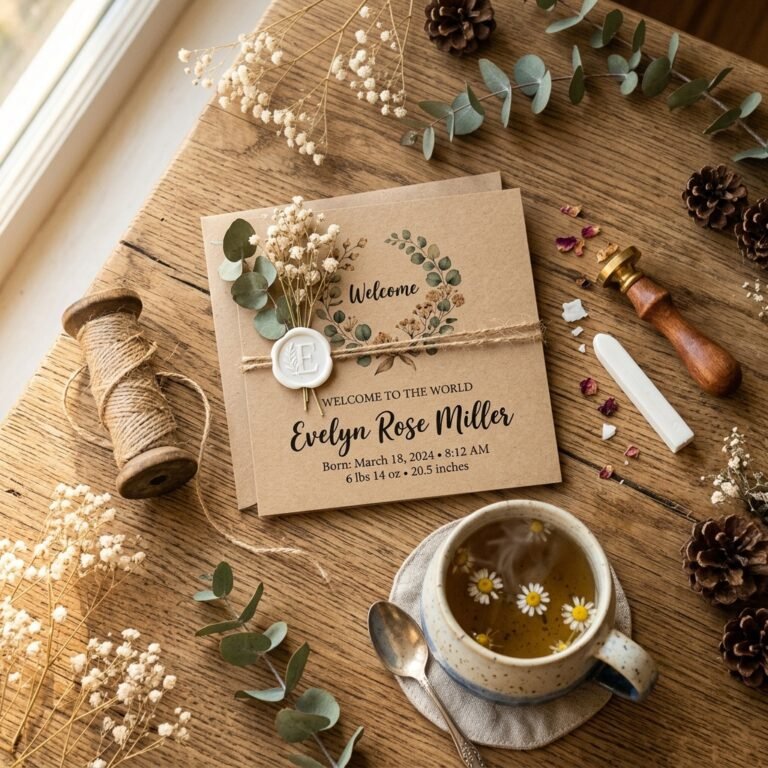
To complete the retro vibe, pair your announcement with a kraft paper envelope or a vellum translucent sleeve. A white wax seal with a simple ‘B’ (for Baby) or a compass rose adds a touch of luxury that feels like a sealed set of secret plans. Don’t forget to use a white gel pen for the addresses to keep the ‘white-on-dark’ theme consistent from the moment it hits the mailbox!
Conclusion
The Final Walkthrough
Designing your own retro blueprint birth announcement is more than just a DIY project; it is a celebration of the incredible journey you’ve just completed. You’ve successfully navigated the ‘planning’ of pregnancy, the ‘construction’ of labor, and now you are the proud owner of a beautiful new ‘addition.’
Remember, mama, if the edges aren’t perfectly aligned or the photo is a little blurry because the baby wouldn’t stop wiggled—it’s perfect. The beauty of a blueprint is that it represents a plan for the future, and your future with this little one is the most exciting project you’ll ever undertake. Congratulations on your new masterpiece! Wear your ‘Chief Architect’ title with pride, and don’t forget to save a copy of this announcement for the baby book—they’ll love seeing their ‘original specs’ one day.