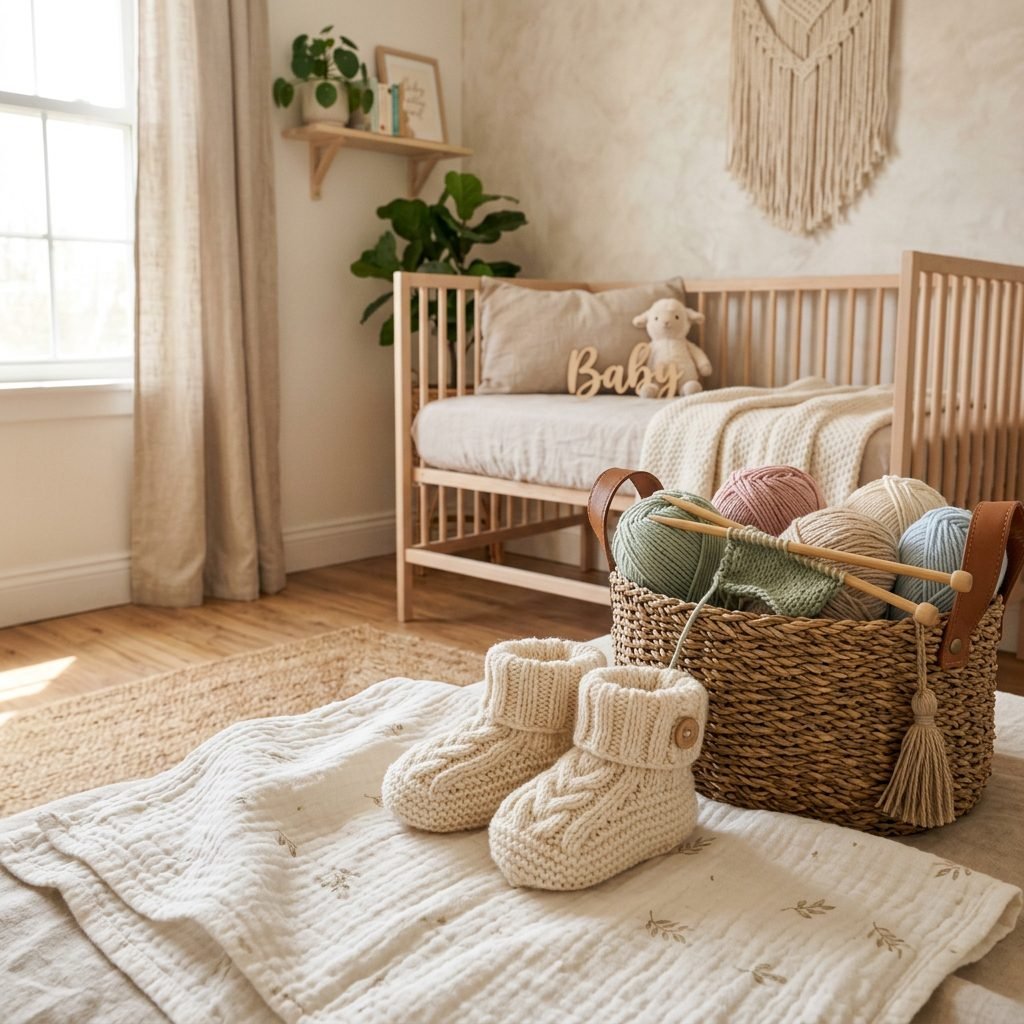
How to Knit Baby Booties: An Easy DIY Pattern for Beginners
The Gentle Magic of Creating for Your Little One
Welcome, sweet mama, to one of the most beautiful traditions of the nesting journey. There is something profoundly sacred about the rhythmic click-clack of knitting needles as you prepare for your baby’s arrival. As a doula, I often see mothers-to-be looking for ways to channel their nervous energy into something tangible, and knitting baby booties is the perfect remedy. It is more than just a craft; it is a meditative practice that allows you to slow down, breathe, and literally weave your love into every stitch. In this guide, we aren’t just following a pattern; we are honoring the nesting instinct and the fourth trimester preparations. Whether you are a complete novice or have a few projects under your belt, these booties are designed to be simple, stylish, and incredibly soft against newborn skin. Knitting has been shown to lower cortisol levels and increase oxytocin—the very hormone that fuels labor and bonding. So, grab a warm cup of herbal tea, find your most comfortable chair, and let’s begin this journey of creating a tiny heirloom for your little one’s first steps on this earth.
The Science of Softness: Choosing Your Yarn
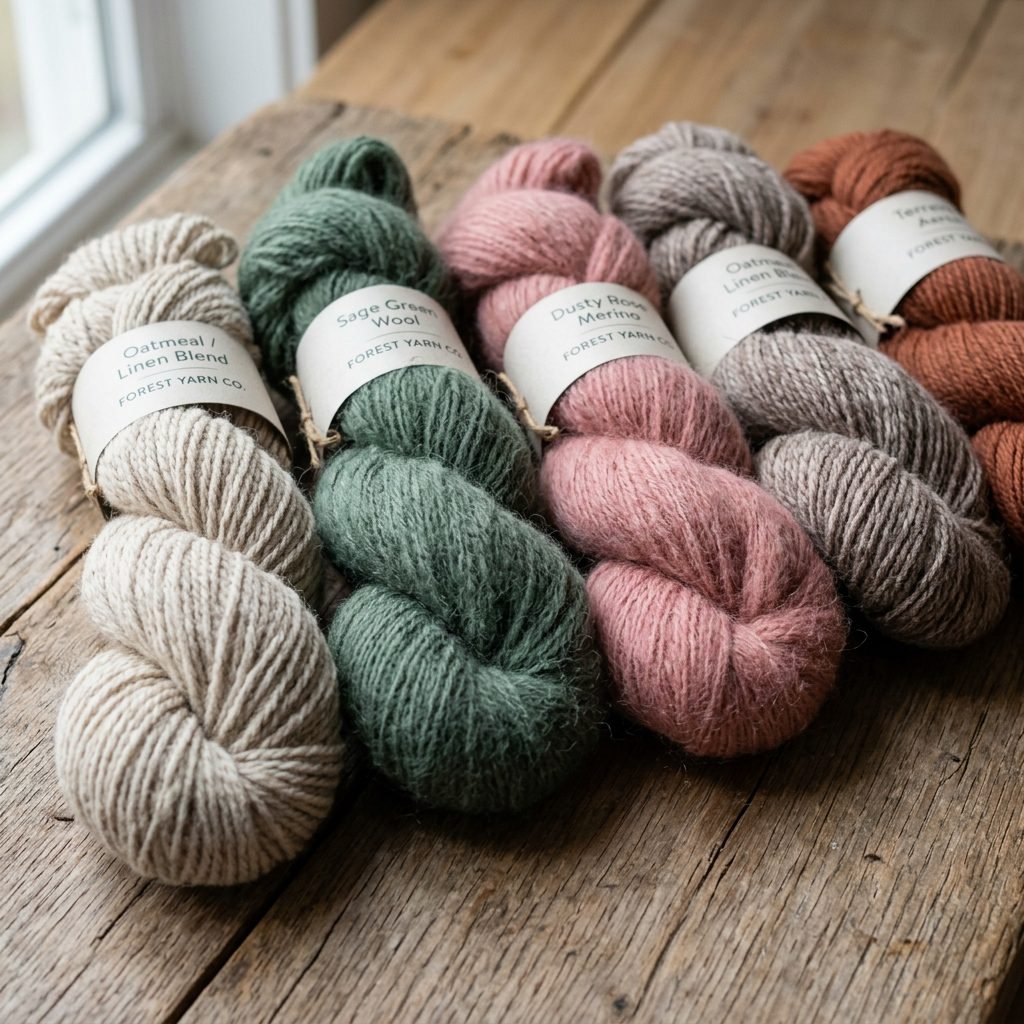
When you are knitting for a newborn, the fiber you choose is just as important as the pattern itself. A baby’s skin is five times thinner than an adult’s, making it highly sensitive to textures and chemicals. As your maternal wellness companion, I recommend looking for natural, breathable fibers that offer thermal regulation. Merino wool is a favorite in the doula community because it is naturally hypoallergenic and helps regulate a baby’s body temperature, keeping them warm in winter and cool in summer. Alternatively, organic cotton or bamboo blends are excellent for summer babies or those living in warmer climates. Avoid scratchy acrylics or mohair, which can shed fibers that a baby might inhale or get in their eyes. Below is a breakdown of the best fibers for your project.
| Fiber Type | Benefits | Best For |
|---|---|---|
| Merino Wool | Breathable, moisture-wicking, antimicrobial | Winter babies and cool climates |
| Organic Cotton | Soft, non-irritating, easy to wash | Sensitive skin and summer months |
| Bamboo Silk | Incredibly soft, sustainable, hypoallergenic | Luxury feel and humid weather |
| Superwash Wool | Machine washable, durable | Busy mamas who need easy care |
When shopping, look for the OEKO-TEX Standard 100 label, which ensures the yarn has been tested for harmful substances. You will need approximately 50 grams of DK (Double Knitting) weight yarn for a pair of newborn booties. This small amount makes it a perfect project for using up high-quality scraps from larger nursery projects.
Gathering Your Nesting Tools
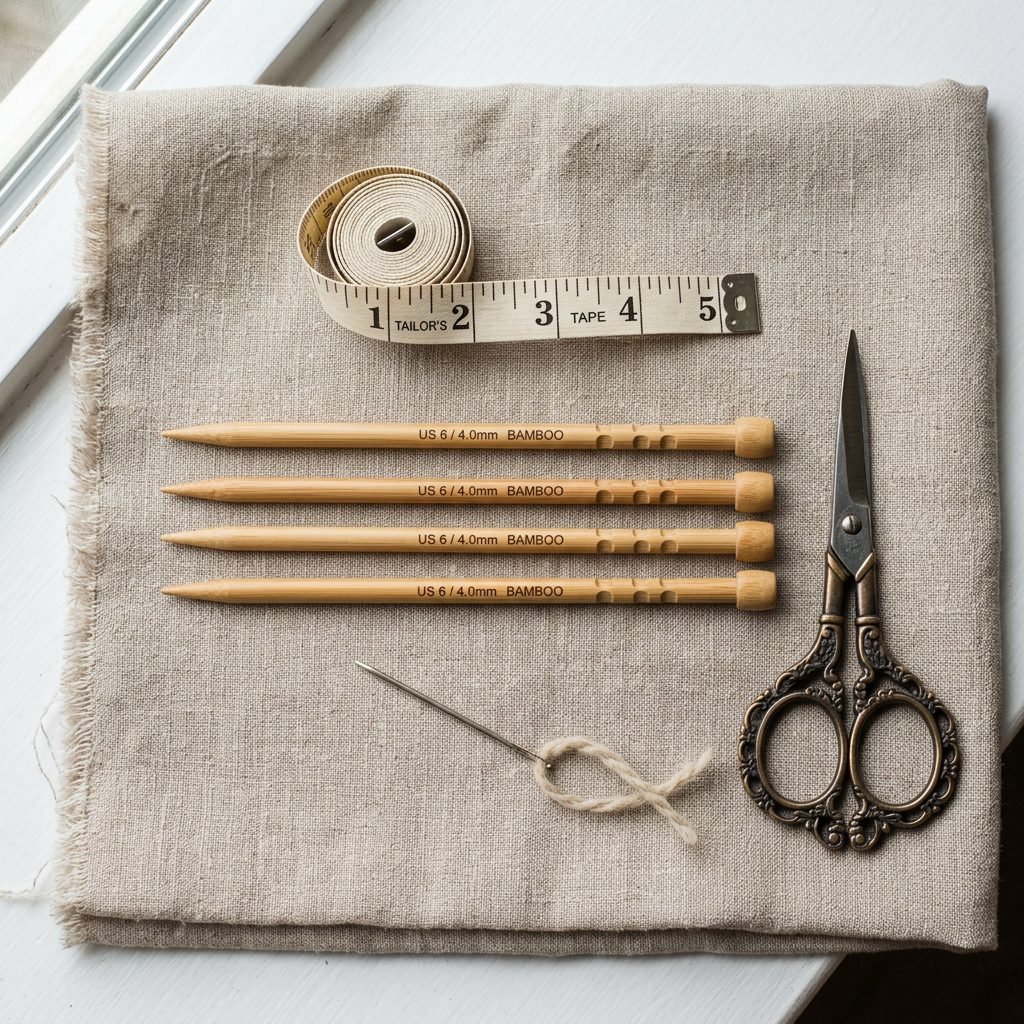
Before we cast on, let’s organize your workstation. Just as we organize a nursery for efficiency, we organize our knitting basket for peace of mind. For this beginner pattern, we will be knitting ‘flat,’ which means you don’t need to worry about circular needles or the ‘magic loop’ method just yet. We are keeping it simple and stress-free. You will need a pair of 3.75mm (US 5) knitting needles. I personally love bamboo needles for beginners; they have a slight grip that prevents the yarn from sliding off too quickly, which is a common frustration when you are just starting out. Below is a budget-friendly list of everything you need to get started.
| Tool | Why You Need It | Estimated Cost |
|---|---|---|
| Knitting Needles (3.75mm) | To create the stitches | $5 – $12 |
| Tapestry Needle | For sewing the seams and weaving in ends | $2 – $4 |
| Measuring Tape | To check the size of the sole | $1 – $3 |
| Small Scissors | For trimming yarn | $5 – $10 |
| Stitch Markers | To keep track of your place (optional) | $3 – $6 |
Creating a dedicated space for your knitting can be part of your maternal self-care. Place your tools in a beautiful basket next to your favorite chair with a supportive pillow for your lower back. Proper posture while knitting is essential, especially as your center of gravity shifts during pregnancy. Ensure your shoulders are relaxed and your feet are elevated to reduce any swelling.
The ‘Sweet Beginnings’ Bootie Pattern: Step-by-Step
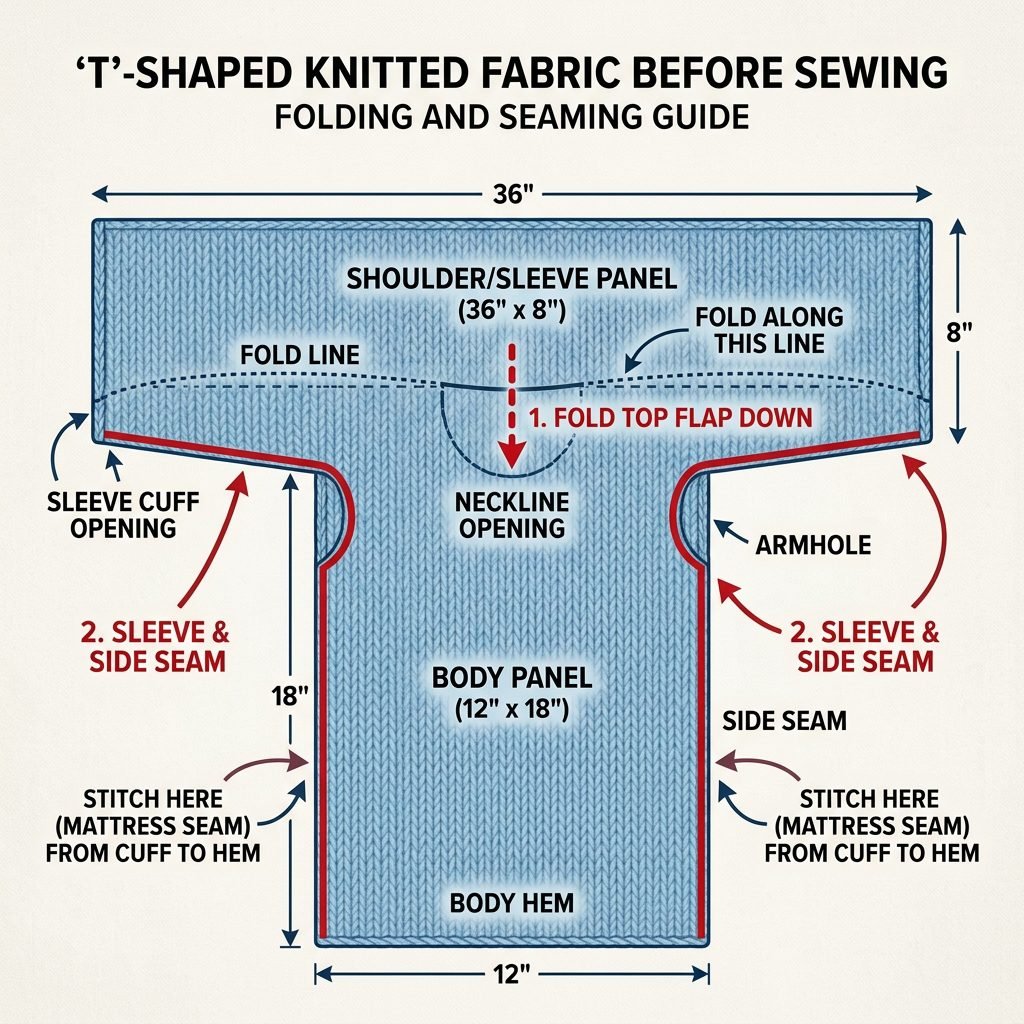
This pattern is designed to be the easiest possible construction: a single T-shaped piece that is folded and seamed. We will use the Garter Stitch (knitting every row), which creates a stretchy, squishy fabric that is very forgiving on sizing. Let’s begin.
Step 1: The Cast On
Using the long-tail cast-on method (which provides a nice stretchy edge for the ankle), cast on 28 stitches. Don’t pull the yarn too tight; we want the opening to be comfortable for those chubby baby ankles.
Step 2: The Cuff
Knit every row for 18 rows. This creates the ‘cuff’ of the bootie. If you want a longer cuff that can be folded over, you can continue for 22 rows. This section is perfect for practicing your tension and finding your rhythm.
Step 3: The Instep (The Middle Section)
On the next row, we need to create the shape for the top of the foot. Bind off 8 stitches at the beginning of the next two rows. You should now have 12 stitches remaining in the center. This creates the ‘T’ shape. Knit these 12 stitches for 20 rows. This will form the top of the foot and the sole.
Step 4: The Finishing Stretch
Bind off all remaining stitches loosely. You now have a piece of fabric that looks like a small T. Use your tapestry needle to sew the back seam (the cuff) and the bottom seam (the sole).
Pro-Tip: When seaming, use the ‘Mattress Stitch’ for an invisible finish that won’t rub against the baby’s delicate skin.
Repeat the entire process for the second bootie. Don’t worry if the first one looks a bit different than the second—handmade items are full of soul, and your baby won’t mind a few unique stitches!
Customization and Stylish Flourishes
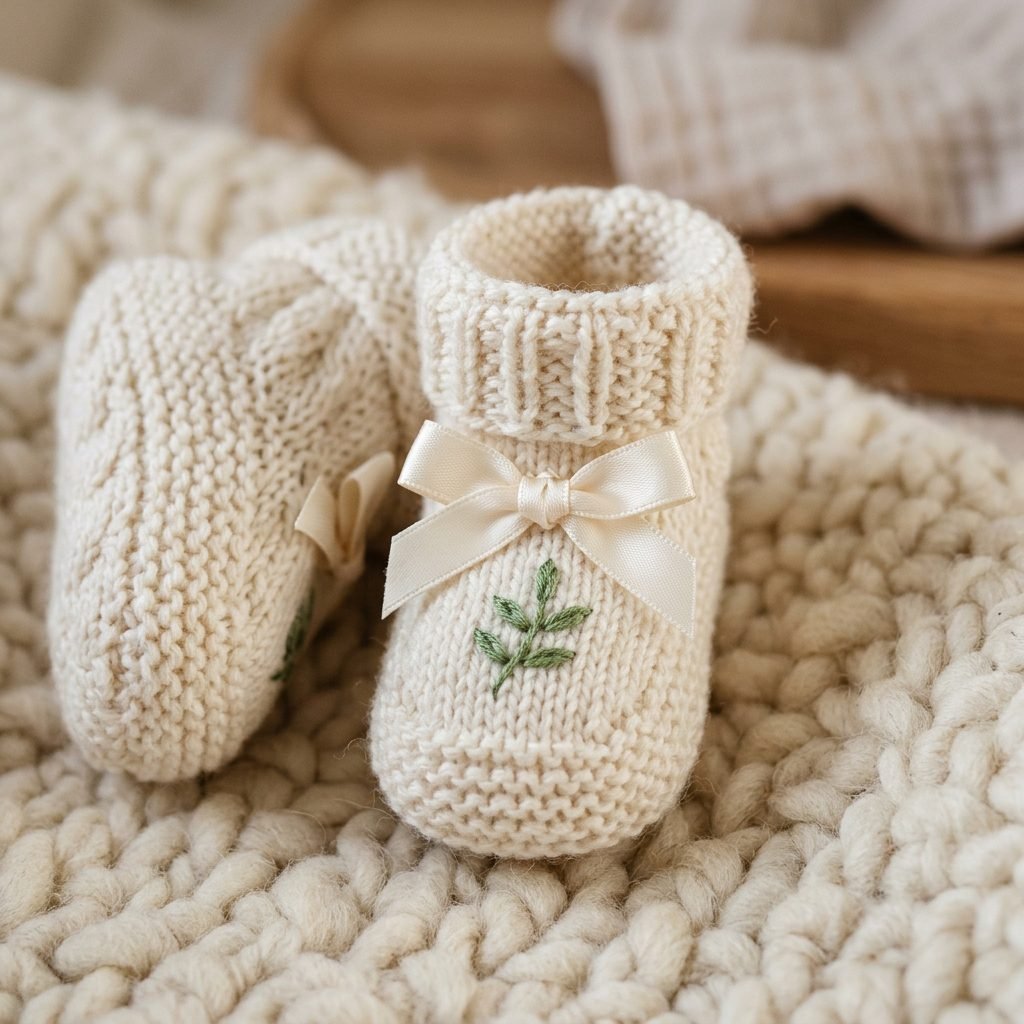
Now that you have the basic structure, let’s talk about making these booties uniquely yours. As a maternal stylist, I believe that even the simplest items can be elevated with a few thoughtful touches. You can add a velvet ribbon through the stitches at the ankle to create a bow—this isn’t just for looks; it helps keep the booties from slipping off active little feet. You could also use a contrasting color of yarn for the last two rows of the cuff to create a ‘dipped’ effect. For a more bohemian look, consider adding small wooden buttons (ensure they are sewn on extremely securely to prevent any choking hazards). If you are feeling adventurous, you can try embroidery. A simple ‘lazy daisy’ stitch or a tiny embroidered initial on the toe can turn these simple booties into a cherished family heirloom. Remember to keep all embellishments on the outside of the bootie to ensure the inside remains smooth and comfortable for the baby.
Safety First: A Guide for Crafty Mamas
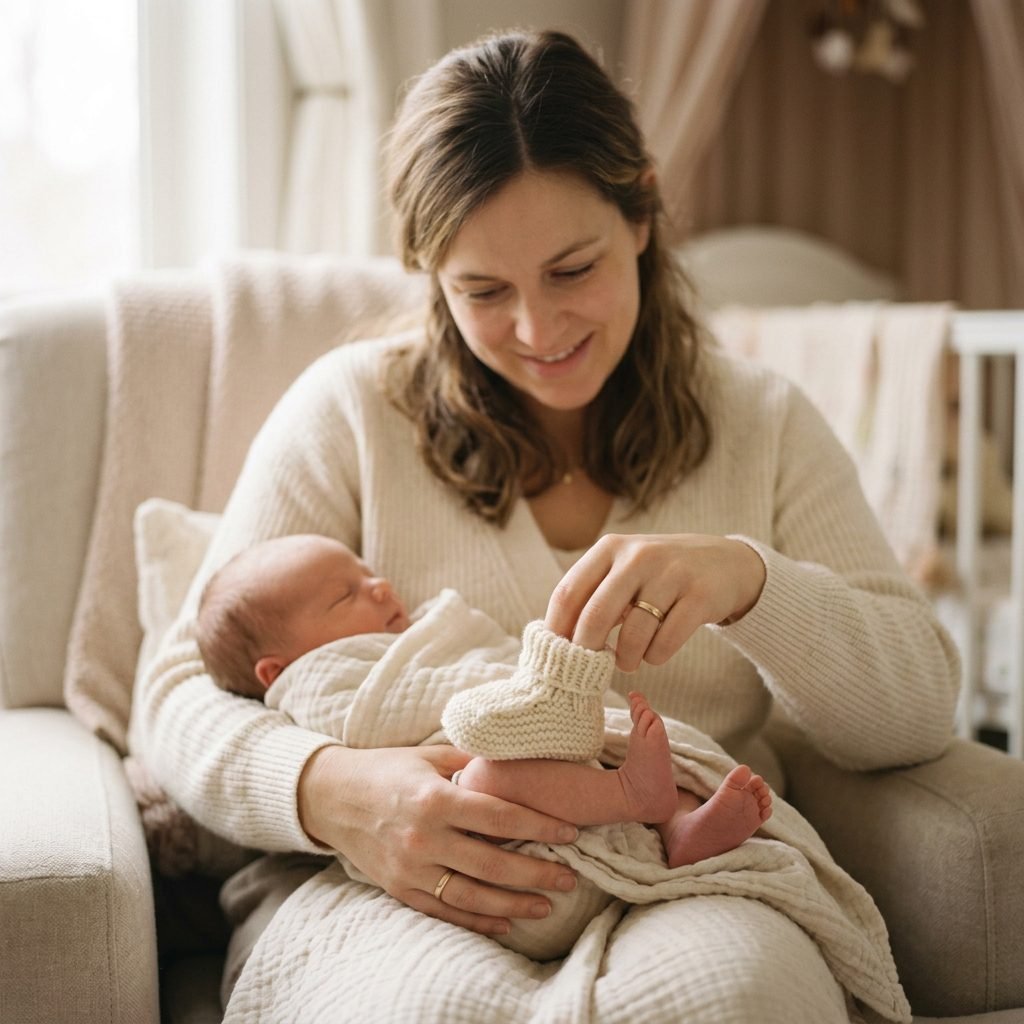
As much as we love the aesthetic of handmade crafts, safety is our top priority. When knitting for infants, there are a few ‘Golden Rules’ to follow to ensure your beautiful creation is safe for sleep and play.
- Avoid Loose Threads: Always weave in your ends securely. A loose loop of yarn can snag on tiny toes and potentially cut off circulation (a condition known as a hair or thread tourniquet).
- Check Your Buttons: If you add buttons, tug on them firmly before every use. Better yet, stick to embroidery or integrated ties for babies under 6 months.
- Fiber Check: Ensure your yarn is non-shedding. Angora or long-fiber mohair can be irritating if the baby puts their feet in their mouth.
- Sizing Matters: Booties that are too tight can restrict foot development. Ensure there is at least a half-inch of wiggle room at the toes.
| Age Range | Foot Length (Approx.) | Bootie Length to Aim For |
|---|---|---|
| Newborn | 3 inches | 3.5 inches |
| 0-3 Months | 3.5 inches | 4 inches |
| 3-6 Months | 4 inches | 4.5 inches |
| 6-12 Months | 4.5 inches | 5 inches |
Always supervise your baby while they are wearing booties, especially as they begin to find their feet and might pull them off and into their mouths.
Conclusion
Your Journey into Handmade Motherhood
Congratulations, mama! You have just completed a beautiful project that serves as a testament to your love and preparation. These booties are more than just footwear; they are a symbol of the time you took to slow down and focus on your growing baby. Whether these are for your own little one or a gift for a dear friend’s baby shower, the energy you put into them is palpable. As you move forward in your pregnancy or postpartum journey, remember that the same patience and care you used to pick up those stitches will serve you well in motherhood. Take a deep breath, admire your work, and perhaps start a second pair in a different color! You are doing an amazing job, and your baby is so lucky to have a mama who creates with such heart. Keep these booties in a memory box once they are outgrown; they will forever remind you of these precious days of waiting and wonder.