How to Transform the IKEA Moppe Drawers into a Gorgeous Diaper Station Organizer
Welcome to Your Peaceful Nursery Journey, Mama
Hello, sweet mama. If you are reading this, you are likely in that beautiful, nesting phase where every corner of your home feels like a canvas for the love you’re about to welcome. As a doula, I’ve spent countless hours in nurseries, and I can tell you one thing for certain: organization is the secret ingredient to a calm postpartum experience. When it’s 3:00 AM, you’re bleary-eyed, and your little one has had a ‘diaper-mergency,’ the last thing you want to do is hunt for a stray tube of cream or a clean wipe.
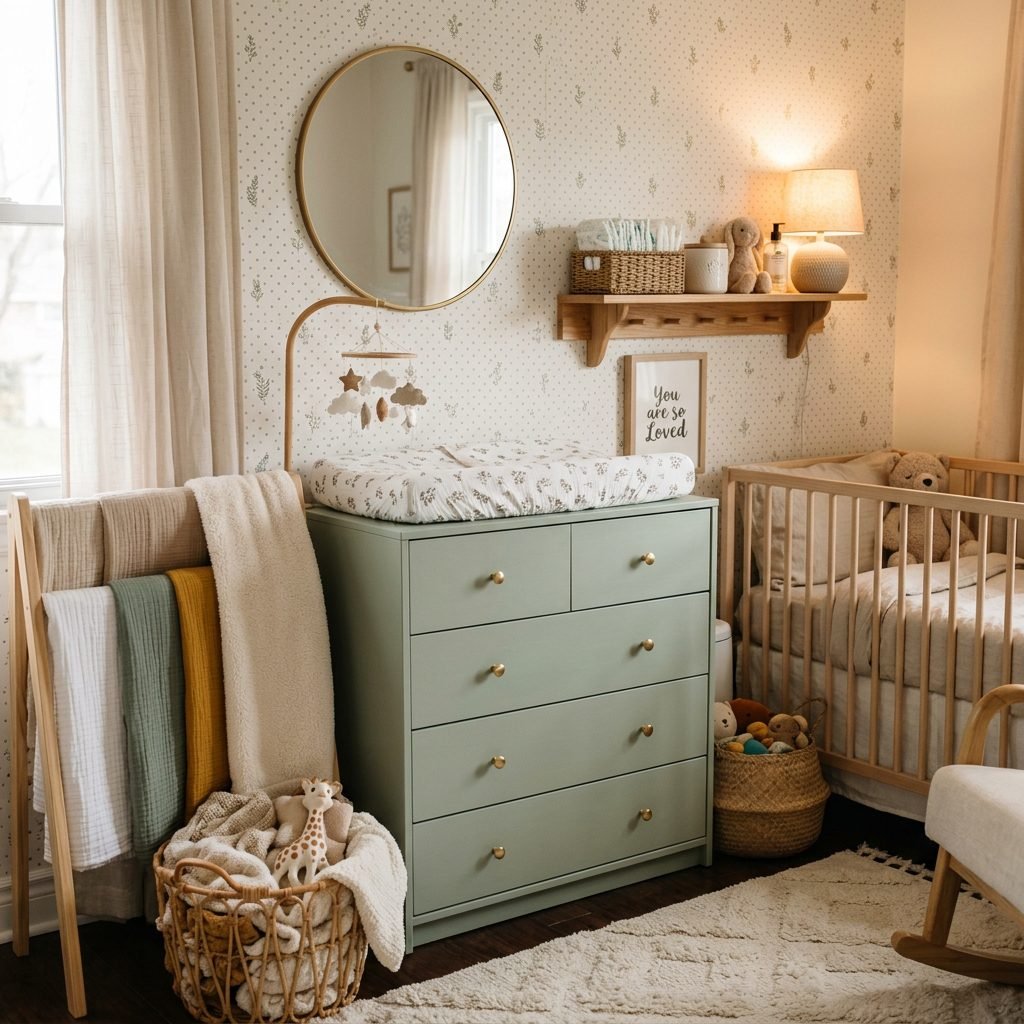
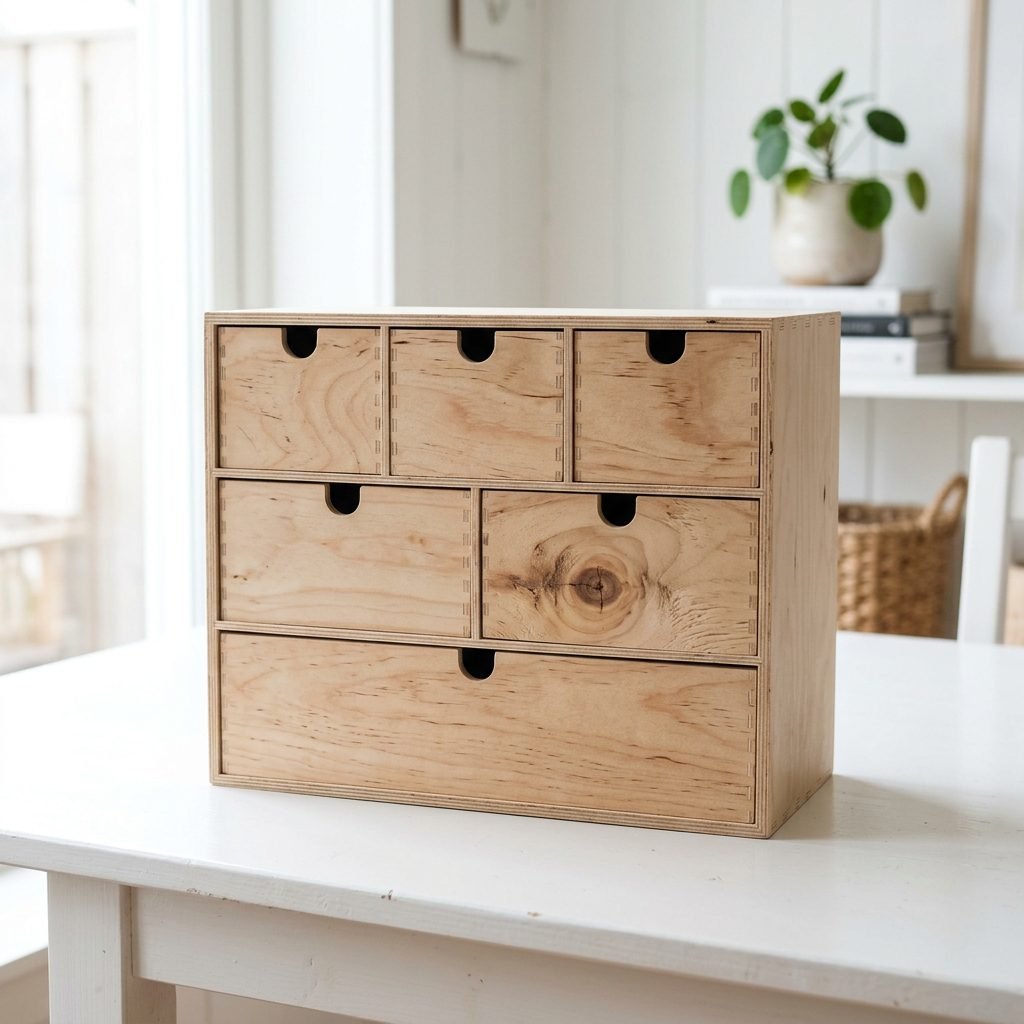
The IKEA Moppe is a humble, raw wood mini chest of drawers that has been a staple for crafters for decades. But for us? It is a diamond in the rough. Its compact footprint makes it the ultimate solution for small-space nurseries or for those who want a clutter-free changing table. Today, I’m going to walk you through exactly how to transform this simple birch box into a gorgeous, high-end diaper station organizer that looks like it stepped right out of a boutique catalog. We are going to blend practicality with soul, ensuring your nursery isn’t just functional, but a sanctuary for you both.
Why the IKEA Moppe is a Nursery Game-Changer
The Anatomy of a Perfect Organizer
Before we pick up a paintbrush, let’s talk about why we chose the Moppe. In the world of nursery design, we often see large, bulky plastic organizers that take up half the changing table. The Moppe is different. It’s made of solid birch plywood, which means it’s durable enough to last through toddlerhood and beyond. It features several drawers of varying sizes, which is exactly what you need for the tiny, miscellaneous items that come with a newborn.
Space-Saving Dimensions
The Moppe is deep enough to hold a significant amount of supplies but shallow enough to sit comfortably on the back of most standard changing tables or dressers. This leaves the front area clear for your changing pad and, most importantly, your baby. As a doula, I always emphasize ergonomics and safety; having everything within arm’s reach means you never have to take your hand off your baby to reach for a supply.
| Feature | Why It Matters for Moms |
|---|---|
| Raw Birch Wood | Non-toxic and ready for baby-safe finishes. |
| Multiple Drawer Sizes | Separates tiny items like nail clippers from bulky ones like diapers. |
| Compact Footprint | Fits on small dressers or even inside a closet shelf. |
| Versatility | Can be repurposed for hair bows or LEGOs as they grow. |
“Your nursery should serve you, not the other way around. A place for everything means a mind at rest.”
Gathering Your Supplies: The Non-Toxic Shopping List
Preparing for a Baby-Safe DIY
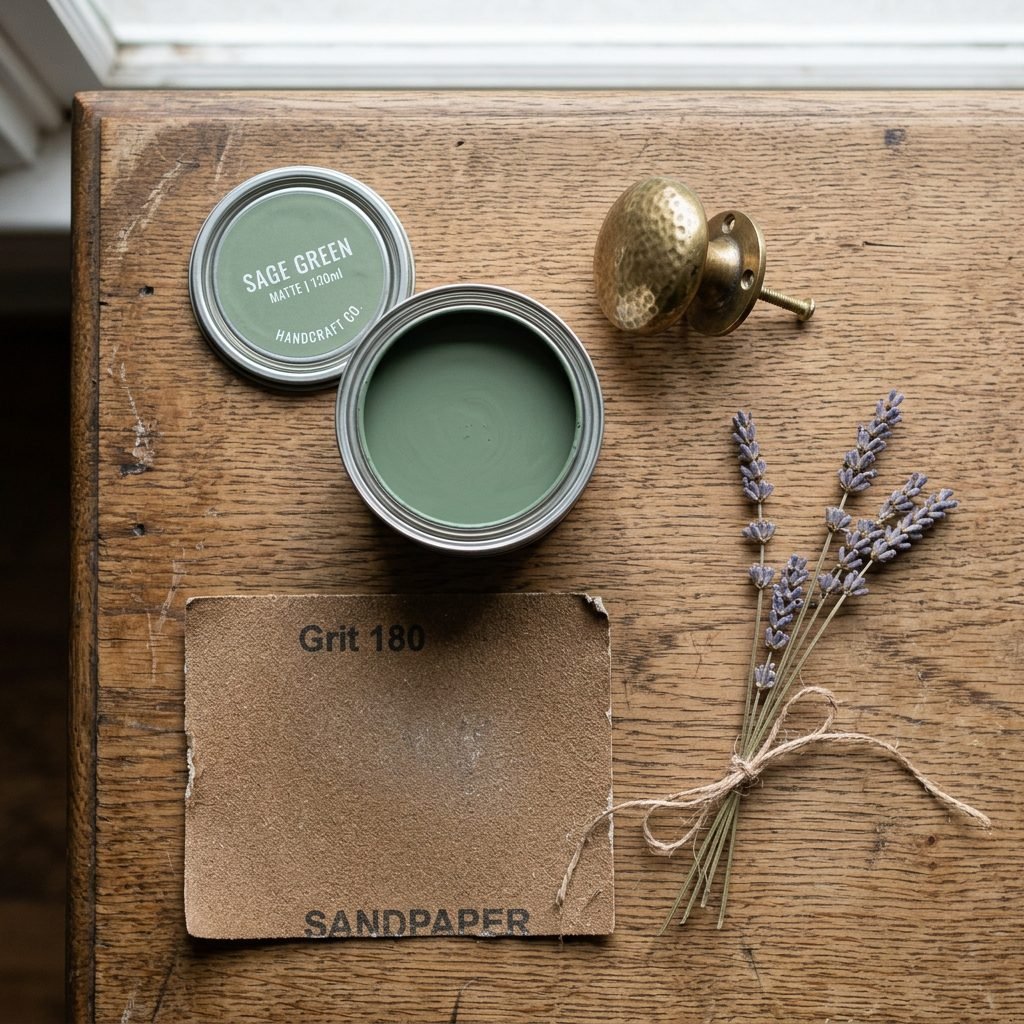
When we are crafting for a nursery, we have to be mindful of the materials we use. Your baby’s respiratory system is delicate, so we always opt for Low-VOC or Zero-VOC paints and natural finishes. This project doesn’t require a workshop full of tools—just a little bit of time and a lot of heart.
The Essential Toolkit
- IKEA Moppe Mini Chest: Usually the 11 3/4x7x8 5/8 ” version works best for diapering.
- Sandpaper: 120 and 220 grit to smooth out any factory edges.
- Primer: A water-based primer to ensure your paint sticks to the birch.
- Paint: Choose a color that soothes you. Soft terracottas, sage greens, or creamy whites are timeless.
- Decorative Knobs: This is where the ‘gorgeous’ part comes in. Think brass, ceramic, or even leather pulls.
- Drawer Liners: Pretty floral or geometric paper to surprise you every time you open a drawer.
- Wood Glue: Just in case you want to reinforce any joints.
Pro-Tip: If you are currently pregnant, please ensure you are working in a well-ventilated area, or better yet, let a partner or friend handle the priming and painting while you supervise the ‘creative direction’ from a comfortable chair with a mocktail!
Step-by-Step Transformation Guide
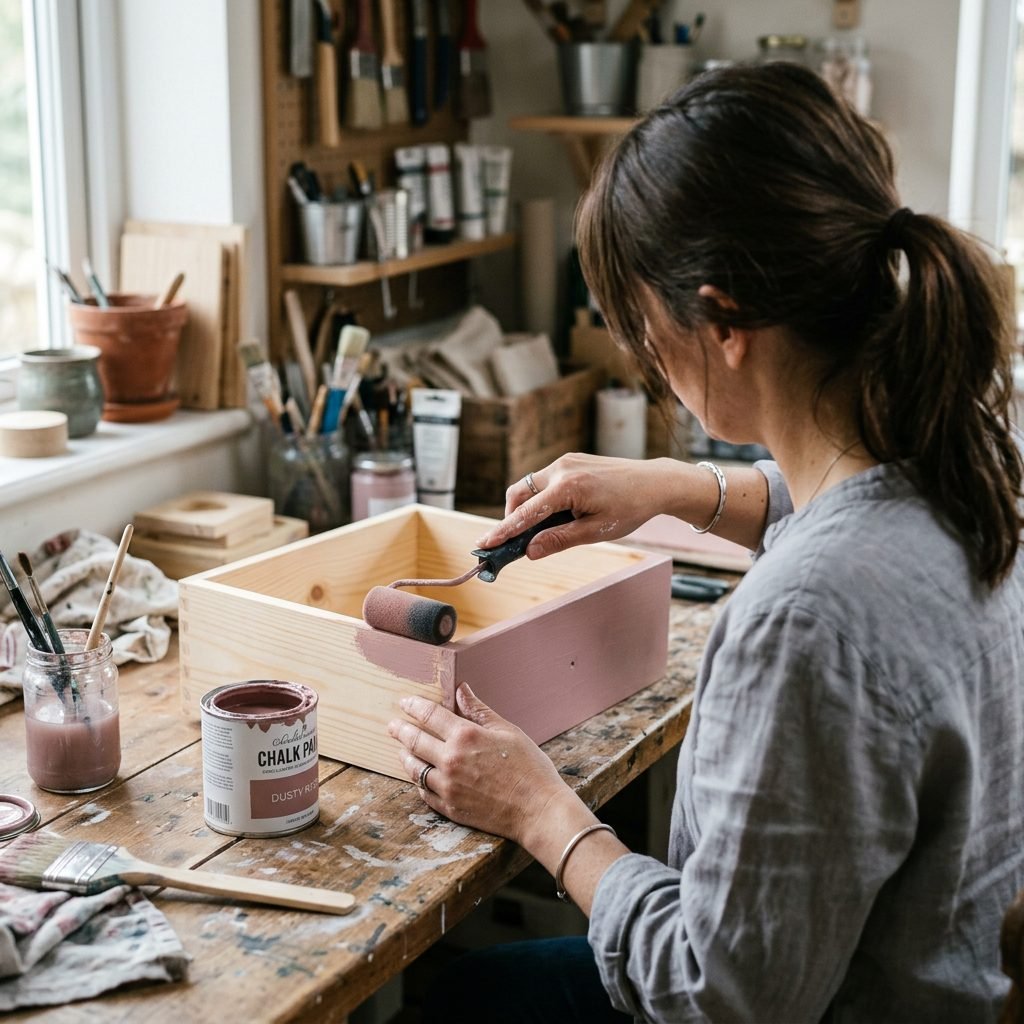
Bringing Your Vision to Life
Follow these steps to ensure a professional, long-lasting finish. Don’t rush the process; enjoy the tactile nature of creating something for your child.
- Prep the Wood: Remove all the drawers. Lightly sand the entire outer shell and the drawer fronts with 120-grit sandpaper. This removes any oils and helps the paint bond. Wipe down with a damp cloth to remove dust.
- The ‘Flip’ Secret: The Moppe drawers have a small finger-hole for pulling. To make it look like a high-end piece of furniture, flip the drawers around so the flat side faces out. We will be adding our own hardware to this flat side.
- Prime: Apply one thin coat of water-based primer. Let it dry for at least 2 hours.
- Paint: Apply two thin coats of your chosen color. Using a small foam roller will give you a smooth, factory-like finish without brush strokes.
- Hardware Installation: Once the paint is fully cured (I recommend waiting 24 hours), mark the center of each drawer front. Drill a small hole and attach your decorative knobs.
- Finish: If you want extra durability, apply a coat of water-based polycrylic. This makes the surface wipeable—essential for a diaper station!
“Every brushstroke is a prayer for the sweet days to come. Take your time, mama.”
The Doula’s Guide to Organizing Your Drawers
What Goes Where?
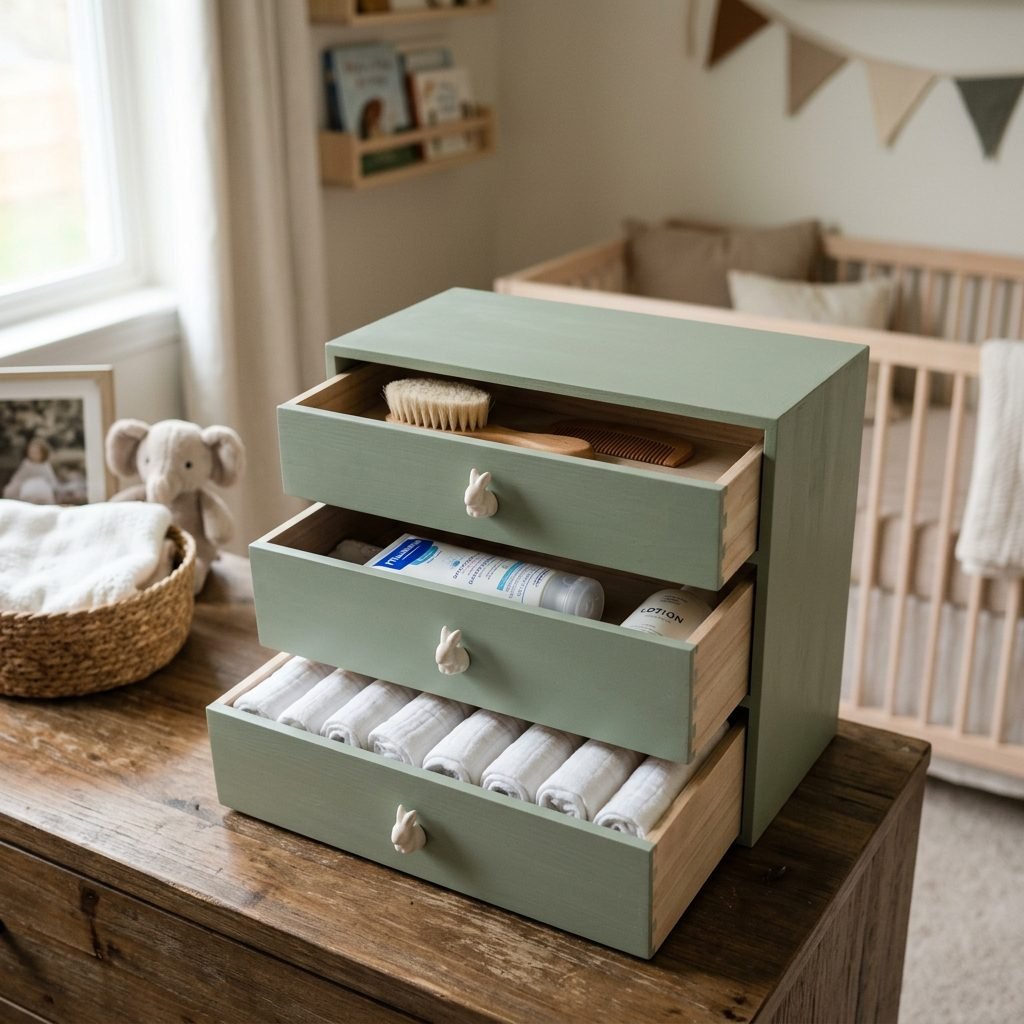
Now that your Moppe is beautiful, let’s make it functional. As a doula, I recommend a ‘frequency of use’ hierarchy. The items you need most should be the easiest to access.
The Top Tier: Immediate Needs
The smallest drawers at the top are perfect for the things you grab while holding a wiggly baby. Diaper rash cream, a thermometer, and a small bottle of hand sanitizer should live here. You can also keep a spare pacifier in one of these drawers for quick soothing.
The Middle Tier: Grooming & Health
Use the middle drawers for grooming kits. This includes baby nail clippers (the electric ones are a lifesaver!), a soft-bristled brush, and saline drops. Keeping these separate prevents them from getting lost in the bottom of a larger bin.
The Bottom Tier: Bulk & Backups
The largest drawers at the bottom are ideal for disposable diaper sacks, extra wipes, or a few rolled-up muslin swaddles. If you use cloth diapers, these drawers can hold your liners or cloth wipes perfectly.
| Drawer Level | Items to Store | Why? |
|---|---|---|
| Top Small | Creams & Sanitisers | Quickest access during active changes. |
| Middle | Grooming & Meds | Keeps sharp or small items safe and found. |
| Bottom Large | Refills & Linens | Heavier items provide a stable base. |
Styling and Placement for Maximum Zen
Creating a Cohesive Look
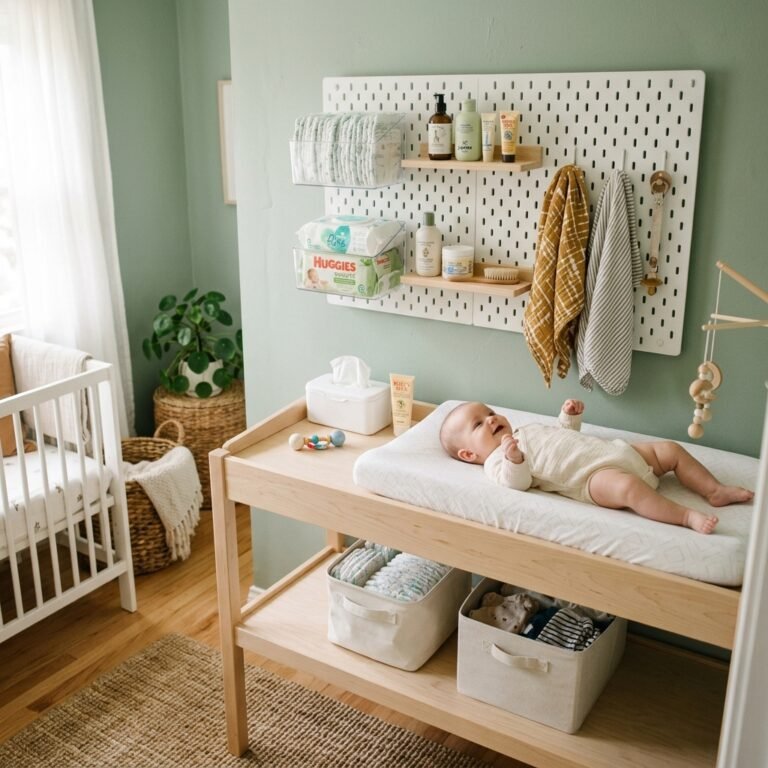
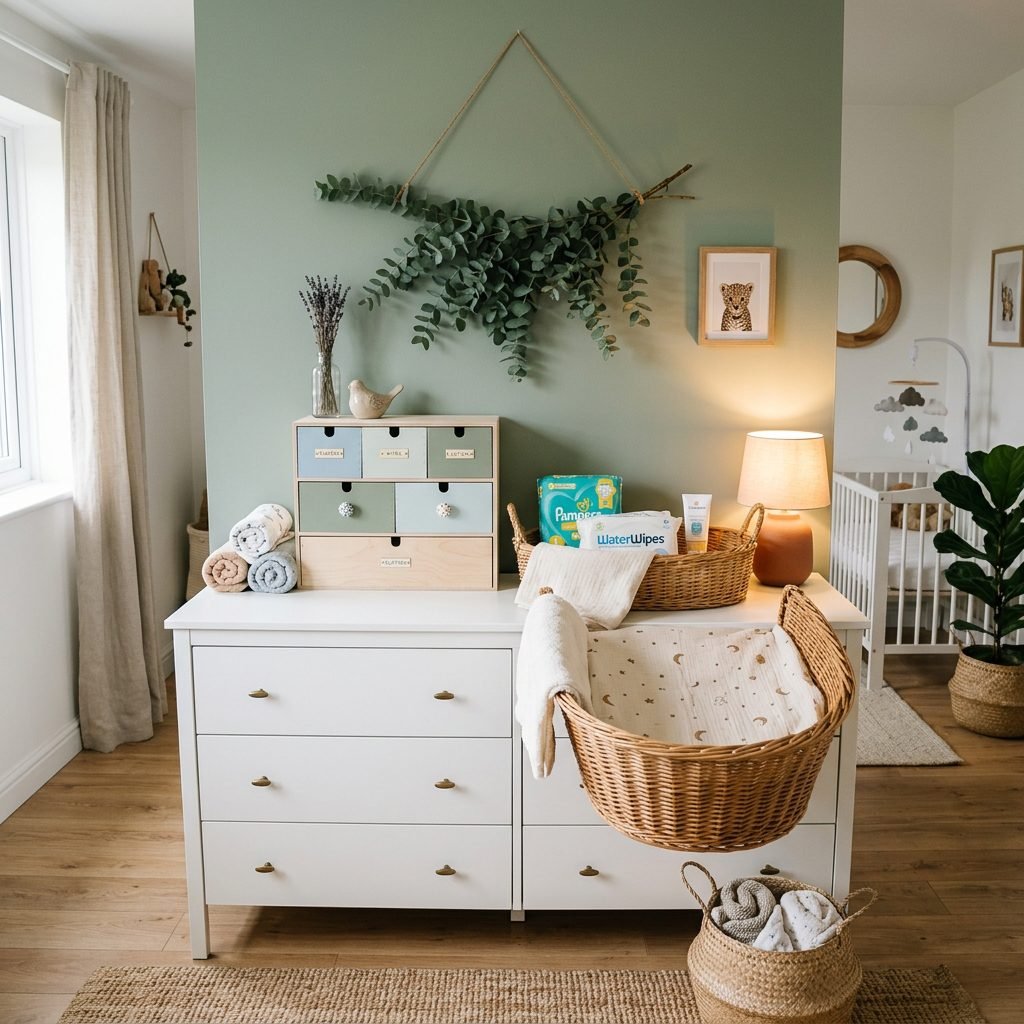
Your Moppe shouldn’t just sit there; it should be part of the room’s story. Place it on your changing table next to a dimmable lamp. Soft lighting is crucial for those nighttime changes to keep the baby (and you) in a sleepy state.
Adding the Final Touches
Consider placing a small tray next to the Moppe with a jar of cotton balls and a small plant (like a snake plant for air purification). If you have extra space, a framed birth affirmation or a photo of your ultrasound can be placed right on top of the Moppe. This turns a functional station into a place of connection.
The Scent of Calm
While we avoid heavy perfumes near newborns, a small sachet of dried lavender tucked into one of the drawers can provide a subtle, calming scent for you during stressful moments. Remember, mama, if you are calm, your baby is more likely to be calm too.
Maintenance and the Fourth Trimester
Keeping the System Working
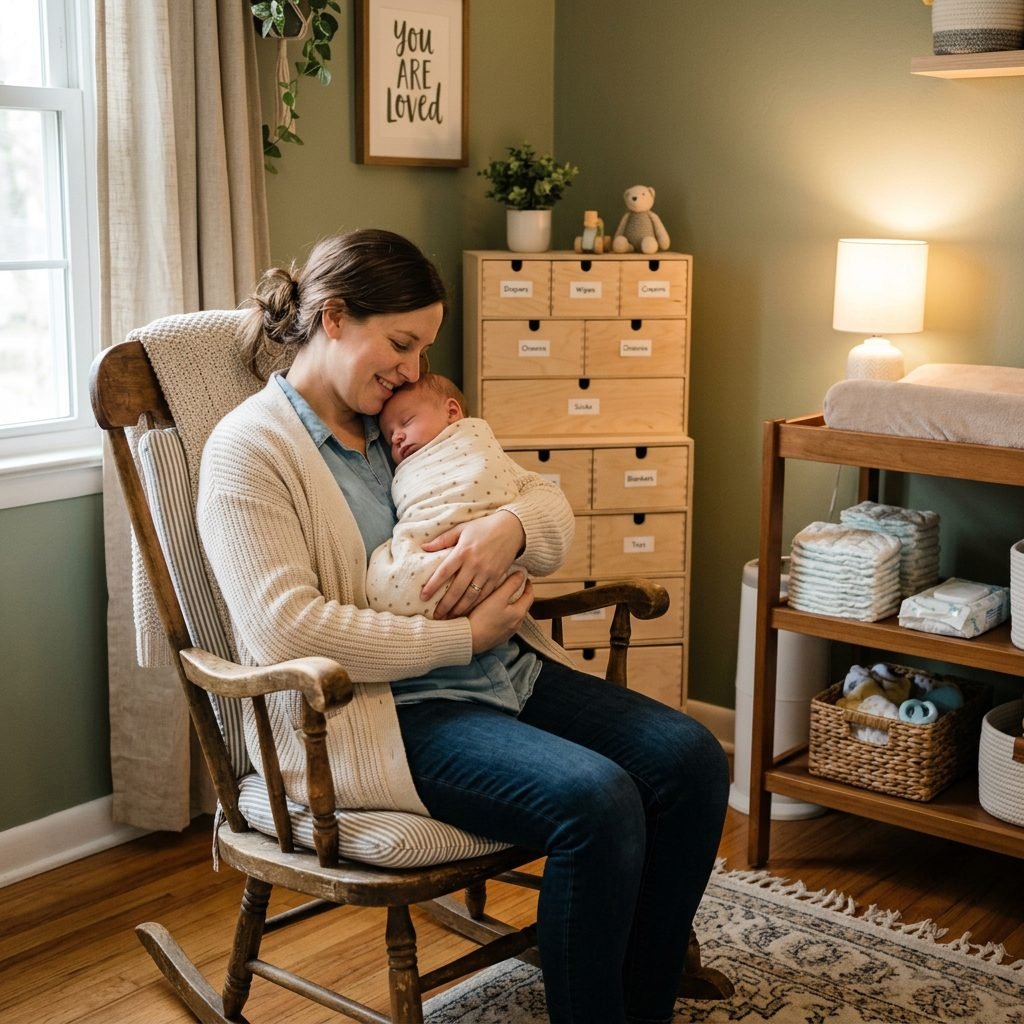
Once the baby arrives, life gets fast. The beauty of the Moppe system is that it’s self-containing. Every Sunday (or whenever your partner can take the baby for an hour), do a quick ‘restock.’ Check your cream levels and refill the wipes.
Transitioning Post-Diapers
The best part? This isn’t just a diaper station. In a year or two, this gorgeous organizer can transition into a hair accessory station, a place for toddler socks, or even a desk organizer for your own home office. It’s a sustainable piece of furniture that grows with your family.
A Reassuring Reminder: Some days, the drawers will be messy. Some days, you’ll forget to refill the wipes. That is okay. This organizer is a tool to help you, not a standard to live up to. You are doing an incredible job, and your baby only cares that you are there.
Conclusion
You’ve Created Something Beautiful
Transforming the IKEA Moppe into a diaper station organizer is more than just a DIY project; it’s an act of preparation and love. By taking the time to organize your space, you are creating a smoother path for your future self. You are building a nest that is both functional and aesthetically nourishing.
As you look at your finished piece, take a deep breath and acknowledge the work you are doing—both in your home and in your body. You are ready for this, mama. Whether it’s the first diaper change or the thousandth, you’ll have exactly what you need, right where you need it. Enjoy this special time, and may your nursery always be a place of peace and joy.