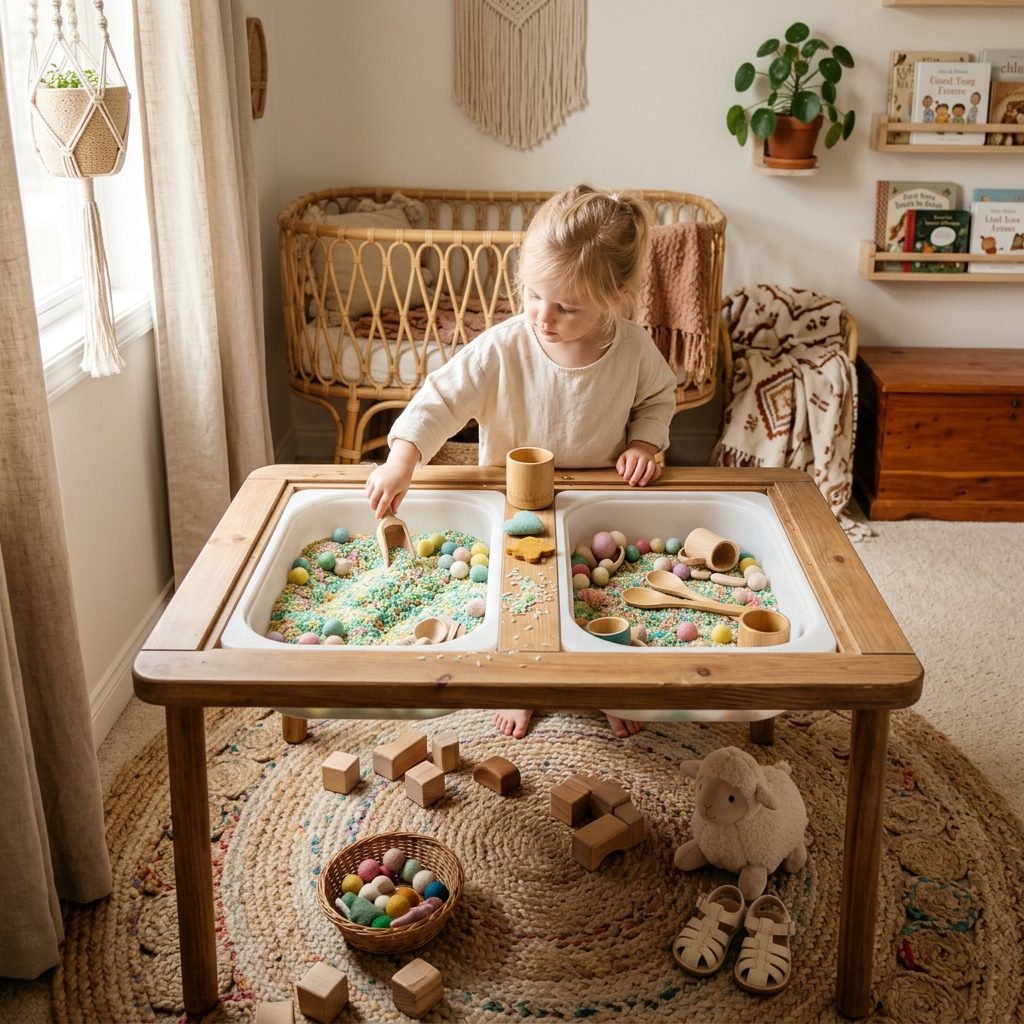
How to Turn an Cheap IKEA Latt Table into a Beautiful DIY Sensory Table
Welcome to Your Next Favorite DIY Project, Mama
Let’s talk about the reality of motherhood and home decor. When you first start creating your baby registry, you envision a pristine, magazine-worthy nursery filled with neutral tones, organic cotton, and wooden toys. Fast forward eighteen months, and your living room has likely been taken over by brightly colored plastic, flashing lights, and a level of chaos you never anticipated. But what if I told you that you don’t have to choose between your child’s developmental milestones and your personal interior aesthetic?
Sensory play is an absolute cornerstone of early childhood development. As a pediatric sleep consultant and postpartum doula, I constantly recommend sensory activities to my clients. Why? Because engaging a toddler’s senses—touch, sight, smell, and sound—builds critical nerve connections in the brain’s pathways, encourages fine motor skills, and, quite frankly, burns off that endless toddler energy so they actually go down easily for their afternoon nap. However, beautifully crafted, solid-wood sensory tables can easily cost upwards of $200 to $300. If you are a crafty mom, an expectant parent nesting on a budget, or a hostess looking for a brilliant toddler station for an upcoming baby shower, I have the ultimate secret for you.
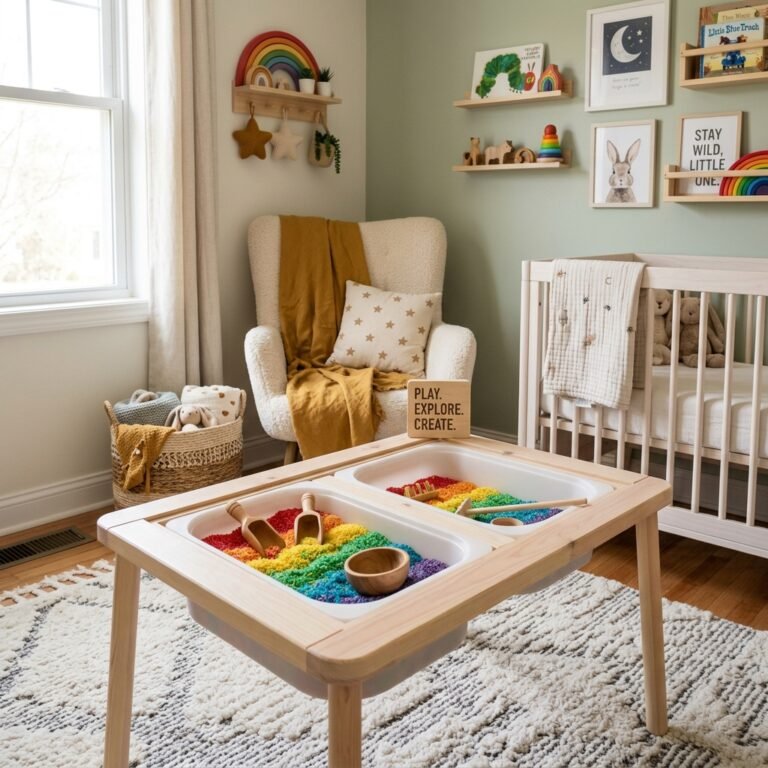
We are going to take the incredibly budget-friendly, $29 IKEA Latt children’s table and transform it into a stunning, custom, Montessori-inspired sensory table. This project is surprisingly simple, deeply satisfying, and completely customizable to match your home’s aesthetic. Grab your coffee (or your favorite pregnancy-safe herbal tea), and let’s dive into this beautiful, practical, and highly rewarding DIY journey.
The Magic of Sensory Play (And Why It Doesn’t Have to Ruin Your Decor)
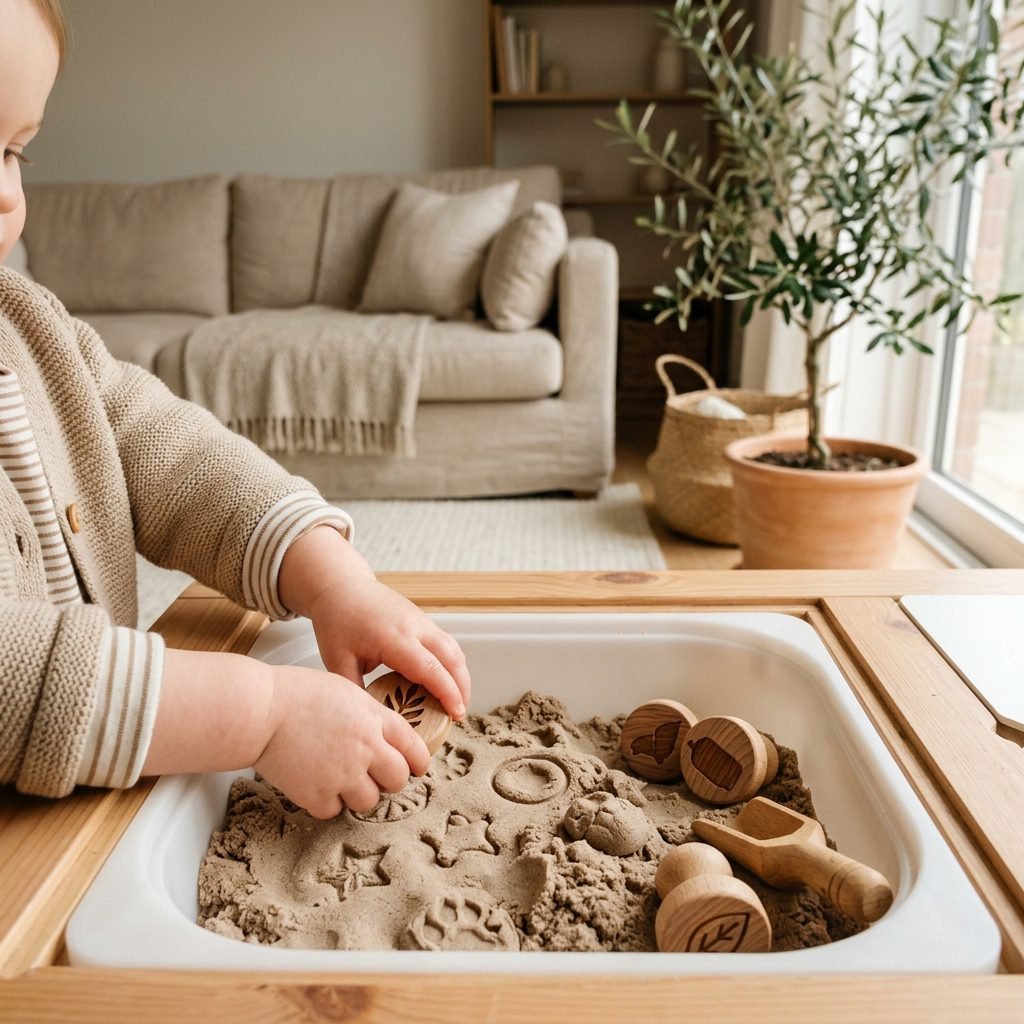
Before we break out the tools, let’s talk about why we are doing this. Sensory play is not just about making a mess; it is the fundamental way that babies and toddlers learn about the world. When your little one scoops dried oats, splashes in water, or squishes homemade playdough, they are acting as tiny scientists. They are learning about gravity, cause and effect, volume, and texture.
The Sleep Connection
From a pediatric sleep perspective, sensory play is pure magic. Deep, focused play requires an immense amount of cognitive energy. A solid 30-minute session at the sensory table can tire a toddler out just as effectively as running around the park. If your little one is fighting their naps or experiencing a sleep regression, introducing structured sensory play to their morning routine can help build the sleep pressure needed for a restorative afternoon rest.
“You do not have to sacrifice a beautiful home to be a wonderful mother. Creating spaces that serve your child’s developmental needs while honoring your need for a calm, aesthetic environment is the ultimate form of maternal self-care.”
By hacking the IKEA Latt table, we are creating a piece of furniture that blends seamlessly into your living room, playroom, or nursery. The sleek lines of the Latt table, combined with the hidden storage of IKEA Trofast bins, mean that when playtime is over, you simply pop the wooden lids back on, and you have a chic, minimalist toddler table for snacks and coloring.
Your DIY Toolkit: The Master Materials List & Budget Breakdown
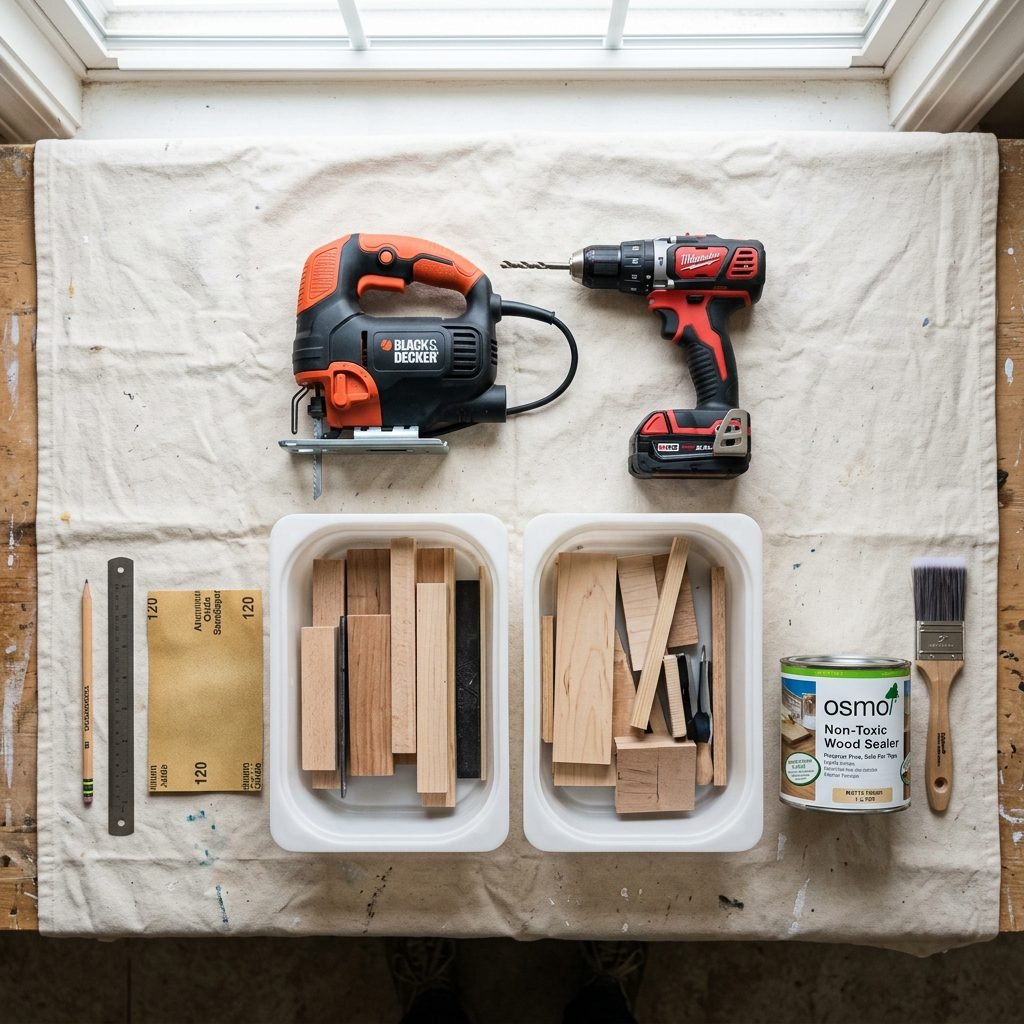
To pull off this hack, you will need a few basic tools and supplies. Don’t be intimidated if you aren’t a seasoned woodworker! This project is incredibly beginner-friendly. I always tell my expectant moms and postpartum clients: if you can navigate the complexities of a breast pump or a baby sleep schedule, you can absolutely operate a jigsaw.
The Shopping List
Here is exactly what you need to gather before you begin. You might already have some of these tools in your garage, which will make this project even cheaper!
| Item Needed | Purpose | Estimated Cost |
|---|---|---|
| IKEA Latt Table & Chairs Set | The base structure of our sensory table. | $29.99 |
| 2x IKEA Trofast Bins (16 ½ x 11 ¾ x 4 “) | The actual sensory bins that will drop into the table. | $4.00 ($2 each) |
| Jigsaw & Safety Goggles | To cut the rectangular holes in the tabletop. | Borrow or $30.00 |
| Drill with a large drill bit | To create a starting hole for the jigsaw blade. | Already owned |
| Medium & Fine Grit Sandpaper | To smooth the cut edges and protect little hands. | $5.00 |
| Non-Toxic Polyurethane or Beeswax Sealer | To waterproof the table and ensure it is baby-safe. | $12.00 |
| Painter’s Tape & Pencil | For measuring and marking your cut lines. | $3.00 |
Total Estimated Budget: Around $50-$85 (depending on the tools you already own). Compared to a $250 boutique sensory table, this is an incredible win for your family budget!
Step-by-Step: The Ultimate IKEA Latt Sensory Table Hack
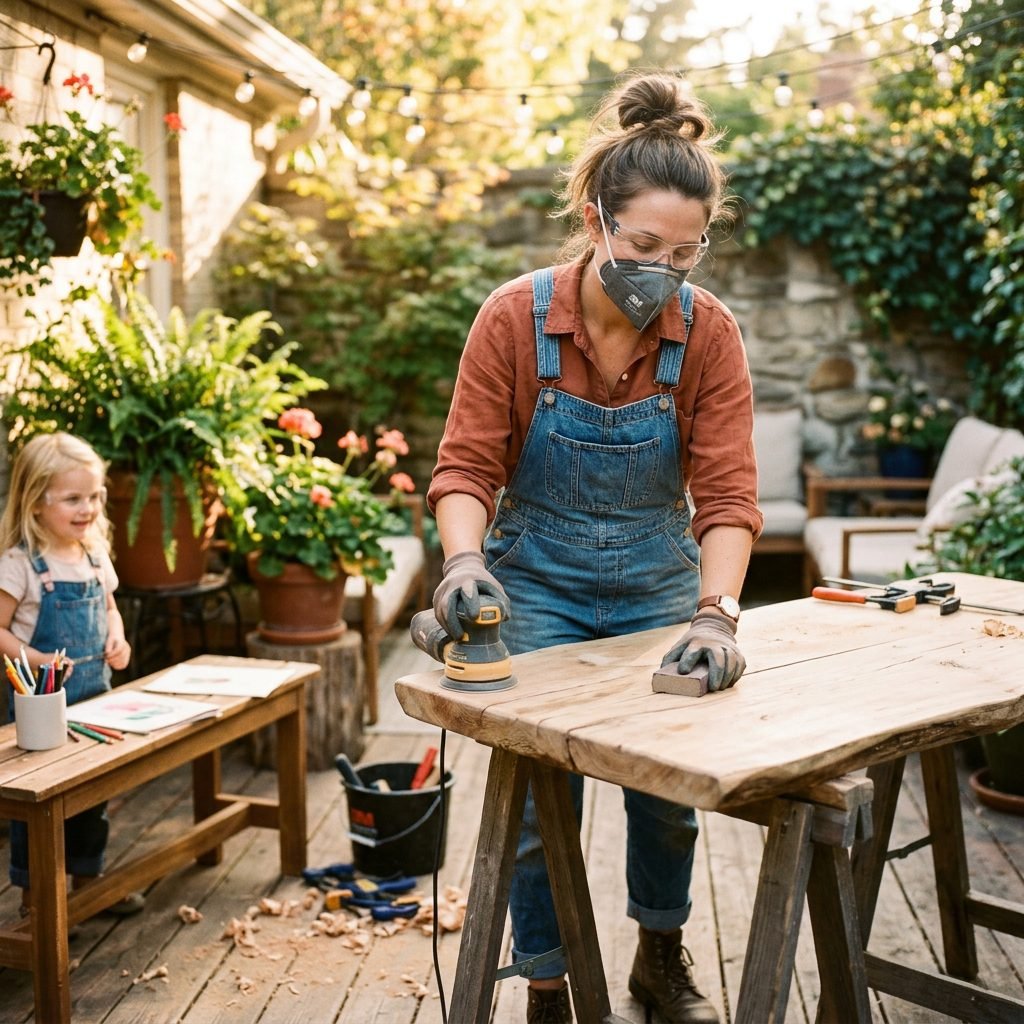
Alright, sister, roll up your sleeves. It is time to create something beautiful. I recommend doing this project outside or in a well-ventilated garage. If you are currently pregnant, please make sure you are wearing a high-quality dust mask during the sanding process, or better yet, delegate the cutting and sanding steps to your partner while you direct the vision!
The Step-by-Step Process
- Assemble the Base, Leave the Top: Build the legs and frame of the IKEA Latt table according to the instructions, but do not slide the white tabletop into the grooves just yet. It is much easier to cut the tabletop when it is flat on a workbench or sawhorses.
- Measure and Trace: Place your white tabletop on a flat surface. Take your two IKEA Trofast bins and flip them upside down onto the tabletop. Position them so there is an even border of wood around all sides and between the two bins. Trace the lip of the bins with a pencil.
- Create the Cut Line: The line you just drew is the outer edge of the bin. If you cut on this line, the bin will fall straight through! You need to draw a second line about 1/2 inch inside your original traced line. This inner line is your actual cut line, which allows the lip of the bin to rest securely on the tabletop.
- Tape and Drill: Apply painter’s tape over your inner cut line to prevent the MDF from splintering. Use your drill and a large drill bit to drill a hole in one of the corners of your inner rectangle. This hole is where you will insert your jigsaw blade to start cutting.
- Make the Cut: Put on your safety goggles! Insert the jigsaw blade into the drilled hole and carefully cut along your inner line. Take your time, especially around the corners. Repeat for the second bin hole.
- Sand for Safety: This is a crucial step for our little ones. Use medium-grit sandpaper to smooth out the rough edges of your cuts, followed by fine-grit sandpaper until the edges are buttery soft. We want zero risk of splinters for those precious toddler hands.
- Seal the Deal: Because this table will inevitably see water play, you need to seal the exposed MDF edges. Paint a coat of non-toxic polyurethane or rub a baby-safe beeswax finish along the cut edges. Let it dry completely.
- Final Assembly: Slide your freshly cut tabletop into the table frame grooves and tighten all the screws. Drop your white Trofast bins into the holes. Voila!
“Pro Tip: Don’t throw away the rectangular pieces you cut out! Sand the edges, attach a small cabinet knob to the center of each, and use them as lids to cover the bins when playtime is over. This instantly converts it back to a functional coloring table!”
Aesthetic Finishes: Painting, Staining, and Keeping it Baby-Safe
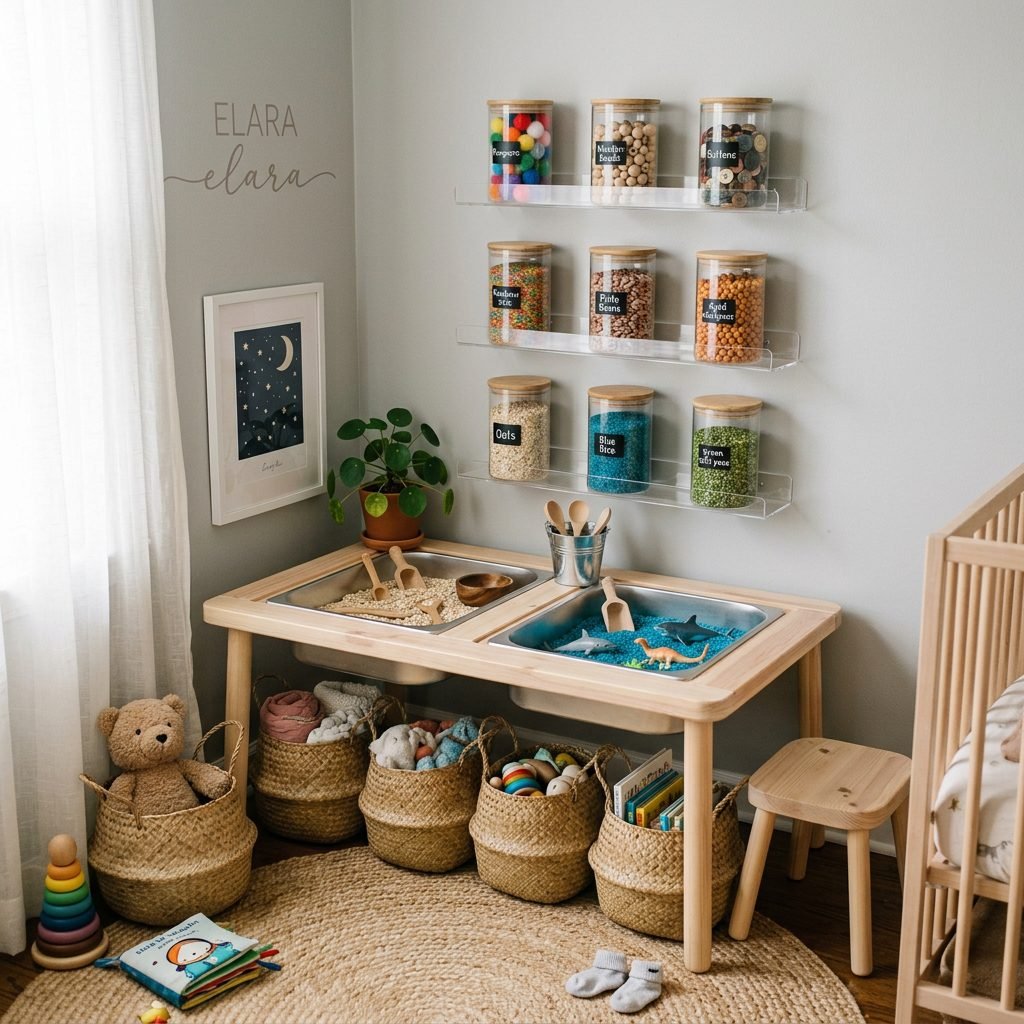
The standard IKEA Latt table features a very light, unfinished pine frame and a white MDF top. While this minimalist look is lovely on its own, you might want to customize it to match your nursery design or living room aesthetic. As a maternal wellness advocate, my top priority is ensuring that anything your baby touches (and inevitably mouths) is entirely non-toxic.
Choosing Your Finish
- The Natural Boho Look: If you love the organic, Scandinavian vibe, leave the wood bare but seal it. I highly recommend using a food-grade beeswax and mineral oil blend (often sold as cutting board conditioner). It is 100% safe, smells like honey, and gives the pine a rich, warm glow.
- The Chic Painted Look: Want to match your nursery’s sage green or dusty rose walls? Use a zero-VOC (Volatile Organic Compound) chalk paint. Brands like Rust-Oleum or Annie Sloan offer gorgeous, matte finishes that are safe for indoor use. Always finish chalk paint with a non-toxic wax or water-based polycrylic to protect against water spills.
- The Stained Wood Look: If you want the table to match darker mid-century modern furniture, opt for a water-based wood stain. Avoid oil-based stains, as they off-gas harmful fumes for weeks and are not ideal for a pregnant mother to handle or a baby to inhale.
Storage and Organization Hacks
A beautiful sensory table can quickly become an eyesore if the sensory fillers are left in plastic bags all over the room. To maintain your aesthetic, utilize vertical space! Hang acrylic floating bookshelves above the sensory table to display beautiful glass jars filled with dyed rice, dried beans, and oats. Use woven belly baskets underneath the table to store larger items like water pitchers, funnels, and measuring cups.
5 Easy, Taste-Safe Sensory Bin Ideas for Your Maiden Voyage
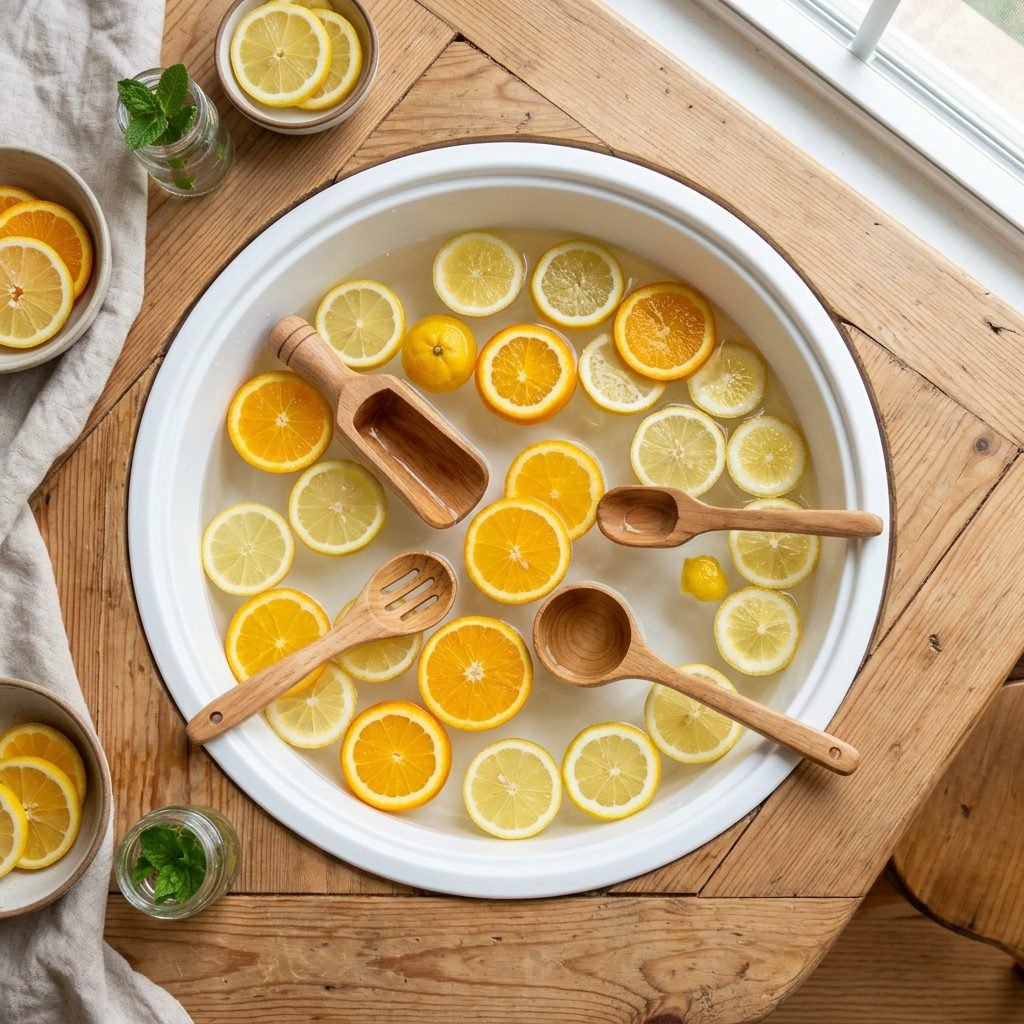
Now that your gorgeous table is built, it’s time for the fun part: filling it! If your baby is under two years old, or if they are prone to putting everything in their mouth (hello, teething!), it is absolutely critical to use “taste-safe” sensory fillers. Taste-safe means that while it isn’t meant to be eaten as a meal, it won’t harm them or pose a toxic risk if they swallow a handful.
The Taste-Safe Sensory Menu
| Sensory Filler | How to Prep | Developmental Benefit |
|---|---|---|
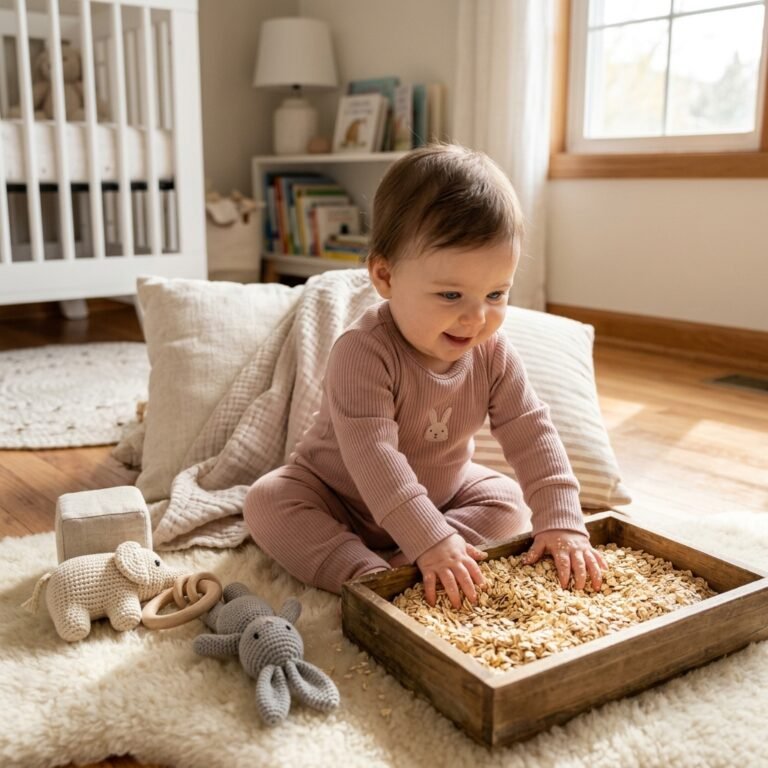
| Toasted Oati-Sand | Blend dry rolled oats in a food processor until it resembles sand. Add a dash of cinnamon for olfactory stimulation. | Fine motor skills (scooping); tactile soothing. |
| Aquafaba Foam | Whip the liquid from a can of chickpeas with a hand mixer until it forms stiff, soapy-looking peaks. Add food coloring if desired. | Cause and effect; safe alternative to shaving cream. |
| Rainbow Dyed Rice | Mix 1 cup white rice with 1 tsp white vinegar and a few drops of food coloring. Shake in a bag, lay flat to dry. | Auditory stimulation (sounds like rain when poured); color recognition. |
| Chia Seed Slime | Mix 1/4 cup chia seeds with 1 cup water. Let sit overnight in the fridge until gelatinous. | Sensory desensitization (great for picky eaters who dislike slimy textures). |
| Citrus Water Play | Fill bins with a few inches of warm water. Add sliced lemons, oranges, and limes with slotted spoons. | Temperature recognition; olfactory stimulation; scooping practice. |
A Quick Note on Mess: Yes, sensory play gets messy. Place a washable splat mat or an old bedsheet under your IKEA Latt table before you begin. When playtime is over, simply shake the sheet off outside or toss it in the washing machine. Remember, the mess is temporary, but the neural pathways they are building will last a lifetime!
Conclusion
Embrace the Mess, Cherish the Milestones
Creating this DIY IKEA Latt sensory table is more than just a weekend craft project; it is an investment in your child’s developmental journey and a beautiful addition to your home. By taking a simple, inexpensive piece of furniture and customizing it to fit your needs, you are proving that motherhood doesn’t mean giving up on style, and providing enriching activities doesn’t have to break the bank.
Whether you are a nesting mama preparing for your first baby, a postpartum mother looking for a way to entertain a busy toddler while you nurse a newborn, or a hostess designing a kid-friendly corner for an upcoming event, this sensory table will serve your family for years to come. So pour that sensory rice, hand over the wooden spoons, and watch your little one’s imagination come to life.