How to Sew Safe & Soft Fabric Building Blocks for Baby Sensory Play
Welcome to the Heart of Handmade Play
Hello, sweet mama. There is something profoundly special about the transition into motherhood—or the quiet moments of nesting before your little one arrives—that draws us toward the tactile and the handmade. As a doula, I’ve sat in many nurseries where the most cherished items weren’t the high-tech gadgets, but the simple, soft things made with love. Today, we are diving into a project that combines your creative spirit with your baby’s developmental needs: Safe & Soft Fabric Building Blocks.
Sensory play is the foundation of your baby’s early learning. From the moment they begin to focus their eyes on high-contrast patterns to the day they first grasp a toy and bring it to their mouth, they are literal scientists exploring their world. These blocks are more than just toys; they are tools for fine motor development, visual tracking, and tactile exploration. Best of all, because you are making them, you have total control over the materials, ensuring that every stitch is safe for those precious gummy smiles.
Making something for your baby is a beautiful way to bond before they even arrive, or a soulful way to reclaim your creativity during those quiet postpartum naps.
The Developmental Magic of Soft Blocks
Before we thread our needles, let’s talk about why these blocks are a nursery essential. Unlike hard wooden blocks, fabric blocks are forgiving. They won’t hurt if a wobbly toddler topples onto them, and they don’t make a loud crash that might startle a sensitive newborn. From a developmental perspective, they serve several key stages:
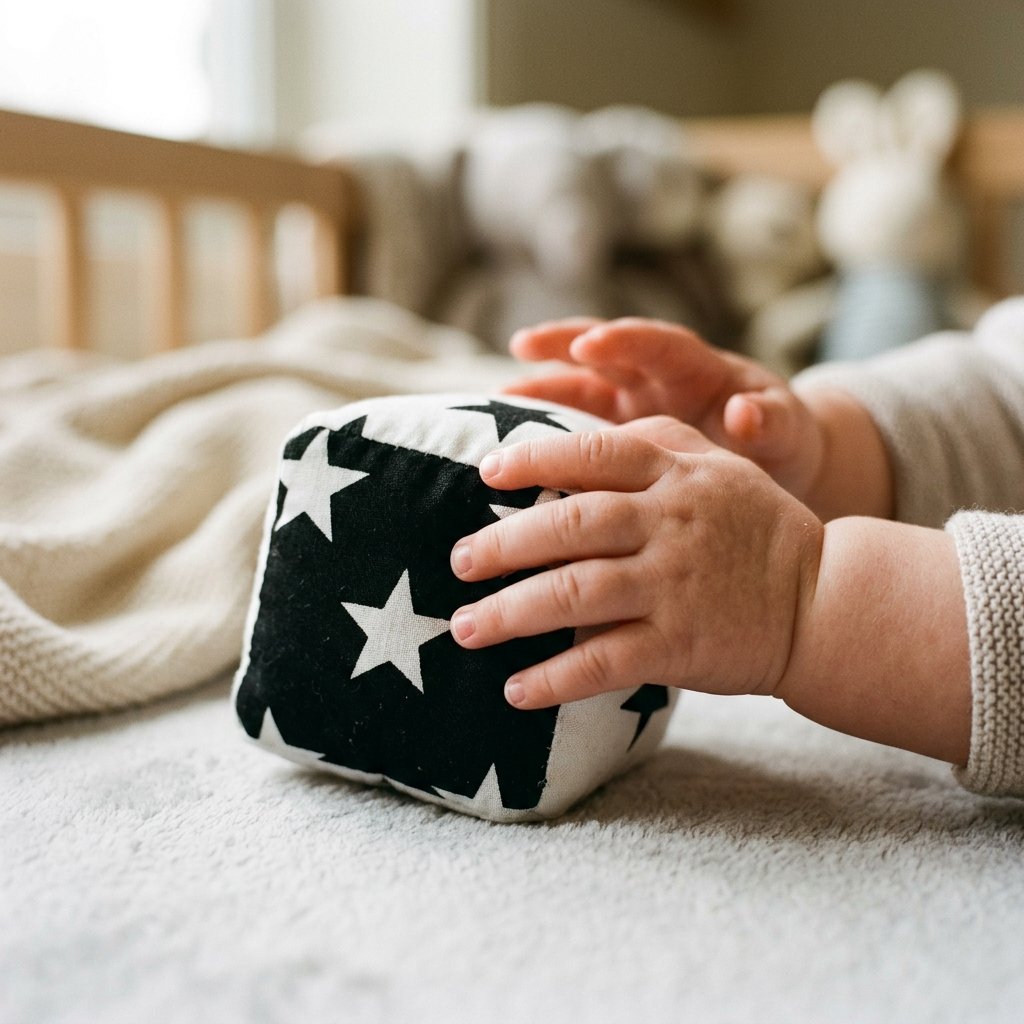
- 0-3 Months (Visual Stimulation): Using high-contrast fabrics (black, white, and red) helps develop the optic nerve.
- 3-6 Months (Grasping & Reaching): The soft edges and lightweight nature make these perfect for practicing the ‘palmar grasp.’
- 6-12 Months (Cause and Effect): Adding a small bell or crinkle paper inside teaches your baby that their movements create sound.
- 12+ Months (Stacking & Sorting): As coordination improves, these blocks become the building blocks of their first towers.
By choosing different textures—like a bumpy minky, a smooth organic cotton, and a ridged corduroy—you are providing a sensory buffet for your baby’s fingertips. This tactile input is crucial for brain development and helps soothe babies who are sensory-seekers.
Curating Your Materials: Safety and Budget Breakdown

When sewing for a baby, safety isn’t just a suggestion—it’s the priority. Babies explore with their mouths, so we must ensure every material is non-toxic and durable. I highly recommend looking for fabrics with the OEKO-TEX Standard 100 certification, which ensures the textiles are free from harmful chemicals.
Choosing Your Fabrics
Mix and match textures to maximize the sensory experience. Think about using:
- Organic Cotton Poplin: Breathable and easy to wash.
- Cotton Flannel: Soft and slightly fuzzy.
- Minky or Velvet: For a luxurious, tactile feel.
- Terry Cloth: Provides a rougher, interesting texture.
Avoid any fabrics with loose glitter, sequins, or long faux fur that could be pulled out and swallowed. For the stuffing, a high-quality hypoallergenic polyester fiberfill or raw organic wool are your best bets. If you want to add sound, use specialized ‘crinkle material’ designed for toys rather than plastic bags, which can be a suffocation risk if the block ever tore open.
| Material Item | Purpose | Estimated Cost |
|---|---|---|
| 1/4 Yard Fabric Scraps | Exterior of the blocks | $5.00 – $10.00 |
| Hypoallergenic Stuffing | Filling for softness | $8.00 (Large bag) |
| Organic Cotton Thread | Durable, safe stitching | $4.00 |
| Optional: Toy Bells/Crinkle | Sensory sound elements | $3.00 |
| Total Project Cost | Creates 6-8 Blocks | Approx. $20.00 |
Step-by-Step Guide: Sewing Your First Block
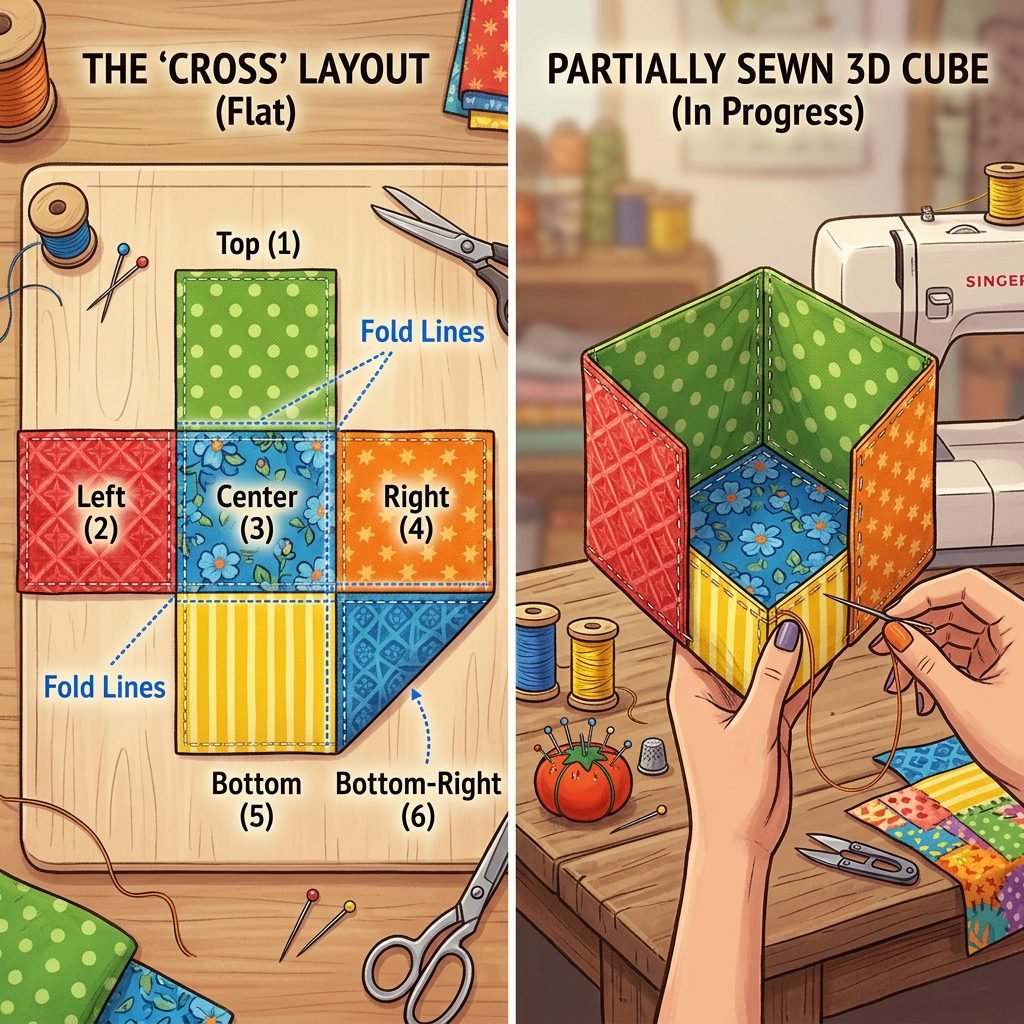
Don’t be intimidated by the 3D shape! A cube is simply six squares joined together. Follow these steps for a professional, baby-safe finish.
Preparation and Cutting
- Wash and Dry: Always pre-wash your fabrics in a baby-safe, fragrance-free detergent to prevent shrinking later.
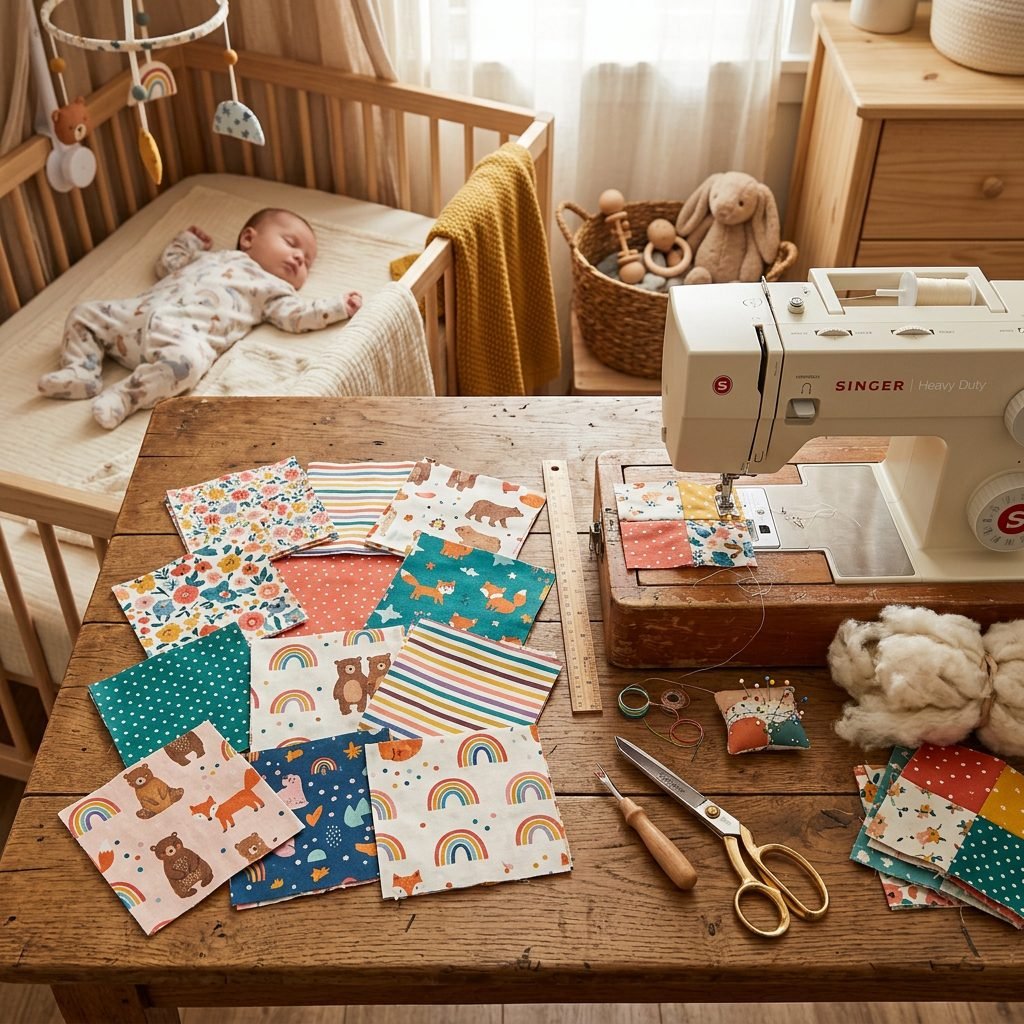
- Cut Your Squares: For a standard block, cut 6 squares measuring 5 inches by 5 inches. This includes a 1/2-inch seam allowance, resulting in a 4-inch finished block.
Assembly Instructions
- Create the ‘Cross’: Lay one square in the center. Place four squares on each side of the center square, right sides together. Sew them to the center square, stopping exactly 1/2 inch from each corner. This is the ‘star’ or ‘cross’ layout.
- Attach the Top: Sew the final (sixth) square to one of the outer squares.
- Form the Cube: Fold the sides up and sew the vertical seams, right sides together. You will now have a 3D cube shape with one side partially open.
- The Turning Gap: On the final seam, leave a 2-inch opening in the middle of the edge. Clip your corners (being careful not to cut the stitches) to ensure sharp points when turned.
- Turn and Stuff: Turn the cube right-side out through the gap. Use a chopstick to gently push out the corners. Stuff firmly with your choice of filling. If adding a bell, place it deep in the center of the stuffing.
- The Ladder Stitch: This is vital! Use a ladder stitch (also known as an invisible stitch) to close the opening. Double-thread your needle for extra strength.
Pro Tip: Reinforce your seams by using a smaller stitch length (2.0mm) on your machine. This ensures the block stays intact even during a vigorous game of ‘toss and chew.’
Safety First: Ensuring Durability for the ‘Mouthing’ Phase
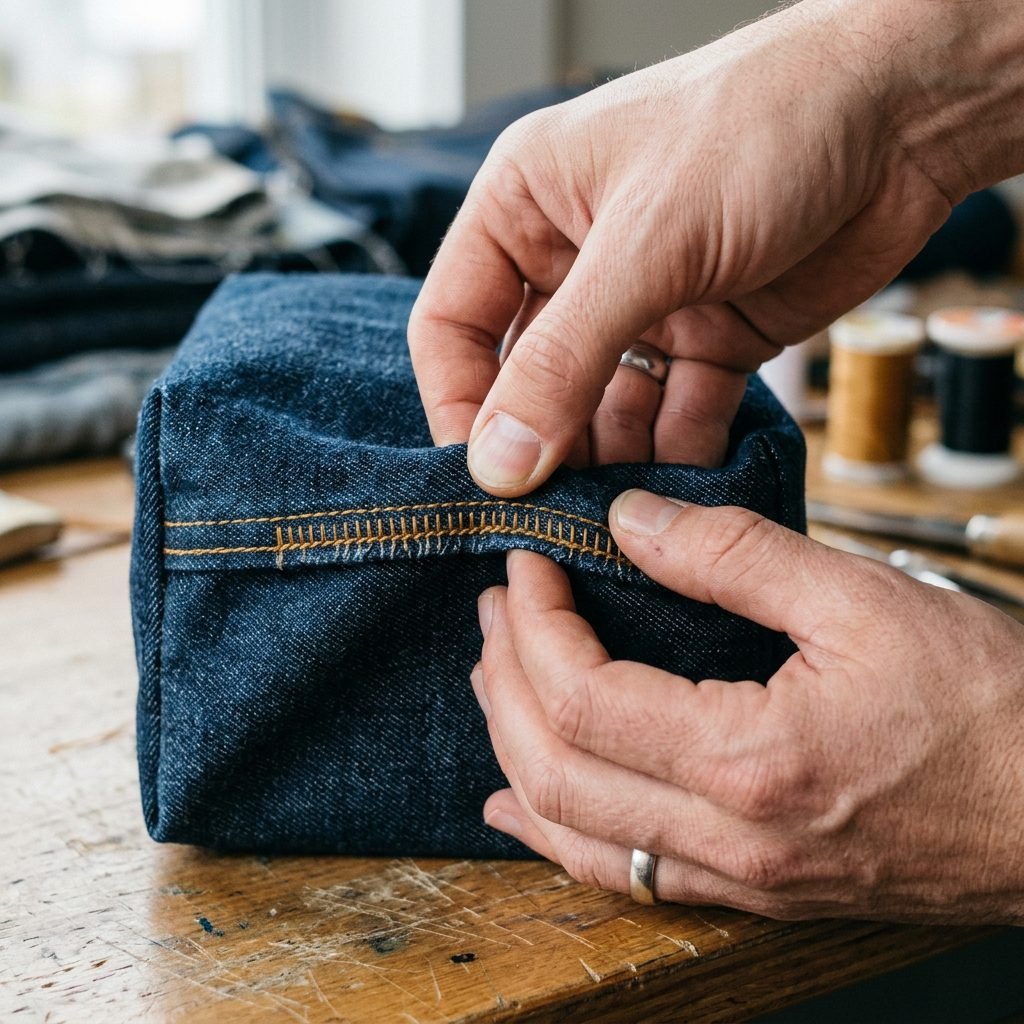
As a doula, I have to emphasize that no toy is 100% indestructible. However, we can take steps to make these as safe as possible. Babies have surprisingly strong grips and sharp new teeth!
The Stress Test
Once you finish a block, give it a good ‘tug test.’ Pull at the seams firmly. If you see the stuffing peeking through or threads stretching significantly, go back and reinforce that area. Never use buttons, beads, or small charms on the outside of the blocks, as these are major choking hazards.
Ribbons and ‘Taggies’
Many moms love adding ribbon loops to the seams. While these are great for tactile play, ensure each ribbon loop is less than 2 inches long to prevent any risk of a tiny finger getting stuck. Triple-stitch over the ribbons where they enter the seam to ensure they cannot be pulled out.
| Safety Feature | What to Do | Why it Matters |
|---|---|---|
| Seam Length | Use 2.0mm stitches | Prevents stuffing leaks |
| Closures | Hand-sewn ladder stitch | Invisible and secure |
| Embellishments | Embroidery only | Eliminates choking hazards |
| Fabric Dye | Use Color-fast/Organic | Safe for mouth exploration |
Caring for Your Creations: Washing and Maintenance
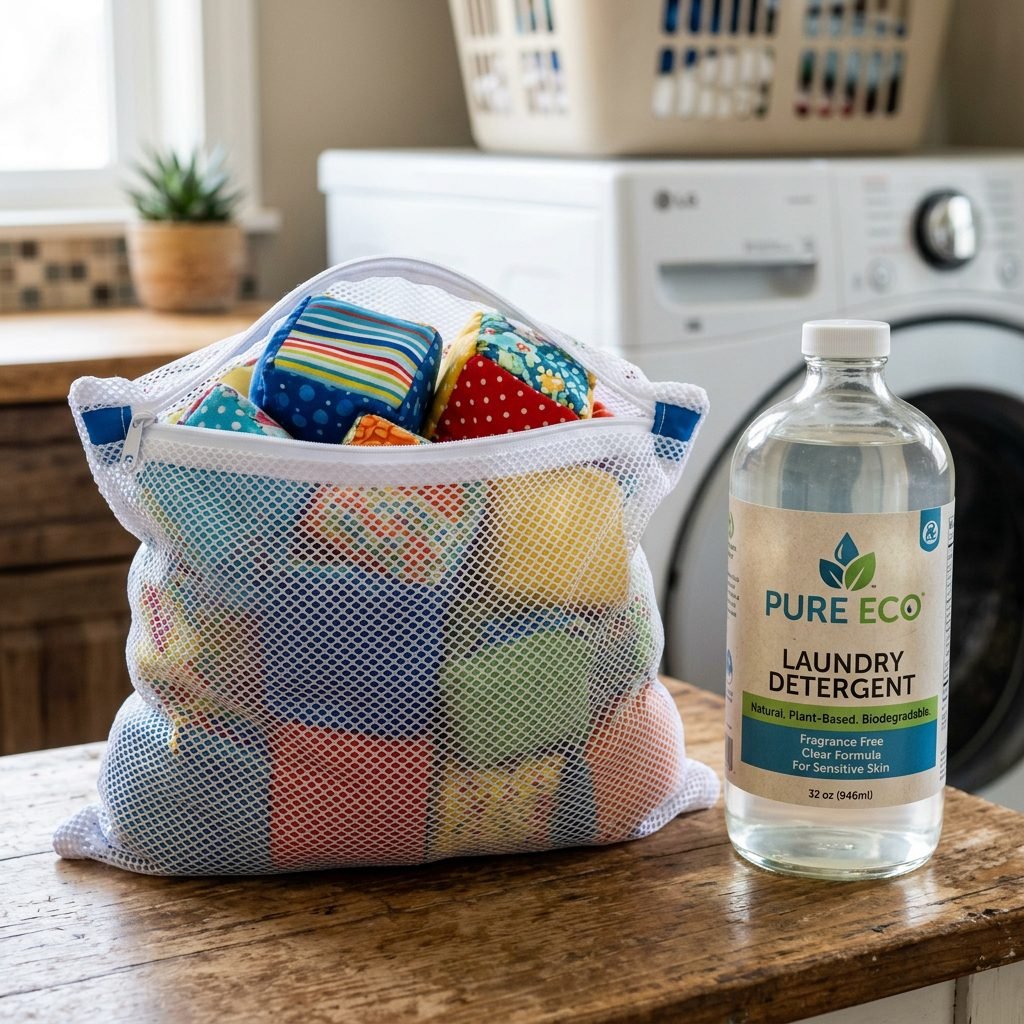
Let’s be real, mama: if it’s in the nursery, it’s going to get dirty. Whether it’s spit-up, drool, or a spilled bottle, your blocks will need a regular cleaning routine.
Washing Instructions
- Machine Wash: Place the blocks inside a mesh laundry bag. This protects the seams from getting snagged on the machine’s agitator. Use a gentle cycle with cold water.
- Detergent: Use a mild, plant-based detergent. Avoid fabric softeners, as they can coat the fibers and reduce the ‘grippiness’ of the fabric textures.
- Drying: Tumble dry on low heat or air dry. High heat can sometimes cause polyester stuffing to clump or ‘melt’ slightly, losing its bounce.
The ‘Toy Rotation’ Method
To keep your baby engaged and ensure the blocks last longer, try a toy rotation. Only put out 2 or 3 blocks at a time. When your baby loses interest, swap them for a different set with different textures. This keeps the ‘novelty’ alive and gives you time to wash the used set!
Conclusion
A Legacy of Love in Every Stitch
You’ve done it, mama! You’ve created a beautiful, functional, and safe toy that will witness some of your baby’s most important ‘firsts.’ From the first time they track the colors with their eyes to the first time they successfully stack two blocks high, these handmade treasures will be right there in the thick of it.
Remember, these blocks don’t have to be perfect. A slightly crooked seam or a corner that isn’t perfectly sharp only adds to the charm of a handmade gift. Your baby won’t care about the technical perfection; they will care about the softness, the colors, and the love that radiates from something made specifically for them. Happy sewing, and enjoy these precious moments of creation.