Stop Wasting Money: DIY Textured Sensory Blocks Using Upcycled Cardboard
Embracing the Magic of Homemade Play
Mama, I see you. I see those late-night scrolling sessions through high-end boutique toy sites, looking at those gorgeous wooden blocks that cost more than a week’s worth of organic groceries. There is such a deep desire to provide the very best for our babies—to fill their world with beauty, stimulation, and love. But here is a little doula secret: Your baby doesn’t need a designer price tag to thrive. In fact, the most profound neurological development often happens with the simplest tools.
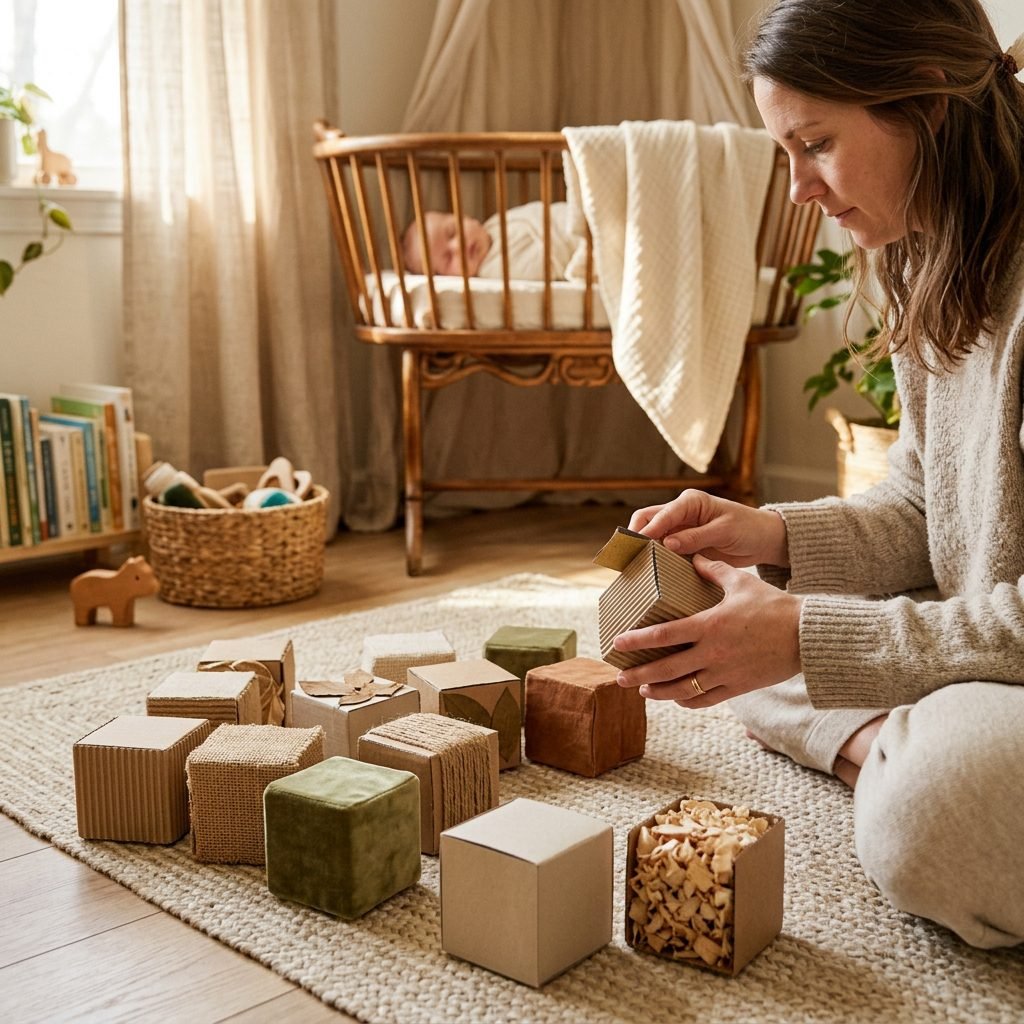
As a doula and maternal wellness advocate, I’ve watched countless families struggle with the ‘gear-guilt’ of modern parenting. We feel like if we aren’t buying the most expensive sensory kits, we’re somehow falling behind. But sensory play is about connection, exploration, and tactile discovery, not brand names. Today, we are going to reclaim that creative spark and turn those mountain-high shipping boxes into a set of ‘heirloom-style’ sensory blocks that are safe, stylish, and completely free. These DIY textured blocks are designed to stimulate your baby’s somatosensory system, encourage fine motor skills, and provide a soothing bonding activity for you during those quiet naptime windows.
The Science of Touch: Why Texture Matters for Your Baby
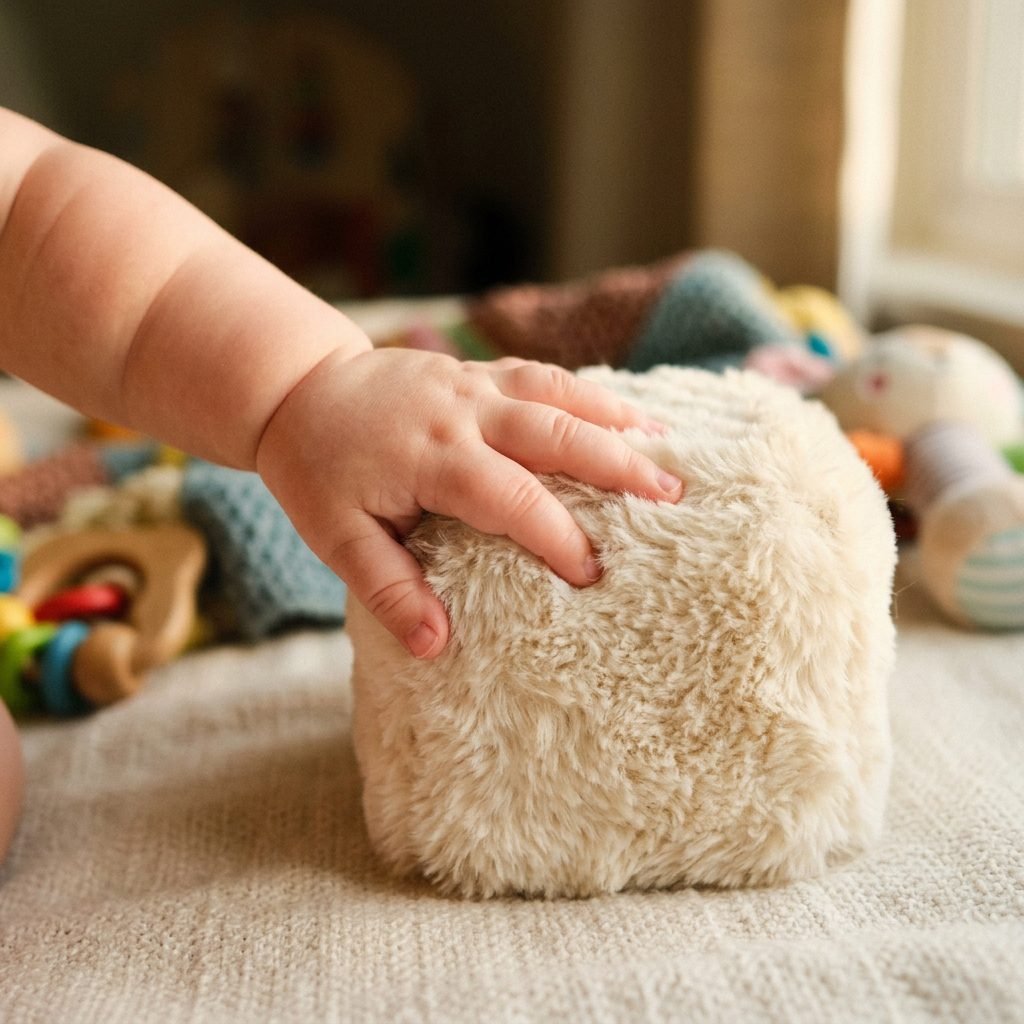
In the first 12 months of life, a baby’s brain is forming millions of neural connections every single second. Their primary way of understanding the world is through their mouth and their hands. This is why ‘sensory play’ isn’t just a buzzword—it’s the foundation of cognitive development. When your baby touches a rough surface and then a smooth one, their brain is categorizing information, learning about boundaries, and developing tactile discrimination.
Benefits of Multi-Textured Play
- Neural Pathway Development: Varied sensations build the bridges between brain cells.
- Language Skills: As you describe the textures (‘This is bumpy,’ ‘This is soft’), you are building their future vocabulary.
- Fine Motor Strength: Grasping, turning, and squeezing blocks builds the tiny muscles in the hands.
- Self-Regulation: Different textures can actually have a calming effect on a baby’s nervous system.
Your baby’s hands are their eyes for the first year. Every new texture is a new word in the language of their physical world.
The Treasure Hunt: Materials and Budget Breakdown
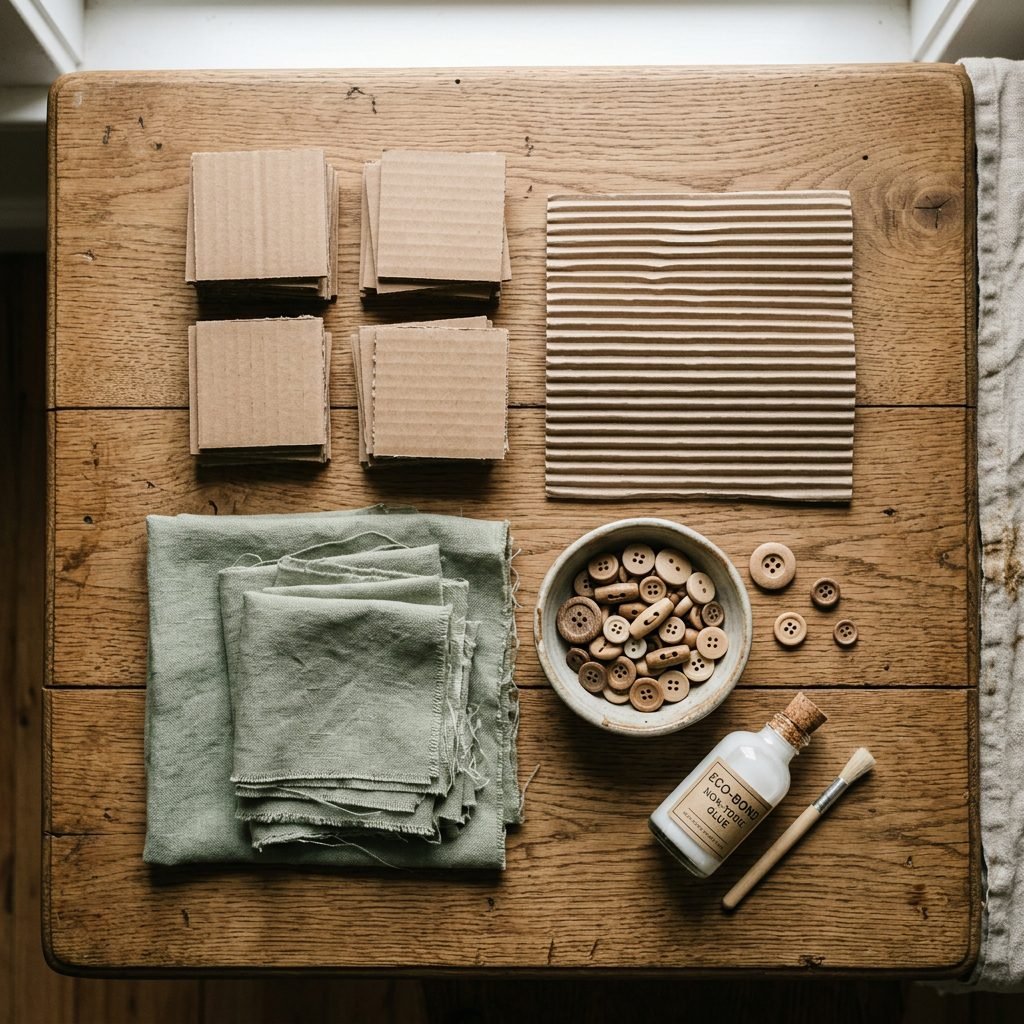
Before we dive into the ‘how-to,’ let’s look at why this is such a win for your wallet. A standard set of sensory blocks can retail anywhere from $45 to $85. By upcycling, we are bringing that cost down to nearly zero, using items you likely already have in your ‘junk drawer’ or recycling bin. Here is what you will need to gather for this project.
| Material Item | Upcycled Source | Developmental Purpose | Estimated Cost |
|---|---|---|---|
| Cardboard | Shipping boxes/Cereal boxes | Structural base & stability | $0.00 |
| Soft Texture | Old velvet ribbon or fleece scraps | Tactile soothing & comfort | $0.00 |
| Rough Texture | Clean kitchen sponge or sandpaper | Tactile contrast & awareness | $0.00 |
| Bumpy Texture | Dried beans or buttons (sealed inside) | Auditory & weight stimulation | $0.00 |
| Adhesive | Non-toxic hot glue or Mod Podge | Assembly (Adult use only) | $5.00 |
Safety Note: Because we are creating these for little hands, we must prioritize safety. Always use non-toxic, water-based adhesives. If you are adding small items like buttons for texture, they must be glued down with industrial strength and then covered with a layer of sheer fabric or mesh to prevent any choking hazards. Supervision is always required during play!
Step-by-Step: Crafting Your Sensory Masterpiece
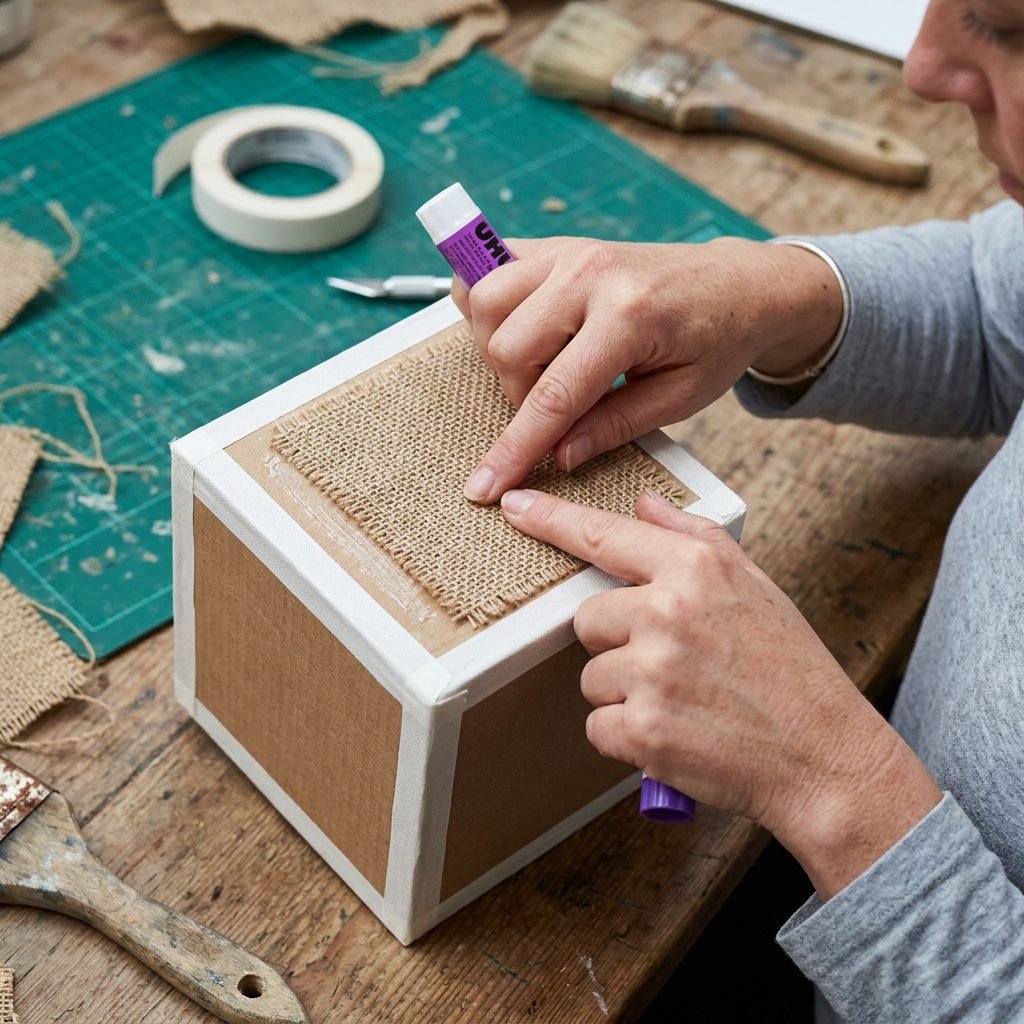
Let’s get crafty, Mama! This process is incredibly therapeutic. I recommend putting on your favorite podcast, pouring a cup of herbal tea, and enjoying the tactile process of building these blocks. We will be making 3-inch cubes, which are the perfect size for a baby’s palmar grasp.
The Assembly Process
- Cut Your Squares: Use a utility knife and a ruler to cut 6 equal squares of cardboard for each block. For a 3-inch block, cut 3×3 inch squares.
- Reinforce the Core: To make the blocks durable, stuff the center with crumpled newspaper or extra cardboard scraps before sealing. This prevents the block from collapsing when baby eventually tries to sit on it!
- The First Seal: Use your non-toxic glue to assemble the cube. I like to use painter’s tape to hold the edges together while the glue sets.
- Texture Application: This is the fun part! Glue a different material to each of the 6 sides. Think: Silk, Burlap, Corrugated Cardboard, Felt, Cotton, and a Smooth Glossy Paper.
- Smooth the Edges: Once the textures are dry, use a fine-grit sandpaper to lightly buff any sharp cardboard corners. You can also cover the seams with fabric tape for a more ‘finished’ boutique look.
Affirmation: I am creating a world of wonder for my child with my own two hands. My effort is more valuable than any store-bought item.
Age-Appropriate Variations & Sensory Recipes
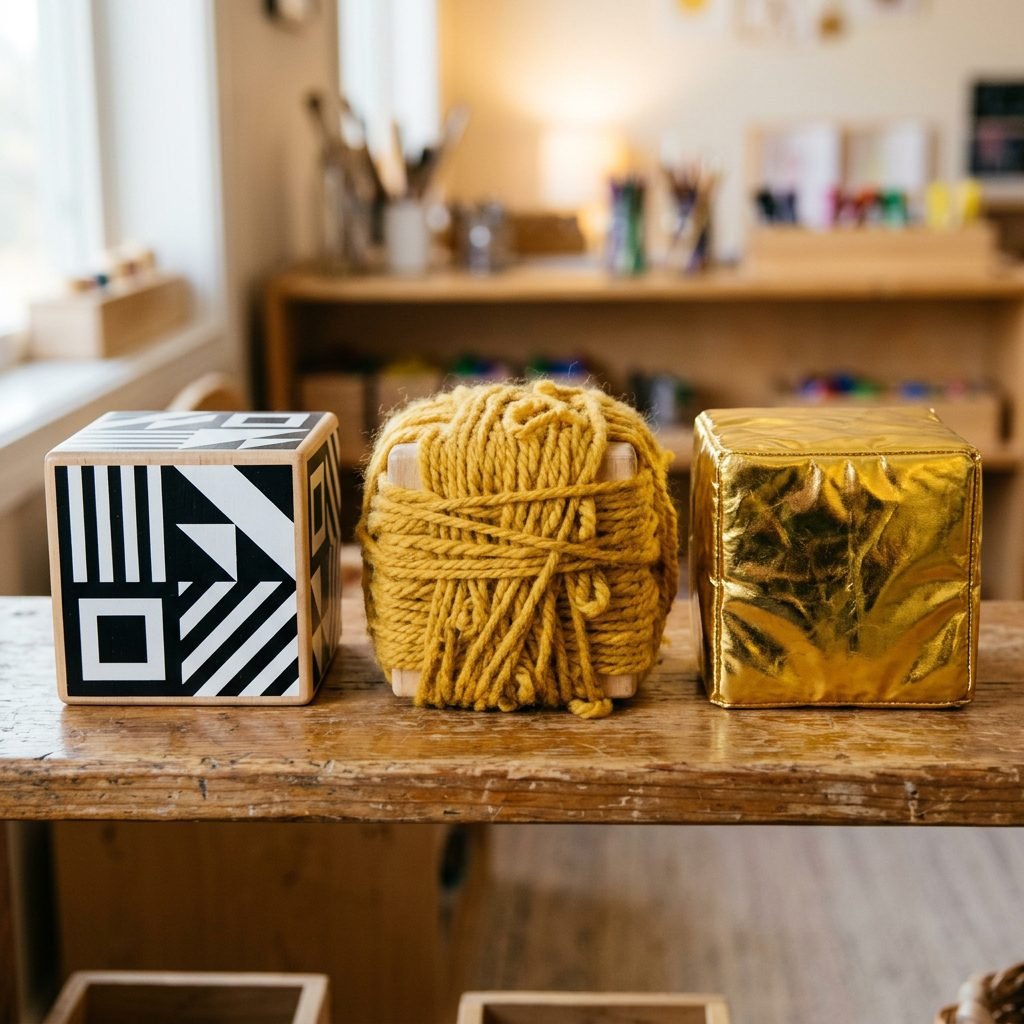
As your baby grows, their sensory needs change. You can customize these blocks based on their current developmental milestone. Here are three ‘recipes’ for different stages:
The Newborn High-Contrast Block (0-3 Months)
At this stage, babies see in high contrast. Skip the complex textures and focus on Black and White patterns. Use white cardboard and a black non-toxic marker to draw thick stripes, polka dots, and bullseyes on each side. This helps with visual tracking and focus.
The ‘Grabby’ Explorer Block (4-8 Months)
This is the prime time for texture! Use ‘grabby’ materials like velcro (the soft side), chunky knit yarn, or even a piece of clean, dried loofah. At this age, babies are also teething, so ensure every material is firmly attached and won’t shed fibers if explored with the mouth.
The Toddler Sound & Weight Block (9-12+ Months)
Start introducing auditory sensory input. Before sealing your cardboard cube, drop in a few dried chickpeas or a small bell wrapped in cotton batting. The block will now rattle when shaken, teaching your little one about cause and effect.
Styling and Storage: Keeping the Nursery Chic
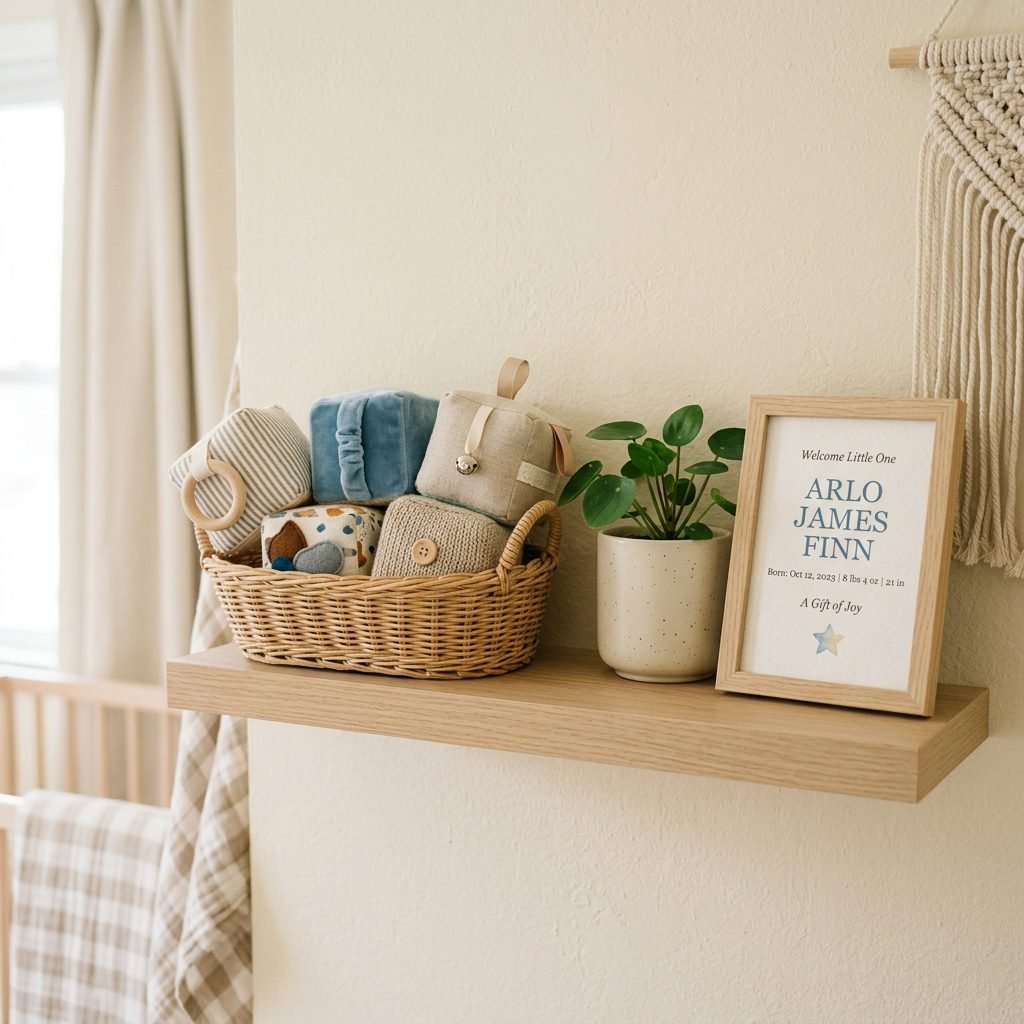
Just because it’s made of ‘trash’ doesn’t mean it should look like it! To keep your nursery looking like a curated sanctuary, follow these styling tips for your DIY blocks:
- Choose a Color Palette: Stick to 3-4 coordinating colors for your fabric scraps. Earth tones (sage, terracotta, cream) or soft pastels work beautifully.
- Uniformity is Key: Make all your blocks the exact same size. A set of 6 to 9 blocks stacked in a wooden crate looks intentional and high-end.
- The ‘Basket’ Hack: Store your sensory blocks in a low-profile seagrass basket on the floor. This makes them accessible for ‘tummy time’ and keeps the room tidy.
When the blocks eventually get worn out (and they will, because they are loved!), you can simply toss them in the recycling bin and make a new set. No waste, no clutter, and no $60 replacements needed.
Cleaning and Maintenance for Cardboard Toys
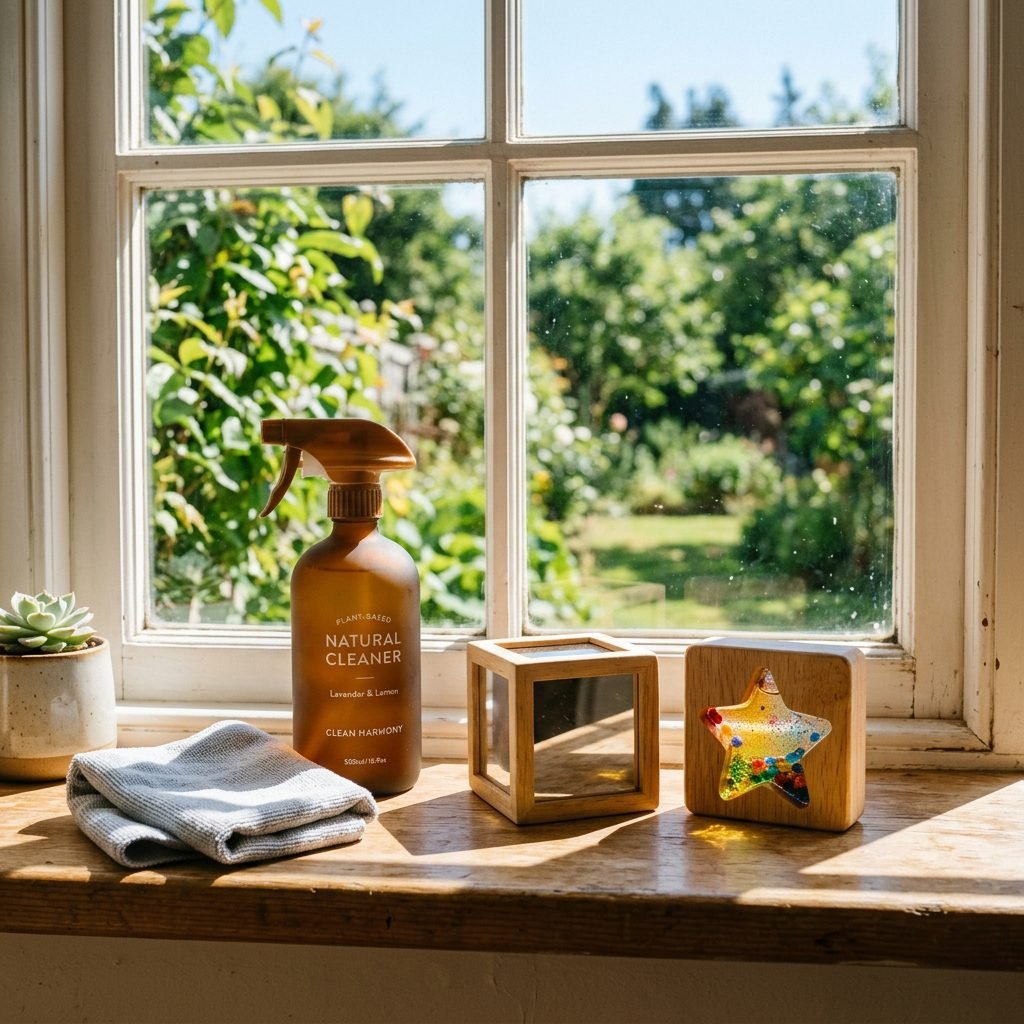
One question I get often as a doula is: ‘How do I keep these clean?’ Since they are made of cardboard, you cannot submerge them in water. However, maintenance is simple:
- Spot Cleaning: Use a slightly damp (not wet) cloth with a drop of mild baby soap to wipe down fabric surfaces.
- Sun Sanitizing: Sunlight is a natural disinfectant. Place your blocks in a sunny window for an hour to freshen them up.
- Replacing Sides: The beauty of DIY is that if the ‘velvet’ side gets sticky, you can simply peel it off and glue on a fresh piece of fabric!
Conclusion
The Gift of Presence Over Presents
Mama, at the end of the day, your baby doesn’t care about the brand of their toys. They care about the sound of your voice as you play together, the warmth of your touch, and the environment of curiosity you create. By making these DIY textured sensory blocks, you are doing so much more than saving money. You are modeling sustainability, exercising your own creative muscles, and providing a bespoke developmental tool tailored specifically to your child.
Take a deep breath and let go of the pressure to ‘buy’ your way into good parenting. You already have everything you need right in your own home. Now, go find a cardboard box and start building some memories! You’ve got this.