The Magic Tissue Box: How to Make a Fun DIY Sensory Pull Toy for Infants
Welcome to the Magic of Sensory Play, Mama!
Oh, sweet mama, I see you. You’ve just finished cleaning up the living room for the third time today, only to turn around and find your little explorer gleefully shredding a fresh box of tissues. It’s a scene every parent knows well—the ‘tissue confetti’ phase. But as a doula and a fellow mom, I want to tell you something beautiful: that messy moment isn’t just about destruction; it’s a profound developmental milestone! Your baby is discovering cause and effect, honing their pincer grasp, and exploring the world through tactile feedback. What if we could capture that curiosity without wasting a single tree? Enter the Magic Tissue Box. This DIY sensory pull toy is a staple in Montessori-inspired homes and for good reason. It provides endless entertainment, costs almost nothing, and grows with your child. In this guide, we’re going to walk through the ‘why’ and the ‘how’ of creating this developmental gem. We’ll talk about the science of sensory play, the best fabrics to use, and how to keep it safe and stylish in your nursery. So, grab a cup of warm tea, take a deep breath, and let’s dive into a project that is as much about connection as it is about crafting. You’re doing an amazing job, and providing these small moments of wonder is exactly what your baby needs right now.
The Science of the Squeeze: Why Your Baby Loves the Pulling Phase
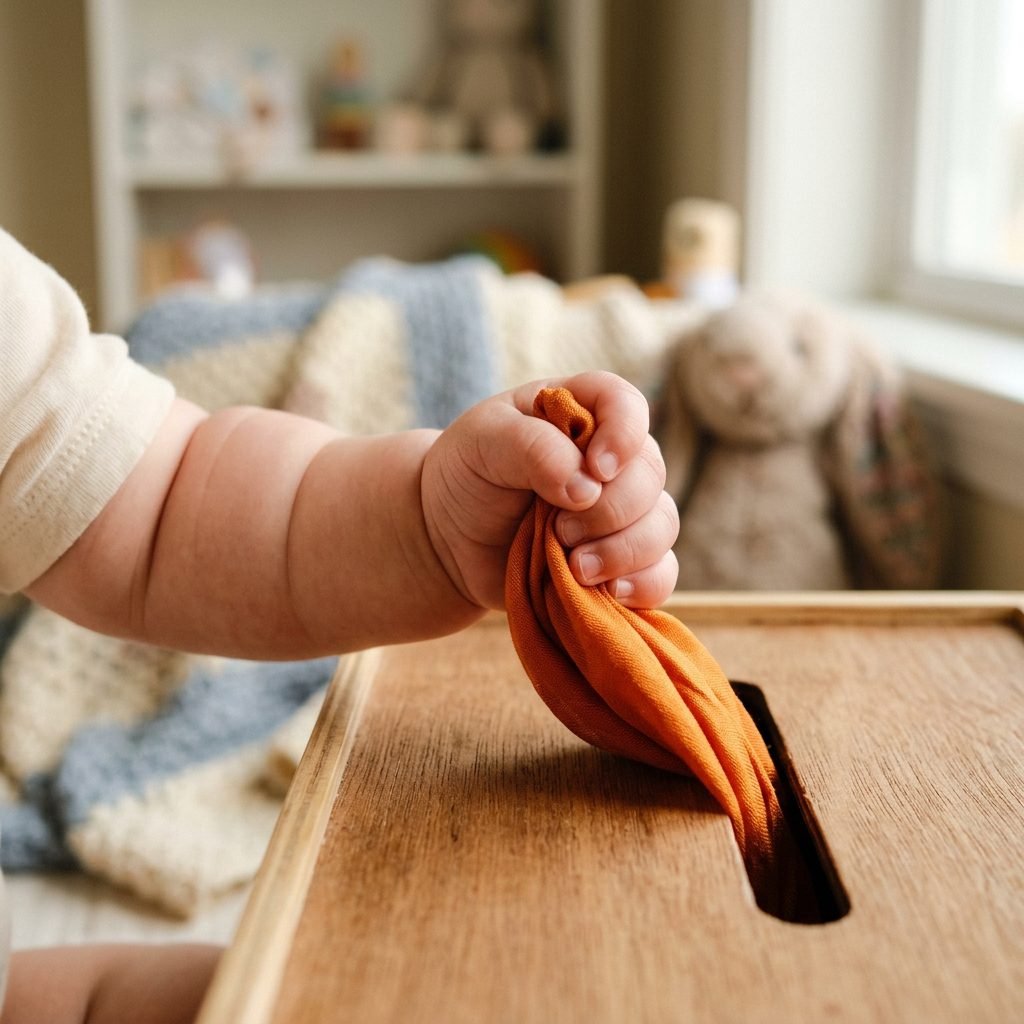
Between the ages of 6 and 12 months, infants undergo a massive cognitive shift. They are moving from reflexive movements to intentional, goal-oriented actions. This is when the ‘pulling’ obsession begins. According to pediatric development experts, this activity helps bridge the gap between gross motor skills (using the whole arm) and fine motor skills (using the fingers). When your baby reaches into a box and pulls out a scarf, they are practicing spatial awareness and object permanence—the understanding that something still exists even when it is hidden inside a container.
‘My baby isn’t making a mess; they are conducting a scientific experiment on the physics of their world.’
This phase is also deeply linked to sensory processing. Every time they touch a different texture—be it a slippery silk or a rough burlap—their brain creates new neural pathways. This is called tactile discrimination. By providing a Magic Tissue Box, you are offering a controlled, safe environment for this ‘brain building’ to happen. It’s not just a toy; it’s a tool for confidence. As they successfully retrieve a fabric, they experience a hit of dopamine, encouraging them to try again and solve the ‘puzzle’ of the box.
Gathering Your Magic Supplies: A Budget-Friendly Crafting List
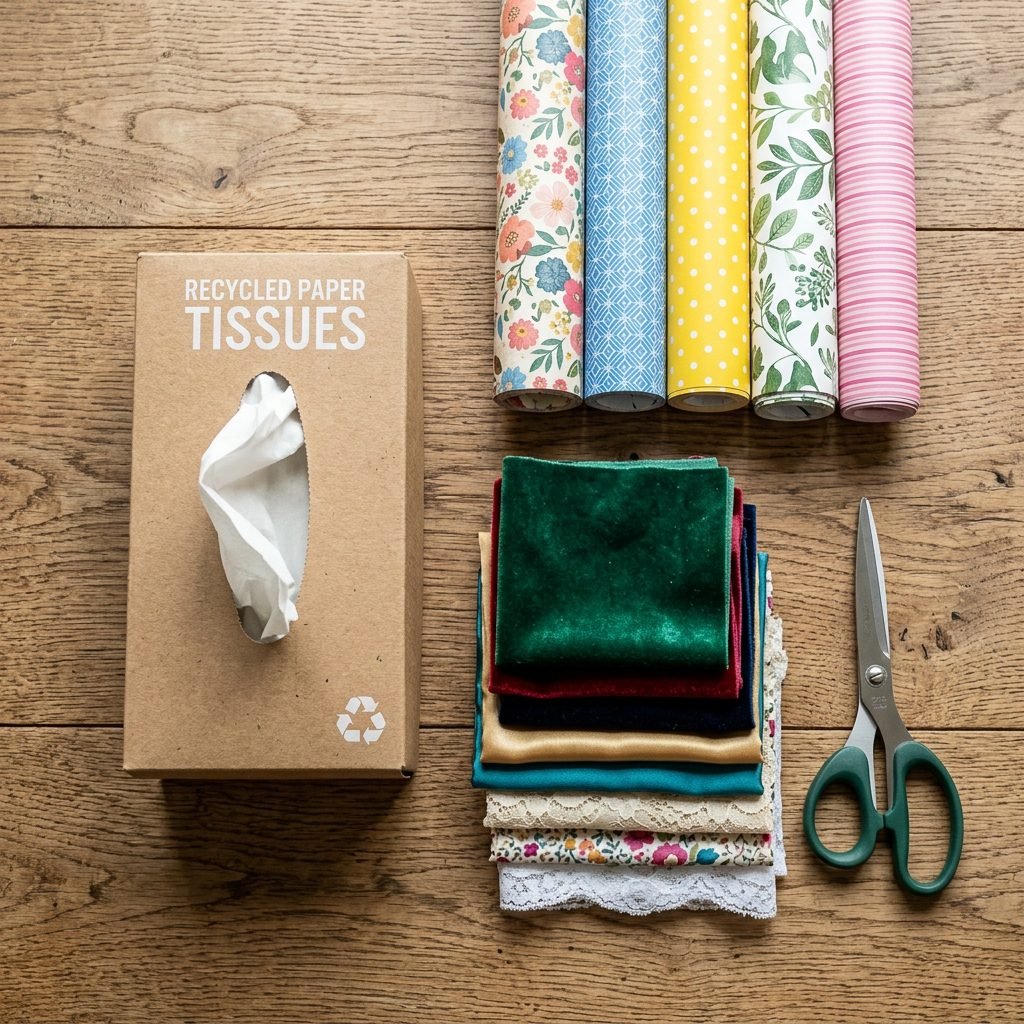
One of the best parts about being a ‘crafty mom’ is realizing that the most engaging toys don’t have to come from an expensive boutique. You likely have 90% of these materials in your home right now! The key here is variety. We want to stimulate as many senses as possible. When choosing your fabrics, think about color, weight, and texture. Avoid anything with loose glitter, small beads, or fraying edges that could become a choking hazard. Here is your master list for the ultimate sensory experience:
| Material | Purpose | Estimated Cost |
|---|---|---|
| Empty Tissue Box (Square or Rectangular) | The sturdy base for pulling | $0.00 (Upcycled) |
| Assorted Fabric Scraps (Silk, Cotton, Velvet) | Tactile variety and color recognition | $0.00 – $10.00 |
| Heavy-Duty Packing Tape or Non-Toxic Glue | To reinforce and decorate the box | $2.00 |
| Decorative Contact Paper or Paint | To make the box look beautiful in your nursery | $5.00 |
| Small Weights (Optional, like large smooth stones) | To keep the box from flipping over | $0.00 |
If you don’t have fabric scraps, look to your own closet! An old cotton T-shirt, a silk scarf you no longer wear, or even a clean microfiber cleaning cloth can work wonders. The goal is sustainability and utility. Remember, mama, your baby doesn’t care if the fabric is from a designer; they care about how it feels between their fingers.
Step-by-Step: Crafting Your Baby’s Very First Sensory Box
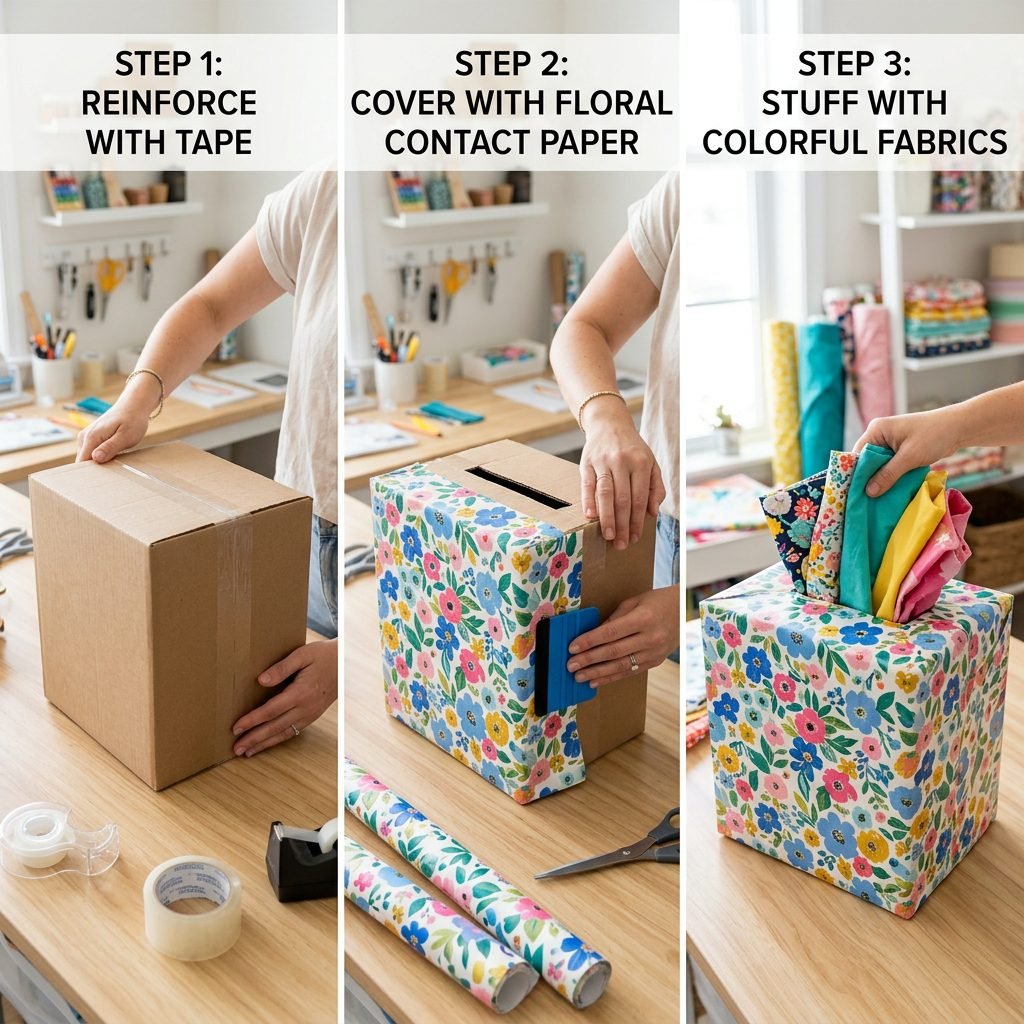
Ready to get your hands moving? This project takes about 20 minutes from start to finish. Follow these steps to ensure your Magic Tissue Box is both functional and durable enough to withstand the ‘toddler test.’
- Reinforce the Base: Start with your empty tissue box. If it’s a standard cardboard box, reinforce the bottom and corners with packing tape. If you want it to stay upright while baby pulls, glue a few large, smooth stones to the inside bottom and cover them with a piece of cardboard so they are inaccessible.
- Decorate for Style: Use contact paper or non-toxic paint to cover the outside. Choose colors that complement your nursery decor. Soft pastels are calming, while high-contrast black and white patterns are amazing for younger infants (under 4 months).
- Prepare the ‘Tissues’: Cut your fabrics into squares roughly 6×6 inches. Use pinking shears if you have them to prevent fraying. You want about 10 to 15 pieces for a standard box.
- The Chain Technique: To make the pulling continuous, you can lightly stitch the corners of the fabrics together or simply fold them into one another like real tissues. This creates that ‘never-ending’ magic effect that babies find so mesmerizing.
- The Final Load: Stuff the fabrics into the box, leaving just a small ‘tail’ of the first fabric poking out of the top.
Doula Tip: If your baby is in a ‘mouthing’ phase, ensure all fabrics are pre-washed with baby-safe, fragrance-free detergent. We want this play to be as clean as it is fun!
The Sensory Buffet: Choosing Fabrics that Spark Brain Growth
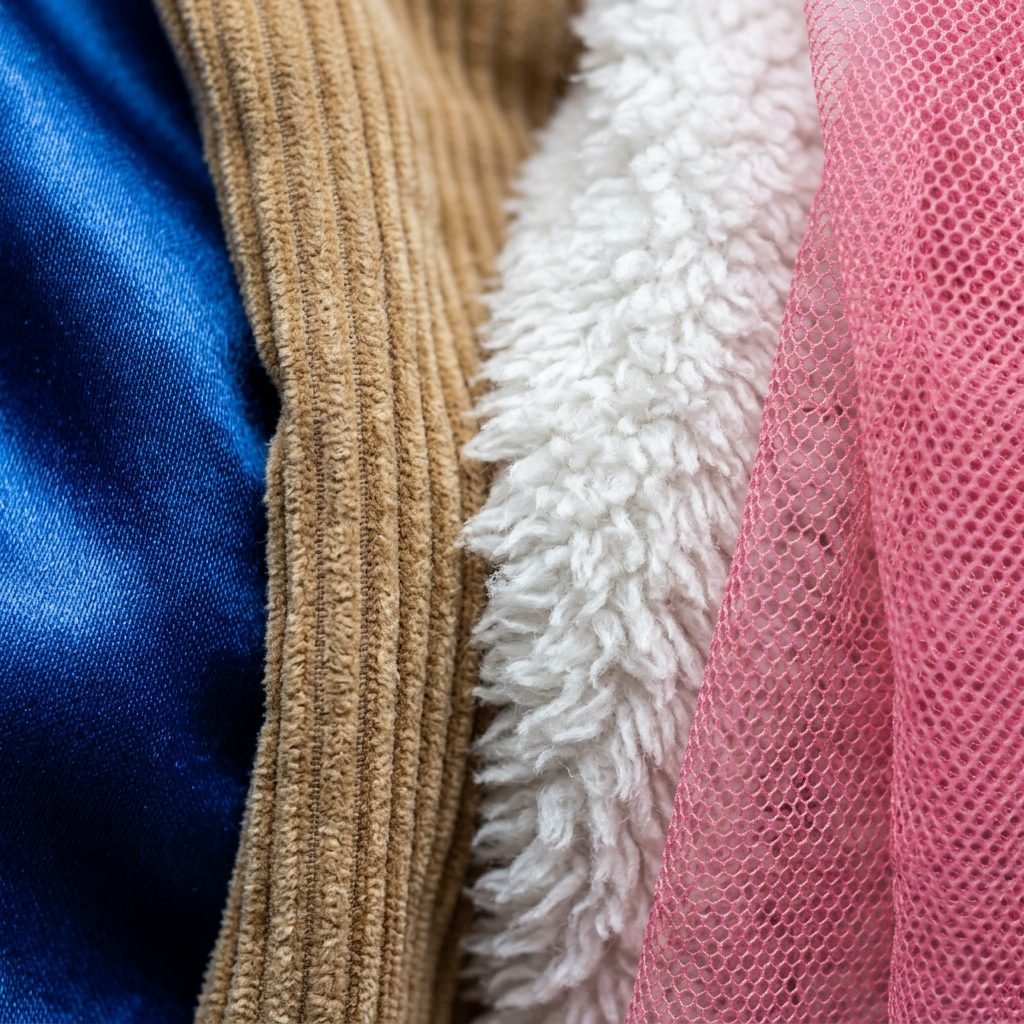
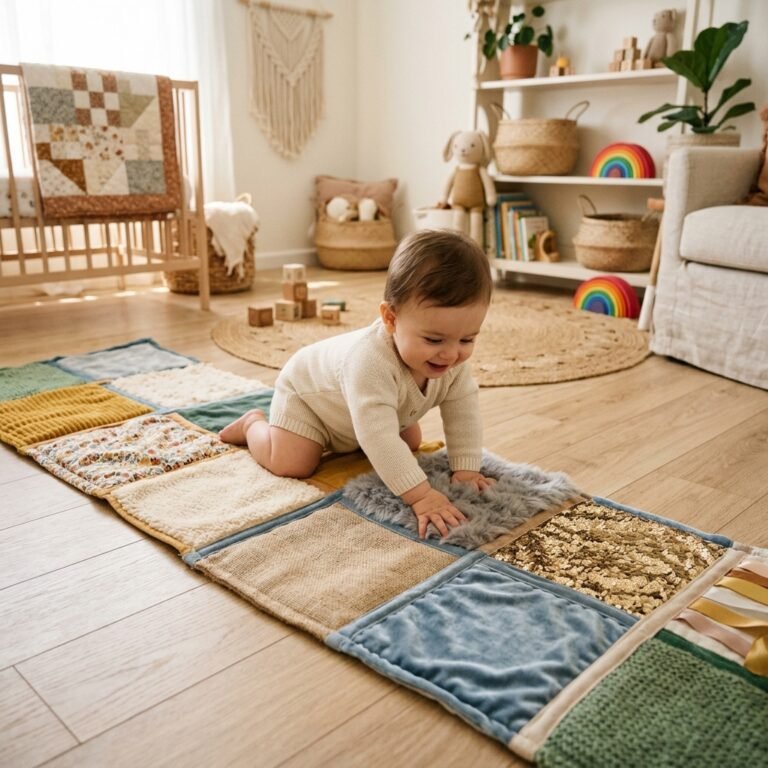
Not all fabrics are created equal in the eyes of a developing infant. To maximize the sensory input, you want to provide a ‘buffet’ of tactile experiences. This is where the ‘Magic’ really happens. Different textures send different signals to the somatosensory cortex in the brain. Here are some suggestions for your fabric mix:
- Satin or Silk: These are ‘cool’ and ‘slippery.’ They glide through the fingers easily, teaching baby about low-friction surfaces.
- Corduroy or Seersucker: The ridges provide a ‘bumpy’ sensation that is highly stimulating for the nerve endings in the fingertips.
- Tulle or Mesh: These are ‘scratchy’ and ‘light.’ They also have a unique visual transparency that babies find fascinating.
- Cotton Jersey: Soft, stretchy, and familiar. It feels like a hug!
- Felt: Thick and ‘fuzzy.’ It provides more resistance when being pulled through the slot, which helps build hand strength.
By varying the resistance and texture, you are essentially giving your baby a mini-workout for their brain and hands. You can even include a ‘crinkle’ layer by sewing a piece of clean, food-grade cellophane inside a fabric square. The sound will add an auditory sensory layer that babies absolutely adore.
Beyond the Pull: Creative Games to Play with Your Magic Box

Once you’ve built the box, it’s time for the best part: playing together! While independent play is great, co-regulation and shared play strengthen the bond between you and your little one. Here are three ways to use the Magic Tissue Box to support milestones:
The Peek-a-Boo Surprise
As your baby pulls out a scarf, use it to play a quick game of peek-a-boo. Drape the silk over your face or theirs and say, ‘Where’s Mama?’ This reinforces social-emotional development and makes the toy a bridge for interaction.
The Color Naming Game
Even if your baby isn’t talking yet, they are absorbing every word you say. As they pull out a red cloth, say ‘Red! That is a bright red cloth.’ This early exposure to language and categorization is the foundation for future literacy.
The ‘Put It Back’ Challenge
As your baby nears 12 to 14 months, they will start to enjoy putting things *into* containers as much as taking them out. Encourage them to ‘feed’ the box the fabrics. This works on advanced hand-eye coordination and the concept of containment.
‘Play is the work of the child.’ — Maria Montessori. Your role is simply to provide the environment and watch the magic unfold.
Mama’s Safety First Guide: Ensuring a Worry-Free Playtime
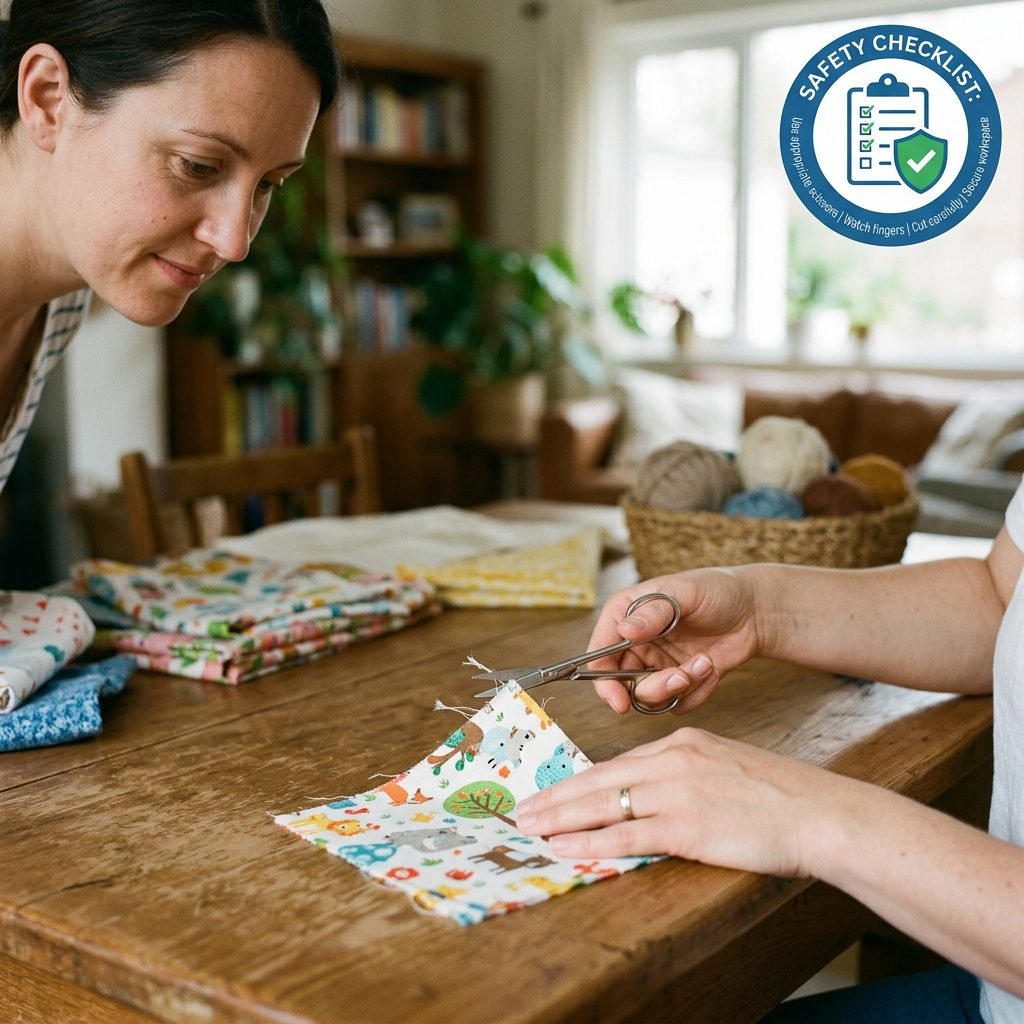
As a doula and safety-conscious mom, I have to remind you that supervision is key with any DIY toy. While the Magic Tissue Box is generally very safe, there are a few things to keep in mind to ensure peace of mind:
- Check for Wear and Tear: Regularly inspect the fabrics for loose threads or fraying. Small threads can wrap around tiny fingers (hair tourniquet syndrome) or be swallowed.
- Avoid Long Ribbons: Keep your fabric squares roughly square. Avoid long, thin ribbons or strings longer than 6 inches to prevent any risk of entanglement or strangulation.
- Non-Toxic Materials: Ensure that any glue or paint used on the box is ASTM D-4236 certified non-toxic. Since babies explore with their mouths, this is non-negotiable.
- Size Matters: Ensure the fabrics are large enough that they cannot be swallowed. A 6×6 inch square is usually a perfect, safe size.
When playtime is over, store the box in a dry place. If the fabrics get dirty, toss them in a mesh laundry bag and wash them on a gentle cycle. Keeping the toy clean and well-maintained ensures it remains a favorite for months to come!
Conclusion
You Created Magic Today, Mama!
There you have it—a simple, beautiful, and deeply intentional toy that you made with your own two hands. The Magic Tissue Box is more than just a distraction; it is a testament to your commitment to your baby’s growth and happiness. In a world of flashing plastic toys and loud noises, there is something so grounding about a simple box and some soft fabric. It invites focus, calm, and discovery. Remember, mama, you don’t need to buy the most expensive gear to be an incredible parent. Your presence, your creativity, and your love are the most important ‘sensory inputs’ your baby will ever receive. So, the next time you see your little one reaching for that real box of tissues, smile, hand them their Magic Box instead, and enjoy the wonder in their eyes. You’ve got this!