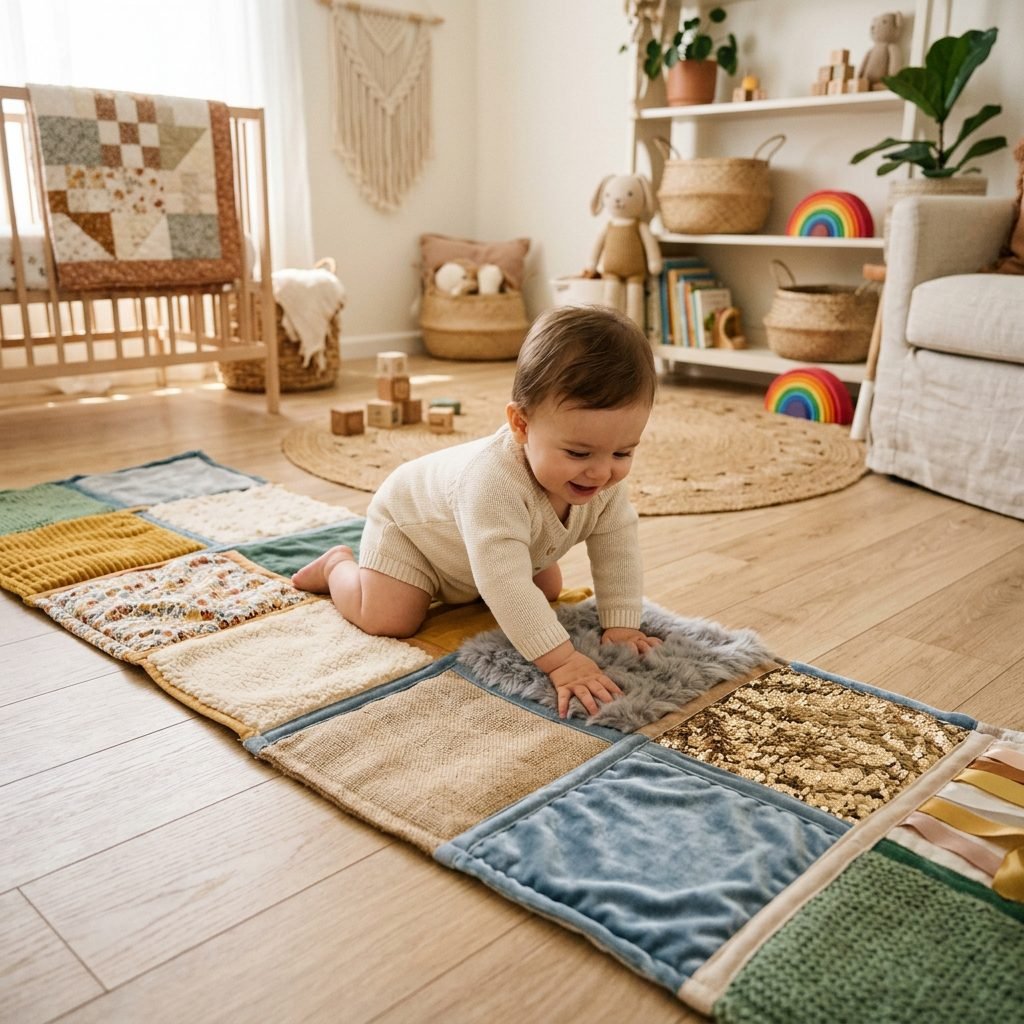
How to Make a DIY Fabric Scrap Sensory Path for Crawling Babies
Welcome to the Magic of Tactile Exploration, Mama!
There is something absolutely magical about the moment your little one moves from being a ‘stationary sweetie’ to a ‘determined explorer.’ As a doula and a mama who has seen many babies take those first wobbly lunges toward crawling, I know how much you want to support their development while keeping things cozy, safe, and—let’s be honest—stylish! A DIY Fabric Scrap Sensory Path is one of my favorite ‘slow-parenting’ projects. It’s not just a toy; it’s a brain-boosting tool that uses neuroplasticity to help your baby map their world through touch. By upcycling fabrics you already have—perhaps a scrap from your favorite maternity dress or a piece of their first swaddle—you’re creating a sentimental and functional heirloom that encourages the crawling milestone. In this guide, we’re going to dive deep into the ‘why’ and the ‘how,’ ensuring your baby’s sensory journey is as rich as it is safe.
Remember, mama: your baby’s brain is like a sponge right now. Every new texture they touch sends a spark of lightning through their neural pathways, building the foundation for motor skills and cognitive growth.
The Science of Sensory Play: Building Brains Through Touch
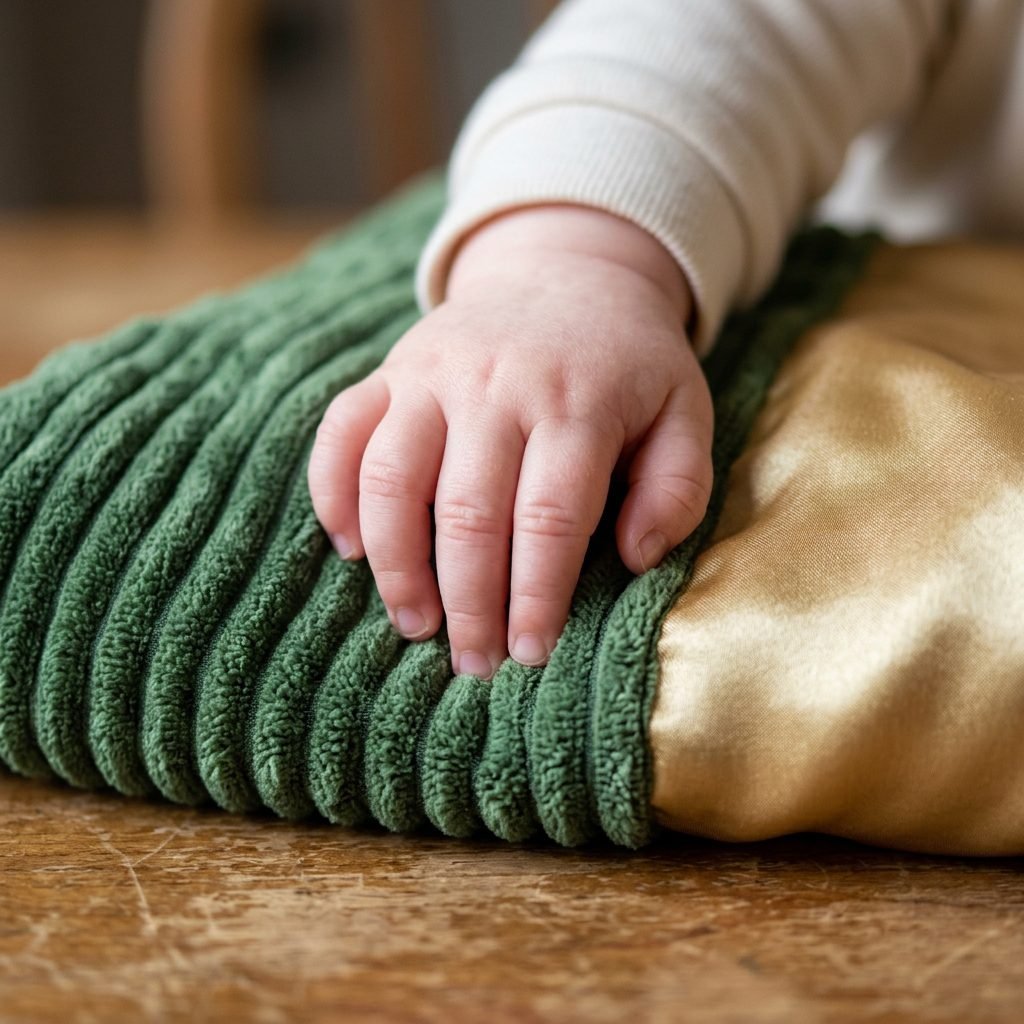
Why Texture Matters for Your Crawler
As a maternal wellness expert, I often talk about the sensory-motor stage of development. Between 6 and 10 months, your baby is learning to integrate information from their environment to coordinate their movements. When a baby crawls over a variety of textures—like the bumpiness of corduroy or the smoothness of satin—they are engaging their somatosensory system. This system is responsible for processing touch, pressure, and temperature.
The Benefits of a Sensory Path
- Proprioceptive Input: Different densities of fabric help babies understand how much force they need to use to move their bodies.
- Bilateral Coordination: Navigating a path encourages the ‘cross-lateral’ movement (right arm, left leg) essential for brain hemisphere integration.
- Tactile Discrimination: Learning to distinguish between ‘soft,’ ‘scratchy,’ ‘bumpy,’ and ‘slick’ is the first step toward complex cognitive categorization.
By creating a dedicated sensory path, you are providing a safe ‘yes’ space where exploration is encouraged, helping to reduce the frustration that sometimes comes with the physical effort of learning to crawl.
Gathering Your Materials: A Budget-Friendly Treasure Hunt
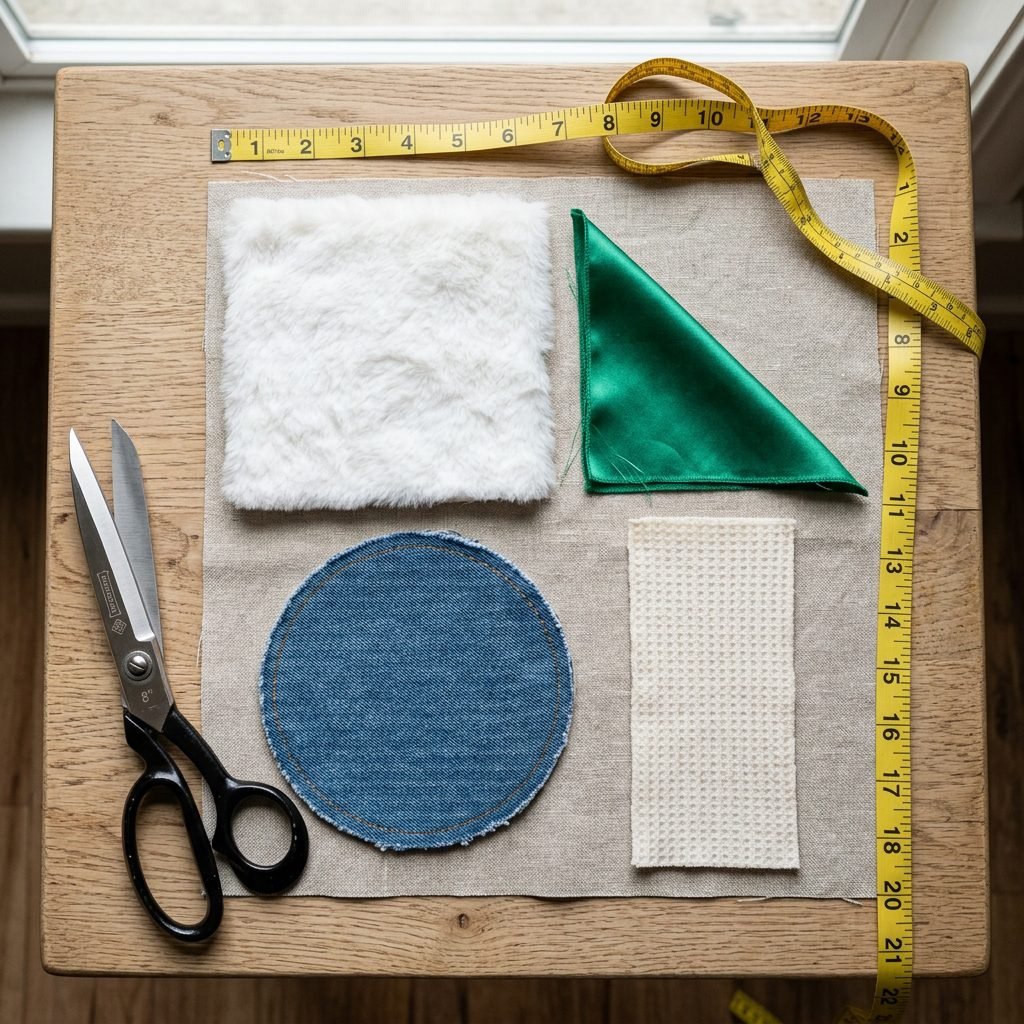
Curating the Perfect Palette of Textures
You don’t need a massive budget to create a high-end sensory experience. In fact, some of the best materials are likely sitting in your scrap bin or at the back of your closet! When selecting fabrics, aim for maximum contrast. We want to stimulate both the eyes and the fingertips. Think about the ‘feel’ of the fabric: is it cool to the touch? Does it have a pile? Does it catch the light?
Safety First: The Golden Rules
Before we look at the list, let’s talk safety. Ensure all fabrics are pre-washed in baby-safe, fragrance-free detergent. Avoid any fabrics that shed fibers easily (like cheap faux fur) or have small embellishments like loose sequins or buttons that could become choking hazards. Everything must be secured firmly to the base.
| Fabric Type | Sensory Experience | DIY Source Idea |
|---|---|---|
| Faux Fur / Minky | Soft, fuzzy, comforting | Old throw pillow or baby blanket scrap |
| Corduroy / Seersucker | Ridged, bumpy, rhythmic | Worn-out toddler overalls or shirts |
| Satin / Silk | Slippery, cool, smooth | Old scarf or lining from a dress |
| Burlap / Canvas | Rough, coarse, sturdy | Eco-friendly shopping bags |
| Velvet | Dense, plush, luxurious | Holiday décor scraps |
Estimated Budget Breakdown
If you are buying new scraps from a craft store, expect to spend between $15 and $30. However, if you upcycle, this project can be virtually free! You will just need a sturdy backing material, such as a heavy canvas runner or an old non-slip yoga mat.
Step-by-Step Construction: Crafting Your Path
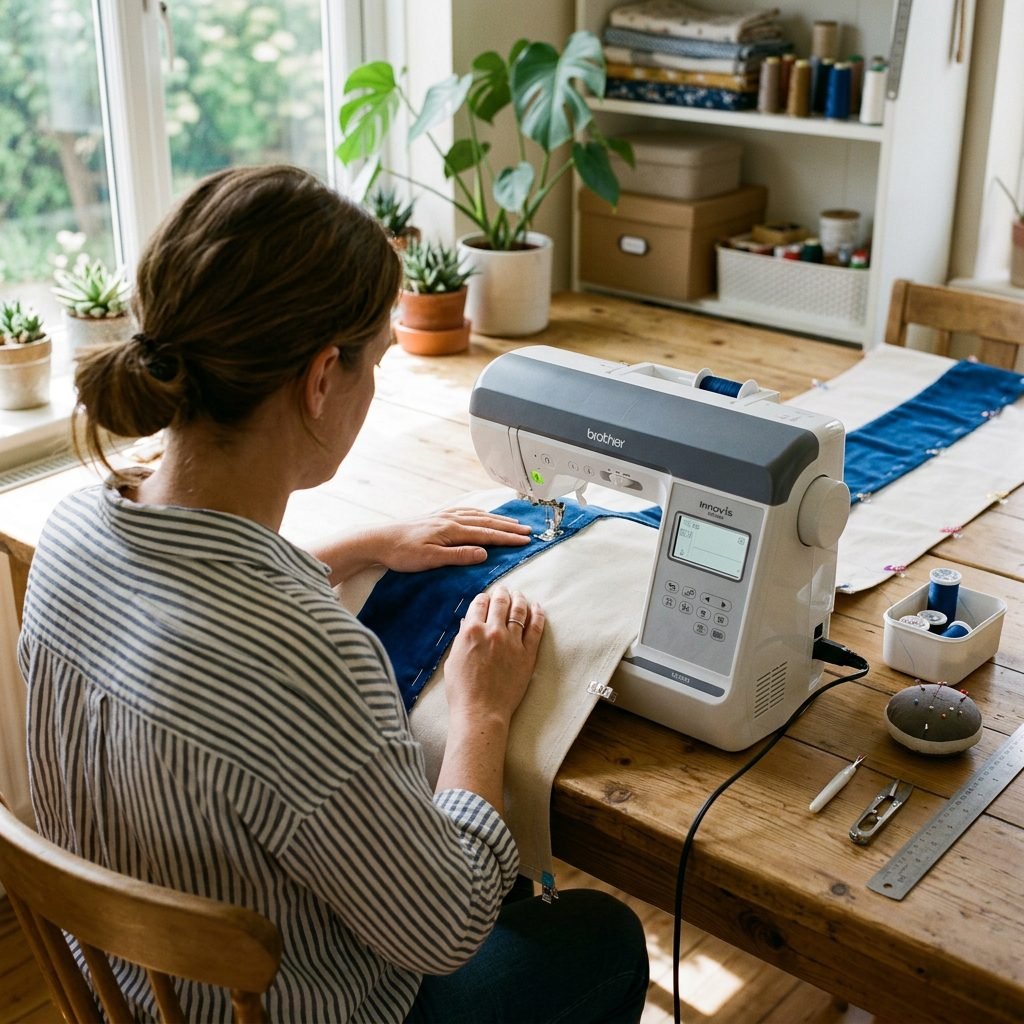
Bringing the Sensory Path to Life
Now, let’s get crafty! You don’t need to be a master seamstress to do this. You can use a sewing machine, hand-stitch, or even use a high-quality, non-toxic fabric glue if you prefer a no-sew option. The goal is durability; we want this path to withstand the ‘zoomies’ of a crawling infant!
The Construction Process
- Prepare the Base: Cut your backing material (canvas or yoga mat) to your desired length. I recommend a path that is at least 5 feet long and 2 feet wide. This gives baby plenty of room to ‘travel.’
- Layout the Design: Lay your fabric scraps out on the base before attaching them. I like to alternate ‘hard’ and ‘soft’ textures to keep the brain guessing. Leave about 1 inch of space between scraps if you plan to sew them.
- Secure the Edges: If sewing, use a zigzag stitch around the perimeter of each scrap to prevent fraying. If gluing, apply the adhesive generously to the edges and the center, then press down firmly with a heavy book while it dries for 24 hours.
- The Tug Test: Once everything is dry or sewn, give every piece a firm tug. If anything lifts, re-secure it. Your baby’s safety is the priority!
- Non-Slip Backing: If using canvas, make sure to add silicone grip dots or a rug pad underneath so the path doesn’t slide across the floor while baby is in motion.
Pro-Tip: Incorporate a ‘crinkle’ section! Place a piece of clean, empty cereal bag liner or specialized ‘crinkle paper’ underneath one of the fabric scraps before sewing it down. The sound will delight your baby and teach cause-and-effect!
Designing for Aesthetic & Development
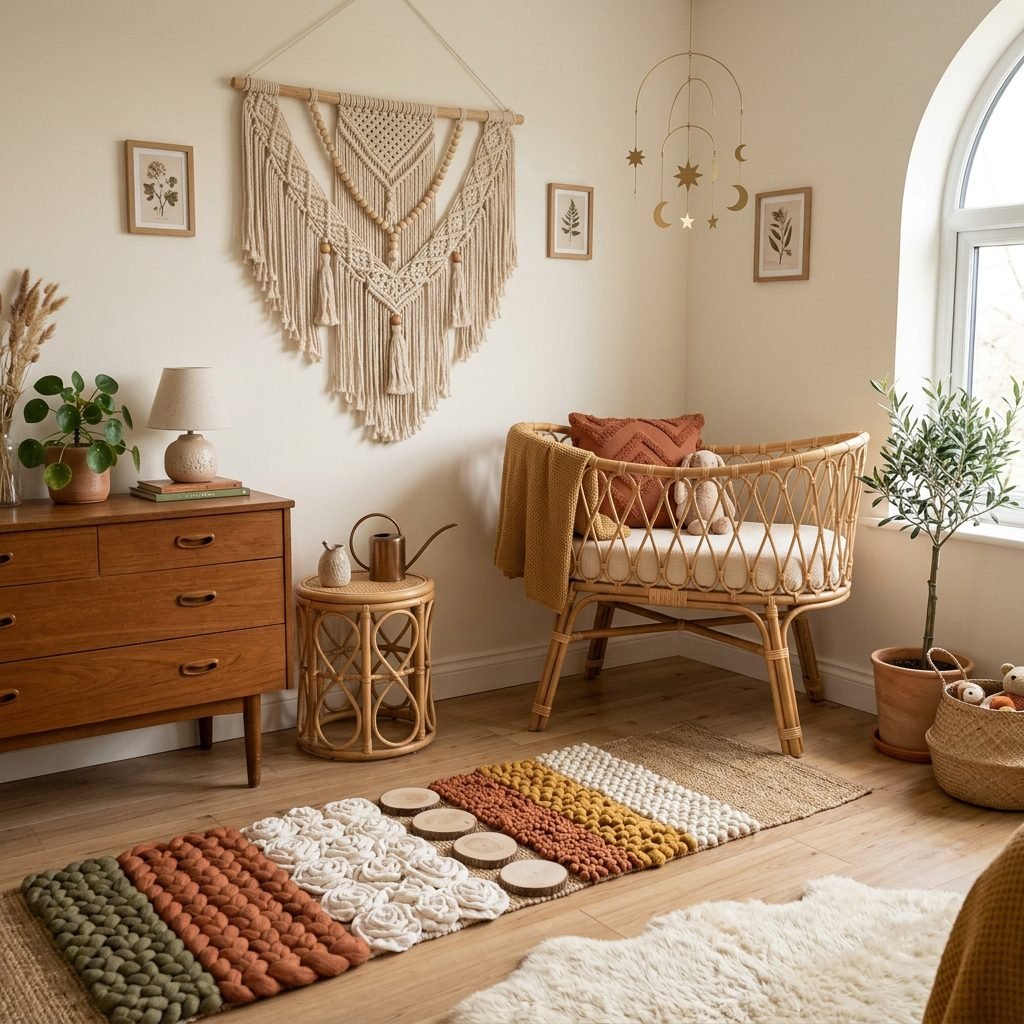
Merging Style with Function
As a nursery organizer, I know you want your home to feel like a sanctuary, not a primary-colored plastic factory. You can choose a color story that complements your home decor. A ‘Boho Earth’ palette with rusts, creams, and sage greens looks beautiful and is still highly engaging for a baby. Alternatively, a high-contrast black and white theme is excellent for younger babies whose vision is still developing.
Strategic Placement
Place your sensory path in a high-traffic ‘play zone’ where you spend a lot of time. This isn’t just for the baby; it’s for you, too! Position it so you can sit comfortably on the floor nearby. This encourages floor-time bonding, which is vital for postpartum emotional health. Seeing your baby achieve a ‘mini-milestone’ on something you made with your own hands is a huge confidence booster for any mama.
Maintenance and Care
Since this path will be on the floor, it will collect dust and the occasional spit-up. If you used fabric glue, spot cleaning is best. If you sewed the path onto a machine-washable canvas, you can wash it on a delicate cycle in a large mesh laundry bag and air dry. Always inspect the path after washing to ensure no threads have come loose.
Play Prompts: How to Use the Path with Your Baby
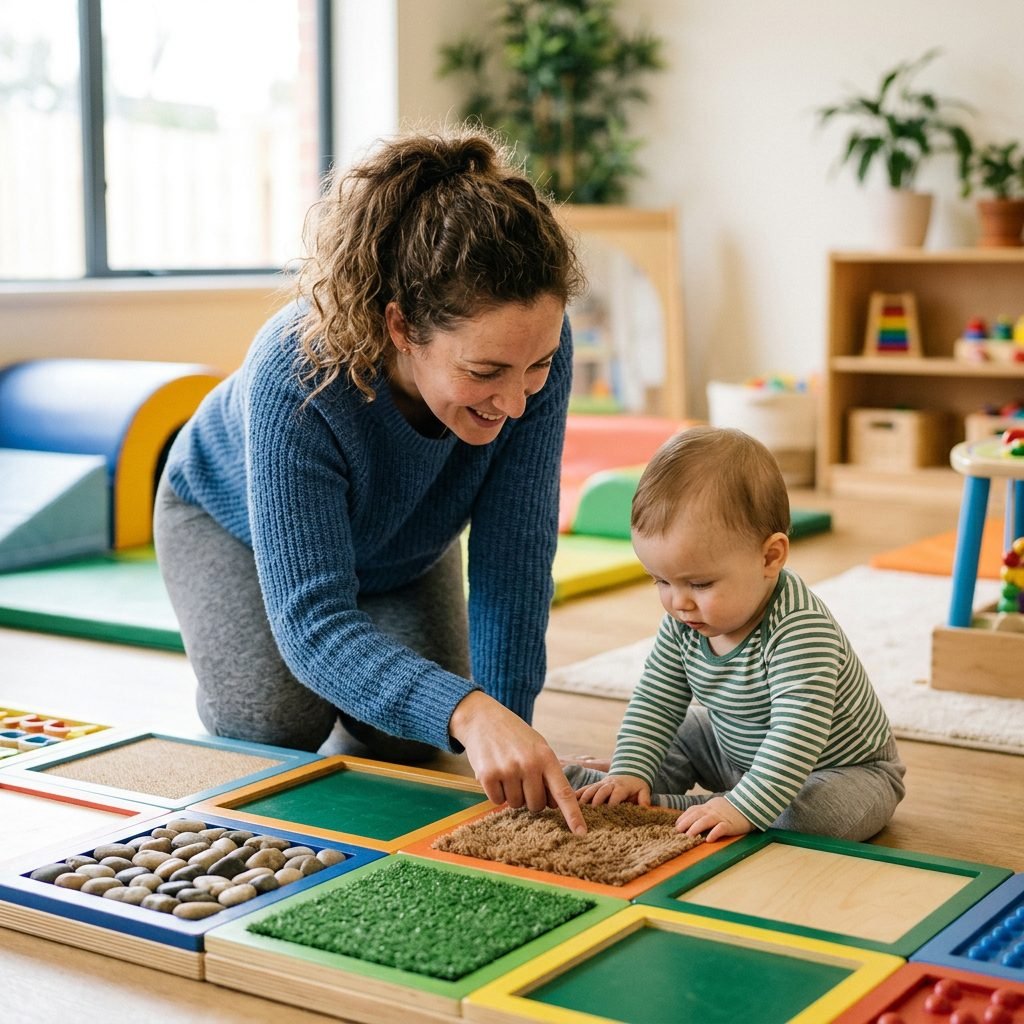
Engaging Your Little Explorer
The path is ready—now what? Don’t just set it down and walk away. This is a wonderful opportunity for scaffolded play. Here are a few ways to encourage your baby to use the path:
- The Lure: Place a favorite toy at the far end of the path. Watch as they navigate the different textures to reach their goal.
- Texture Narratives: As your baby touches a patch, use descriptive words. ‘Oh, that’s soft like a bunny!’ or ‘That feels bumpy like a road!’ This builds early language skills.
- Tummy Time Transition: For babies not yet crawling, use the path for tummy time. Let them reach out and scratch the different surfaces to build shoulder strength.
- Barefoot Benefits: Let your baby explore the path with bare feet and bare knees. The skin-to-fabric contact provides much more sensory information than they would get through clothing.
If your baby seems hesitant, don’t worry. Some babies are more sensory-sensitive than others. Let them explore at their own pace. You can even model the behavior by crawling alongside them—it’s great for your core strength, too!
Adapting the Path as Your Baby Grows
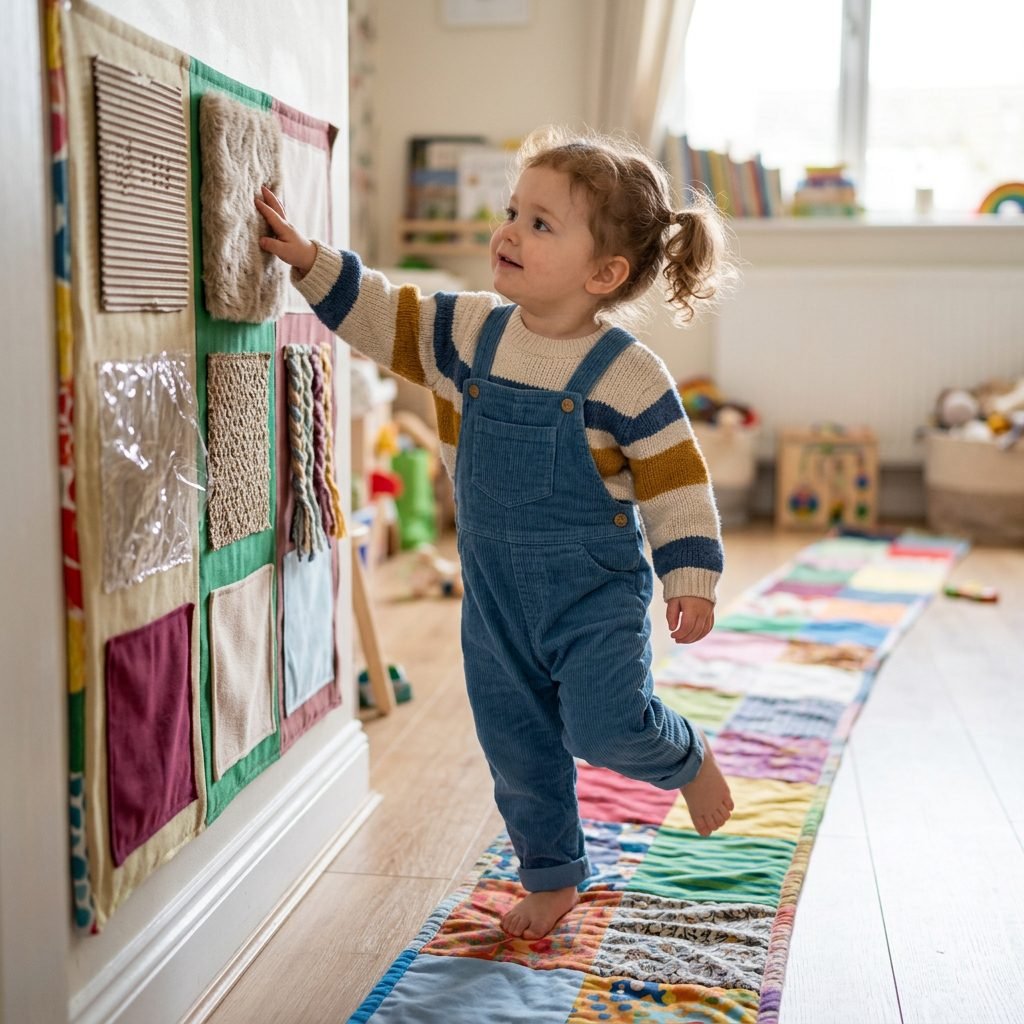
From Crawler to Toddler
One of the best things about this DIY project is its longevity. Your baby won’t be crawling forever, but the sensory benefits continue! As they transition to standing and walking, the path becomes a ‘balance beam.’
Ways to Level Up
- The ‘Touch and Find’ Game: Ask your toddler to ‘Find the fuzzy square!’ or ‘Step on the blue circle!’ This turns the path into a tool for learning colors and adjectives.
- Sensory Wall: If you find you no longer have floor space, you can mount the path vertically on a wall at toddler height. It becomes a ‘fidget wall’ that can help calm a child during overstimulating days.
- Obstacle Course: Integrate the path into a larger indoor obstacle course using pillows and tunnels to keep those gross motor skills sharp.
Mama, you are doing such an incredible job providing these rich experiences for your little one. Whether your path is a perfectly sewn masterpiece or a rustic glue-gun creation, the love and intention you put into it are what truly matter.
Conclusion
You’ve Created More Than Just a Path
Building a DIY Fabric Scrap Sensory Path is a beautiful way to celebrate your baby’s budding independence. It’s a testament to your creativity and your commitment to their growth. As you watch those little knees shuffle across the textures you chose, take a moment to breathe and realize how far you’ve both come. From those first days of newborn snuggles to this active stage of exploration, you are their steady guide and their biggest cheerleader. Enjoy these tactile moments, mama—they go by in the blink of an eye, but the neural connections you’re helping them build will last a lifetime. Happy crafting and happy crawling!