How to Make Braided Fabric Pacifier Clips (A Safe and Easy DIY)
Welcome to Your Creative Nest, Mama!
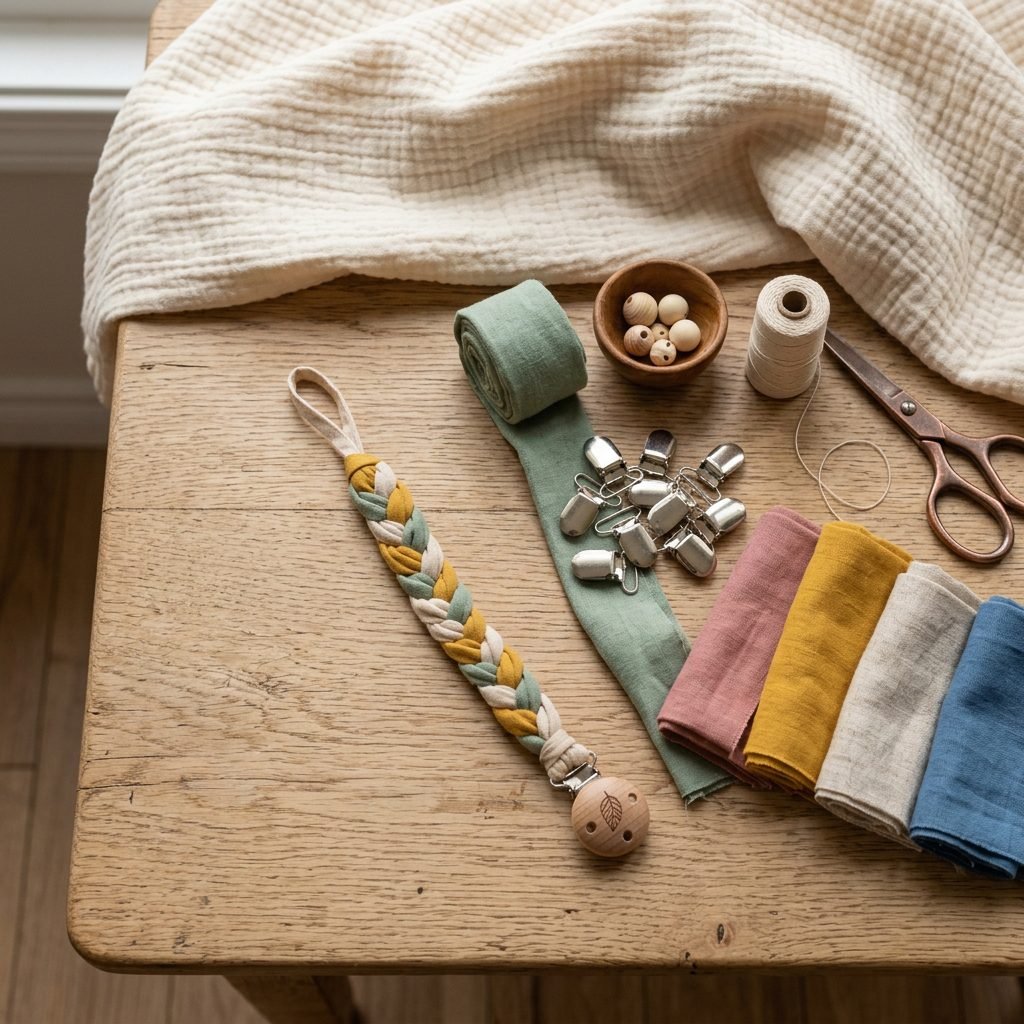
There is something so deeply grounding about creating something with your own two hands while you wait for your little one to arrive, or even during those quiet naptime windows in the postpartum weeks. As a doula, I have seen my fair share of baby gear, and while the store-bought options are fine, they often lack that personal, soulful touch that a handmade item carries. Today, we are diving into the world of DIY Braided Fabric Pacifier Clips. Not only are these clips a stylish accessory for your baby’s outfit, but they are also a practical solution to the ‘missing pacifier’ mystery that every parent eventually faces. We want to ensure that whatever touches your baby’s skin and stays near their face is made from the safest, most breathable materials possible. This project is designed to be easy enough for a beginner yet beautiful enough to be the star of a baby shower gift basket. We will focus on safety-first construction, non-toxic materials, and that soft, braided texture that provides a gentle sensory experience for tiny hands. Grab a cup of red raspberry leaf tea, find a comfortable spot, and let’s start crafting for your sweet babe.
Gathering Your Materials: The Budget-Friendly Shopping List
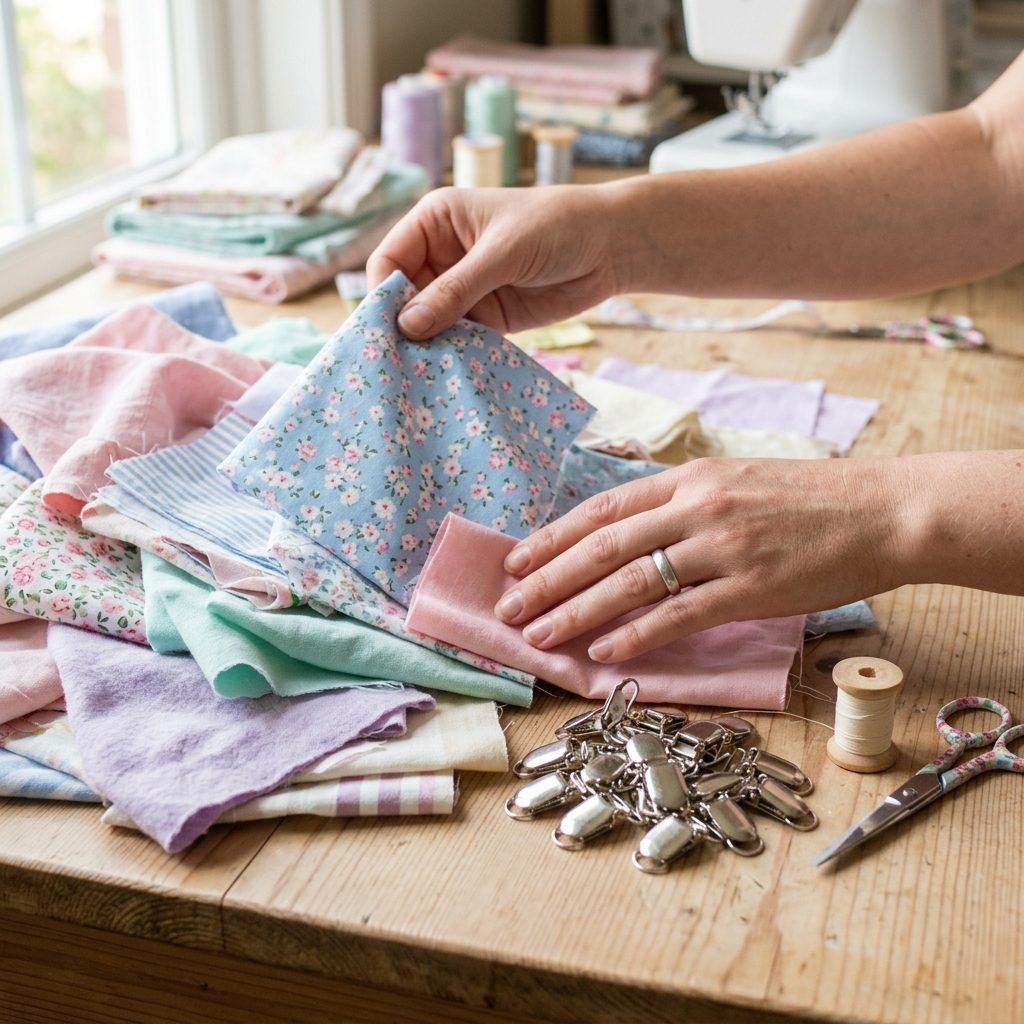
Before we start braiding, we need to gather our supplies. One of the best things about this project is that it is incredibly budget-friendly. You likely have some fabric scraps lying around from a previous nursery project, or you can purchase small ‘fat quarters’ from your local craft store. When selecting fabric, I always recommend 100% organic cotton or a soft jersey knit. These materials are gentle on baby’s skin and easy to wash. You will also need lead-free, nickel-plated clips to ensure that if baby decides to explore the clip with their mouth (and they will!), they are not exposed to harmful chemicals.
| Material Item | Purpose | Estimated Cost |
|---|---|---|
| Organic Fabric Scraps | The body of the clip | $0.00 – $5.00 |
| Lead-Free Metal Clips | Attaches to baby’s clothing | $1.00 per clip |
| Heavy-Duty Cotton Thread | Ensures secure stitching | $2.00 per spool |
| Fabric Scissors or Rotary Cutter | Cutting precise strips | $0.00 (Existing) |
| Measuring Tape | Ensuring safety length | $0.00 (Existing) |
Pro Tip: Look for clips that have a plastic insert inside the ‘teeth.’ This prevents the metal from snagging or damaging your baby’s precious organic cotton onesies!
The Doula’s Safety Checklist: Non-Negotiables for DIY Clips
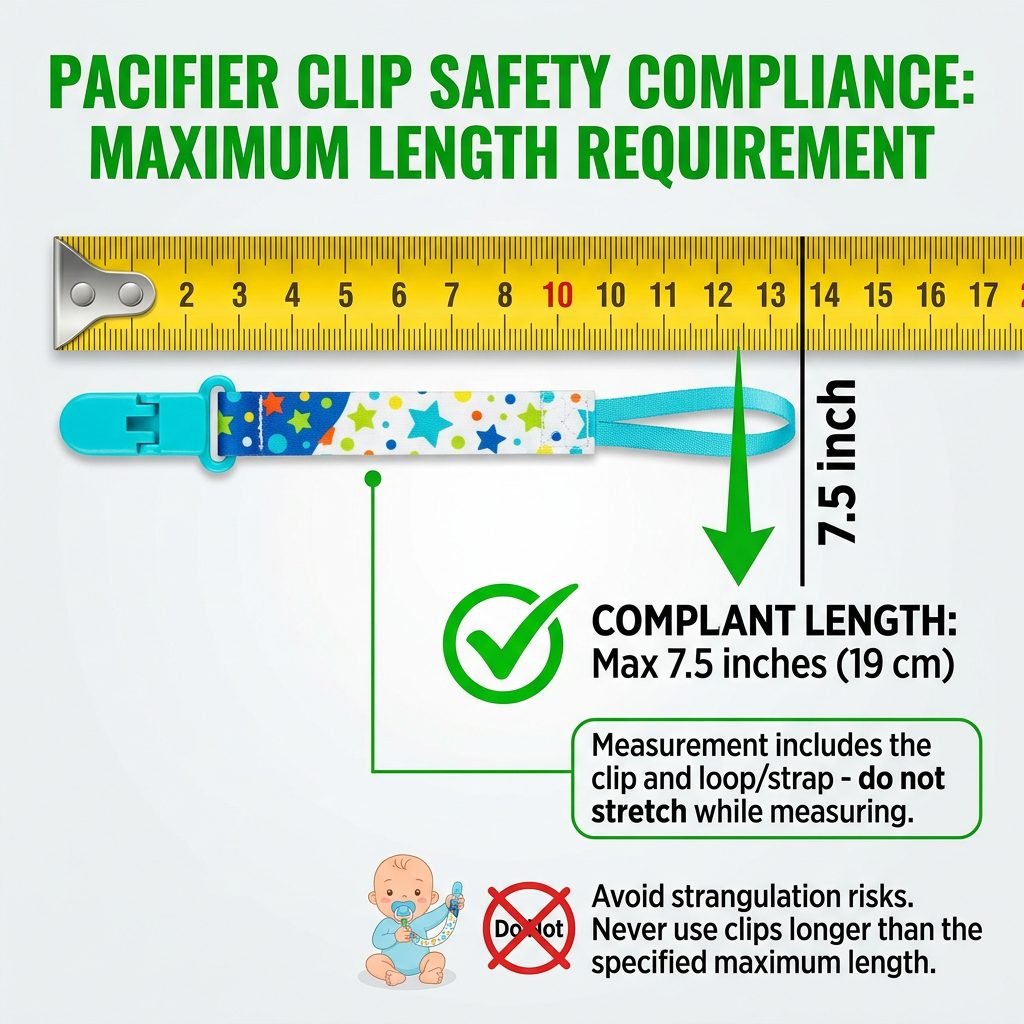
As your virtual doula, I must emphasize that safety is our absolute priority. While these clips are simple to make, they must adhere to specific safety standards to prevent any risks of strangulation or choking. Fabric clips are a wonderful alternative to beaded clips because they don’t have small parts that can pop off, but we still need to follow the rules. According to safety guidelines, the finished length of a pacifier clip should never exceed 7.5 to 8 inches (excluding the metal clip itself). Anything longer poses a strangulation risk if it wraps around a baby’s neck.
“Safety is the highest form of love we can provide in our craftsmanship. Every stitch is a promise of protection for our little ones.”
- Check for Wear and Tear: Always inspect the clip before each use. If you see any fraying or a loose clip, it is time to retire it.
- Never for Sleep: Pacifier clips should only be used when baby is awake and supervised. Never leave a clip on a sleeping baby in a crib or bassinet.
- Secure Stitching: Use a ‘backstitch’ or multiple passes on your sewing machine to ensure the fabric is firmly attached to the clip and the loop.
Step-by-Step: Crafting Your Braided Masterpiece
Now, let’s get into the heart of the project! This method uses a classic three-strand braid, which creates a sturdy yet flexible cord. This texture is wonderful for babies who are starting to develop their fine motor skills and love to grasp different surfaces.
- Cut Your Strips: Cut three strips of fabric. Each strip should be approximately 1 inch wide and 12 inches long. Don’t worry, the length will shrink as we braid!
- Prep the Fabric: Fold the long edges of each strip inward toward the center and give them a quick press with an iron. This hides the raw edges and prevents fraying.
- Secure to the Clip: Take your three strips and thread them through the bottom loop of the metal clip. Fold about 1 inch of the fabric over the loop and sew a straight line across all three strips to secure them to the clip.
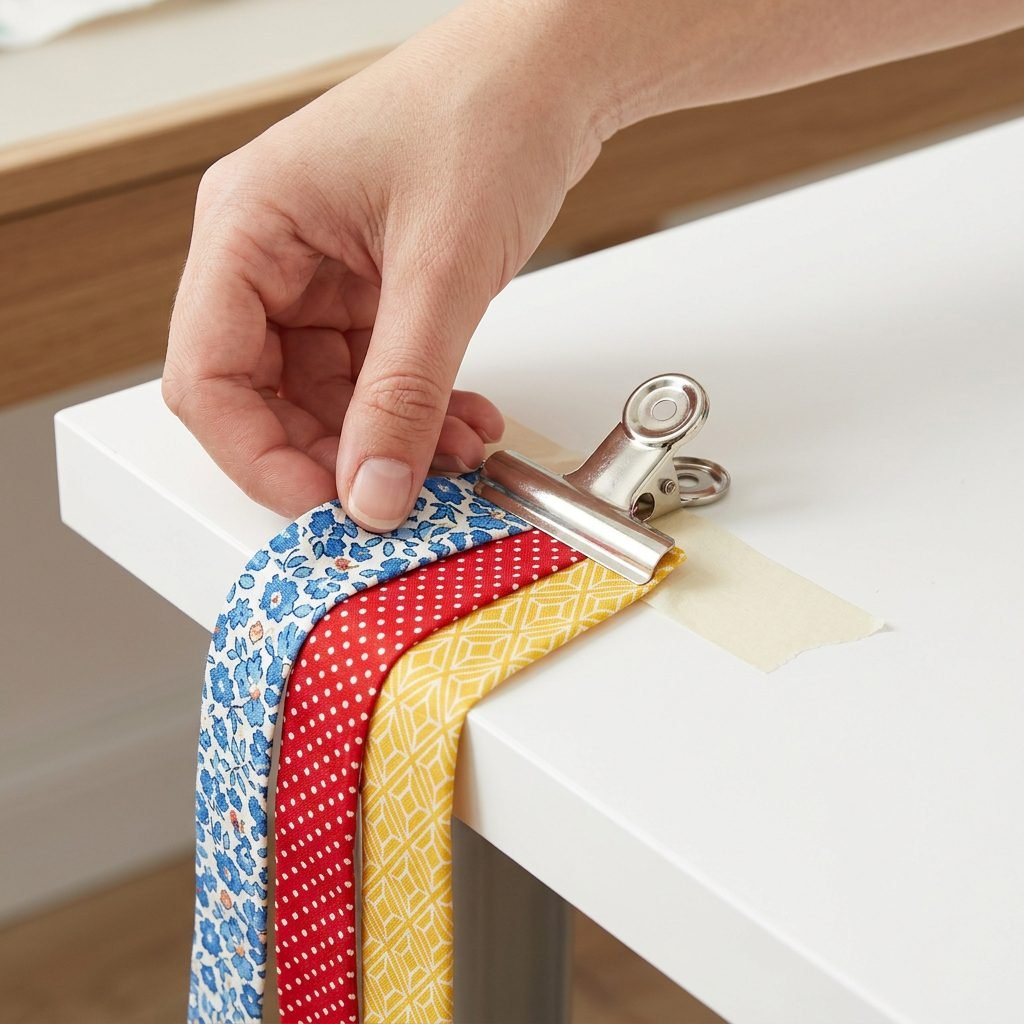
- The Braid: Tape the metal clip to a table or use a safety pin to secure it to a pillow. Begin braiding the three strips tightly. Keep your tension consistent so the braid looks uniform.
- Create the Loop: Once your braid reaches about 6.5 inches, stop. Take the remaining fabric ends, fold them back to create a 2-inch loop (this is what the pacifier will attach to), and sew them firmly to the end of the braid.
- Trim and Finish: Trim any excess fabric and use a zig-zag stitch or a bit of non-toxic fray check on the ends to ensure they stay neat.
Mama, you did it! You’ve just created a functional piece of art for your baby.
Styling Your Clips: From Boho Chic to Modern Minimalist
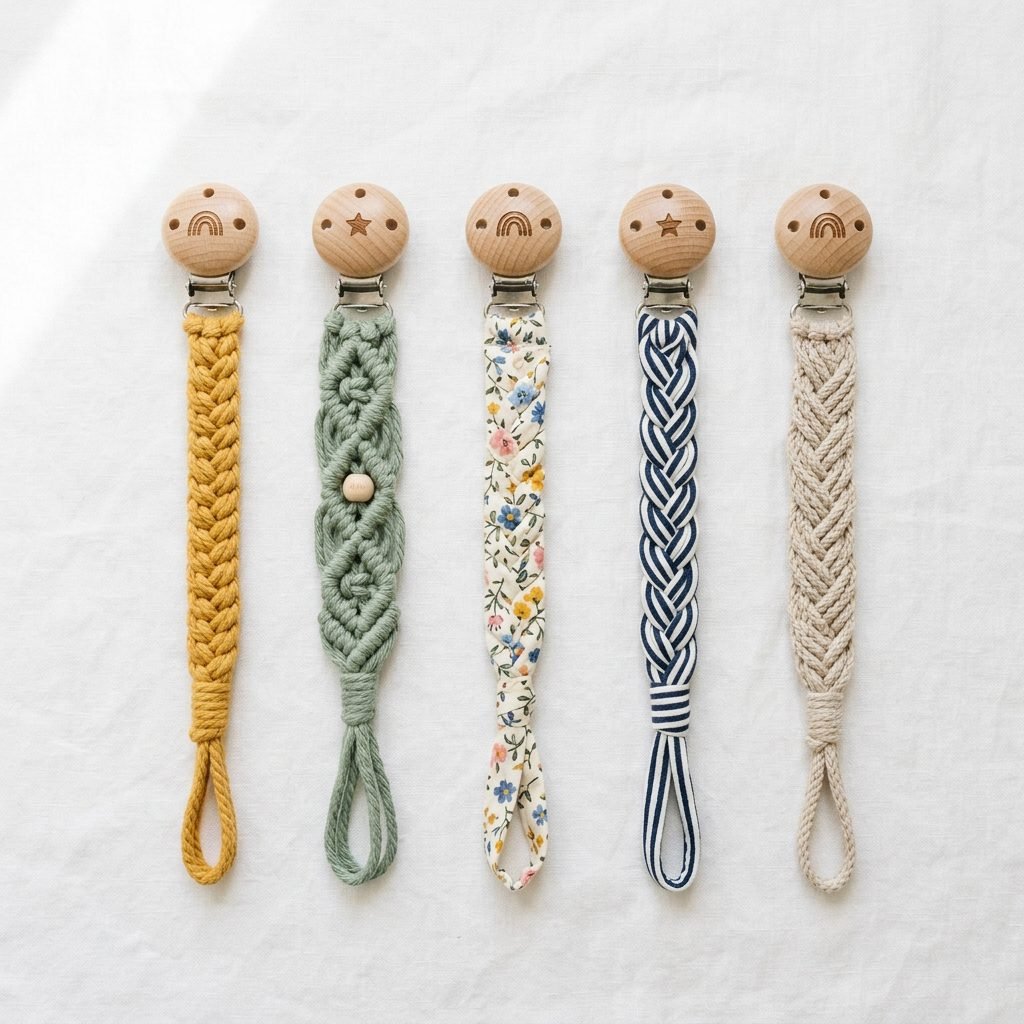
Half the fun of a DIY project is the styling! You can coordinate these clips with your nursery theme or your baby’s daily wardrobe. Since these are fabric-based, the possibilities are endless. I love the look of earthy tones like terracotta, sage green, and mustard yellow for a modern, gender-neutral vibe. If you prefer something more traditional, delicate floral prints or classic seersucker stripes never go out of style.
Theme Ideas for Your Clips:
- The Nature Lover: Use linen fabrics in oatmeal and forest green. Pair with a wooden-handled pacifier for a complete ‘forest floor’ aesthetic.
- The Modern Minimalist: Stick to solid jersey knits in charcoal, white, and navy. The clean lines of the braid will stand out beautifully.
- The Vintage Soul: Use liberty-print florals or reclaimed vintage lace strips mixed with solid cotton for a nostalgic, heirloom feel.
Remember, these clips make incredible baby shower gifts. You can create a ‘week of clips’ set with seven different colors, packaged in a cute reusable muslin bag.
Hygiene and Longevity: Caring for Your Fabric Clips
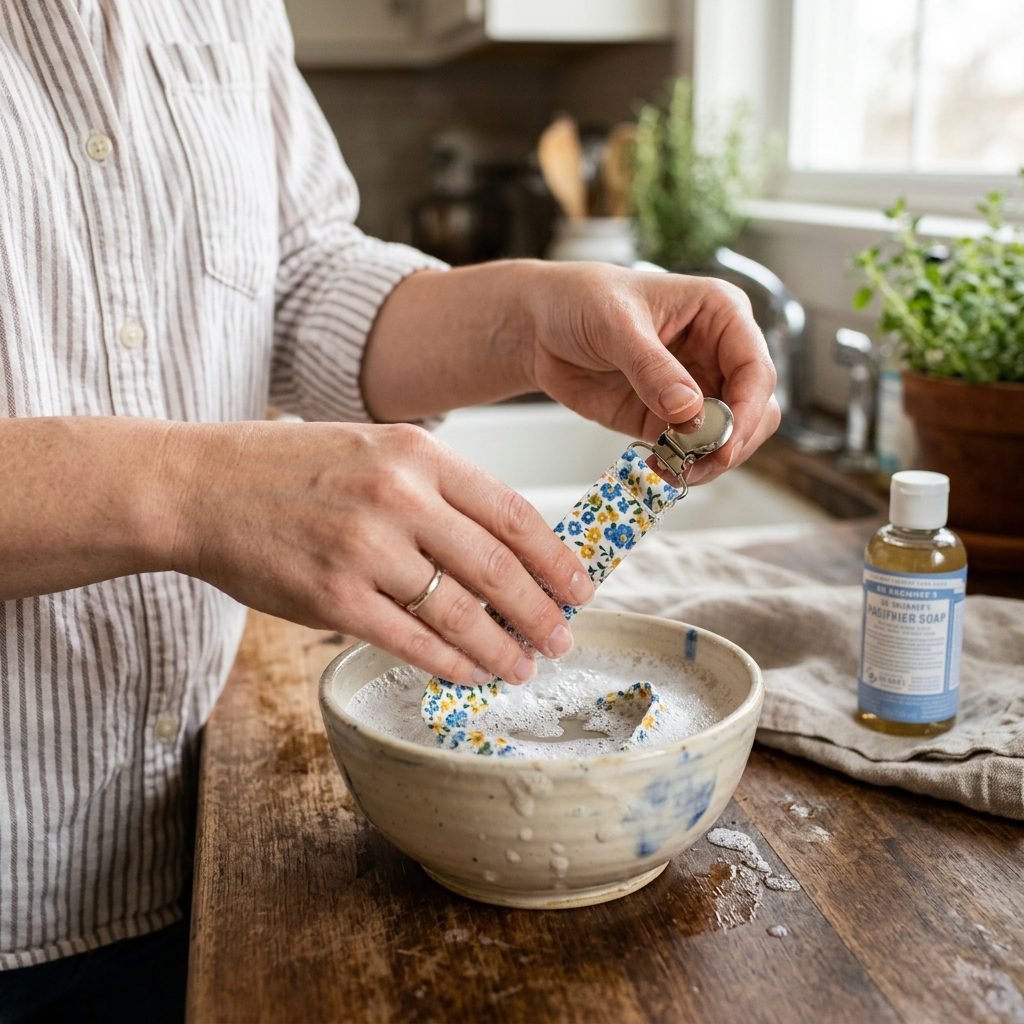
Babies are messy, and pacifier clips are often on the front lines of drool, spit-up, and dropped snacks. Because we used fabric, cleaning is a breeze! Unlike wooden or silicone clips that can trap moisture in crevices, fabric clips can be thoroughly refreshed. However, we must protect the metal clip from rusting.
| Cleaning Method | Best For… | Instructions |
|---|---|---|
| Hand Wash | Routine cleaning | Warm soapy water, scrub fabric, keep metal dry. |
| Machine Wash | Deep cleaning | Place in a mesh laundry bag, cold cycle, air dry. |
| Spot Clean | Quick fixes | Wipe with a baby-safe sanitizing wipe. |
Important Note: Always air dry your pacifier clips. Putting them in the dryer can cause the fabric to shrink unevenly and may damage the spring mechanism inside the metal clip. If the metal clip does get wet, dry it immediately with a soft cloth to prevent any spots or oxidation.
Gifting and Presentation: The Perfect Baby Shower Addition
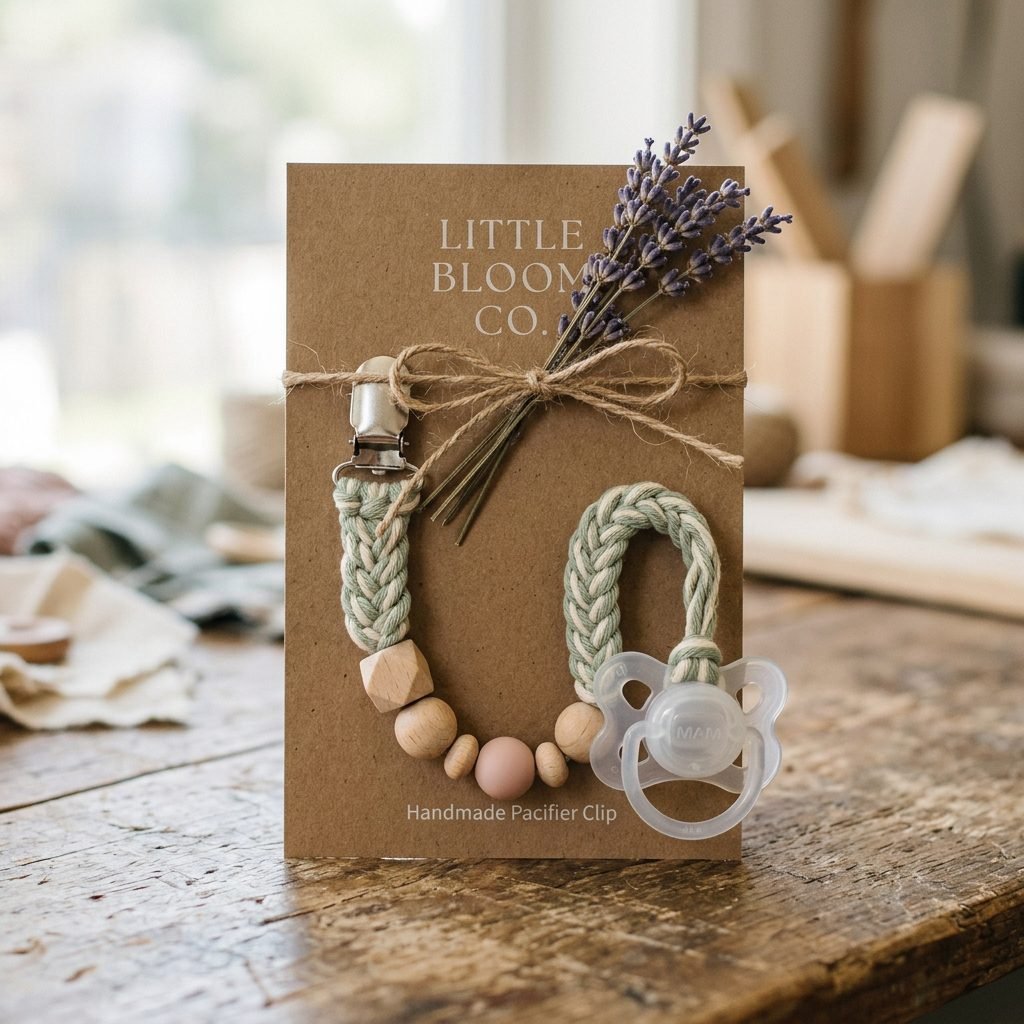
If you are a hostess or a friend planning a baby shower, these DIY clips are a game-changer. They are thoughtful, handmade, and highly practical. To elevate the presentation, I suggest creating a custom cardstock backing. Simply cut a rectangle of heavy paper, punch two slits in it, and slide the clip through. You can write a sweet note like, ‘Handmade with love for your little one’ or include the safety instructions we discussed earlier.
“A gift made by hand is a gift from the heart. It tells a new mama that she is supported and her baby is already loved by a village.”
You can even set up a ‘DIY Clip Station’ at a baby shower! Provide pre-cut strips and clips, and let the guests braid a clip for the mama-to-be. It is a wonderful, low-stress activity that results in a huge stash of clips for the new parents.
Conclusion
You Are Doing Great, Mama!
Creating these braided fabric pacifier clips is more than just a craft; it is a small act of preparation and love for the journey ahead. Whether you are nesting in your third trimester or looking for a creative outlet during the fourth trimester, I hope this project brings you a sense of accomplishment and joy. You now have a safe, stylish, and washable solution to keep those pacifiers off the floor and within baby’s reach. Remember, the best things in life aren’t just bought—they are often woven, braided, and stitched with love. Happy crafting, and enjoy these fleeting, beautiful moments with your little one!