How to Make a DIY Ribbon Sensory Ring Using Leftover Craft Supplies
Hello, sweet mama. If you are sitting there with a sleeping newborn on your chest or perhaps nesting in anticipation of your little one’s arrival, you know that the world of baby toys can feel a bit overwhelming—and surprisingly expensive. As a doula, I often see parents searching for ways to connect with their babies that don’t involve plastic flashing lights or loud electronic music. There is something profoundly healing and grounding about creating something with your own two hands. Today, we are going to channel that beautiful nesting energy into a project that is as simple as it is effective: the DIY Ribbon Sensory Ring. This isn’t just a craft; it is a tool for brain development, a gift of love, and a wonderful way to upcycle those beautiful ribbon scraps you’ve been saving from baby showers and gift baskets. Let’s take a deep breath together and dive into this mindful, creative journey that will delight your baby’s senses and give you a well-deserved moment of ‘maker’s peace.’
The Developmental Magic of Sensory Play
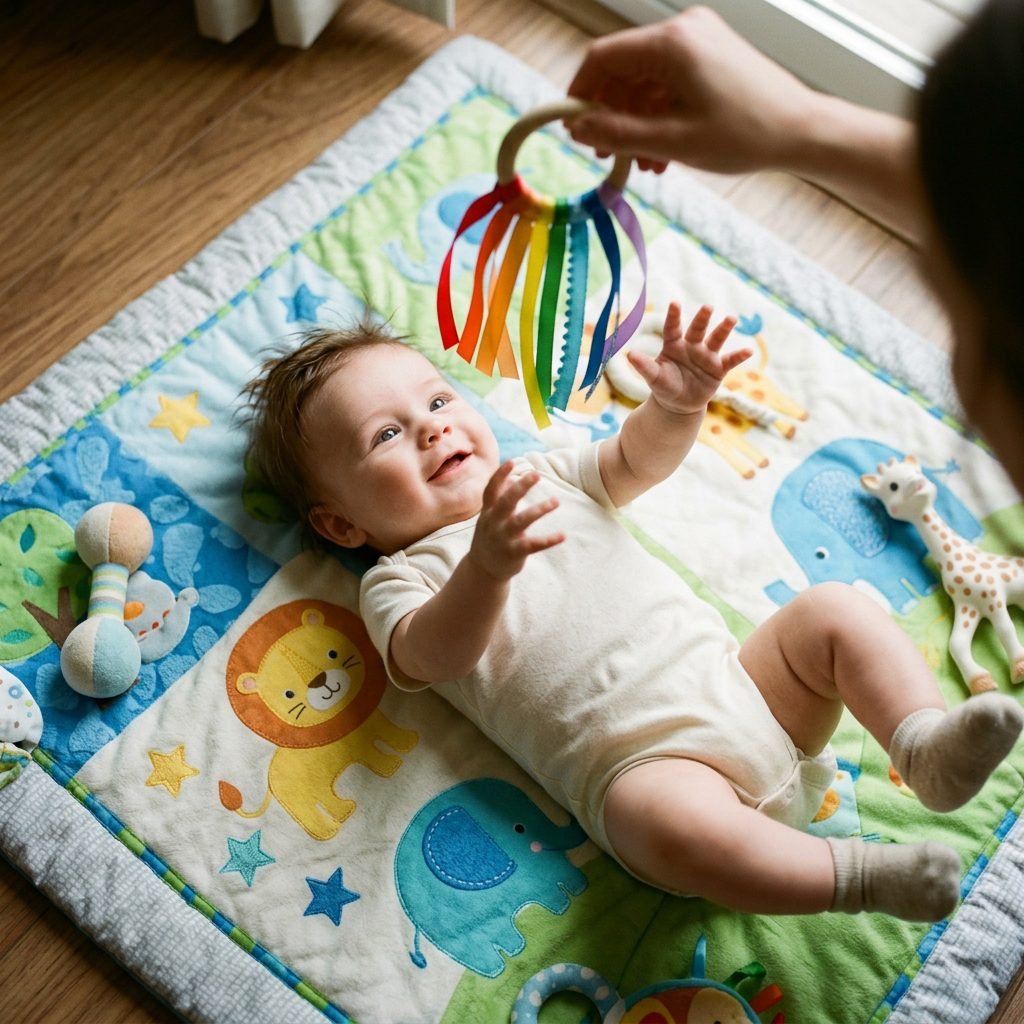
Before we pick up our scissors, let’s talk about the ‘why’ behind this beautiful toy. From a doula and developmental perspective, the first few months of life are a whirlwind of neural pathway formation. Your baby is learning to track objects with their eyes, reach with intention, and distinguish between different tactile sensations. A ribbon sensory ring is a powerhouse for these milestones. When your baby gazes at the dangling ribbons, they are practicing visual tracking and depth perception. As they begin to reach out, the varied textures—the smoothness of satin, the ridges of grosgrain, the softness of velvet—stimulate the somatosensory system, which is responsible for processing touch. This simple ring encourages the ‘palmar grasp’ reflex to transition into intentional gripping. By using a variety of colors and lengths, you are providing a rich environment for their growing brain to explore without overstimulating their delicate nervous system. It’s evidence-based play that feels like pure magic.
Gathering Your Supplies: The Sustainable Maker’s Kit
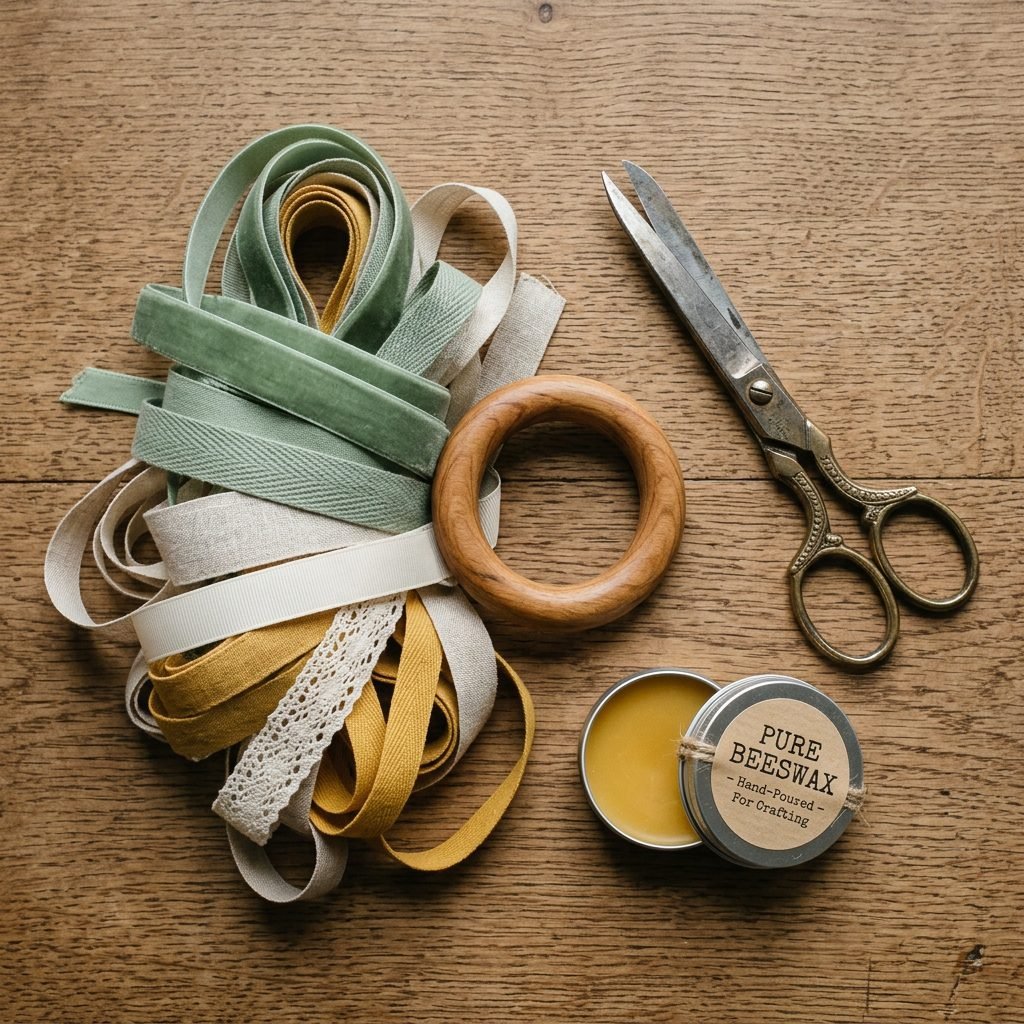
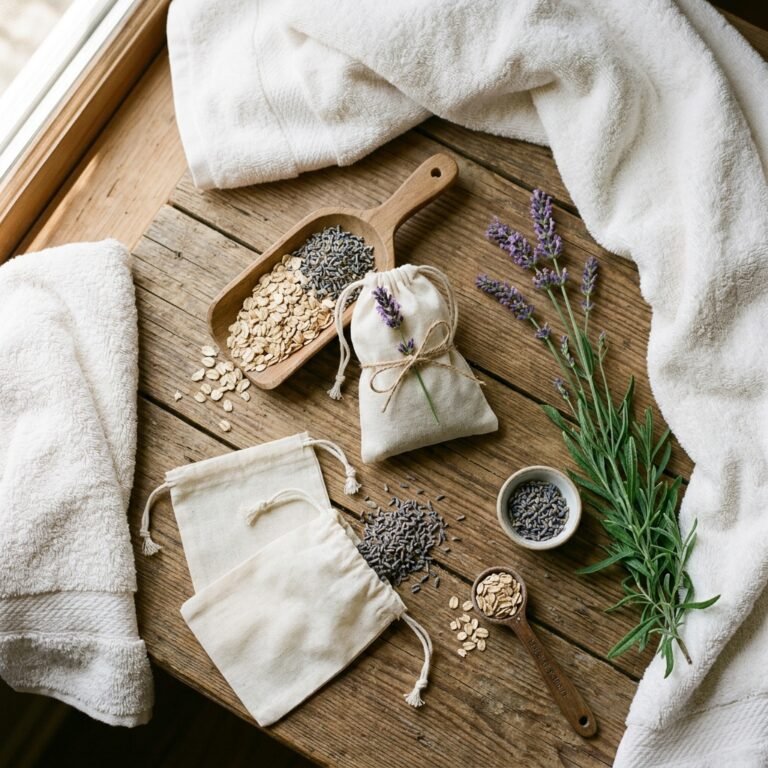
One of the most beautiful aspects of this project is its sustainability. You likely have almost everything you need tucked away in a craft drawer or a ‘pretty things’ box. When selecting your materials, prioritize natural, non-toxic elements. The base should be a high-quality wooden ring—think maple or beechwood—that hasn’t been treated with harsh chemicals. For the ribbons, this is your chance to play with texture! I love mixing widths and materials to give the baby a diverse tactile experience. Below is a breakdown of what you’ll need and the typical cost if you were to buy them new, though I encourage you to look through your stash first!
| Material | Purpose | Estimated Cost |
|---|---|---|
| 70mm Natural Wooden Ring | The sturdy base for grasping | $1.00 – $2.00 |
| Assorted Ribbon Scraps (10-12 inches) | Tactile and visual stimulation | $0.00 (Upcycled) |
| Fabric Scissors | Clean, fray-free cuts | $0.00 (Household) |
| Fray Check or Lighter | Sealing ribbon edges for safety | $0.00 – $3.00 |
| Organic Beeswax (Optional) | Sealing the wood ring | $2.00 |
Pro-Tip: If you are using a wooden ring from an old toy, give it a light sand with fine-grit sandpaper and rub it with a little food-grade coconut oil or beeswax to make it smooth and safe for little mouths.
Step-by-Step Tutorial: Crafting with Intention
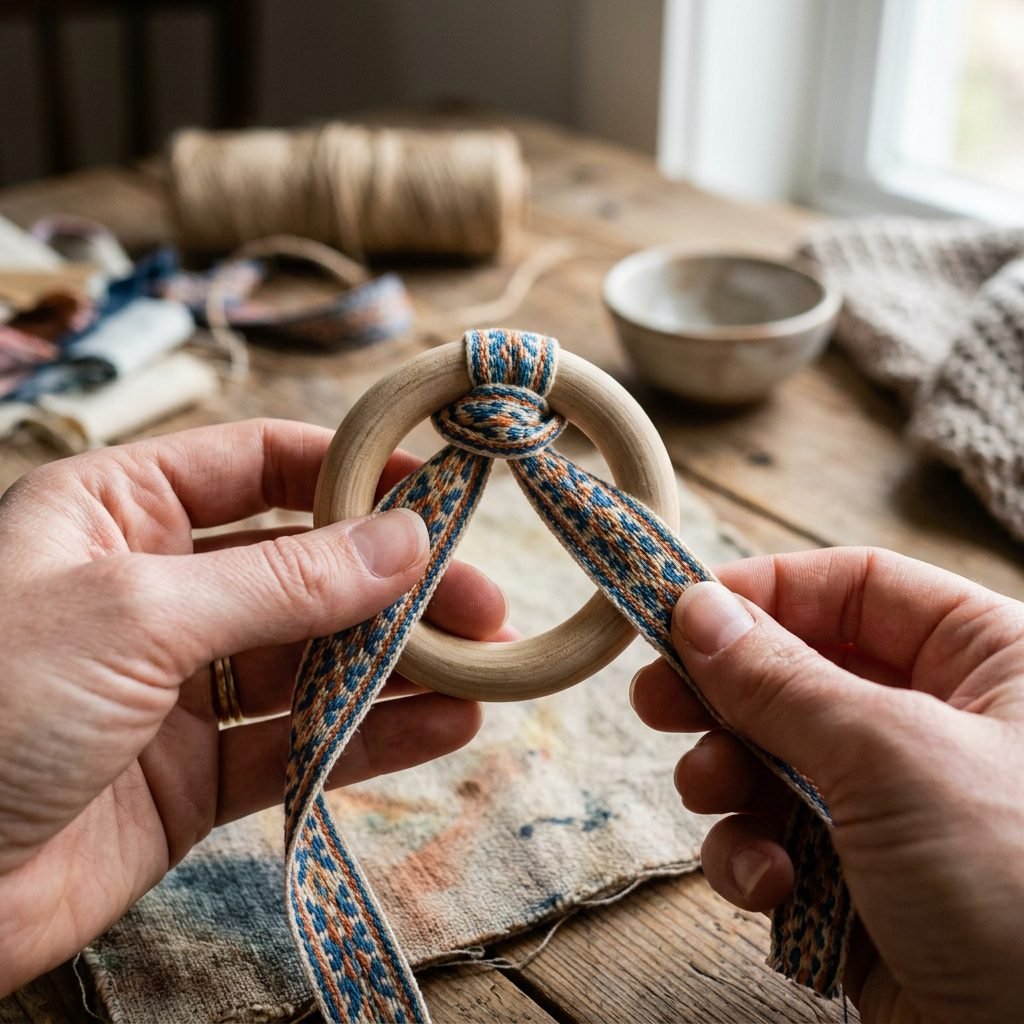
Now, let’s get into the rhythm of the craft. This is a wonderful activity to do while listening to a calming podcast or chatting with a friend. Follow these steps to ensure your sensory ring is both beautiful and secure.
- Prepare Your Ribbons: Cut your ribbons into lengths of approximately 10 to 12 inches. You want them long enough to dangle and flow, but not so long that they become a tangle hazard. Aim for 7 to 10 strips of ribbon.
- Seal the Edges: This is a vital safety step. Use a fray-check liquid or very carefully pass the cut edge of synthetic ribbons near a flame to melt and seal the ends. This prevents threads from coming loose and ending up in baby’s mouth.
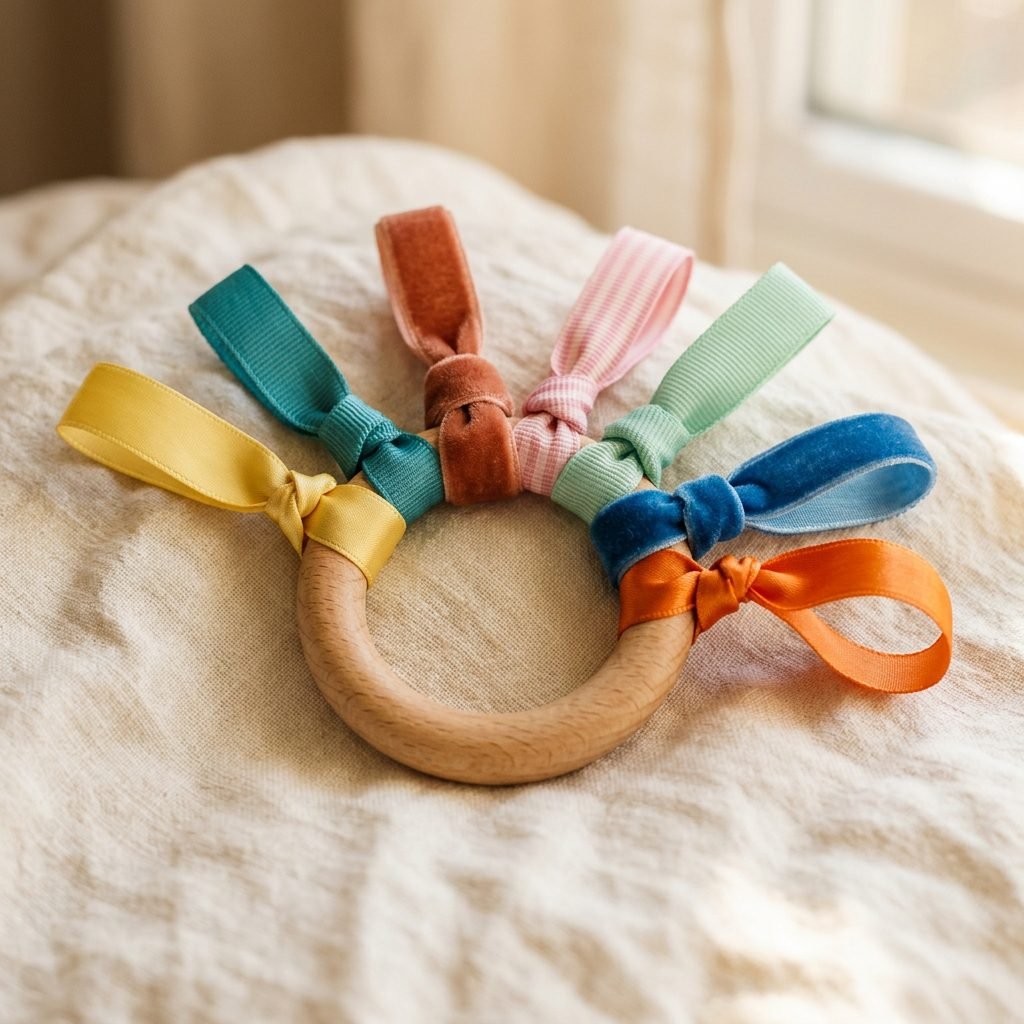
- The Lark’s Head Knot: Fold a ribbon in half to create a loop. Place the loop over the wooden ring, then pull the two tail ends of the ribbon through the loop and pull tight. This creates a secure, flat knot that won’t easily come undone.
- Alternate Textures and Colors: As you work your way around the ring, alternate your ribbons. Place a ridged grosgrain next to a slippery satin. This variety is what keeps the ‘sensory’ in sensory ring!
- The Tension Test: Once all ribbons are attached, give each one a firm tug. As a doula, I always say: ‘If in doubt, pull it out.’ You want these knots to be extremely secure.
Remember, mama: the goal isn’t perfection, it’s connection. Your baby won’t care if the knots are perfectly symmetrical; they will love the colors and the fact that it smells like home.
Safety Standards: Protecting Your Little Explorer
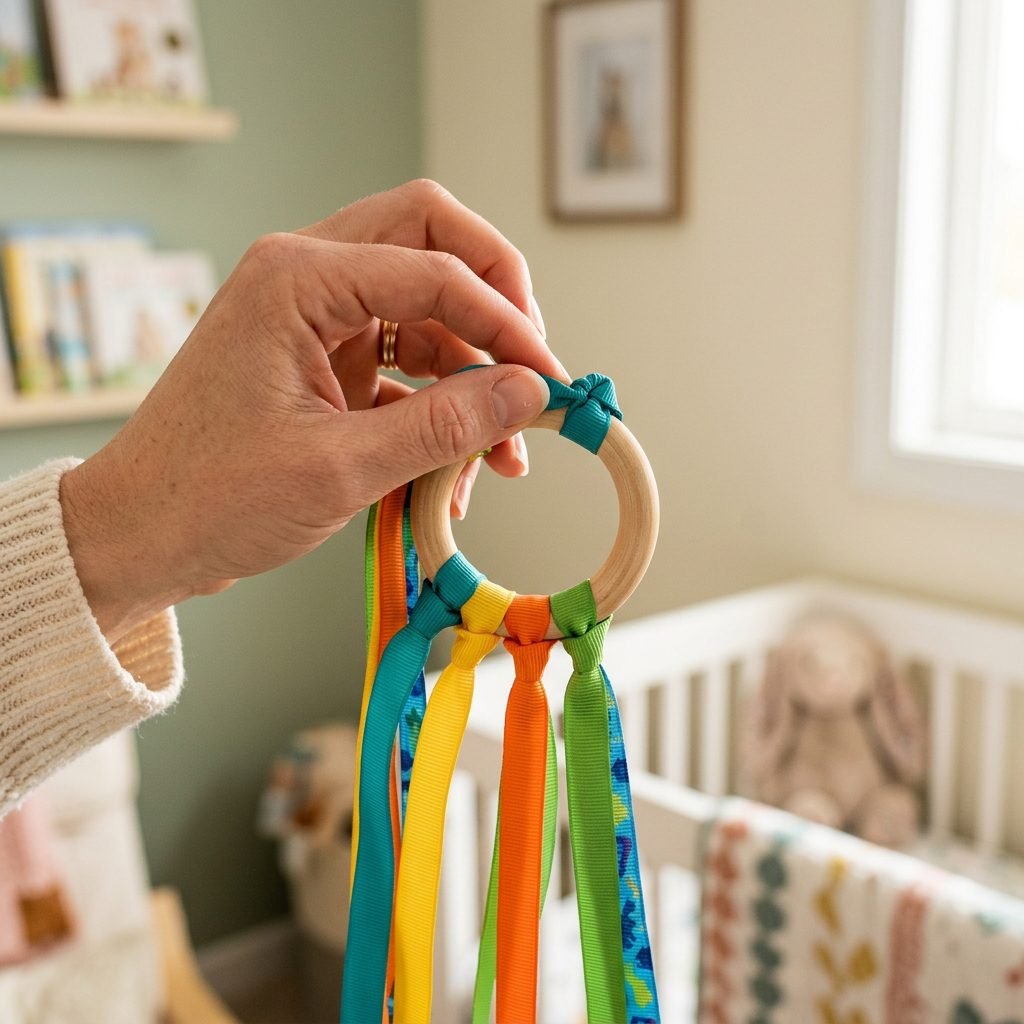
As much as we love DIY projects, safety is our absolute priority when it comes to infant toys. Because babies explore the world with their mouths, we must be vigilant. Here are the non-negotiable safety rules for your ribbon ring:
- Supervised Play Only: Never leave a baby unattended with the sensory ring. It is designed for interactive play or closely monitored floor time.
- Check for Wear and Tear: Before every play session, inspect the ring. Look for frayed ribbon edges, loose knots, or any cracks in the wooden ring. If you see damage, retire the toy immediately.
- Avoid Small Parts: Do not add beads, bells, or sequins to the ribbons. While they look cute, they pose a significant choking hazard if they were to detach.
- Length Matters: Keep ribbons under 12 inches to prevent any risk of entanglement.
By following these guidelines, you create a safe ‘yes space’ for your baby to explore and learn. It’s about peace of mind for you and pure joy for them.
Customizing for Milestones: High-Contrast to Rainbow
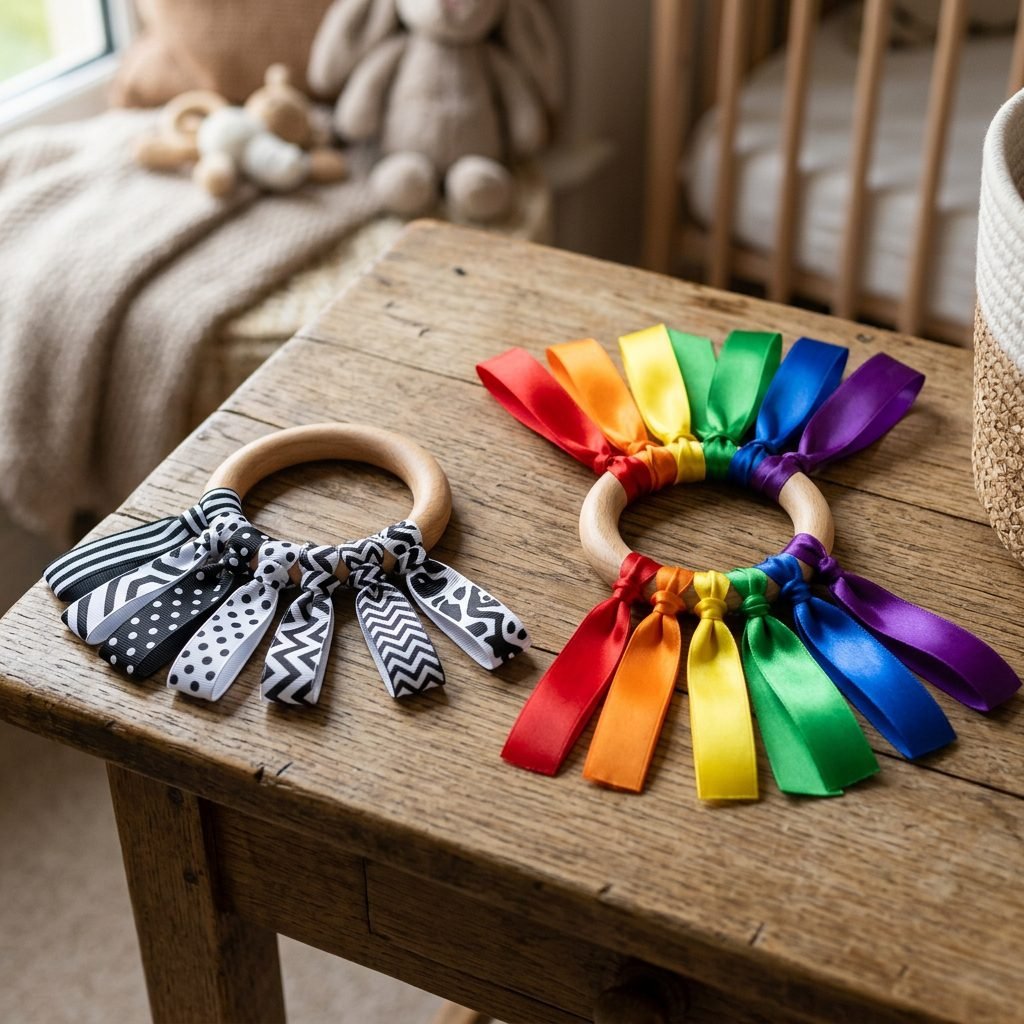
You can actually tailor this craft to your baby’s specific age and stage! For newborns (0-3 months), their vision is still developing, and they respond best to high-contrast patterns. Try making a ring using only black, white, and red ribbons. This will captivate their attention far longer than pastels would at this stage. As they reach the 4-6 month mark and their color vision matures, you can introduce a full rainbow of colors to encourage color recognition. For babies who are starting to teethe, you might choose thicker, textured cotton ribbons that provide a different ‘mouth-feel’ than smooth silk. You can even create a ‘Nature Ring’ using earthy tones like moss green, terracotta, and slate blue to match a boho nursery aesthetic. The possibilities are endless, and you can swap the ribbons out as your baby grows!
The Gift of Homemade: Postpartum Wellness and Creativity
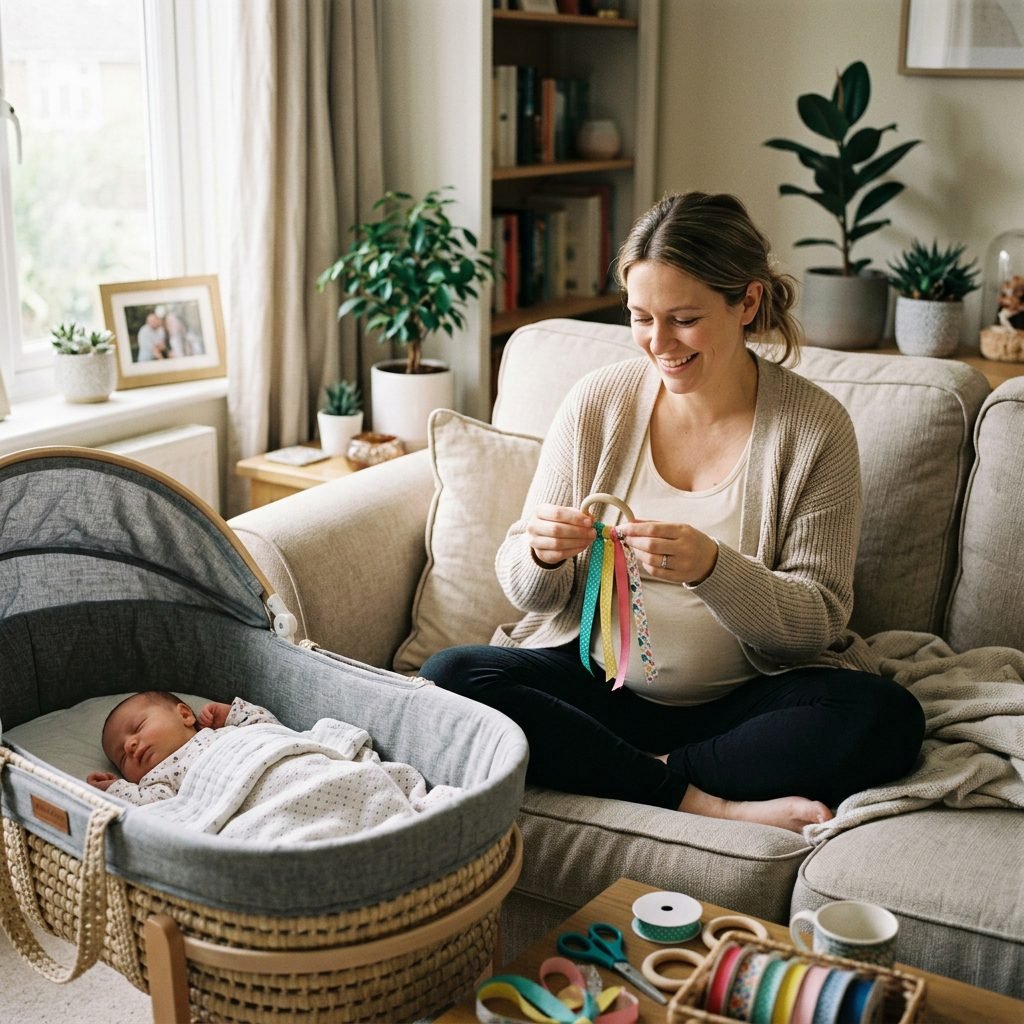
I want to take a moment to talk to you, the maker. The postpartum period can often feel like a series of tasks—feeding, changing, soothing. Engaging in a small, achievable craft like this can be a powerful act of self-care. It allows you to produce something tangible and beautiful in a season that can often feel repetitive. If you are a friend or a doula looking for a baby shower gift, a handmade sensory ring paired with a book is more meaningful than any store-bought plastic toy. It carries the energy of time and intention. When you give this to your baby, you are giving them a piece of your creativity. That connection is the foundation of a secure attachment. So, take pride in what you’ve made. You are doing a wonderful job, mama.
Conclusion
Creating a DIY Ribbon Sensory Ring is a beautiful way to bridge the gap between practical baby development and soulful, creative expression. With just a few leftover scraps and a simple wooden ring, you’ve created a tool that will stimulate your baby’s brain, soothe their senses, and provide hours of gentle entertainment. Remember that the best toys aren’t the ones that cost the most, but the ones that encourage the most interaction between you and your little one. Keep your ring clean, keep your play supervised, and most importantly, keep enjoying these tiny, precious moments of discovery. You’ve got this, and your baby is so lucky to have a mama who creates with such love.