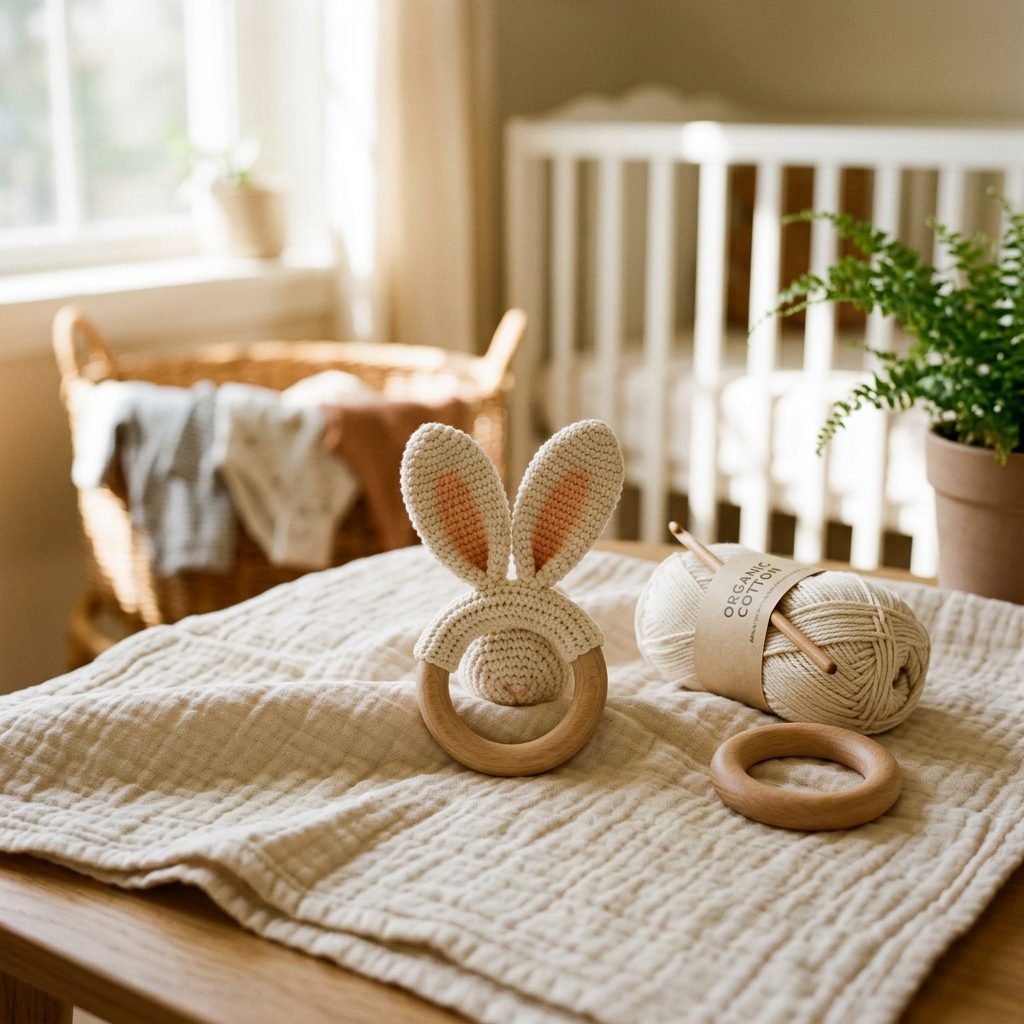
A Simple DIY Crochet Teething Rattle Toy Pattern That’s Safe for Babies
Welcome to the Heart of Handmade Motherhood
There is something profoundly magical about crafting a toy with your own two hands while you wait for your little one to arrive, or during those quiet naptime moments in the postpartum season. As a doula and a fellow mama, I know that your baby’s safety is your absolute top priority. When those first tiny teeth start budding, everything—and I mean everything—ends up in their mouth. That is why creating a DIY crochet teething rattle is such a beautiful project; you have total control over the materials, the cleanliness, and the love poured into every stitch.
In this guide, we aren’t just looking at a pattern; we are exploring the sensory science of play and the peace of mind that comes from using non-toxic, baby-safe materials. Whether you are a seasoned pro with a crochet hook or a complete beginner looking for a meaningful baby shower gift, I am here to walk you through this process with sisterly encouragement and expert precision. Let’s create something beautiful, functional, and perfectly safe for those precious gums.
Safety First: Selecting Non-Toxic & Baby-Safe Materials
Before we pick up the hook, we must talk about what goes into the toy. Babies have porous oral membranes, meaning they absorb chemicals more easily than adults. For a teething toy, we must avoid synthetic blends that might shed microplastics or dyes that aren’t colorfast.
The Golden Rules of Material Selection
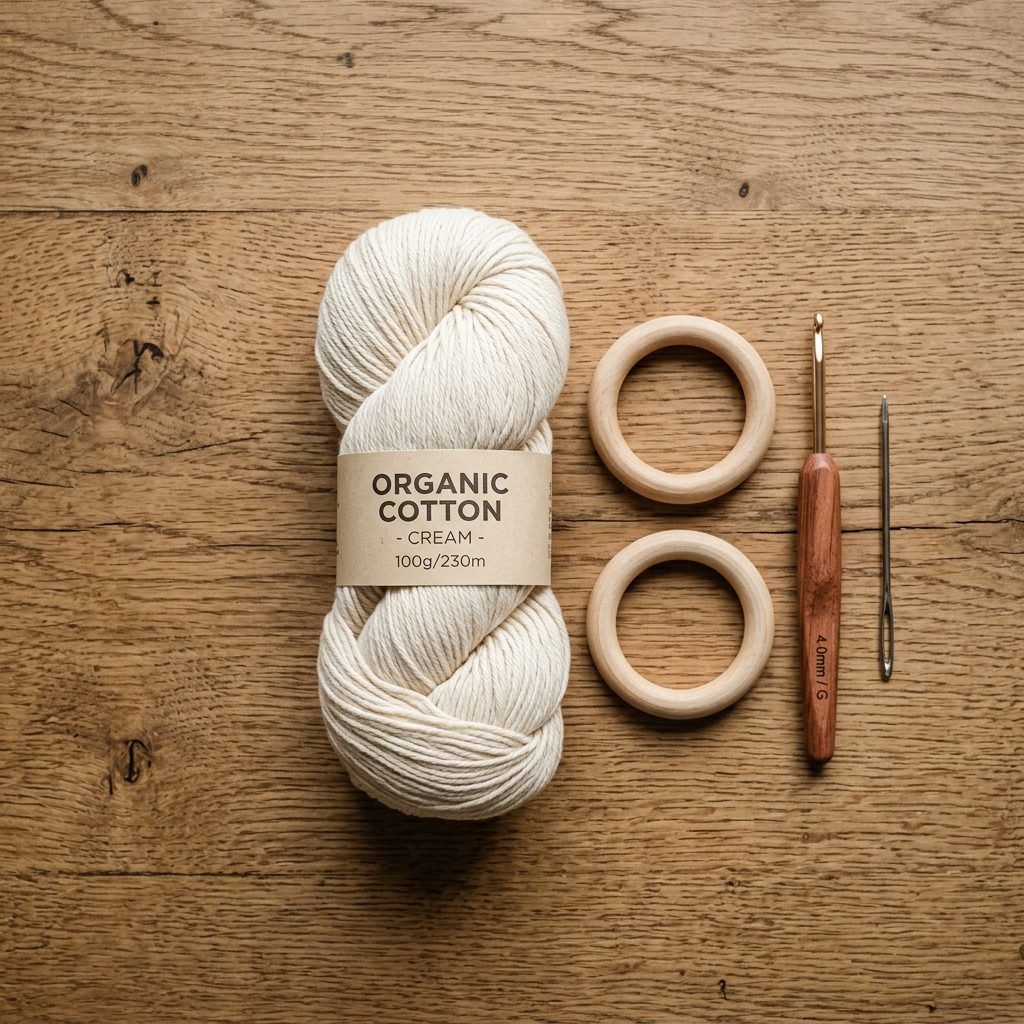
- 100% Organic Cotton Yarn: Unlike acrylic, cotton doesn’t pill or shed fibers that a baby could choke on. It is breathable, washable, and feels soft against sore gums.
- Unfinished Beechwood Rings: Look for natural, splinter-free beechwood. It is naturally antimicrobial and hard enough to provide resistance for teething without breaking.
- BPA-Free Rattle Inserts: Ensure your rattle ‘noise maker’ is a sealed plastic disk specifically designed for toys, ensuring no small parts can escape the crochet casing.
- Embroidered Eyes Only: Never use ‘safety eyes’ (plastic beads) for babies under 3 years old. They are a significant choking hazard. Always embroider features with black yarn.
| Material Type | Why It’s Recommended | What to Avoid |
|---|---|---|
| Yarn | 100% Mercerized or Organic Cotton | Acrylic, Wool blends, Mohair (shedding) |
| Ring | Natural Beechwood or Maple (Unfinished) | Painted wood, Softwoods (splintering), Plastic |
| Filling | Hypoallergenic Polyester Fiberfill | Beads, Beans, or Rice (mold/choking risk) |
The Supply List & Budget Breakdown
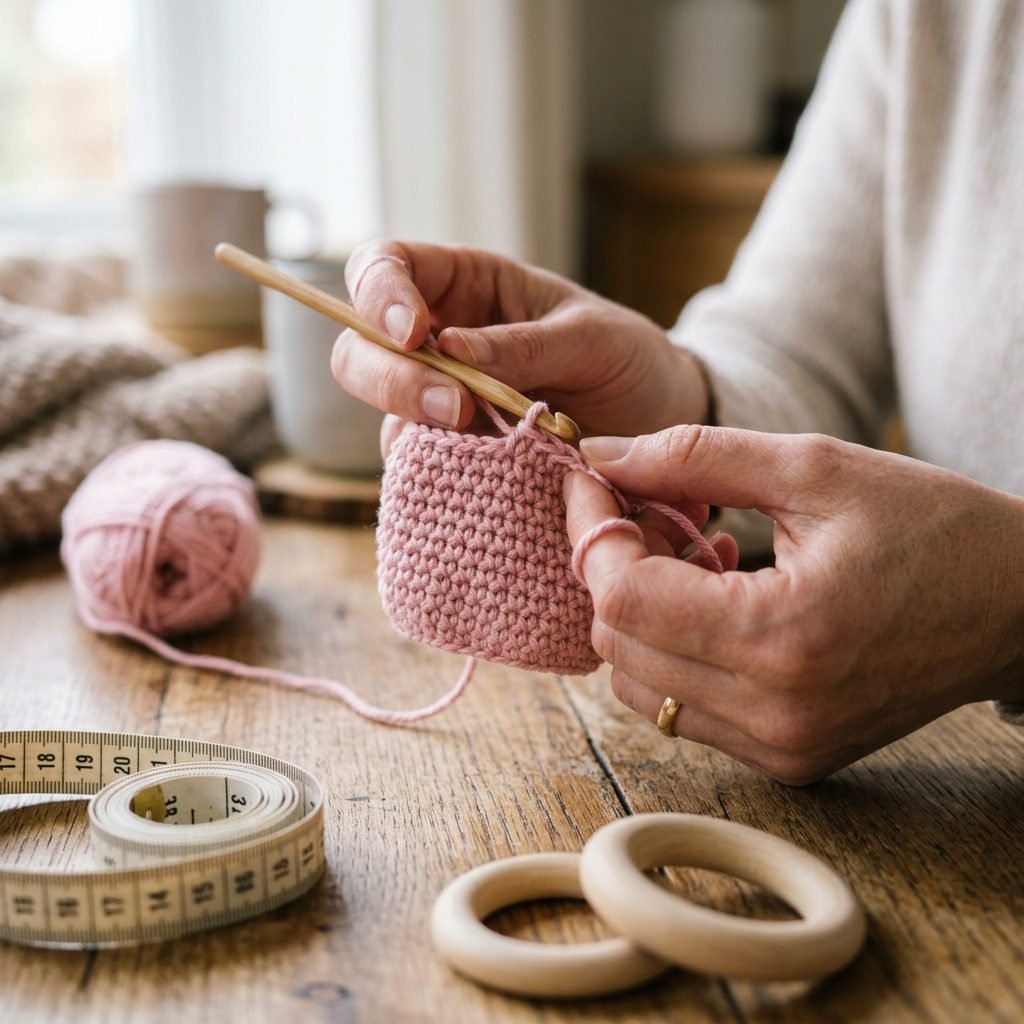
Creating a high-end, boutique-style rattle doesn’t have to break the bank. In fact, most of these supplies will allow you to make three to four rattles for the price of one store-bought organic toy. Here is what you will need to gather for our ‘Sweet Bunny Ear’ rattle design.
Essential Tools
- Crochet Hook: Size 2.5mm or 3.0mm (we want tight stitches so the stuffing doesn’t peek through).
- Yarn Needle: For weaving in ends and sewing pieces together.
- Scissors: A sharp pair for clean cuts.
- Stitch Markers: To keep track of your rounds.
| Item | Estimated Cost (USD) | Quantity for 1 Rattle |
|---|---|---|
| Organic Cotton Yarn | $6.00 – $9.00 | Approx. 1/4 skein |
| Beechwood Rings (Pack of 5) | $10.00 | 1 Ring |
| Rattle Inserts (Pack of 10) | $5.00 | 1 Insert |
| Fiberfill Stuffing | $5.00 | Small handful |
| Total Per Toy | ~$5.50 | — |
Mama, remember: the time you spend crafting is an investment in your well-being. Crochet has been shown to lower cortisol levels, making it the perfect ‘slow-down’ activity for your pregnancy or postpartum journey.
Step-by-Step Pattern: The ‘Comfort Grip’ Rattle
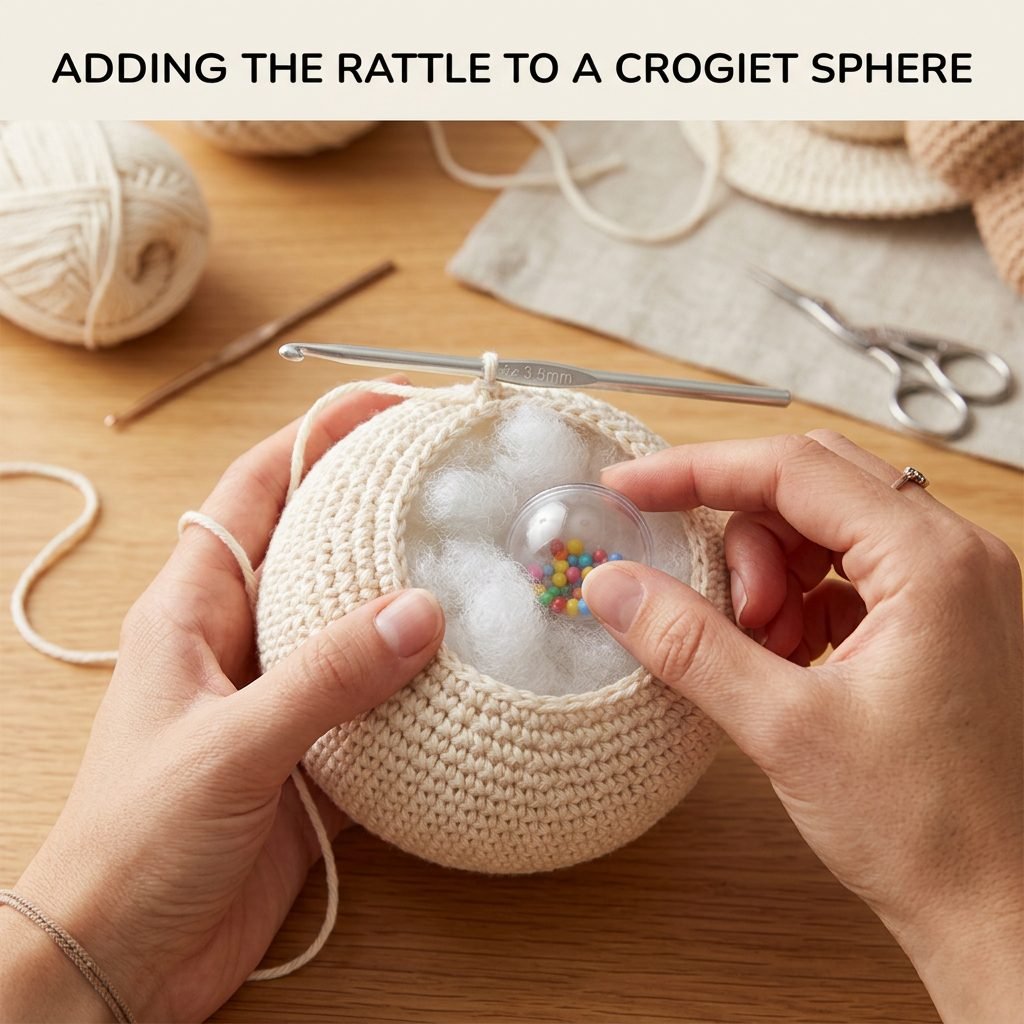
This pattern uses basic stitches: the Magic Ring (MR), Single Crochet (SC), Increase (INC), and Decrease (DEC). We will create a small spherical head for the rattle and a ‘sleeve’ to cover part of the wooden ring.
Part 1: The Rattle Head
- Round 1: 6 SC into a Magic Ring (6).
- Round 2: INC in each stitch around (12).
- Round 3: (1 SC, 1 INC) repeat 6 times (18).
- Round 4: (2 SC, 1 INC) repeat 6 times (24).
- Round 5-9: SC in each stitch around (24).
- Round 10: (2 SC, 1 DEC) repeat 6 times (18). Insert the rattle disk and stuffing now!
- Round 11: (1 SC, 1 DEC) repeat 6 times (12).
- Round 12: DEC around (6). Fasten off, leaving a long tail for sewing.
Part 2: The Ring Sleeve
This piece provides a soft texture for the baby to grip and protects the wood. We will work in rows, not rounds.
- Chain 11.
- Starting in the second chain from the hook, SC in each of the 10 chains.
- Chain 1, turn. Repeat SC rows until the piece is long enough to wrap around the thickness of your wooden ring (usually 6-8 rows).
- Fasten off, leaving a long tail. Wrap the rectangle around the ring and whip-stitch the edges together tightly.
Assembly & The ‘Pull Test’ for Safety
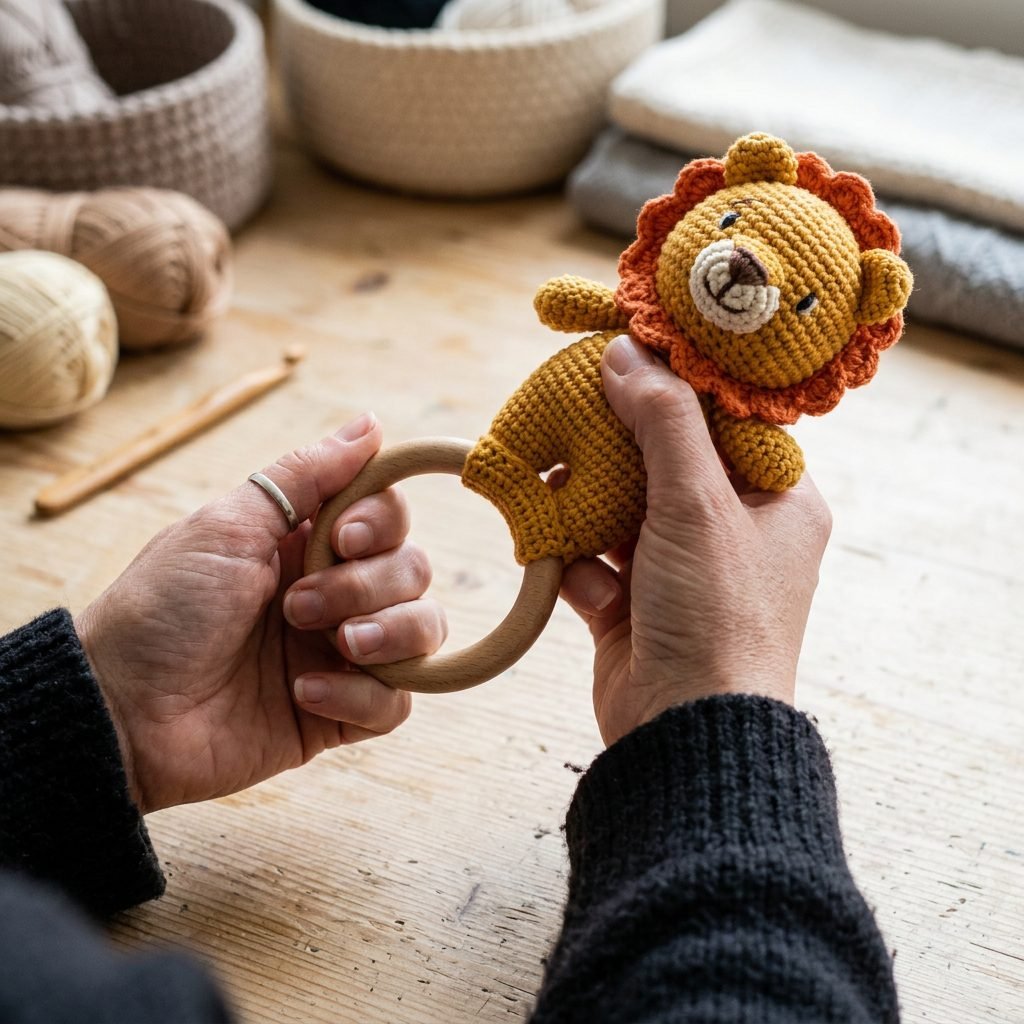
Now that you have your components, it is time to bring the toy to life. This is the most critical stage for safety. We must ensure that the head of the rattle is immovably attached to the ring sleeve.
Assembly Instructions
- Center the Rattle Head over the sewn seam of the Ring Sleeve.
- Using your yarn needle and the long tail, sew through the stitches of the head and deep into the stitches of the sleeve.
- Go around the base of the head at least three times to ensure a rock-solid connection.
- Knot the yarn internally and weave the end through the head several times before cutting.
The Mandatory ‘Pull Test’
Once finished, perform a ‘Pull Test.’ Grasp the wooden ring in one hand and the crochet head in the other. Pull with significant force. If you see any gaps or loose threads, reinforce the stitching immediately. Nothing should move or wiggle.
Affirmation for the Crafty Mama: My hands are capable, my heart is full, and I am creating a world of safety and joy for my baby.
Sensory Benefits: Why This Toy Supports Development

This isn’t just a toy; it is a developmental powerhouse. Between 3 and 6 months, babies are hitting major milestones in fine motor skills and sensory processing. This rattle addresses three key areas:
1. Auditory Tracking
The gentle sound of the rattle helps babies learn to track noise with their eyes and turn their heads toward sound, a vital early cognitive skill.
2. Tactile Discrimination
By combining the hard, smooth surface of the beechwood with the soft, bumpy texture of the crochet stitches, you are giving your baby’s brain complex tactile information to process. This helps with ‘sensory integration.’
3. The Palmar Grasp
The size of the wooden ring is specifically chosen to fit a baby’s natural palmar grasp. Strengthening these hand muscles now sets the foundation for holding a spoon or a crayon later on.
| Age Range | Developmental Focus | How the Rattle Helps |
|---|---|---|
| 0-3 Months | Visual Tracking | High-contrast yarn colors for focus |
| 3-6 Months | Reaching & Grabbing | Easy-to-hold ring shape |
| 6-9 Months | Teething Relief | Firm wood for gum pressure |
Care, Cleaning & Maintenance
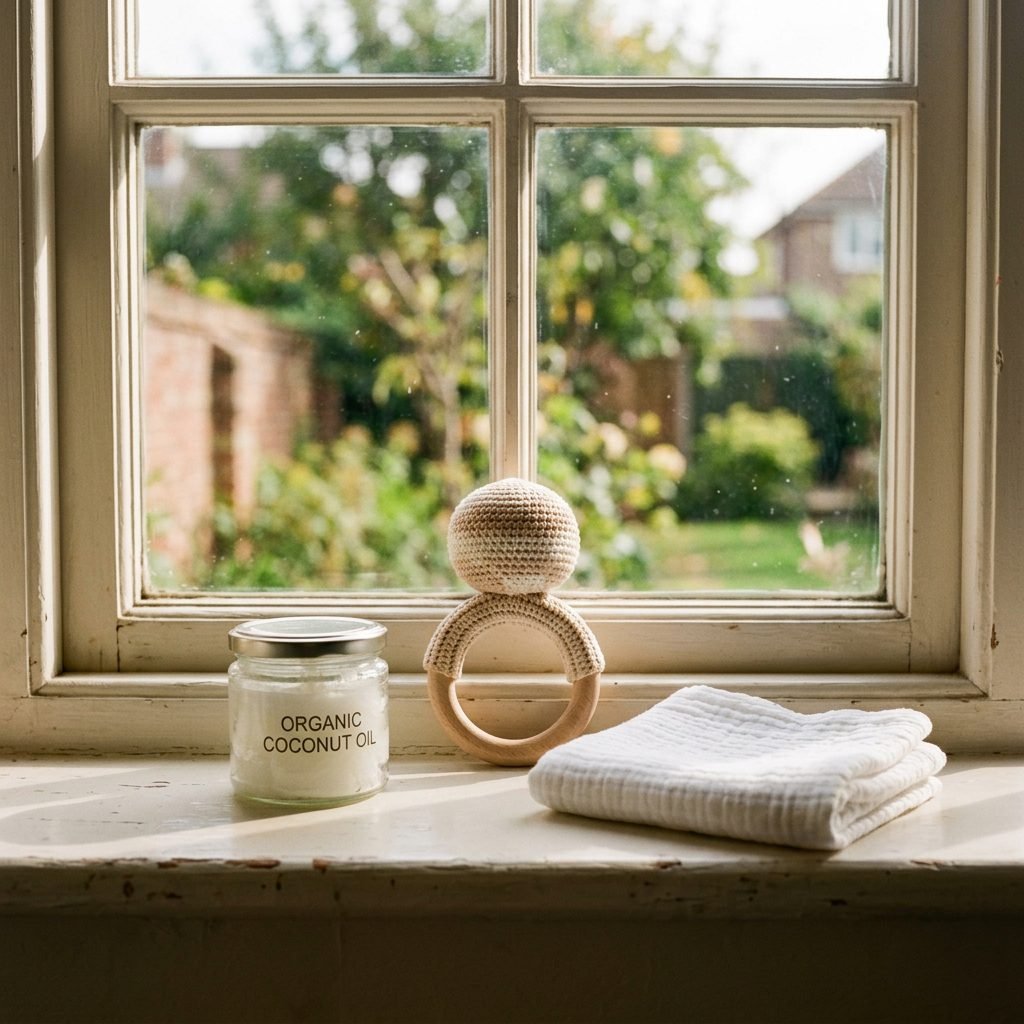
Since this toy will be spending a lot of time in a tiny mouth, keeping it clean is essential. However, wood and crochet require different care than plastic toys.
Cleaning Your Rattle
- Do Not Submerge: Never soak the rattle in water. Excessive moisture can cause the wooden ring to swell, crack, or grow mold.
- Spot Clean Only: Use a damp cloth with a drop of mild, baby-safe soap to wipe the crochet sections.
- Conditioning the Wood: If the wooden ring starts to feel dry or rough after cleaning, you can lightly sand it with fine-grit sandpaper and rub it with a tiny bit of organic coconut oil or food-grade beeswax.
- Air Dry: Always let the toy air dry completely in a well-ventilated area (or even in the sun, which has natural sanitizing properties) before giving it back to the baby.
Pro-Tip: Make two! That way, when one is being cleaned or ‘resting,’ your little one doesn’t have to go without their favorite soothing toy.
Conclusion
A Gift from Your Hands to Theirs
Creating this DIY crochet teething rattle is more than just a craft project; it’s a labor of love that honors your baby’s need for safety, comfort, and stimulation. By choosing organic materials and following a secure construction method, you’ve provided a toy that is far superior to any mass-produced plastic alternative. As you watch your little one grasp the ring and find relief for their sore gums, take a moment to be proud of yourself, Mama. You are doing an incredible job, one stitch at a time. Happy crafting!