How to Make a DIY Wooden Bead Teething Rattle for Newborns
Welcome to Your Creative Nesting Journey
Hello there, sweet mama. If you are reading this, you are likely in that beautiful, whirlwind phase of preparing for your little one’s arrival, or perhaps you are deep in the trenches of the postpartum period, looking for a mindful way to channel your love into something tangible. As a doula, I have seen firsthand how much intention goes into every item we bring into our nurseries. We want things that are safe, natural, and beautiful, but we also want items that serve a purpose in our baby’s development. The wooden bead teething rattle is a classic for a reason. It combines the earthy, grounding texture of natural wood with the gentle auditory stimulation of beads clacking together. It is a sensory delight for a newborn and a soothing relief for a teething infant.
In this guide, we aren’t just making a toy; we are crafting a tool for exploration. We will walk through the selection of non-toxic woods, the importance of structural integrity, and the simple joy of creating an heirloom-quality piece with your own two hands. This project is perfect for a quiet afternoon while the baby naps or as a thoughtful, handmade gift for a dear friend’s baby shower. Let’s gather our materials and begin this soulful crafting session together.
Making something for your baby is a form of meditation. Every knot tied is a wish for their growth, and every bead chosen is a prayer for their health. You are doing a beautiful job, Mama.
Choosing the Safest Foundations: Wood vs. Plastic
Prioritizing Purity for Your Little One
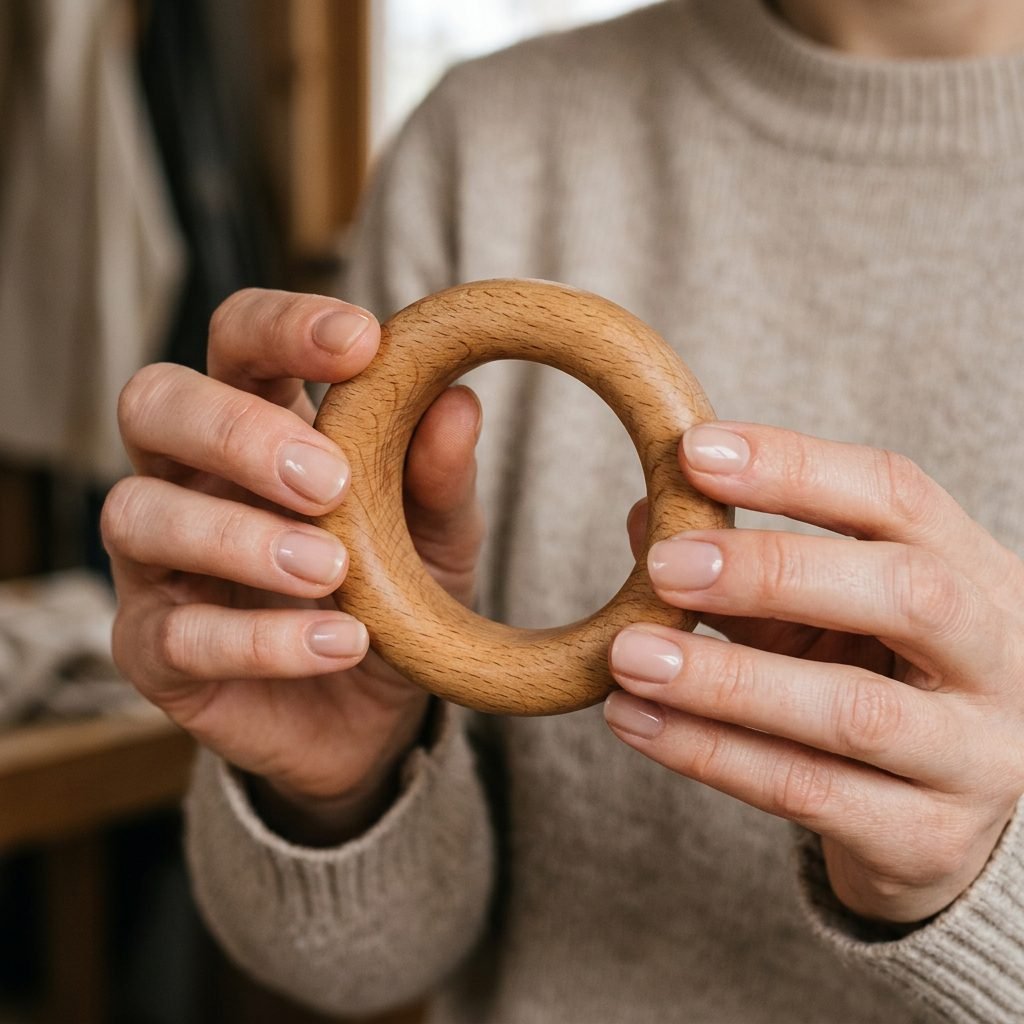
When it comes to teething toys, the materials we choose are paramount. Newborns and infants explore the world primarily through their mouths. This is why I always advocate for natural, unfinished hardwoods over plastic or mass-produced silicone whenever possible. Wood is naturally antimicrobial, meaning it doesn’t harbor bacteria as easily as plastic does. Furthermore, hardwoods like beech, maple, and birch are non-splintering, making them the gold standard for teething.
Why Beech Wood is Our Top Choice
Beech wood is particularly favored in the doula and midwifery community because it is dense, durable, and has a very tight grain. This means that even after months of being gnawed on by gummy smiles and sharp new teeth, the wood remains smooth and safe. Unlike softwoods like pine, which can dent or splinter, beech stands the test of time. When sourcing your beads and rings, ensure they are 100% untreated and unfinished, or finished only with food-grade oils like organic coconut oil or beeswax.
The Danger of Low-Quality Materials
It can be tempting to buy cheap beads from a local craft store, but please be cautious. Many craft beads are treated with varnishes, stains, or lead-based paints that are toxic if ingested. Always look for suppliers that specifically certify their products as BPA-free, lead-free, and phthalate-free. Your baby deserves the cleanest start possible, and choosing the right wood is the first step in that commitment.
The Crafter’s Checklist: Materials and Budget Breakdown

Gathering Your Supplies with Intention
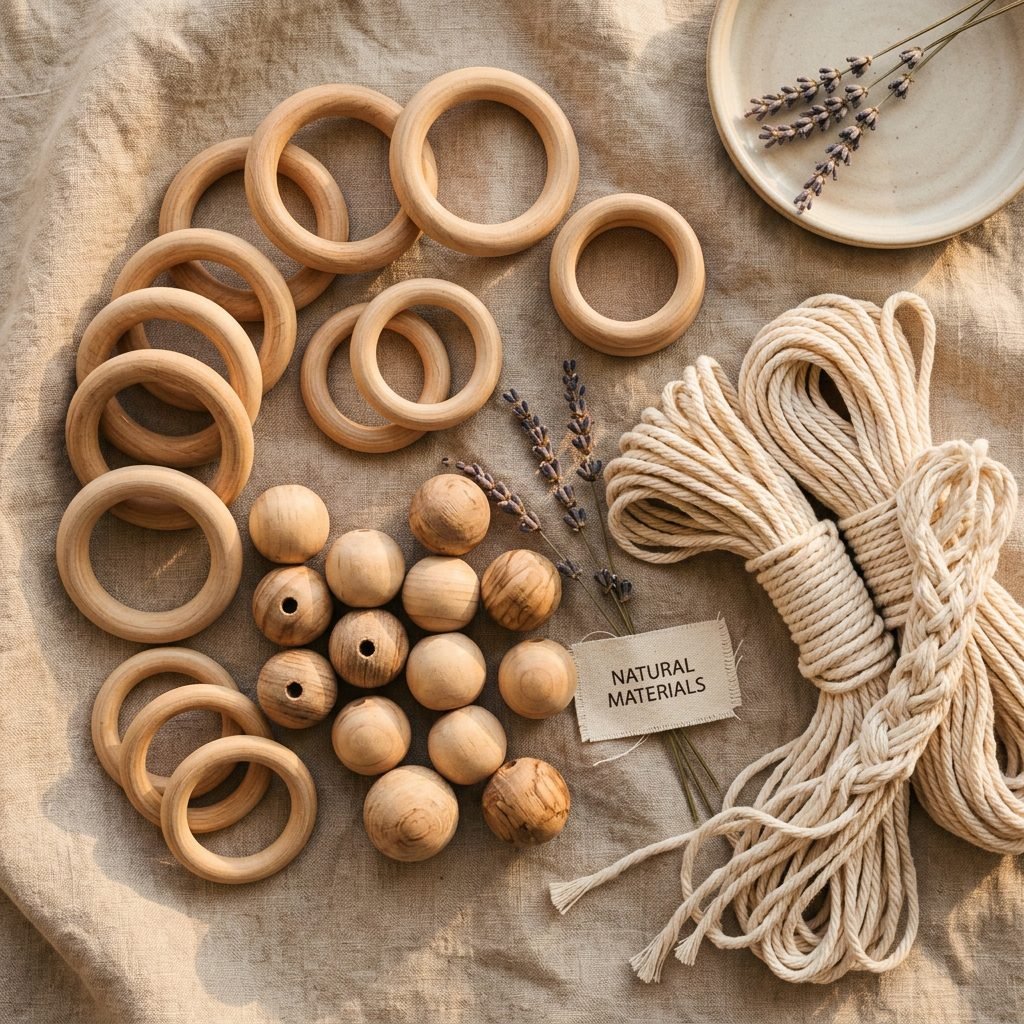
Before we dive into the assembly, let’s make sure your workspace is prepared. You don’t need a lot of fancy equipment to make a high-quality rattle, but you do need the right components. For this project, we are focusing on a minimalist, Scandinavian-inspired design that highlights the beauty of the wood.
| Item | Purpose | Estimated Cost |
|---|---|---|
| 70mm Beech Wood Ring | The main handle and teething surface. | $2.00 – $3.00 |
| 20mm Unfinished Wood Beads | Provides the clacking sound and tactile interest. | $0.50 each |
| Satin Nylon Cord (2mm) | The ‘spine’ of the rattle; must be high-strength. | $5.00 (per roll) |
| Organic Beeswax or Coconut Oil | To seal and protect the wood naturally. | $0.00 (pantry staple) |
| Sandpaper (400 grit) | To ensure every edge is buttery smooth. | $1.00 |
Choosing Your Cord Wisely
The cord is the most critical safety component of your rattle. I recommend using a heavy-duty satin nylon cord (often called rattail cord) or a thick organic cotton cord. While cotton is more natural, nylon offers superior strength and won’t fray or snap easily under the pressure of a ‘pull test.’ If you choose cotton, ensure it is multiple strands braided together for maximum durability. Never use thin sewing thread or standard jewelry wire, as these pose a significant breakage risk.
The Step-by-Step Guide to Crafting Your Rattle
Bringing Your Rattle to Life
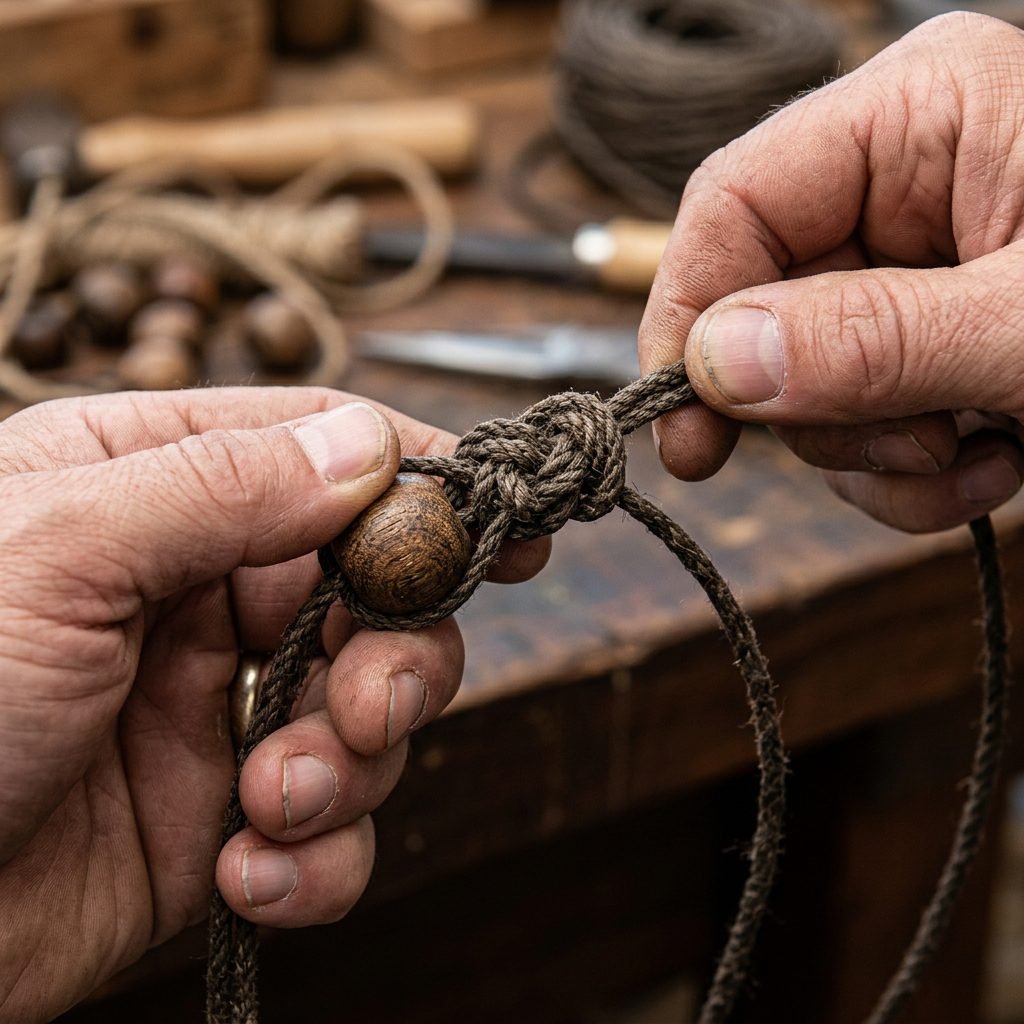
Now, let’s begin the process. Follow these steps carefully to ensure your rattle is both beautiful and, most importantly, secure. We will be using a ‘double-loop’ method to ensure that even if one part of the cord were to fail, the beads remain contained.
- Prep the Wood: Start by lightly sanding your wooden rings and beads with 400-grit sandpaper. Even if they feel smooth, a quick buffing ensures there are no microscopic burrs. Wipe them down with a damp cloth and let them dry completely.
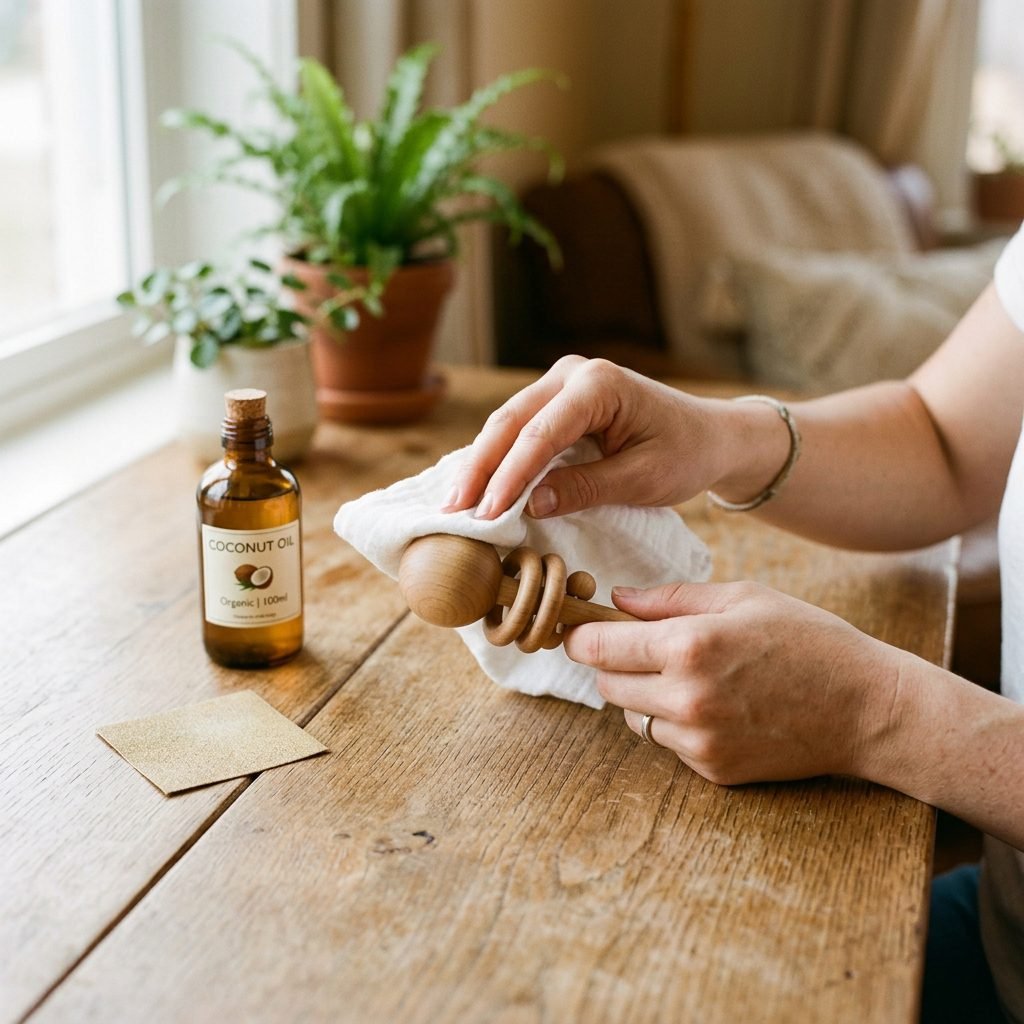
- Condition the Wood: Take a small amount of organic coconut oil or melted beeswax on a lint-free cloth. Rub it into the wood until it glows. This not only protects the wood from moisture (and drool!) but also brings out the rich, warm tones of the grain.
- Measure and Cut: Cut a 24-inch length of your satin nylon cord. It’s better to have too much than too little, as you’ll need the length to tie secure knots.
- Thread the Beads: Fold your cord in half to find the center. Loop the center point around your large 70mm wood ring using a ‘lark’s head knot.’ Now, thread 5 to 7 of your 20mm beads onto both strands of the cord simultaneously.
- The Clacker Loop: After your beads are threaded, take a second, smaller wood ring (40mm) and thread the cord through it. This creates the ‘clacker’ effect when the baby shakes the rattle.
- The Triple Surgeon’s Knot: This is the most vital step. Tie a Triple Surgeon’s Knot at the end of your bead run. Pull it as tight as humanly possible. If using nylon, you can carefully use a lighter to slightly melt the very tips of the knot ends to ‘lock’ them in place (be careful not to burn the wood).
- The Stress Test: Once finished, give the rattle a vigorous tug. You should pull with significant force to ensure nothing gives way. If it survives your strongest pull, it’s ready for baby.
Safety Check: Always inspect the rattle before each use. If you see any signs of wear, fraying cord, or cracked beads, discard it immediately.
Why This Rattle is a Developmental Powerhouse
More Than Just a Toy: Sensory Benefits
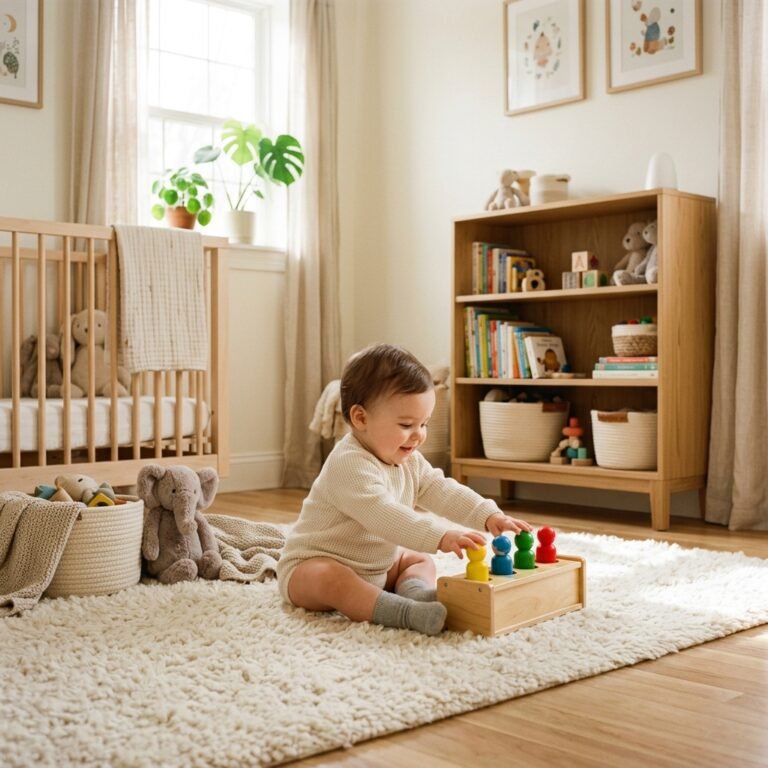
As a pediatric sleep consultant and doula, I often talk to parents about age-appropriate stimulation. Newborns don’t need flashing lights or loud electronic noises; in fact, those can often lead to overstimulation and sleep challenges. A wooden rattle provides the perfect level of sensory input for a developing brain.
Auditory and Visual Tracking
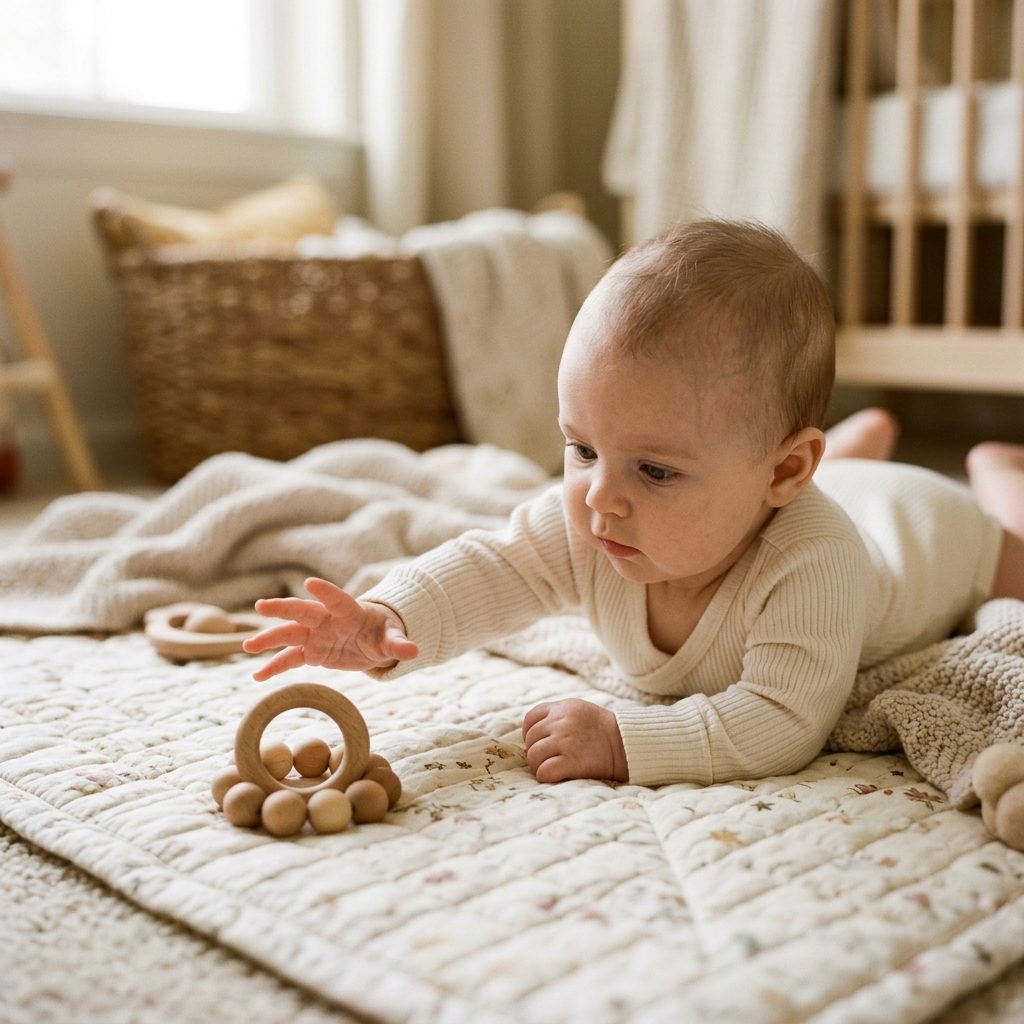
The gentle ‘clack-clack’ of the wooden beads hitting the rings is a soft, organic sound. When you move the rattle from side to side, your baby practices visual tracking—the ability to follow an object with their eyes. This is a foundational skill for later reading and hand-eye coordination. Because the wood is neutral in color, it doesn’t overwhelm their still-developing visual cortex, allowing them to focus on the movement and the sound.
The Palmar Grasp and Fine Motor Skills
Around 3 to 4 months, your baby will begin to transition from a reflexive grasp to a purposeful one. The large ring of the rattle is designed to fit perfectly within a baby’s palmar grasp. As they learn to hold, shake, and eventually pass the rattle from one hand to the other (midline crossing), they are building the neural pathways necessary for complex motor tasks. The varied textures—the hardness of the beads, the smoothness of the rings, and the softness of the cord—provide rich tactile feedback that helps them map out their sense of touch.
Caring for Your Wooden Heirloom: Sanitizing and Safety Checks
Longevity and Hygiene for Natural Toys
Because wood is a living material, it requires a little bit of ‘TLC’ to keep it in top shape. Unlike plastic toys, you cannot toss a wooden rattle into the dishwasher or submerge it in a sink of water. Excessive moisture can cause the wood to swell, warp, or even crack, which creates a safety hazard.
How to Clean Your Rattle
- Spot Clean Only: Use a damp cloth with a tiny drop of mild, baby-safe soap to wipe away drool or milk spills.
- The Vinegar Solution: For a natural disinfectant, mist a cloth with a 50/50 mix of water and white vinegar and wipe the wood. The vinegar smell will dissipate quickly as it dries.
- Air Dry: Always allow the rattle to air dry completely in a well-ventilated area. Never put it near a heater or in direct sunlight for long periods, as this can dry out the wood too quickly and cause cracking.
Re-Conditioning the Wood
Over time, frequent washing and saliva will strip the natural oils from the wood, making it feel slightly ‘fuzzy’ or dry. This is known as the grain raise. If this happens, simply give it a very light sand with your 400-grit sandpaper and re-apply a coat of organic coconut oil. It will look and feel brand new again! This simple act of maintenance ensures that the rattle can be passed down to younger siblings or kept as a precious memento of those early days.
Aesthetic Gifting: Presenting Your Handmade Rattle
The Perfect Gift for a Soulful Baby Shower
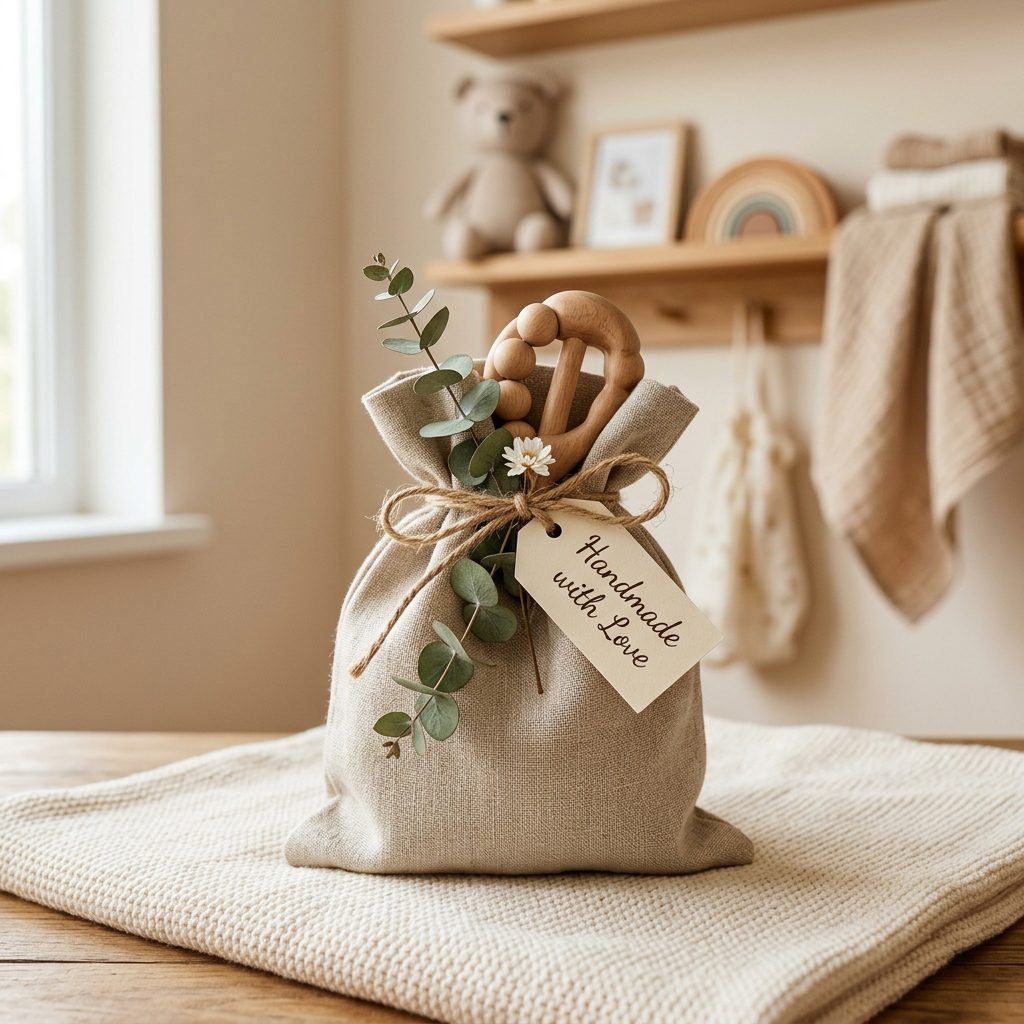
If you are making this rattle for a friend, the presentation can be just as beautiful as the gift itself. In a world of plastic baby gear, a handmade wooden toy stands out as a gesture of deep care and intentionality. It says, ‘I took the time to make something safe and beautiful for your new beginning.’
Packaging Ideas
To stay with the eco-friendly, natural theme, consider these packaging ideas:
- Linen Drawstring Bags: Place the rattle in a small, reusable linen or muslin bag. You can even stamp the bag with a botanical print or the baby’s initial.
- Kraft Paper Boxes: Use a simple recycled kraft paper box filled with nesting material like shredded paper or dried moss.
- The Doula’s Touch: Attach a small card explaining the benefits of wooden toys (like the ones we discussed in Section 4) and a quick ‘Care Guide’ so the new mama knows how to keep it clean.
Pairing the rattle with a high-contrast board book or a soft organic swaddle creates a curated ‘Sensory Starter Kit’ that any new parent would cherish. It’s not just a gift; it’s an invitation for the new baby to explore their world safely.
Conclusion
Embracing the Beauty of Handmade Motherhood
There is something profoundly healing about the act of creation, especially during the transformative journey of motherhood. By making this DIY wooden bead teething rattle, you have provided your baby with a safe, non-toxic, and developmentally rich tool for their first year of life. You have chosen quality over quantity, and nature over synthetics. Whether this rattle becomes a favorite soothing toy for a fussy, teething infant or a cherished keepsake tucked away in a memory box, the love you poured into it remains. Remember, Mama, you don’t need the most expensive gadgets to be a wonderful parent. Often, the simplest, most intentional items—like a handful of wooden beads and a sturdy cord—are exactly what your baby needs to thrive. Happy crafting, and may your days be filled with the gentle ‘clack-clack’ of new discoveries.