How to Make a DIY Cotton Ball Cloud Backdrop for Sweet Newborn Photos
Hello, beautiful mama, and welcome to the magical, sleepy, and sometimes overwhelming world of the fourth trimester. If you are reading this, you are likely either nesting in those final weeks of pregnancy or you are currently soaking in the sweet, milky scent of your brand-new baby. First of all, take a deep breath. You are doing an incredible job. In these early days, time feels like it is moving both at lightning speed and standing completely still. You want to capture every single yawn, every tiny milk blister on their lip, and every peaceful slumber. Professional newborn photoshoots are absolutely wonderful, but they can also be quite expensive and require packing up your tiny baby (and your recovering postpartum body) to travel to a studio. What if I told you that you could create a breathtaking, ethereal, and completely magical newborn photoshoot right in the comfort of your own living room? Today, we are going to walk through exactly how to make a DIY cotton ball cloud backdrop for sweet newborn photos. As a doula and a mama who loves a good craft, I am going to guide you not only through the creative process of building this dreamy set but also through the essential steps of keeping your baby safe, warm, and perfectly soothed during the process. We are going to combine crafty ingenuity with maternal wellness, ensuring that this DIY project brings you joy rather than stress. Grab a cup of warm red raspberry leaf tea or your giant hospital water jug, and let us dive into creating a little piece of heaven for your little angel.
Gathering Your Fluffy Supplies: Materials & Budget
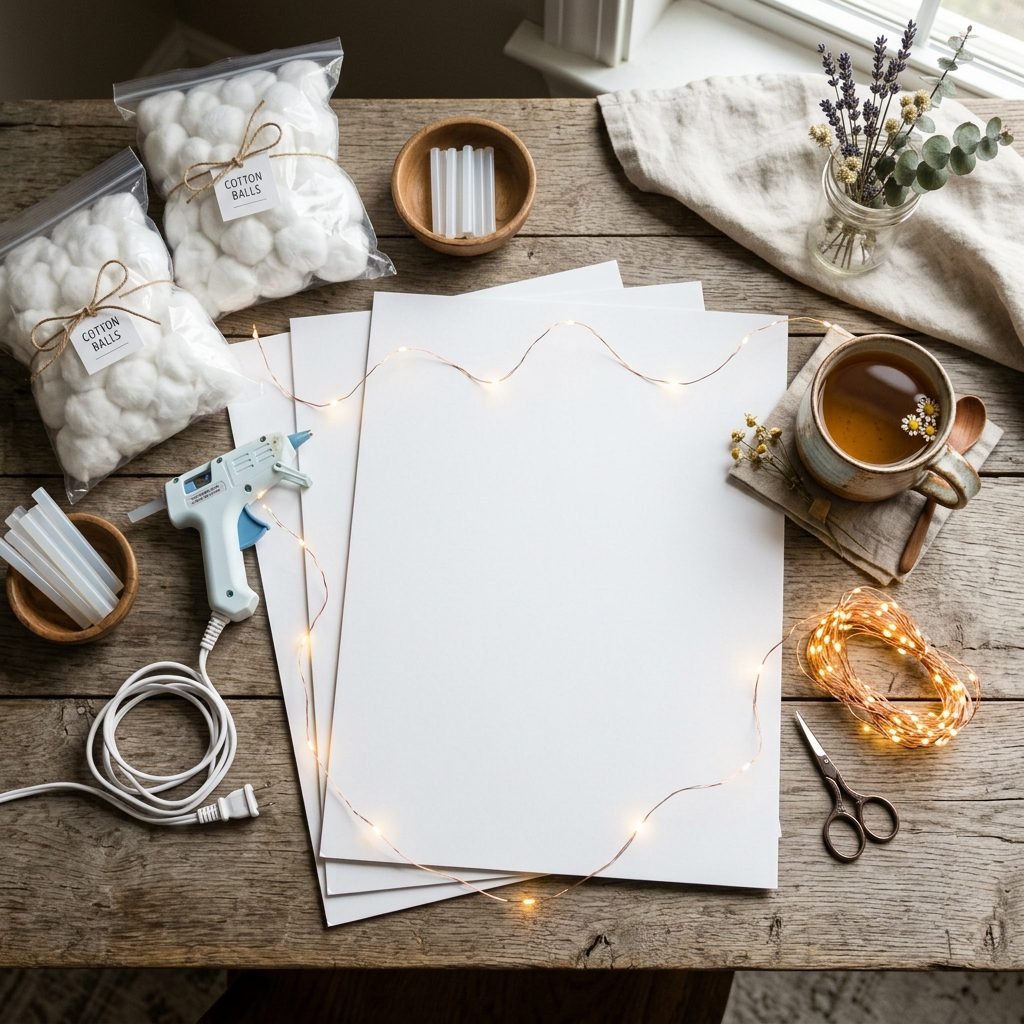
Before we start gluing anything, let us talk about preparation. The beauty of this DIY cotton ball cloud backdrop is that it is incredibly budget-friendly and uses materials you can easily find at your local craft store or pharmacy. When you are freshly postpartum or heavily pregnant, the last thing you want is a complicated shopping list. We are keeping this simple, safe, and sweet. Because your newborn’s delicate skin will be near these materials, we want to ensure everything is non-toxic and gentle. Never use industrial or strong-fume glues for anything that will be in the same room as your baby. Stick to non-toxic craft glues or a low-heat glue gun used in a well-ventilated area long before the baby enters the room.
Remember, mama: Perfection is the enemy of joy in postpartum. Your clouds do not have to be symmetrical or perfectly spaced. Nature is beautifully irregular, and your DIY backdrop will be, too. Give yourself grace.
Here is a breakdown of exactly what you will need to create a plush, three-dimensional cloudscape for your little one.
| Material Needed | Purpose | Estimated Cost |
|---|---|---|
| 10-15 Bags of Cotton Balls | The core fluffy material for your clouds. Opt for jumbo size if possible! | $10 – $15 |
| Large White Poster Board or Foam Core | The sturdy base to glue your clouds onto. You will need 2-3 boards depending on baby’s size. | $3 – $6 |
| Non-Toxic Craft Glue or Low-Temp Glue Gun | To secure the cotton. A low-temp glue gun is faster, but standard school glue is fume-free. | $4 – $8 |
| Soft White Muslin Blanket | To drape over the center where the baby will actually lay (protects skin from glue bumps). | Already own |
| Optional: Battery-Operated Fairy Lights | Tucked under the edges of the clouds for a magical, ethereal glow. | $5 – $10 |
As you gather your supplies, consider asking a partner, friend, or older sibling to help you unbag the cotton balls. It is a wonderful, low-energy activity you can do while sitting comfortably on the couch with a nursing pillow on your lap.
Setting the Scene: Creating a Womb-Like Studio Space
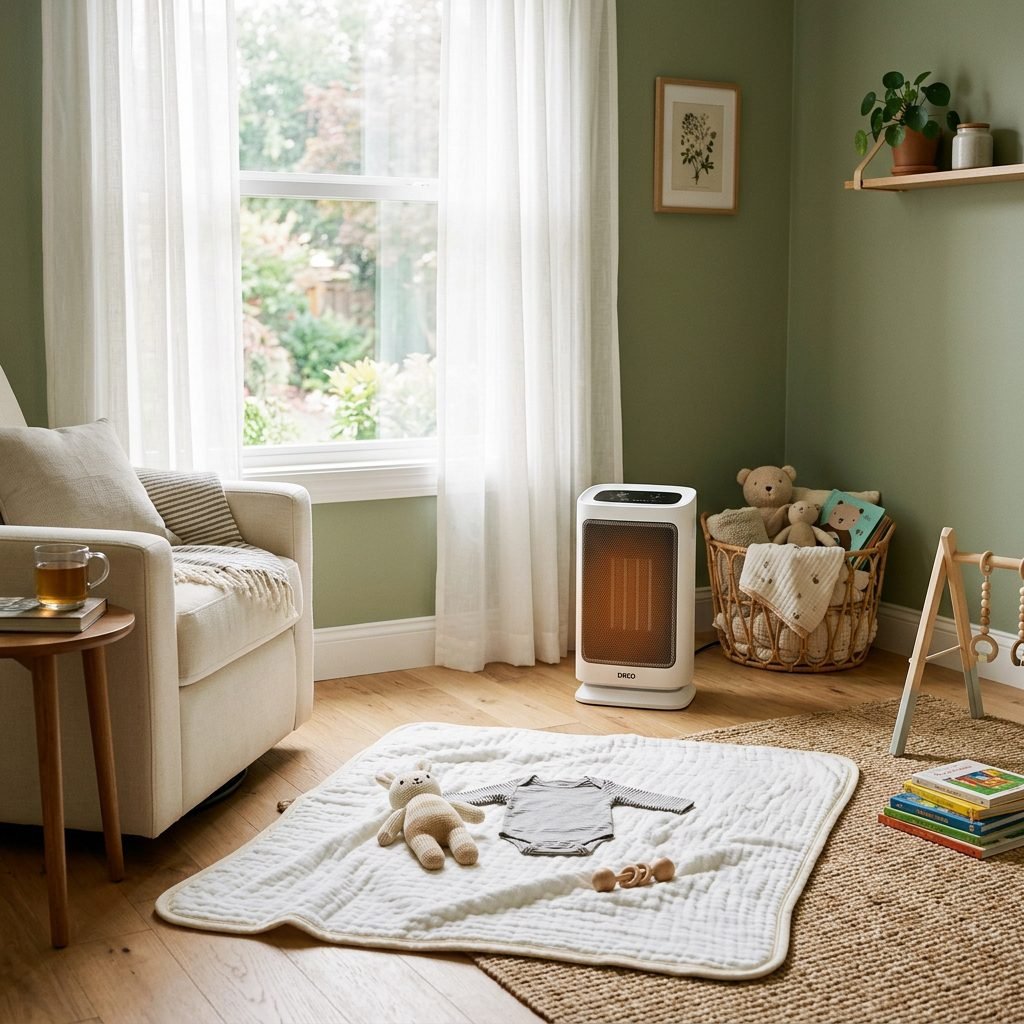
Now that you have your supplies, let us put on our doula hats and talk about the environment. Newborns are incredibly sensitive to their surroundings. They have just spent nine months in a dark, warm, muffled, and cozy womb. Bringing them out into a bright room to lay on the floor can trigger their Moro (startle) reflex and cause distress. To get those sweet, sleepy, curled-up photos, we have to recreate the womb environment as closely as possible.
Mastering Natural Light
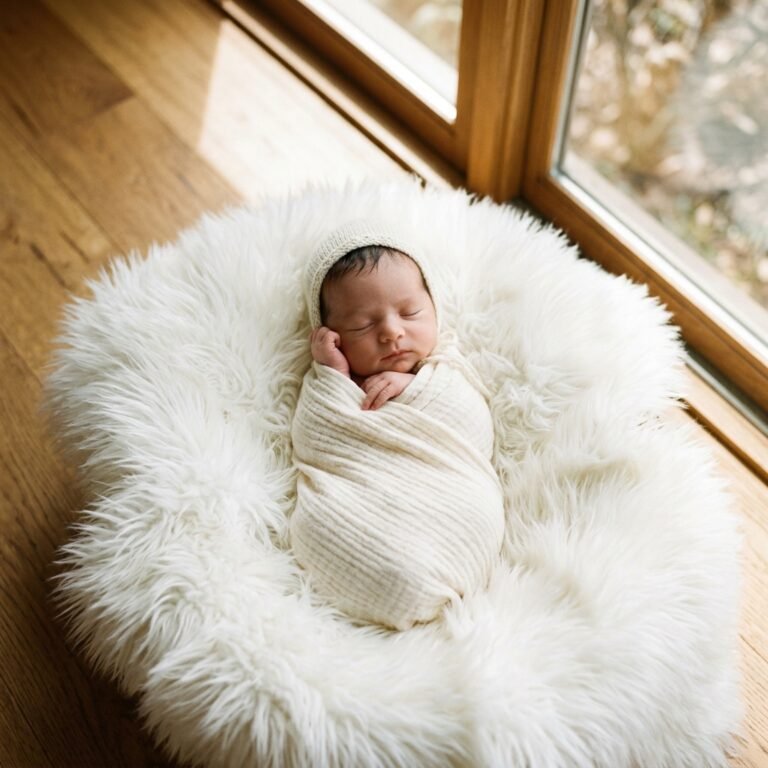
You do not need expensive studio flashes to get gorgeous photos. In fact, natural light is much more flattering and gentler on your baby’s developing eyes. Find the biggest window in your home. You want to set up your backdrop on the floor right next to this window, but you do not want direct, harsh sunlight hitting the baby like a spotlight. If the sun is beaming directly in, tape a sheer white curtain, a thin white bedsheet, or even a piece of parchment paper over the window. This acts as a diffuser, scattering the light to create a soft, even glow that will make your cotton clouds look angelic.
Temperature is Everything
This is my number one doula tip for newborn photography: Newborns cannot regulate their body temperature well. If they are cold, they will cry, arch their backs, and refuse to sleep. If you plan to have your baby in just a diaper or a thin swaddle for these photos, the room needs to be much warmer than you think. Aim for a room temperature of about 75 to 80 degrees Fahrenheit. I highly recommend bringing a small, safe space heater into the room (kept at a safe distance from the baby and the craft supplies, of course) to create a pocket of warmth right where the backdrop is.
Soothing Sounds
Complete the womb-like atmosphere with sound. A completely silent room can actually be unsettling to a newborn. Use your phone or a portable sound machine to play continuous white noise or a heartbeat sound. Place it near the backdrop (but out of the photo frame). The volume should be similar to the sound of a rushing shower. This constant shushing sound will help lull them into that deep, milk-drunk sleep that is perfect for posing.
Step-by-Step: Crafting Your Dreamy Cloud Backdrop
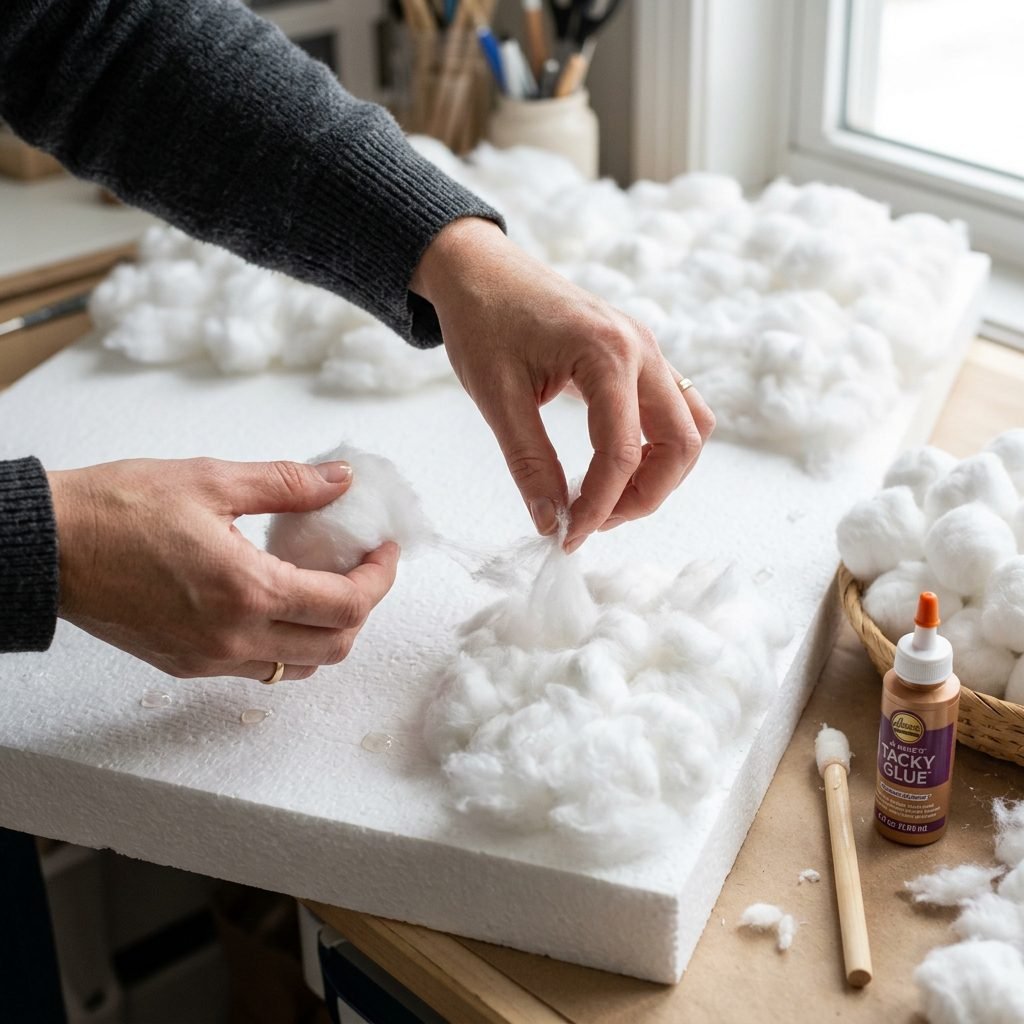
Let us get crafty! This process is therapeutic, simple, and surprisingly fun. Do not rush this part; put on your favorite calming playlist or a podcast and take your time building your little piece of the sky.
- Prep Your Base: Lay your poster boards or foam core flat on the floor. If you are using multiple boards, tape them together securely on the back using strong packing tape so they do not slide apart when you move them.
- Sketch the Shape: Using a pencil, lightly draw a large, organic cloud shape onto your boards. You want it to be large enough to comfortably fit your baby with plenty of border space. Think about making it look like a cluster of clouds rather than one perfect oval.
- Tease the Cotton: This is the secret to making it look like a real cloud rather than a school science project! Do not just glue the cotton balls down exactly as they come out of the bag. Take each cotton ball and gently stretch it, pull it, and tease it apart so it looks wispy and airy. This step takes time, but it makes a 100% difference in the final texture.
- Start Gluing: Apply your non-toxic glue or low-temp hot glue to a small section of the board. Press your teased cotton onto the glue. Work in small patches so the glue does not dry before you can apply the cotton.
- Build Dimension: Real clouds are not flat. To create a 3D effect, layer your teased cotton. Make the edges wispy and thin, and build up the center and certain “puffs” to be thicker and higher. You want hills and valleys of fluff.
- Create the Baby Nest: In the very center of your cloud, leave a slight indentation where the baby will lay. Instead of piling cotton high here, lay down a soft, white muslin or knit blanket. This ensures the baby is resting on a smooth, comfortable surface rather than directly on glued cotton, which could be lumpy or itchy.
- Add the Magic (Optional): If you are using battery-operated fairy lights, gently tuck the wire under the outer edges of the cotton clouds so just the tiny bulbs peek through. Ensure the battery pack is hidden and out of the baby’s reach.
Safety Check: Before placing your baby on the backdrop, run your hands over the entire surface. Check for any sharp edges from the foam board, ensure all glue is completely dry and fume-free, and confirm that there are no loose pieces of cotton that could pose a choking or inhalation hazard.
Doula-Approved Newborn Posing & Safety
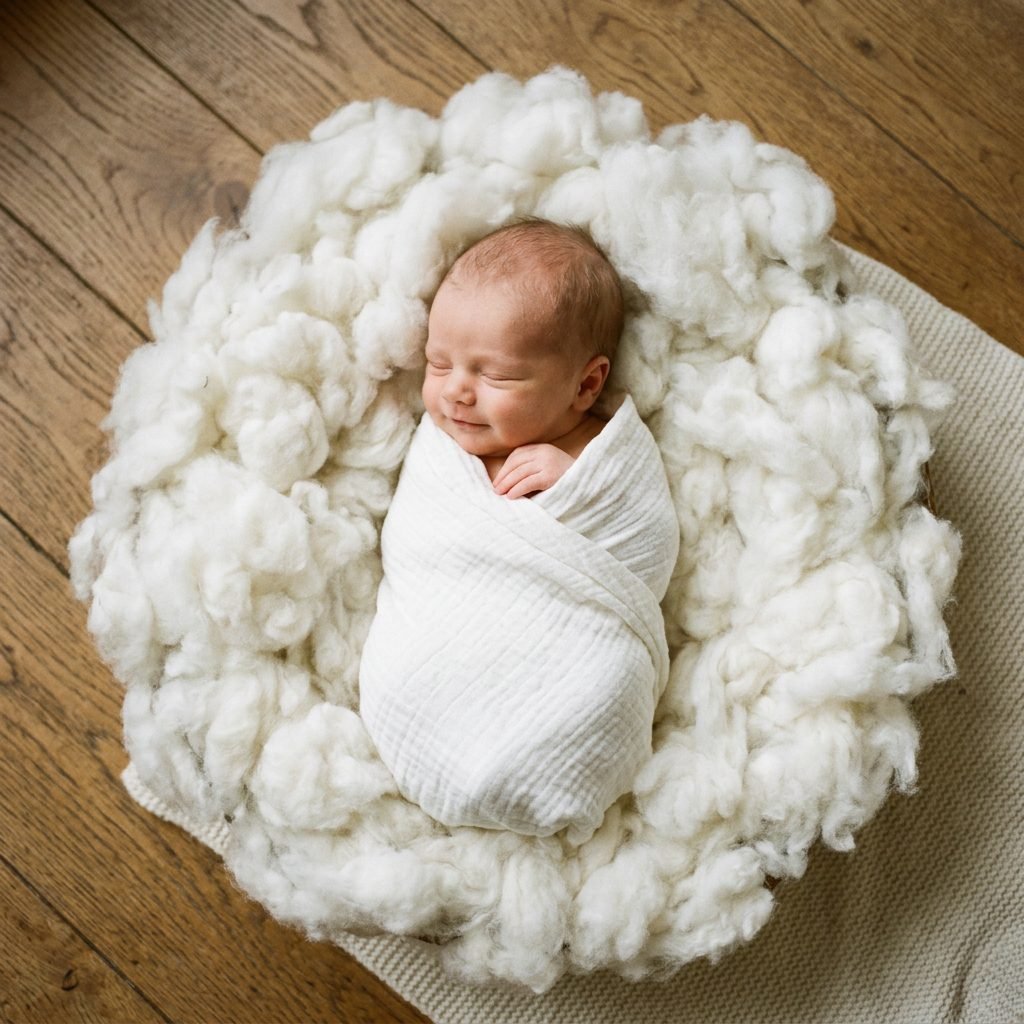
Now for the most important part: photographing your precious baby safely. The newborn photography industry has many beautiful poses, like the “froggy” pose (where the baby’s head rests on their hands). It is crucial to know that these complex poses are almost always composite images—meaning multiple photos are photoshopped together, and hands are ALWAYS supporting the baby’s head in real life. As a DIYer, we are going to stick to natural, baby-led posing. This means letting the baby lay exactly how they naturally want to lay.
To get the best results, plan your photoshoot immediately after a full feeding. A baby who has a full tummy of milk, a clean diaper, and a warm room is a baby who is ready to sleep deeply. Burp them thoroughly to ensure they do not have trapped gas that will wake them up mid-shoot.
| Do This | Don’t Do This |
|---|---|
| Do let your baby’s head turn naturally to the side. | Don’t ever force your baby’s neck or limbs into a position that feels stiff. |
| Do swaddle them snugly in a white wrap to help them feel secure on the clouds. | Don’t leave them unswaddled if they have a strong startle reflex that keeps waking them. |
| Do keep a hand on or hovering inches from the baby at all times. | Don’t step away from the baby, even if they are just on the floor. |
| Do capture the tiny details: macro shots of eyelashes, toes, and fingers. | Don’t stress if they wake up. Awake photos with wide, curious eyes are just as beautiful! |
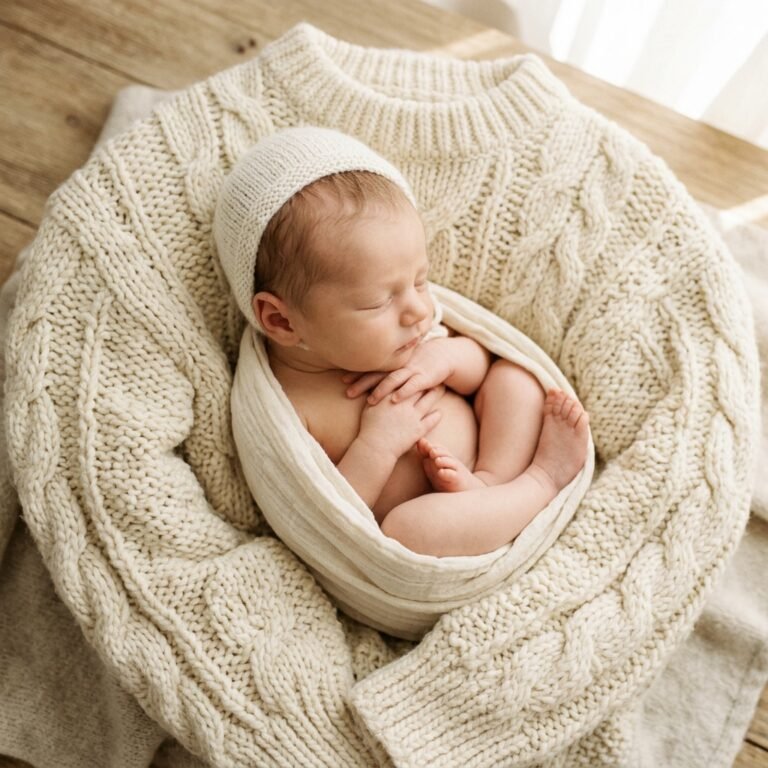
If you want the baby to look like they are floating in the clouds, a snug white swaddle is your best friend. It keeps their arms securely tucked in, prevents them from grabbing at the cotton balls, and blends seamlessly into the cloud aesthetic. Gently lay your swaddled baby into the “nest” you created in the center of your backdrop. If they stir, gently place a warm hand firmly on their chest and softly shush them until they settle back into sleep.
Capturing the Magic: Photography & Editing Tips
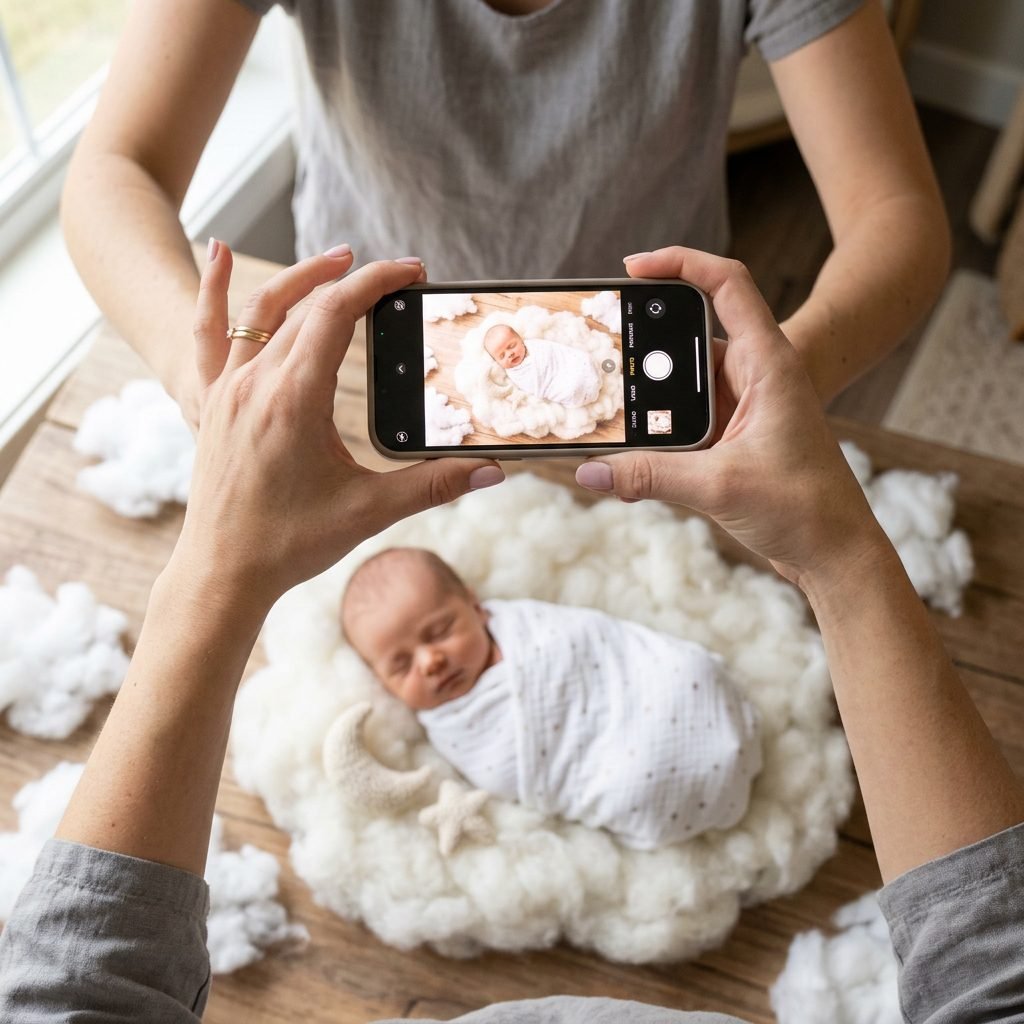
You do not need a fancy DSLR camera to capture breathtaking photos of your baby on their new cloud backdrop. Today’s smartphones have incredible lenses. To get the best shot, stand directly over the baby (safely, ensuring your phone is gripped tightly so it does not slip) for a beautiful “flat lay” perspective. This angle makes the clouds look expansive and truly gives the illusion that your little one is sleeping in the sky.
Tap the screen on your baby’s face to ensure the camera focuses there. If the image looks a bit too dark or too bright, you can usually slide your finger up or down on the screen to adjust the exposure before taking the picture. Take lots of photos! Babies make tiny micro-expressions even in their sleep, and taking a burst of photos ensures you catch that fleeting, angelic newborn smile.
Simple, Dreamy Editing
Once you have your photos, a few simple tweaks can elevate them from a cute phone picture to a frame-worthy piece of art. You can use free apps like Lightroom Mobile or Snapseed. Here is a quick formula for a dreamy edit:
- Increase Exposure slightly: Make those white clouds pop and look bright and airy.
- Lower the Contrast slightly: This softens the shadows and gives the photo a gentle, hazy, dream-like quality.
- Warm up the Temperature: Move the warmth slider just a tiny bit toward the yellow/orange side to give your baby’s skin a healthy, rosy glow.
- Desaturate distractions: If there is a color cast from your walls, slightly lowering the saturation of the background can help the white clouds look pure.
Most importantly, print these photos! Do not let them live forever in your phone’s camera roll. Order a canvas for the nursery, print small copies for the grandparents, and add one to your baby book. You worked hard on this beautiful setup, and these early days are so incredibly fleeting.
Embracing the Journey of Motherhood
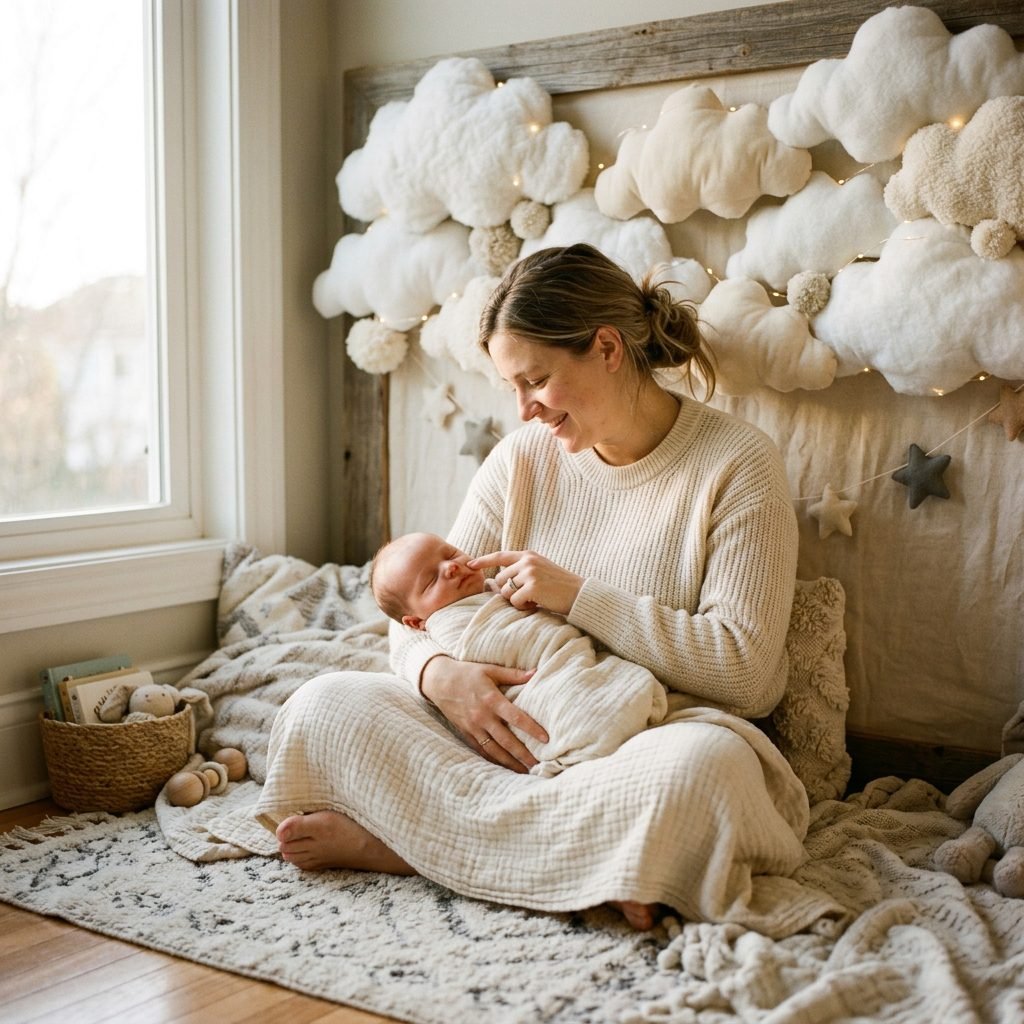
Creating this DIY cotton ball cloud backdrop is about more than just getting a cute photo for social media. It is about taking a quiet, intentional moment to celebrate the miraculous life you have brought into this world. In the whirlwind of diaper changes, cluster feeding, and sleep deprivation, taking an hour to craft and capture your baby’s delicate features is a beautiful act of mindfulness. Remember, sweet mama, if the baby cries the whole time, or if the dog walks all over your cotton clouds, it is okay. Pack it up, laugh about it, and try again tomorrow. Motherhood is not about picture-perfect moments; it is about the messy, beautiful, and deeply loving reality of growing together. You are exactly the mother your baby needs. Now, go create some magic.
Conclusion
Thank you for letting me share this little slice of crafting joy with you. Your DIY cotton ball cloud backdrop is going to look absolutely stunning, and the memories you capture will be cherished for a lifetime. Drink your water, rest when you can, and soak in that sweet newborn scent. You’ve got this, mama!