How to Take Beautiful DIY Newborn Hand & Foot Photos with Parents’ Wedding Rings
Oh, mama, I see you. You are currently in that beautiful, hazy, exhausting, and utterly magical ‘fourth trimester’ fog. Your world has narrowed down to the scent of your baby’s head, the rhythm of their breathing, and the sheer wonder of how something so small can be so perfect. As a doula, I often tell my clients that the first 21 days are a whirlwind that you’ll want to bottle up forever. One of the most poignant ways to capture that sense of scale—and the beautiful union that brought this little soul into the world—is through the classic ‘wedding ring’ photo.
You’ve likely seen those breathtaking professional shots where a parent’s wedding band looks massive compared to a tiny newborn toe or finger. It’s a symbol of your love encircling their new life. But here’s the secret: you don’t need a professional studio or a thousand-dollar lens to create these heirlooms. With a little patience, the right lighting, and your maternal intuition, you can capture these stunning images right in your own living room. Let’s walk through this together, step by tiny step, ensuring your little one stays safe, cozy, and calm throughout the process.
Setting the Stage: Materials, Lighting, and Timing
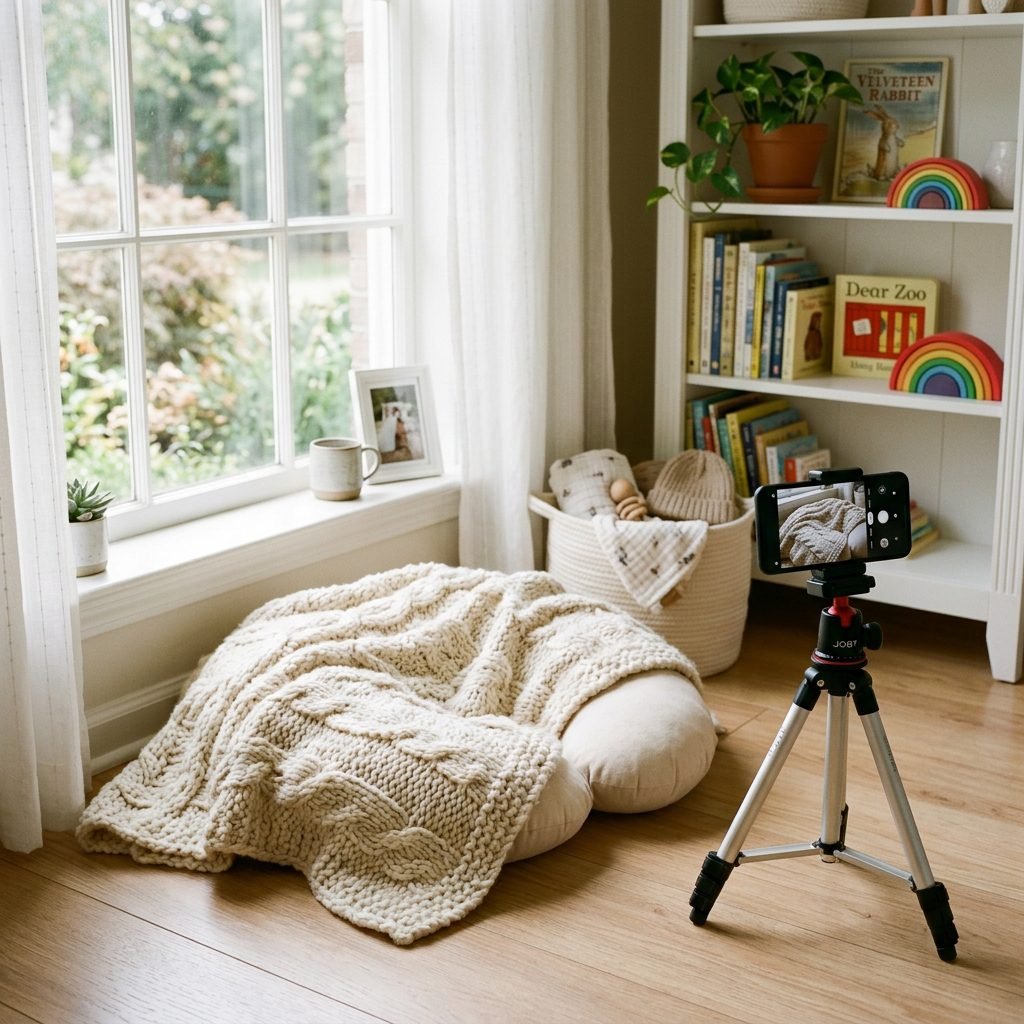
Before we even reach for the rings, we need to create the perfect environment. Newborns are incredibly sensitive to their surroundings. If the room is chilly or the light is harsh, they won’t settle into those sweet, sleepy poses we need. As your ‘virtual doula,’ my first tip is to warm up the room. Aim for about 75°F (24°C) to keep them comfortable while they are partially unclothed.
The Magic of Natural Light
Forget the overhead lights or your phone’s built-in flash; they create harsh shadows and unflattering skin tones. Instead, find a large window. North or South-facing windows provide the softest, most consistent light. You want ‘indirect’ sunlight—the kind that glows but doesn’t sting. Position your posing area about 3 to 5 feet away from the window.
Your DIY Photography Kit
You likely have everything you need already. Here is a breakdown of the essentials to gather before you wake the baby:
| Item | Purpose | Budget Tip |
|---|---|---|
| Neutral Backdrop | Creates a clean, professional look. | Use a cream pashmina or a chunky knit blanket. |
| Boppy or Nursing Pillow | Provides a stable, angled surface for the baby. | A rolled-up bath towel works as a great substitute. |
| Wedding Rings | The star of the show! | Clean them with a gentle jewelry soak first. |
| White Noise Machine | Mimics the womb and keeps baby asleep. | Use a free app on a secondary phone. |
| Heating Pad | Warms the blanket before laying baby down. | Remove it before placing the baby! |
The Golden Rule: Safety and Newborn Comfort
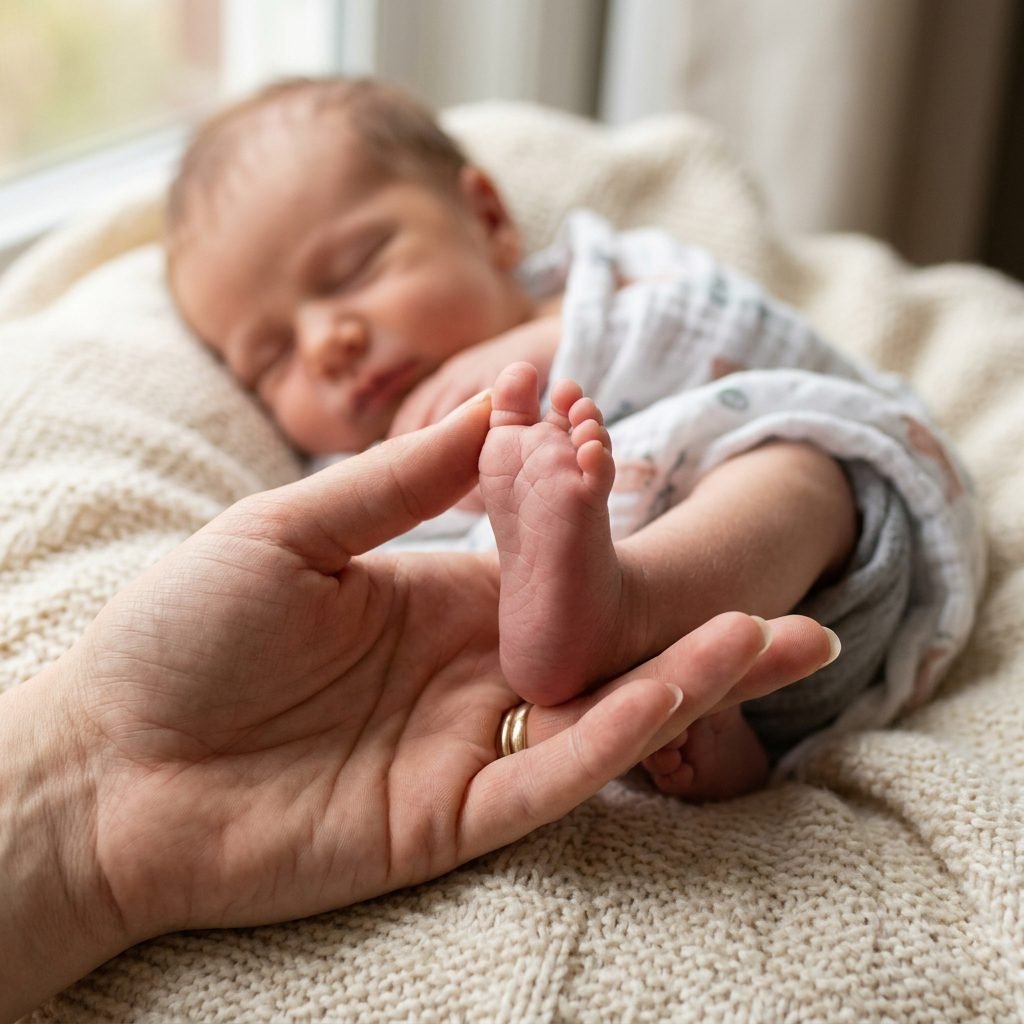
Mama, this is the most important part of our journey today. As much as we want that ‘perfect’ shot, baby’s safety and comfort always come first. Never, ever leave a baby unattended with jewelry, and never force a limb into a position that feels resistant. Their joints are soft, and their startle reflex (the Moro reflex) can happen at any second.
Hygiene and Prep
Since those rings will be touching newborn skin, give them a quick clean. Use a drop of mild dish soap and warm water, then dry them thoroughly. Ensure your own hands are warm—nothing wakes a sleeping babe faster than icy fingers! If your baby is prone to dry skin or ‘baby acne,’ don’t worry. A tiny dab of breastmilk or coconut oil can smooth out flaky spots on hands and feet before the photo.
Pro Tip: The best time for this photoshoot is 30 minutes after a full feeding. We want that ‘milk coma’ state where they are deeply asleep and less likely to wiggle their tiny toes out of the rings.
The ‘Spotter’ System
If possible, have your partner or a friend act as a ‘spotter.’ Their only job is to keep a hand just an inch above the baby at all times. In professional photography, we often take ‘composite’ shots where the hand is edited out, but for a DIY version, just having that extra set of eyes ensures the rings don’t slip and the baby doesn’t roll.
Mastering the ‘Ring on the Toes’ Shot
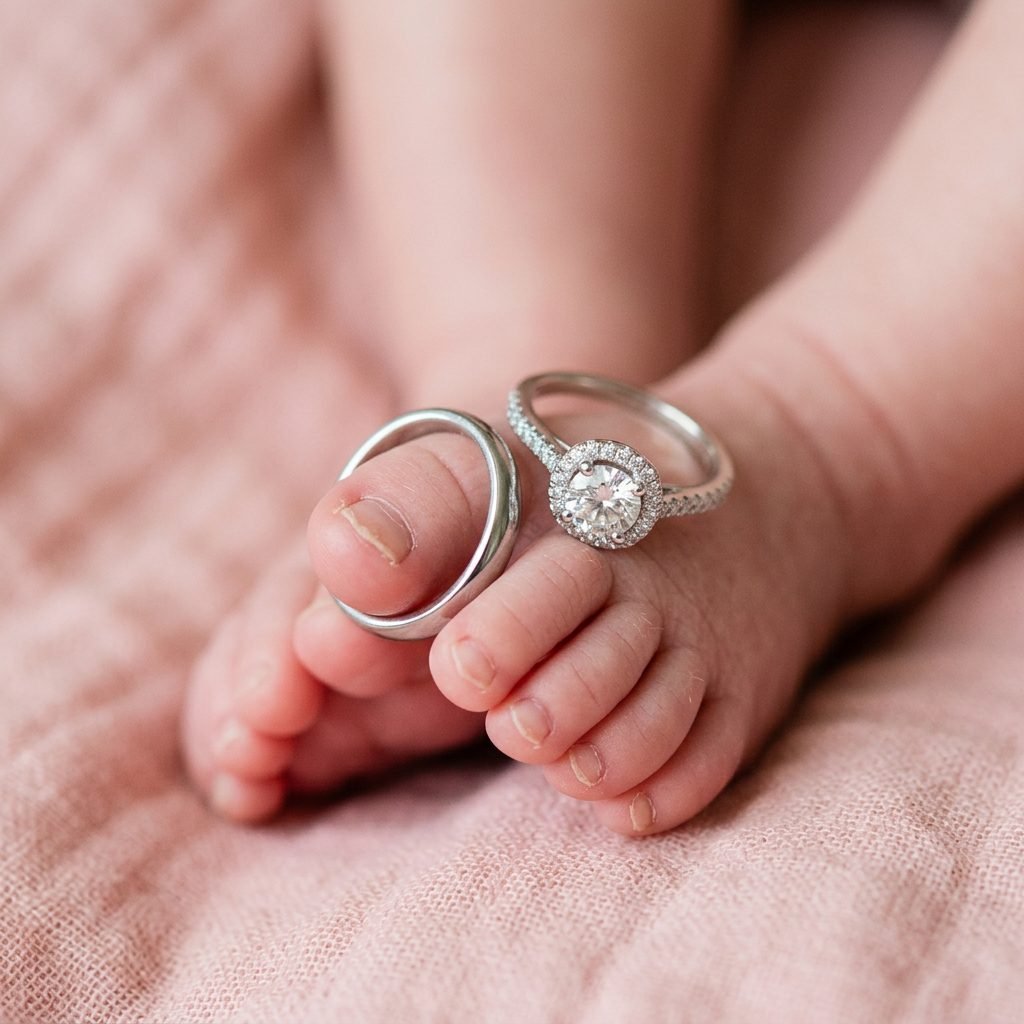
This is perhaps the most iconic DIY newborn photo. There is something about those ‘edible’ little toes that just begs to be documented. To get this right, we are going to use a specific sequence to keep the baby settled.
Step-by-Step Instructions
- Positioning: Lay your baby on their back or side on the prepared nursing pillow. Ensure their feet are slightly elevated so the light hits the tips of the toes.
- The Gentle Stretch: If the baby’s toes are curled (which is very common!), gently stroke the top of the foot. This often causes them to fan their toes out momentarily.
- The Ring Placement: Slide the larger wedding band (usually the partner’s) over the big toe. Gently lean the smaller band against it or slide it onto the second toe.
- The Angle: Get down low. You want to be at ‘eye level’ with the toes. Shooting from above can make the feet look flat; shooting from the front captures the depth of the rings.
- Focus: If using a smartphone, tap the screen specifically on the sparkle of the ring. This ensures the jewelry is crisp while the baby’s heel fades into a soft, beautiful blur.
If your baby starts to wiggle, simply place your warm hand over their feet and wait 60 seconds. The stillness and warmth will usually lull them back into a deeper sleep so you can try again.
The ‘Ring in Palm’ and Finger Poses
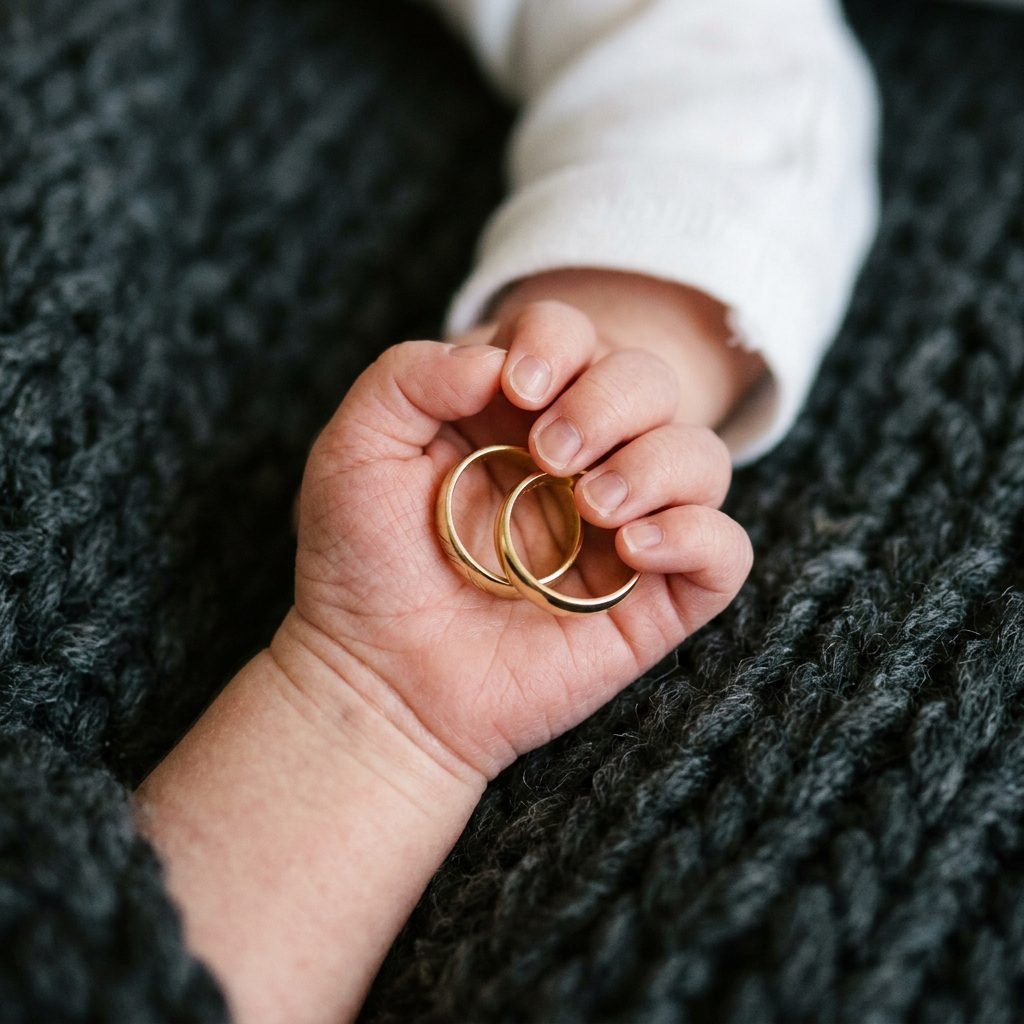
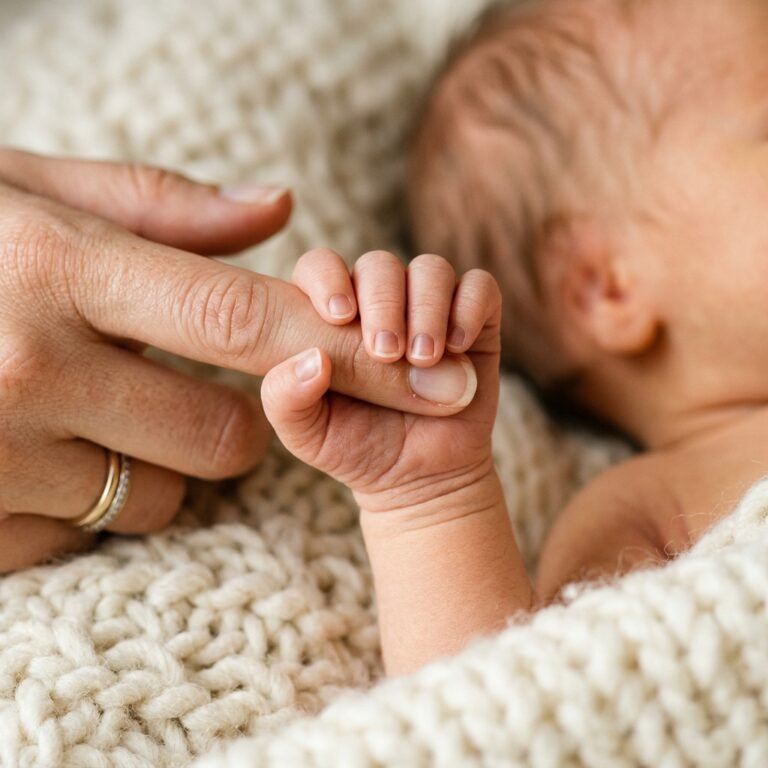
While the toes are easier because they don’t move as much, the hands offer a deeply emotional ‘connection’ shot. Newborns have a natural palmar grasp reflex—if you touch their palm, they will wrap those tiny fingers around yours. We can use this to our advantage.
The Finger Stack
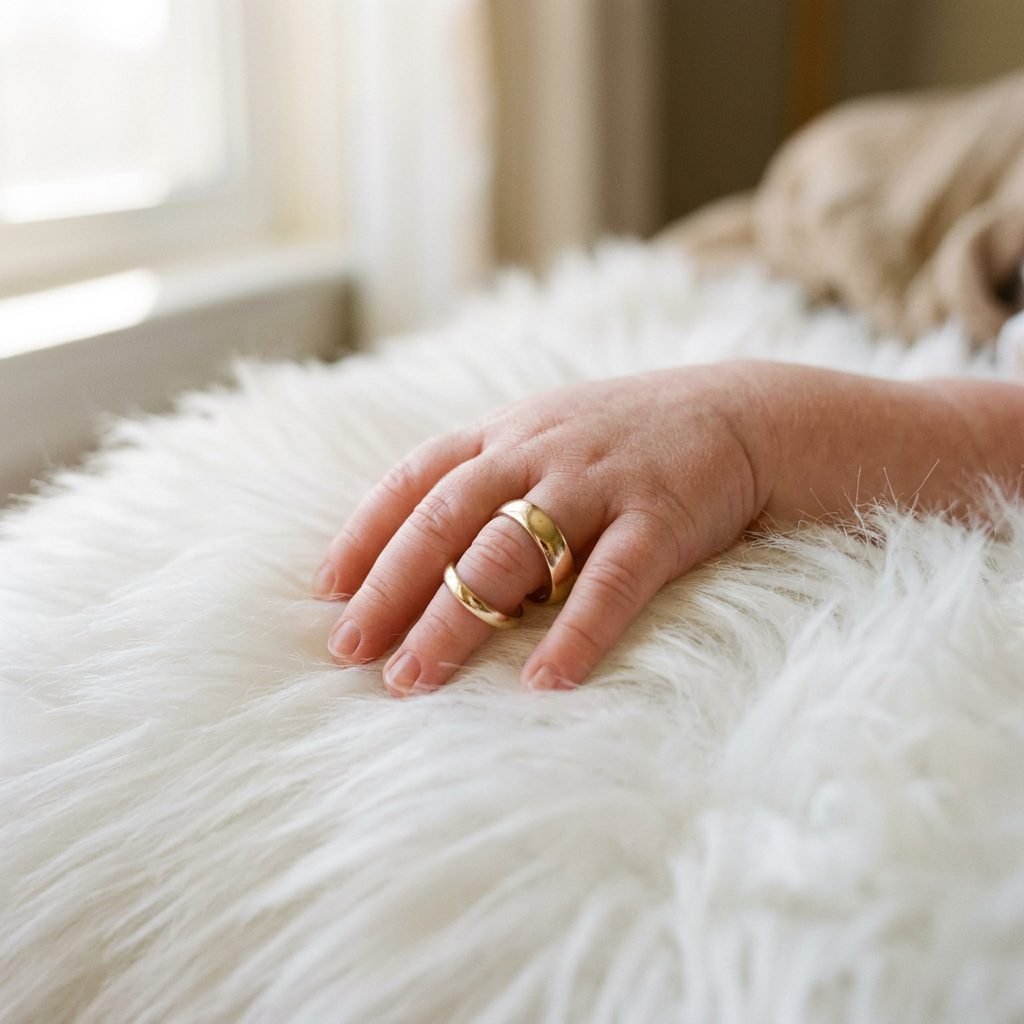
Gently slide one ring over the baby’s middle and ring fingers. This works best if the baby’s hand is relaxed and slightly open. If they have a tight fist, do not pry it open. Instead, place the rings inside the palm and let the fingers curl naturally around the gold bands. It looks like the baby is ‘holding’ the promise of your marriage.
Composition and Textures
To make the photo look high-end, play with textures. A mix of ‘hard’ and ‘soft’ creates visual interest. The cold, polished metal of the rings against the soft, wrinkled skin of a 7-day-old baby is a powerful contrast.
| Texture Type | Example Material | Visual Effect |
|---|---|---|
| Organic | Linen or Cotton Gauze | Timeless, airy, and pure. |
| Luxury | Faux Fur or Velvet | Rich, cozy, and high-contrast. |
| Heirloom | Hand-knitted Wool | Sentimental and vintage-inspired. |
Technical Hacks for the Perfect Smartphone Shot
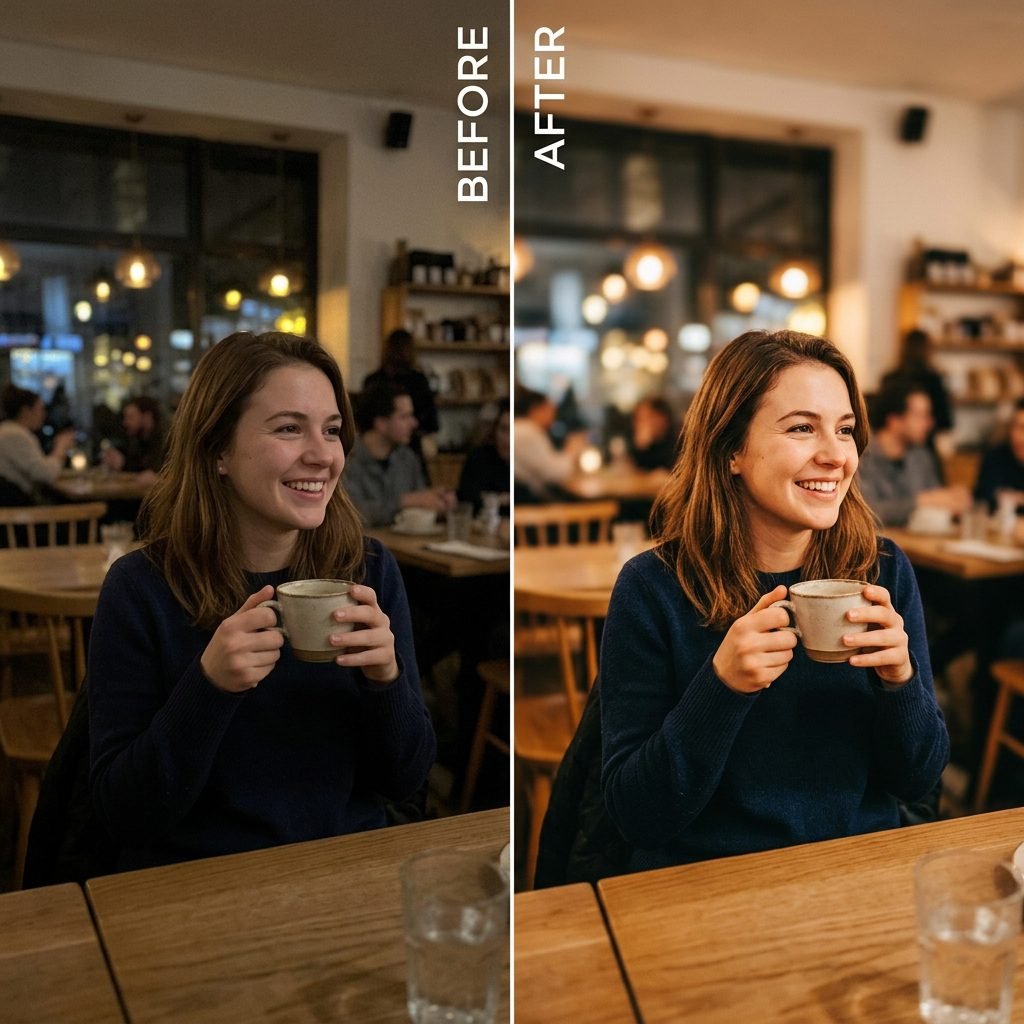
You don’t need to be a tech wizard to get a ‘pro’ look. Most modern smartphones have a ‘Portrait Mode’ that is your best friend for this project. This mode mimics the ‘bokeh’ (blurred background) of expensive DSLR cameras.
Smartphone Settings to Check:
- Exposure Lock: Tap and hold the area where the light hits the ring until you see a yellow box. Slide the sun icon down slightly to ‘underexpose’ the image. This prevents the white parts of the baby’s skin from looking ‘blown out.’
- Lens Choice: If your phone has multiple lenses, use the 2x or 3x zoom. This allows you to stay a bit further back so you don’t cast a shadow on the baby, while still getting a tight, macro-style shot.
- Burst Mode: Babies move unexpectedly. Hold down the shutter button to take a ‘burst’ of photos. You might take 20 shots just to find the one where the baby’s finger is perfectly still.
“The best camera is the one in your hand, and the best moment is the one you actually capture. Don’t stress about perfection; focus on the connection.”
Editing and Preserving Your Memories
Once you’ve captured that perfect shot, a little bit of ‘digital polish’ goes a long way. You don’t need Photoshop; free apps like Lightroom Mobile or Snapseed are incredible tools for new moms.
Simple Editing Steps:
- Warmth: Increase the ‘warmth’ or ‘tint’ slightly to give the skin a healthy, golden glow.
- Softening: Use a ‘clarity’ slider and move it to the left. This slightly blurs the skin textures, giving that dreamy, ethereal newborn look.
- Crop for Impact: Don’t be afraid to crop in tight! Sometimes the most beautiful photo is just the rings and the three smallest toes.
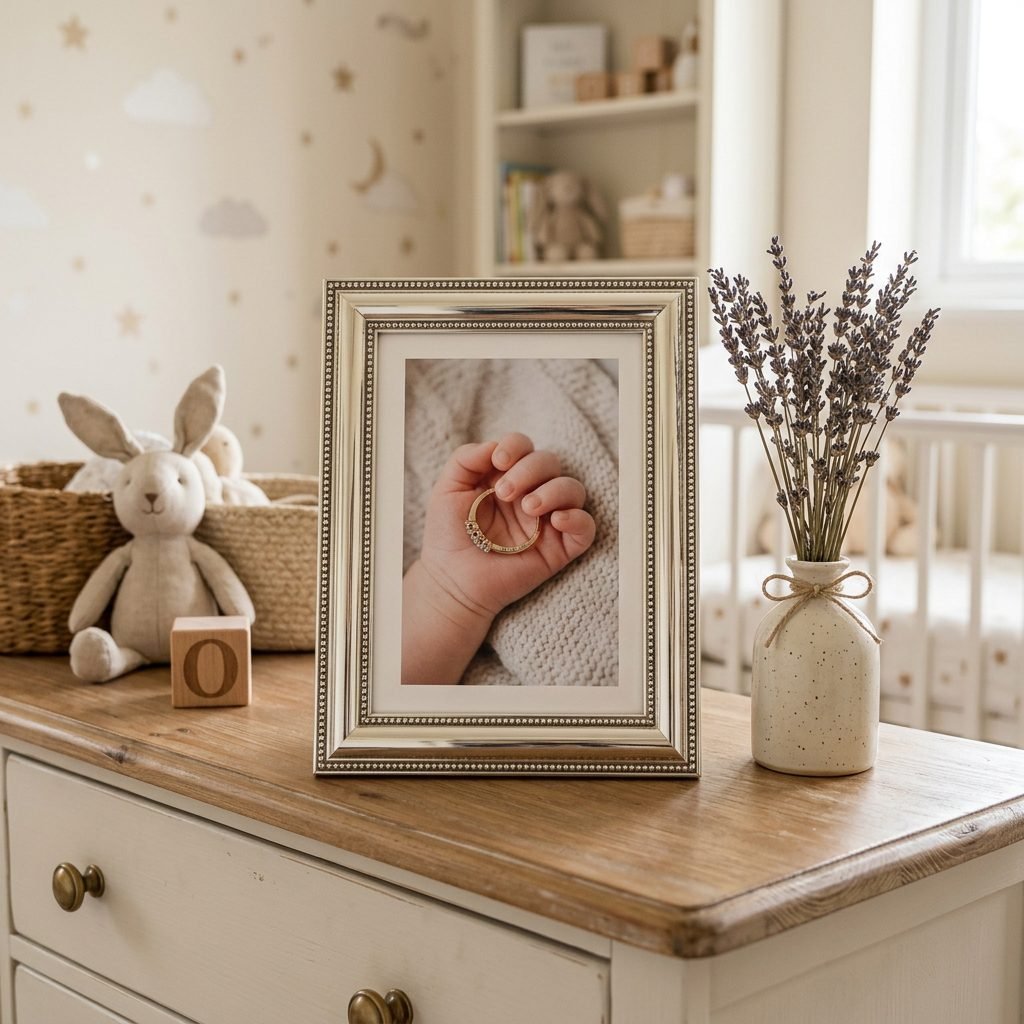
Finally, mama, print these photos. In our digital age, these moments often get lost in the ‘cloud.’ Order a small canvas or a high-quality print to tuck into your baby book. One day, when that baby is grown and perhaps wearing a wedding ring of their own, they will look at this photo and see the foundation of love they were born into.
Conclusion
Capturing these DIY newborn photos is more than just a craft project; it’s a pause button on a time that moves far too fast. As a doula, I’ve seen how quickly those tiny ‘froggy’ legs straighten out and how fast those miniature fingernails grow. By taking 30 minutes today to set up this shot, you are giving your future self a priceless gift. Remember to be patient with yourself and your baby. If they aren’t in the mood today, try again tomorrow. You are doing an amazing job, mama. Enjoy these quiet, beautiful moments of connection.