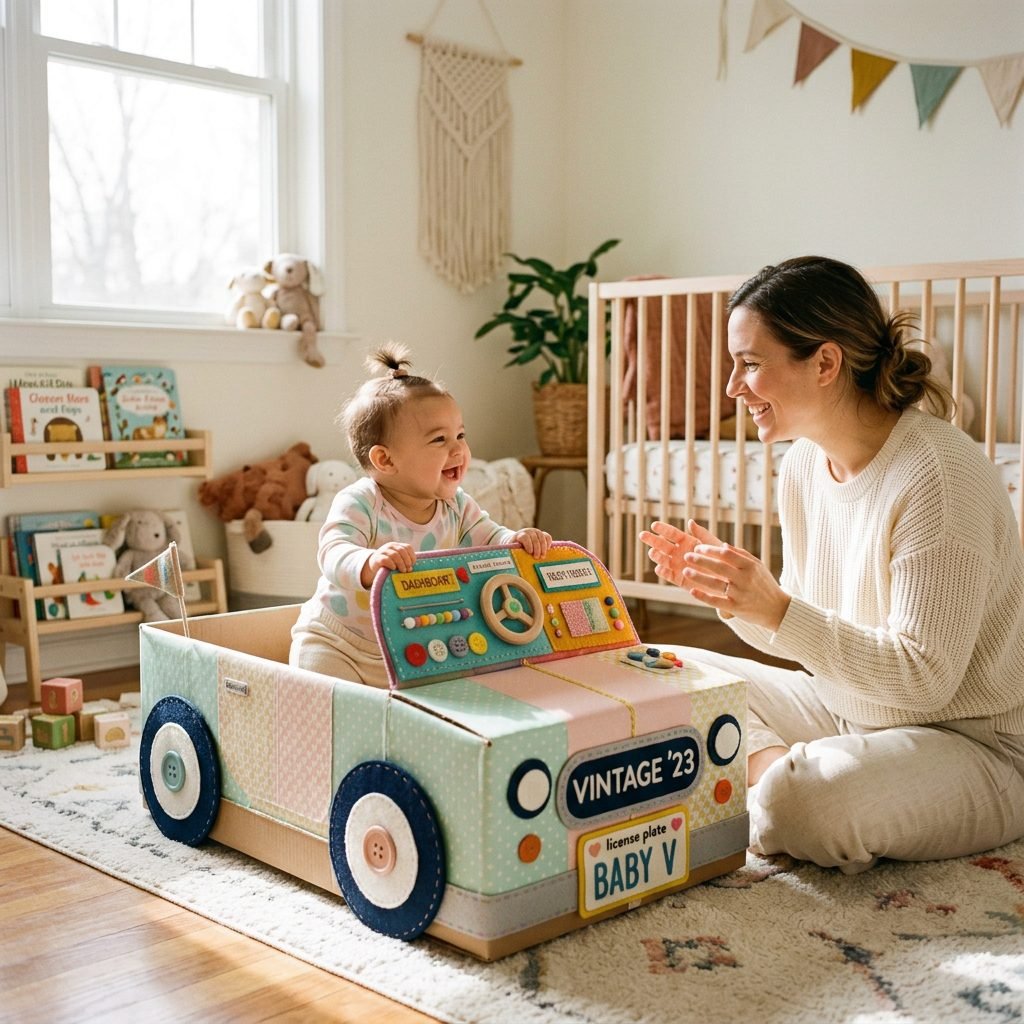
Turn a Cardboard Box into a Sensory Play Car for Your 7-Month-Old
Welcome to the Magic of Upcycled Play, Mama!
If your living room currently looks like a warehouse distribution center thanks to all those late-night diaper and wipe deliveries, I have some wonderful news for you. That medium-sized shipping box sitting in the corner isn’t just recycling—it is a developmental goldmine waiting to happen. As a doula and a mama who has spent countless hours on the nursery floor, I know that sometimes the most expensive toys gather dust while a simple piece of cardboard becomes the highlight of the week.
At 7 months old, your little one is hitting some of the most exciting physical and cognitive milestones. They are likely mastering the ‘tripod sit,’ starting to push into a crawl, and their curiosity about textures, sounds, and cause-and-effect is exploding. This DIY Sensory Play Car is designed to support every single one of those leaps. We aren’t just making a ‘toy’; we are creating a safe, contained ‘yes-space’ where your baby can explore their world with their hands, eyes, and even their (brand new!) teeth.
This guide is crafted with the busy, perhaps slightly sleep-deprived mom in mind. We’re using non-toxic materials, focusing on safety first, and making sure the final product looks stylish enough to sit in your nursery without looking like clutter. Let’s grab a cup of coffee (hopefully still hot!) and turn that cardboard into a masterpiece of sensory exploration.
Why 7 Months is the Golden Age for Sensory Boxes
At seven months, your baby is transitioning from being a stationary observer to an active explorer. This is the age of proprioception—the sense of where their body is in space. Sitting inside a box provides clear physical boundaries that help their brain process these spatial relationships. It feels cozy, secure, and ‘just right’ for their size.
Developmental Benefits of the Sensory Car
- Core Strength & Stability: Sitting upright in the box, even with the support of the sides, encourages the use of trunk muscles.
- Fine Motor Skills: Reaching for ‘buttons’ (bottle caps) or pulling at ‘gears’ (felt strips) refines the pincer grasp.
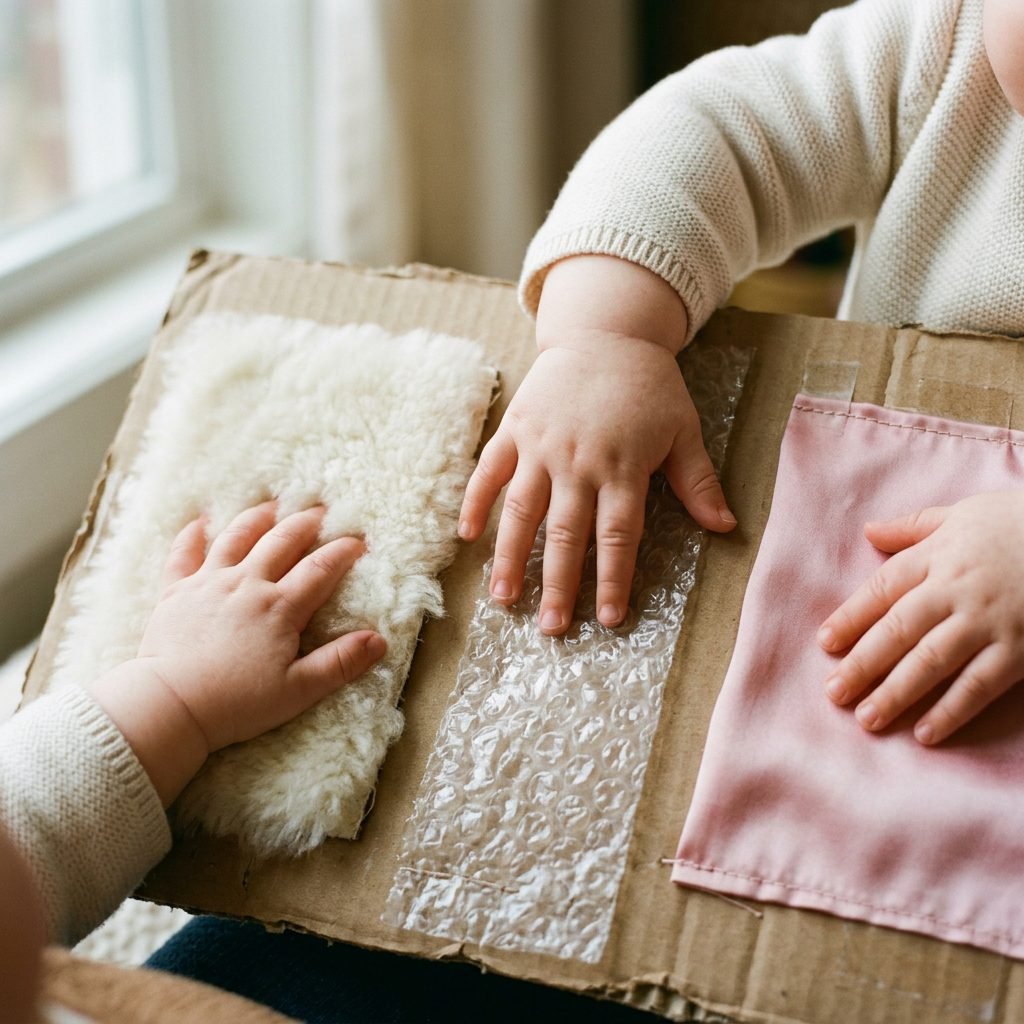
- Tactile Discrimination: By using different fabrics like silk, wool, and corrugated cardboard, you are helping their brain categorize different sensations.
- Object Permanence: Hiding a small toy inside a ‘glove box’ pocket in the car teaches them that things exist even when they can’t see them.
Your baby doesn’t need a high-tech gadget to learn; they need your presence and a few varied textures to spark their natural genius. You are doing an amazing job providing this environment!
The Ultimate Supply List & Budget Breakdown

One of the best parts of this project is that it is incredibly budget-friendly. Most of these items are already in your pantry or craft drawer. When selecting materials, always prioritize taste-safe and choking-hazard-free components, as everything at this age goes straight to the mouth!
| Item | Purpose | Estimated Cost |
|---|---|---|
| Medium Cardboard Box | The ‘Chassis’ of the car | $0.00 (Upcycled) |
| Non-Toxic Duct Tape | Reinforcing edges and seams | $4.00 |
| Self-Adhesive Contact Paper | Aesthetic covering (and easy to wipe!) | $6.00 |
| Assorted Fabric Scraps | Sensory ‘upholstery’ and textures | $0.00 (Scraps) |
| Large Plastic Lids | Steering wheel and wheels | $0.00 (Recycled) |
| Unbreakable Baby Mirror | ‘Rearview’ mirror for self-discovery | $8.00 |
Total Estimated Cost: $18.00. Compare that to a plastic activity center that can cost upwards of $100! Plus, the love and intention you put into this make it priceless.
Safety First: Creating a ‘Yes-Space’ for Exploration
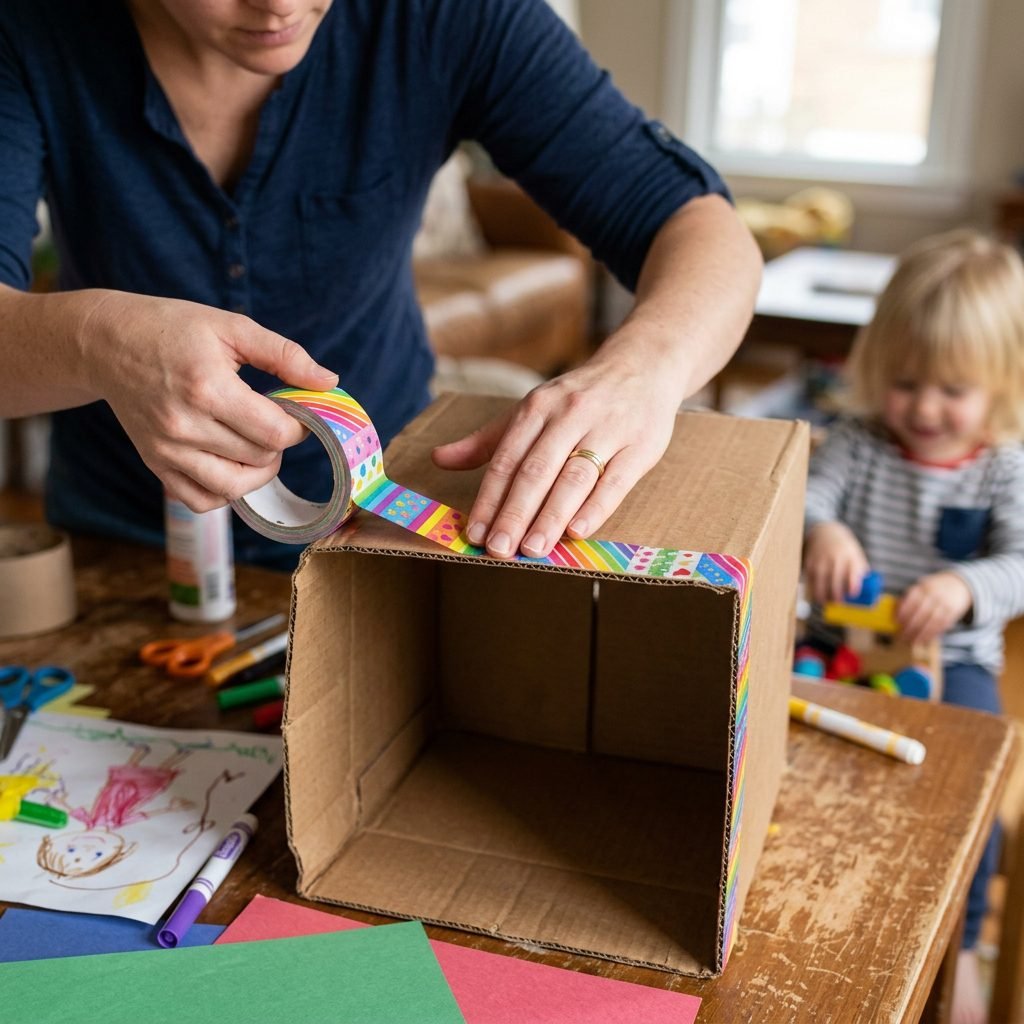
As a doula, safety is my middle name. Before we start building, we must ensure the environment is 100% secure for a baby who is likely teething and grabbing everything with surprising strength.
The Safety Checklist
- Smooth Those Edges: Raw cardboard edges can actually be quite sharp (the dreaded cardboard-cut!). Always cover every exposed edge with thick, non-toxic tape or fabric.
- The ‘Choke Tube’ Test: Any item attached to the car (like bottle cap ‘buttons’) must be larger than a toilet paper roll. If it fits inside the roll, it is a choking hazard.
- Adhesive Integrity: Use a high-quality, non-toxic hot glue or industrial-strength double-sided tape. Check the car daily to ensure no pieces are coming loose.
- Breathability: Never leave a baby unattended in the box, and ensure the box is shallow enough that they can easily see over the top while sitting.
Pro-Tip: If you use contact paper to ‘paint’ the car, make sure there are no air bubbles where little fingers can pick and peel the plastic. We want a smooth, seamless finish!
Step-by-Step: Building Your Baby’s First ‘Tesla’

Ready to build? Follow these steps to create a sturdy and stylish sensory car that will keep your little one engaged for hours.
- Prepare the Base: Take your box and tape the bottom flaps securely. For the top, you can either cut the flaps off entirely or fold them inward and tape them down to create extra-thick, sturdy walls.
- The ‘Paint’ Job: Cover the exterior with contact paper. I love a soft sage green or a muted terracotta to keep the nursery vibe calm. This also makes the box wipeable if a little spit-up occurs!
- Install the Wheels: Take four large plastic lids (from oatmeal containers or large yogurt tubs). Glue them to the sides. For extra sensory points, glue a different texture to each wheel (e.g., felt on one, sandpaper on another, silk on the third).
- The Dashboard: This is the heart of the car. Inside the front of the box, glue your unbreakable mirror in the center. To the left, glue a large lid to act as a steering wheel. To the right, add ‘buttons’ made of large wooden rings or thick felt pads.
- Interior Design: Line the bottom of the box with a soft, plush blanket or a piece of faux fur. This makes it a cozy ‘nest’ for their little bottom.
Don’t worry about perfection, Mama. Your baby doesn’t care if the lines are straight; they care about the crinkle of the paper and the sound of your voice as you play together.
Customizing the Sensory Experience: Textures & Sounds

Now for the fun part—the ‘bells and whistles’! This is where we tailor the car to your 7-month-old’s specific developmental needs.
The Sound System
Babies love cause-and-effect sounds. Try attaching a small pouch of crinkle paper (sewn shut inside fabric) to the side of the car. When they lean against it, it makes that satisfying ‘crunch’ sound. You can also hang a set of plastic measuring spoons from a short, secure ribbon for a gentle metallic clinking sound.
The ‘Gear Shift’
Take a thick piece of braided t-shirt yarn or a chunky rope (ensure it is too short to be a strangulation hazard—no more than 6 inches). Attach it to the side so they can pull and tug. This builds upper body strength as they resist the pull.
The ‘Glove Box’
Glue a small fabric pocket (an old pocket from a pair of jeans works great!) to the interior. Hide a ‘surprise’ toy inside each morning. This encourages fine motor exploration as they reach in to find the treasure.
The ‘Drive-In’ Experience: How to Play Together

While this car is great for ‘independent’ play (which for a 7-month-old means you are 3 feet away drinking coffee), it is also a wonderful tool for interactive bonding.
Play Ideas for You and Baby
- The ‘Wheels on the Bus’ Remix: Sit on the floor across from the car and sing. When you get to ‘the horn on the bus goes beep, beep, beep,’ help your baby press their ‘button’ on the dashboard.
- Red Light, Green Light: Use a red and green piece of felt. When you show the ‘Green,’ move the box gently back and forth. When you show ‘Red,’ stop and tickle their tummy. This teaches early cognitive processing.
- The Car Wash: Take a soft silk scarf and gently run it over the top of the ‘car’ and the baby’s head. The light, airy sensation is a wonderful sensory contrast to the hard cardboard.
Remember, at this age, 10–15 minutes of focused play is a huge success! Follow your baby’s cues—if they start to rub their eyes or turn away, it’s time to ‘park’ the car for a nap.
Maintenance and Longevity of Your DIY Toy
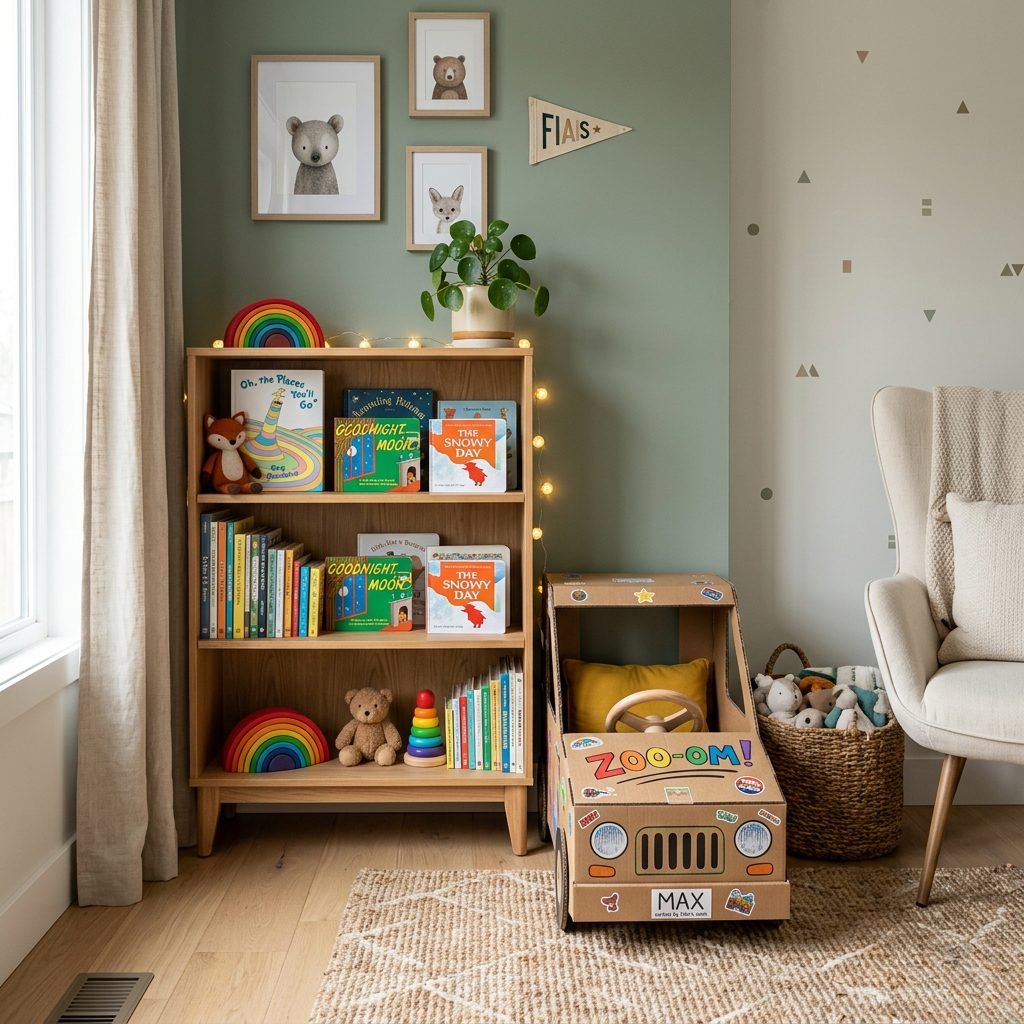
Cardboard isn’t forever, and that’s okay! Part of the beauty of upcycled play is that it can be recycled when it has served its purpose. However, you can extend the life of your sensory car with a few simple tips:
- Daily Inspection: Every morning, do a quick ‘tug test’ on all the glued items. If a wheel is wobbling, add a fresh dab of glue before play starts.
- The ‘Grown-Out’ Transition: As your baby starts to pull to stand (around 9–10 months), the car might become a bit unstable. At that point, you can cut the sides down further to turn it into a flat ‘sensory board’ on the floor.
- Storage: If you have a small space, this car is light enough to be tucked away on top of a closet or even hung on a large hook when not in use.
You are teaching your child that creativity is more valuable than consumption. That is a lesson that will stay with them far longer than the box itself!
Conclusion
Beep Beep! You’re Doing Great, Mama!
Building this sensory car is about so much more than just a craft project. It’s about the moments of eye contact, the giggles when they discover their reflection in the mirror, and the pride you feel watching them master a new skill. You don’t need a massive budget or a degree in early childhood education to be your baby’s favorite teacher. All you need is a little imagination, a sturdy box, and your incredible maternal heart.
So, take pictures of your little driver in their new ‘whip,’ share them with your mom-friends, and most importantly, enjoy this fleeting, beautiful stage of 7-month-old wonder. You’ve got this!