6 Dynamic Birth Ball Exercises to Open Your Pelvis and Speed Up Labor
Welcome to Your Labor Toolkit, Mama
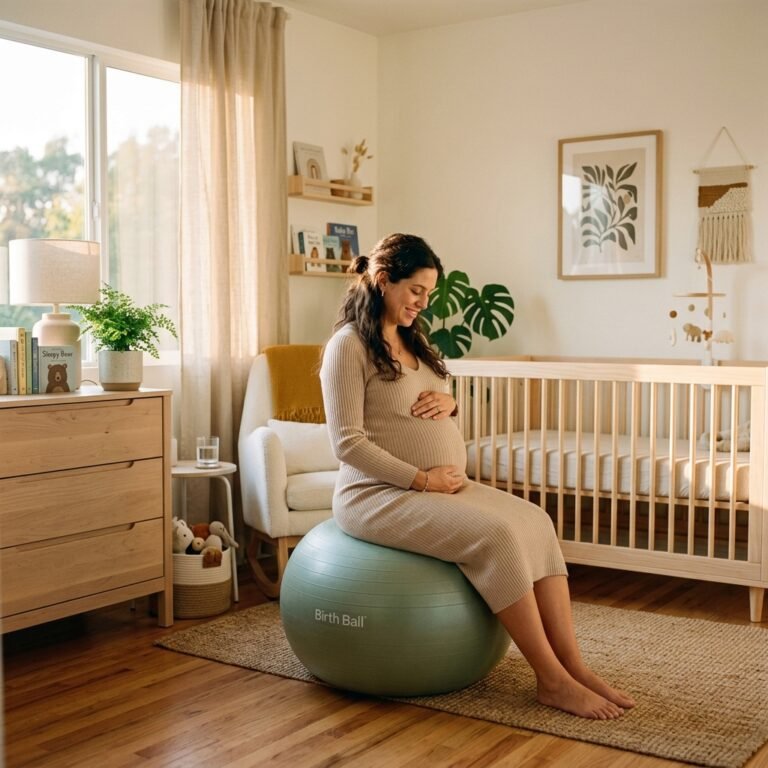
Hello, beautiful soul. If you are reading this, you are likely nearing one of the most transformative moments of your life. As a doula, I have seen firsthand how the rhythm of movement can turn a challenging labor into an empowering dance. The birth ball—that simple, inflatable sphere—is perhaps the most underrated tool in your birthing toolkit. It is not just a piece of gym equipment; it is a gateway to opening your pelvis, encouraging your baby to find the optimal position, and providing your body with the soft support it craves during contractions.
In the world of birth, movement is medicine. When we remain upright and active, we work with gravity rather than against it. These exercises are designed to help you tap into your body’s innate wisdom, creating space where it’s needed most and helping your baby navigate the beautiful, winding path of the birth canal. Let’s dive into these six dynamic movements that will help you feel more comfortable, confident, and ready to meet your little one.
The Science of Space: Why the Birth Ball Works
Gravity and Pelvic Mobility
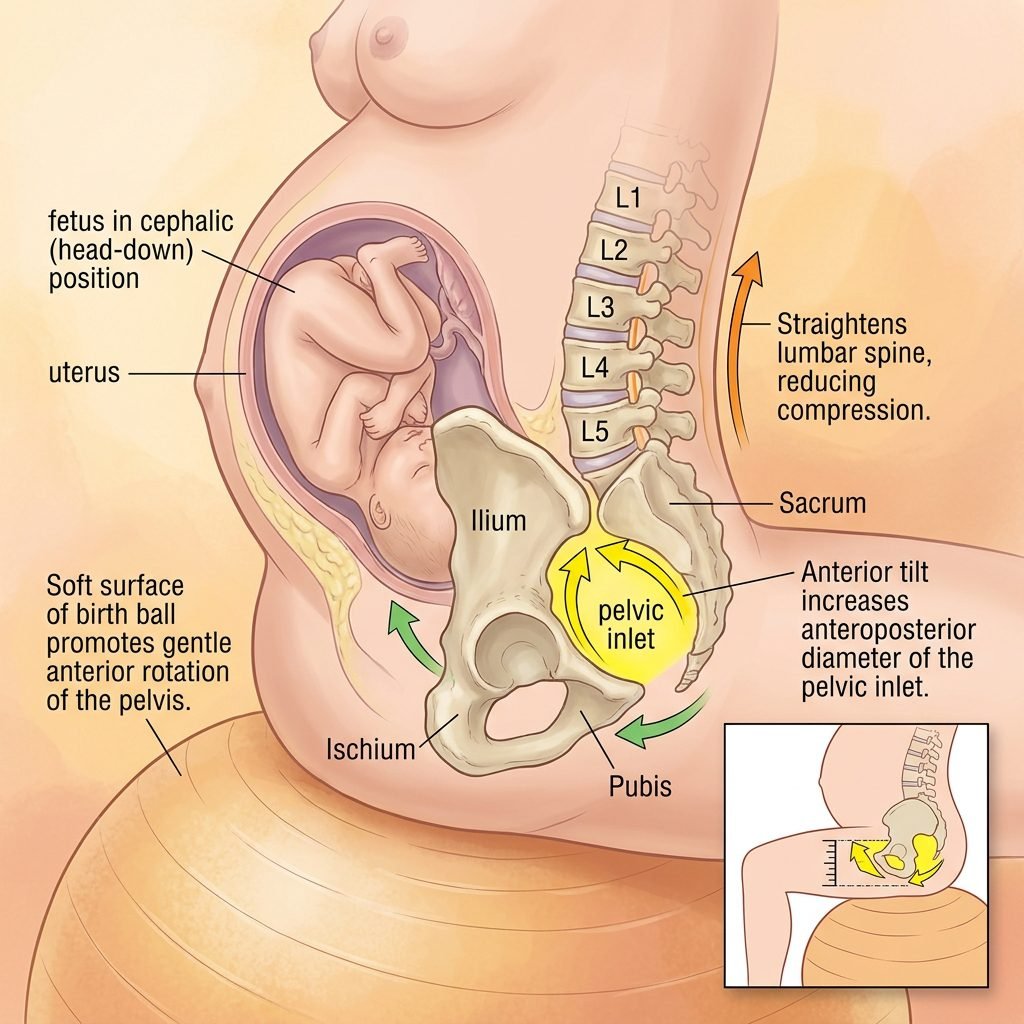
When you sit on a birth ball, your pelvis is naturally encouraged to tilt forward, which helps align your baby’s head with the pelvic inlet. Unlike sitting on a hard chair or lying in a hospital bed, the ball provides a dynamic surface that requires your core and pelvic floor to engage and release in a rhythmic way. This constant, subtle movement helps to loosen the ligaments and joints, specifically the sacroiliac (SI) joints and the symphysis pubis, which must expand to allow the baby to pass through.
Optimal Fetal Positioning (OFP)
Movement on the ball helps the baby rotate into the ‘occiput anterior’ position (face down, back toward your belly), which is the most efficient position for birth. By using these exercises, you are essentially ‘rocking’ your baby into the right spot. Remember this affirmation as you practice:
“My body is soft, my pelvis is wide, and I am creating the perfect path for my baby to arrive.”
Preparation and Safety: Finding Your Perfect Fit
Choosing the Right Ball Size
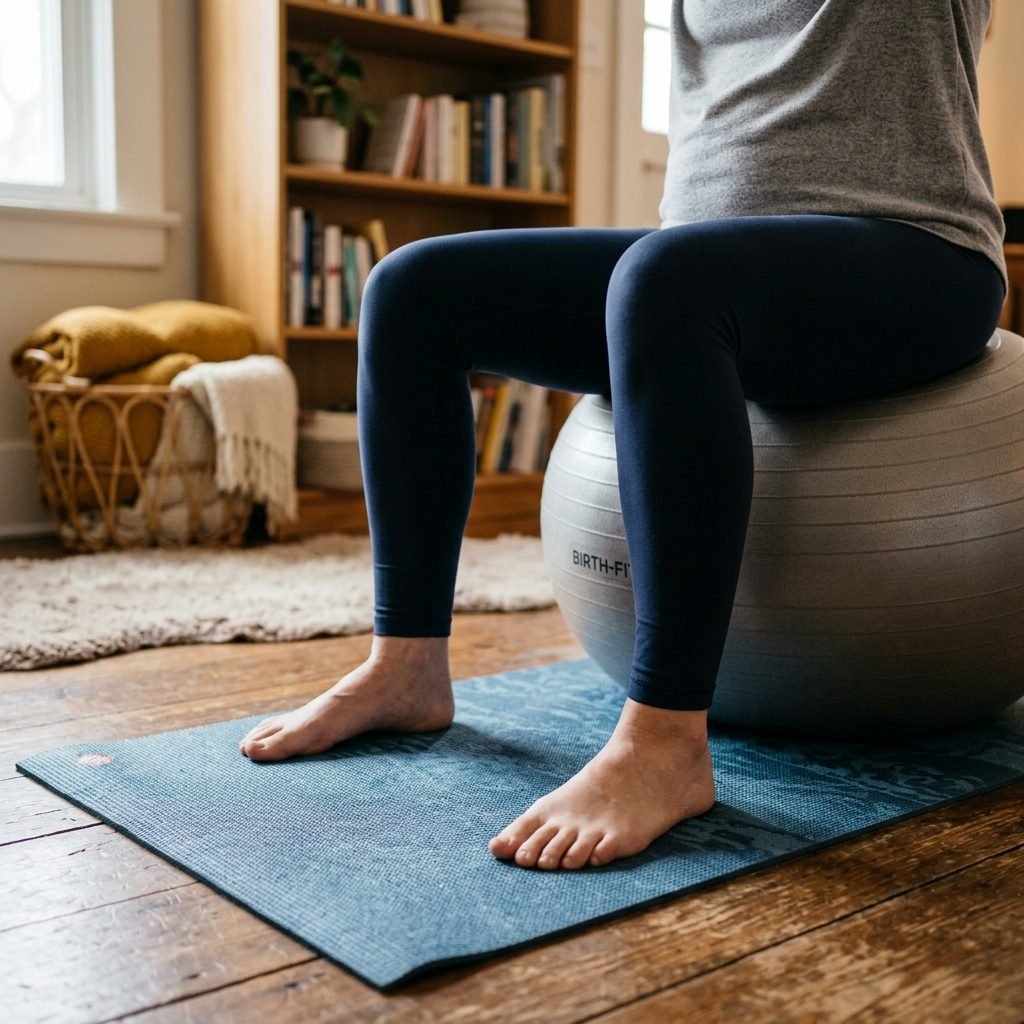
Before we begin the exercises, we must ensure your equipment is safe. A ball that is too small will put too much strain on your knees, while one that is too large can make you feel unstable. Use this guide to find your match:
| Your Height | Recommended Ball Size |
|---|---|
| Under 5’4″ (162 cm) | 55 cm |
| 5’4″ to 5’10” (162-178 cm) | 65 cm |
| Over 5’10” (178 cm) | 75 cm |
Safety Checklist
- Bare feet are best: Always use the ball on a non-slip surface (like a yoga mat) and keep your feet bare or wear grip socks to prevent sliding.
- The 90-degree rule: When seated, your hips should be slightly higher than or level with your knees.
- Support nearby: During labor, always have your partner, doula, or a sturdy piece of furniture nearby to lean on if you feel lightheaded.
- Inflation: Ensure the ball is firm but has a little ‘give’ when you sit on it.
Exercise 1: The Gentle Pelvic Tilt (The Rocker)
Purpose: Relieving Lower Back Pressure
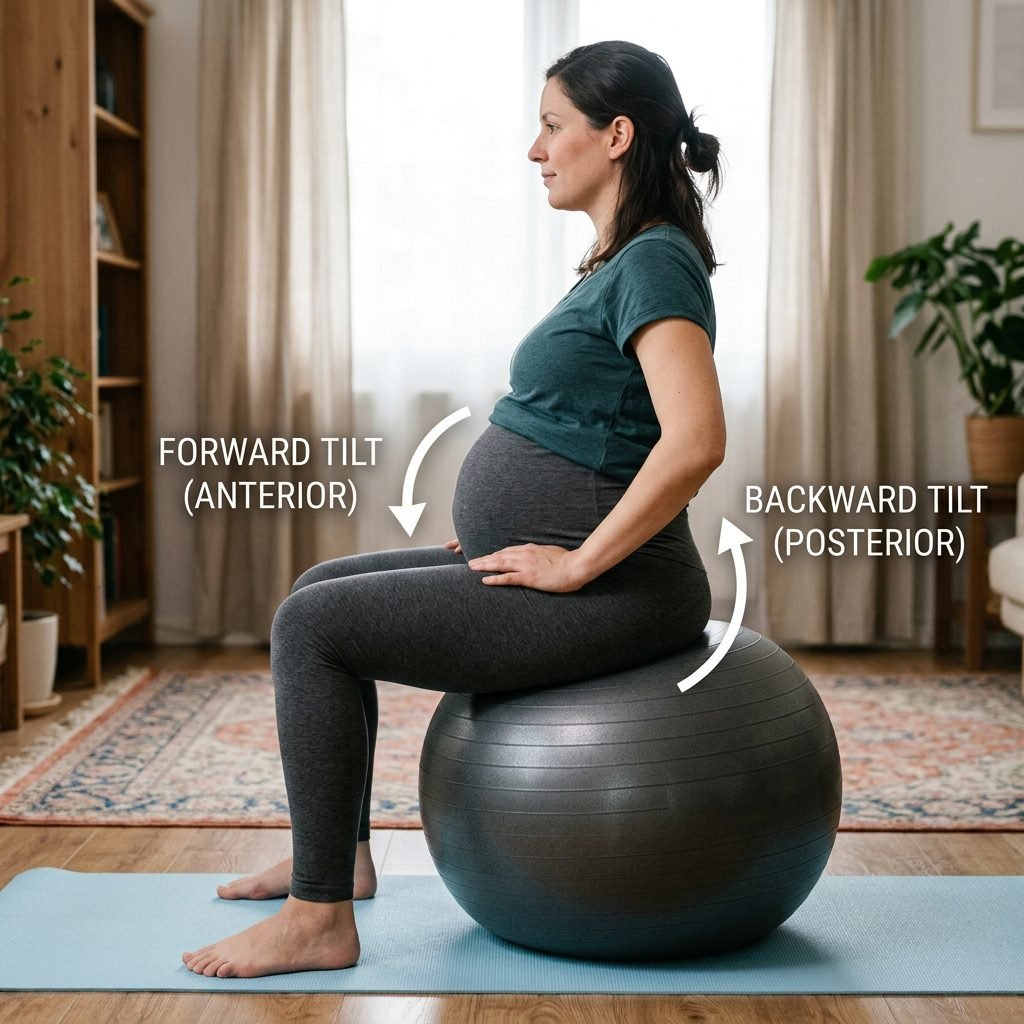
This is the foundation of all birth ball movements. It gently encourages the baby’s head to press against the cervix, which can help stimulate dilation while providing immense relief for ‘back labor’.
Step-by-Step Instructions:
- Sit centered on the ball with your feet wider than hip-width apart.
- Place your hands on your knees or your hips.
- Slowly tuck your tailbone under, rounding your lower back (the ‘tuck’).
- Then, gently arch your back, pushing your tailbone out behind you (the ’tilt’).
- Repeat this rhythmic rocking for 5 to 10 minutes, focusing on deep, diaphragmatic breathing.
“With every tilt, I release tension. With every breath, I open up.”
Exercise 2: Hip Circles and Figure 8s (The Opener)
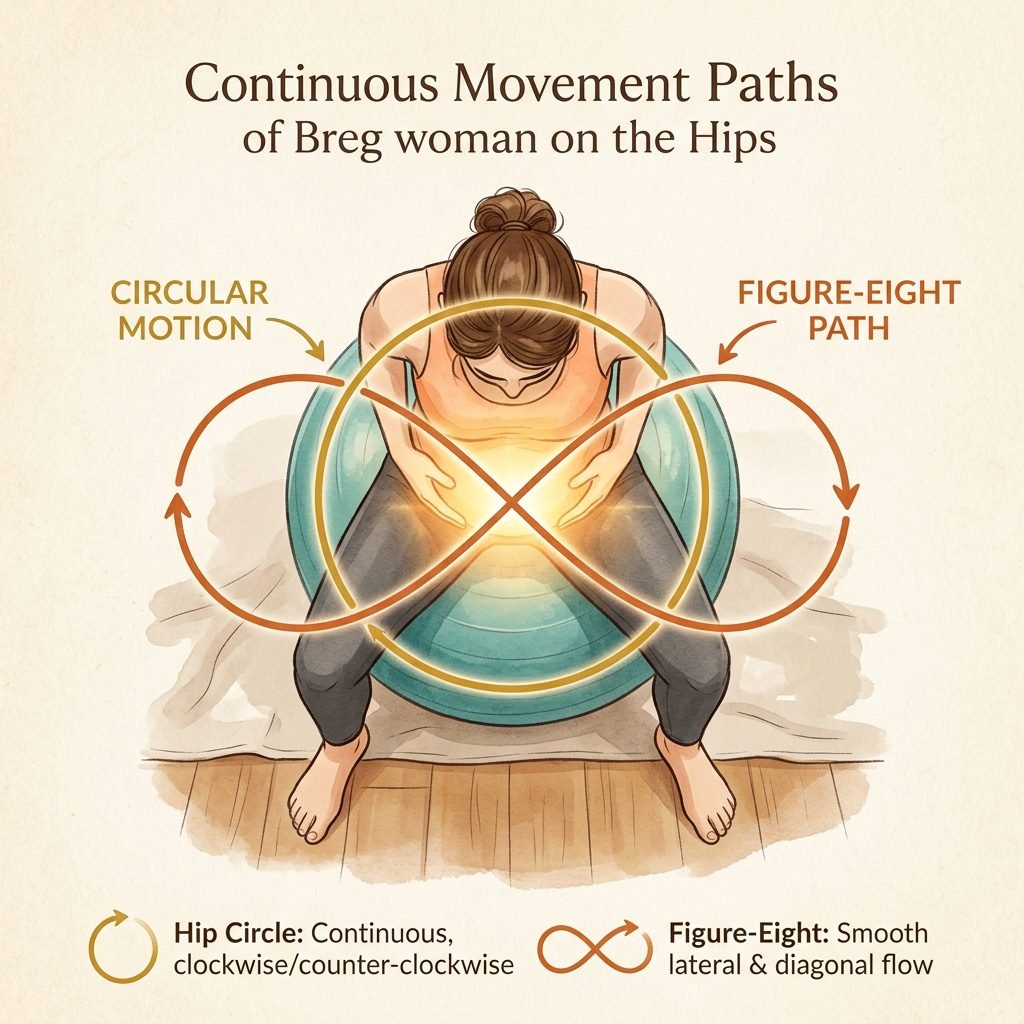
Purpose: Encouraging Baby’s Descent
Circular motions are magical during the active phase of labor. They help the baby’s head ‘corkscrew’ down into the pelvis. The Figure 8 motion specifically helps to shift the pelvic bones asymmetrically, which is key if the baby is stuck or in a posterior position.
Step-by-Step Instructions:
- While seated, begin to move your hips in a large clockwise circle.
- Imagine you are drawing a circle on the floor with your tailbone.
- After 10 rotations, switch to counter-clockwise.
- Transition into a ‘Figure 8’ motion, swaying your hips from side to side in a looping pattern.
- Keep your upper body still and let all the movement happen from the waist down.
Doula Tip: If you feel a contraction coming on, increase the speed of the circles. The rhythmic movement can act as a ‘gate control’ for pain, distracting your brain from the intensity of the surge.
Exercise 3: The Forward Leaning Rest (The Gravity Assistant)

Purpose: Relieving Back Labor and Promoting Rest
Labor is a marathon, and you need moments of ‘active rest.’ This position is a favorite for women experiencing back labor because it takes the weight of the baby off your spine and allows gravity to pull the baby forward into the belly.
Step-by-Step Instructions:
- Kneel on a soft mat or blanket in front of the ball.
- Open your knees wide to make room for your belly.
- Lean your chest and arms over the ball, hugging it close.
- Rest your head on your hands or a pillow placed on top of the ball.
- Gently sway your hips side-to-side while in this leaning position.
This is the perfect time for your partner to perform counter-pressure on your lower back or use a Rebozo to sift your belly.
Exercise 4: The Asymmetrical Lunge (The Obstacle Remover)
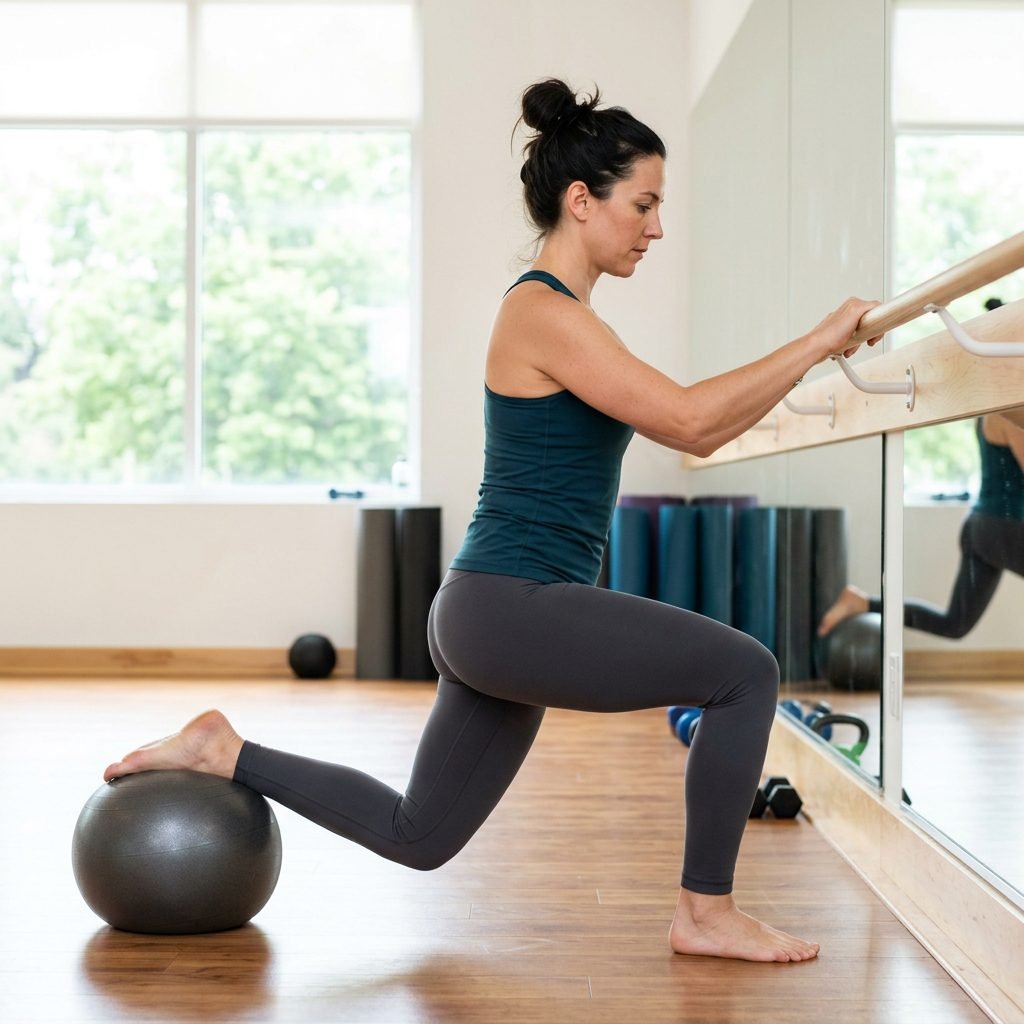
Purpose: Opening the Pelvic Mid-Strait
Sometimes labor stalls because the baby needs just a tiny bit more room to pass a specific pelvic landmark. Asymmetry is the secret key. By lifting one leg, you change the shape of the pelvic opening.
Step-by-Step Instructions:
- Place the ball next to a sturdy bed or sofa.
- While standing, place one foot up on the ball (or keep the ball under your arm for balance and place one foot on a stool).
- If seated on the ball, extend one leg out to the side while keeping the other tucked in.
- Gently lunge into the raised or extended leg during a contraction.
- Hold for 3 to 5 breaths, then switch sides.
Warning: Only perform this if you feel stable. If your balance is off, have your partner hold the ball steady for you.
Exercise 5: The Bounce and Sway (The Rhythm Maker)
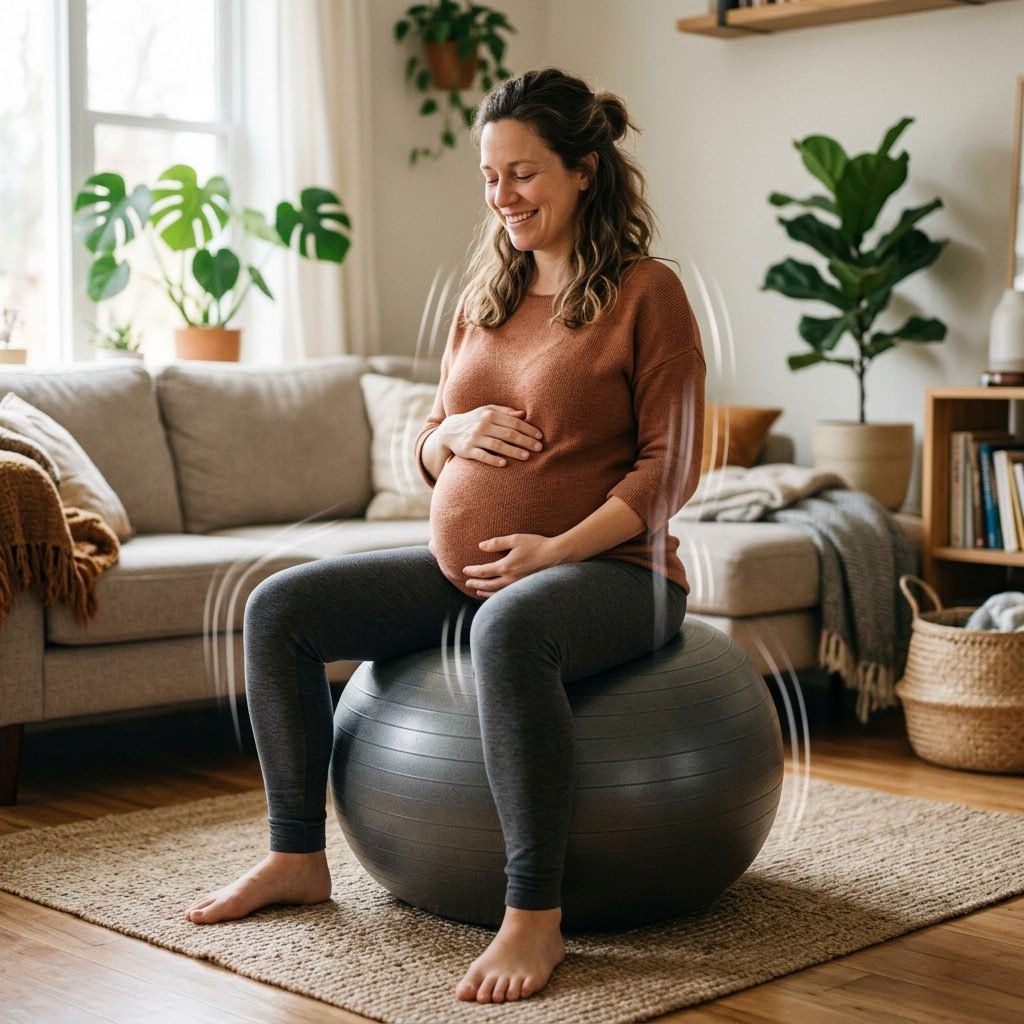
Purpose: Stimulating the Cervix
A gentle, rhythmic bounce can provide the necessary vertical pressure to help the baby’s head press against the cervix, which signals your body to release more oxytocin—the hormone responsible for contractions.
Step-by-Step Instructions:
- Sit tall on the ball with your feet wide and flat.
- Begin a gentle, rhythmic bounce. Your bottom should not leave the ball.
- As you bounce, incorporate a side-to-side sway.
- Focus on making ‘low’ sounds (moaning or humming) with each bounce, as low sounds help the pelvic floor relax.
“I am soft. I am open. My baby is moving down with every beat of my heart.”
Exercise 6: The Squat Support (The Final Push)
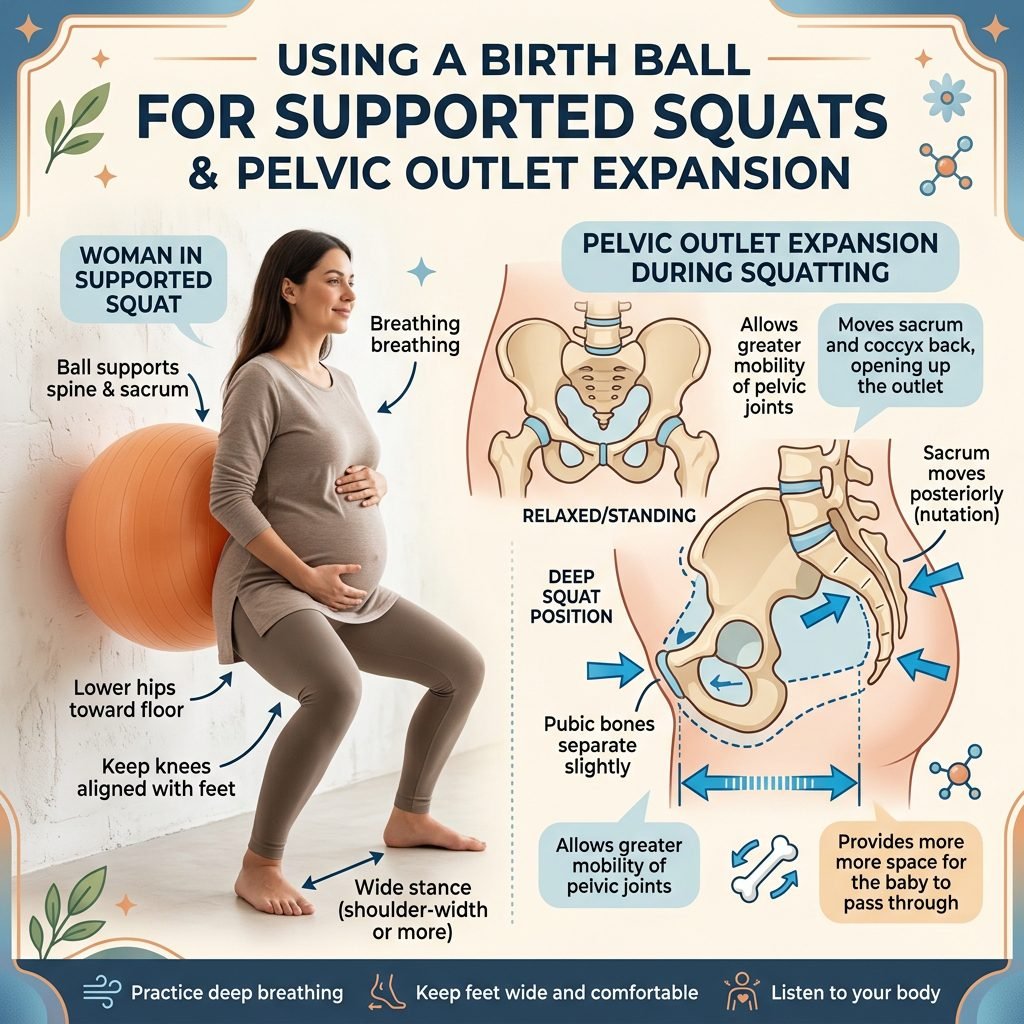
Purpose: Opening the Pelvic Outlet
Squatting is the most effective way to open the pelvic outlet (the bottom part of the pelvis) by up to 20-30%. However, holding a squat can be exhausting. The ball acts as a supportive ‘throne’ for this powerful position.
Step-by-Step Instructions:
- Place the ball against a wall.
- Lean your back against the ball, pressing it into the wall.
- Slowly lower your hips into a squat, letting the ball roll down the wall with you.
- Use the ball to support your weight so your legs don’t tire as quickly.
- Hold the squat at the bottom for the duration of a contraction, then slowly stand back up.
Strategic Movement: When to Use Each Move
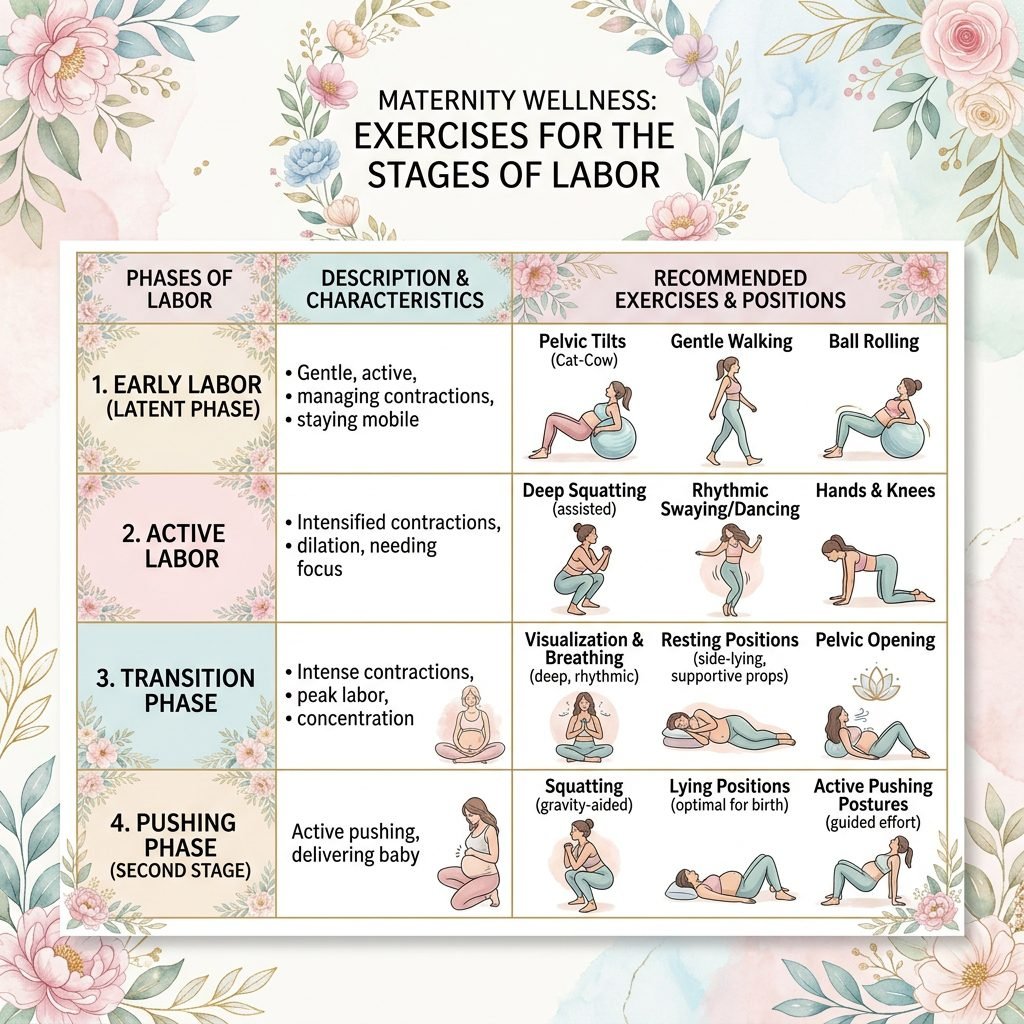
Not every exercise is right for every moment of labor. Use this guide to match your movement to your labor phase.
| Labor Phase | Best Exercises | Goal |
|---|---|---|
| Early Labor | Pelvic Tilts, Gentle Bouncing | Encourage baby to engage; stay relaxed. |
| Active Labor | Hip Circles, Figure 8s, Forward Lean | Manage intensity; assist baby’s rotation. |
| Transition | Forward Lean, Supported Squat | Maximize pelvic space; provide rest. |
| Stalled Labor | Asymmetrical Lunge, Side Sways | Change pelvic shape to help baby move. |
Conclusion
Trust the Process, Mama
You are capable of incredible things. These birth ball exercises are not just physical movements; they are tools of empowerment that allow you to take an active role in your birthing journey. By staying mobile, staying upright, and staying connected to your breath, you are creating the best possible environment for your baby to enter the world.
Remember, there is no ‘perfect’ way to move. Listen to your body. If a position feels good, stay there. If it doesn’t, move on to the next. You have the strength of generations of women behind you, and you have the tools you need right beneath you. You’ve got this!