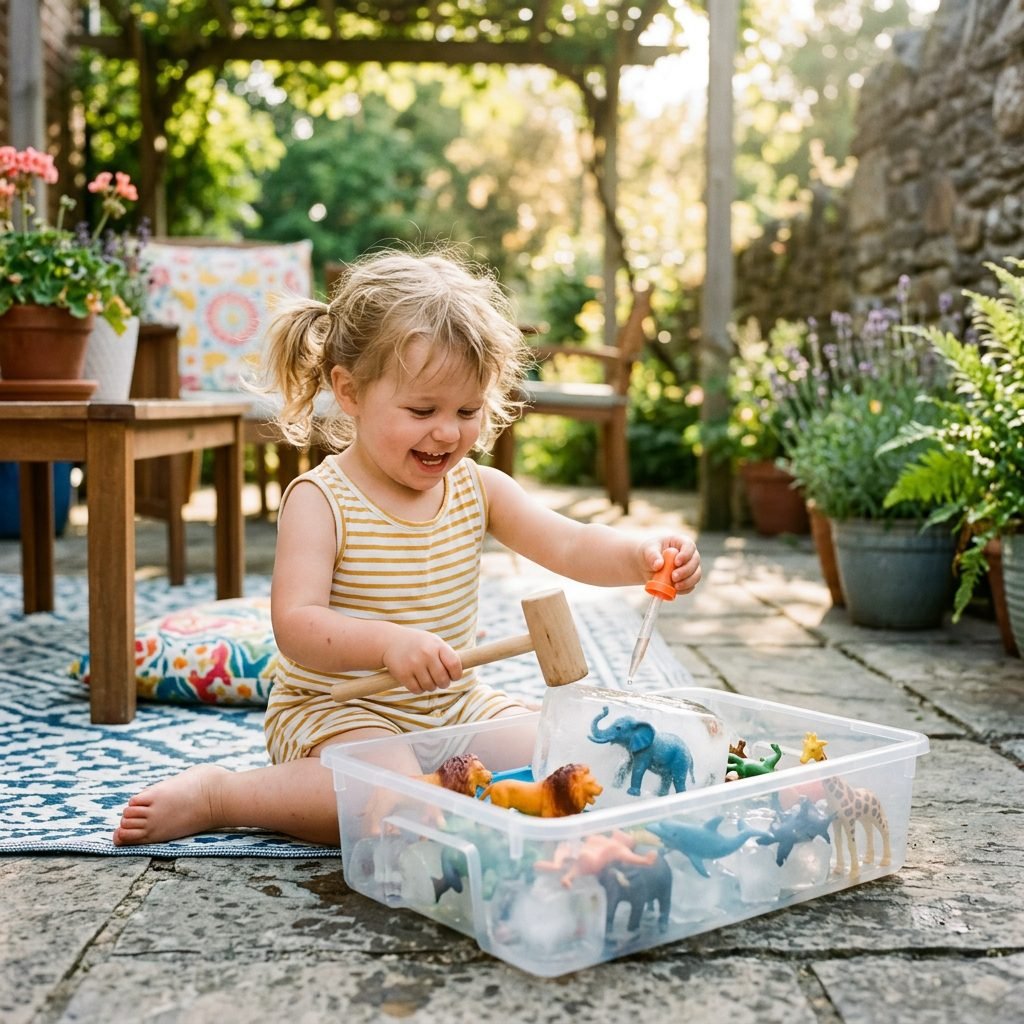
Keep Baby Cool: The Ultimate Frozen Ice Cube Toy Rescue Sensory Bin
Welcome to the Coolest Playdate Ever, Mama!
When the summer heat starts to climb, or even when you are just stuck indoors and need a 20-minute window of peace, sensory play is your absolute best friend. As a doula and a mom who has seen her fair share of ‘witching hours’ and heat-induced tantrums, I know that sometimes we just need a magic trick up our sleeve. Enter: The Frozen Ice Cube Toy Rescue.
This isn’t just about splashing in water; it is a multi-sensory experience that engages your little one’s fine motor skills, introduces basic scientific concepts like melting and freezing, and—most importantly—keeps them cool and hydrated through play. In this guide, we are going to dive deep into why sensory play is a developmental powerhouse, how to set up the ultimate ‘rescue mission’ safely, and the stylish ways you can organize your play space to minimize the mess. Grab a cold glass of lemon water, and let’s get crafting!
The Science of Sensory Play: Why Ice is Nice
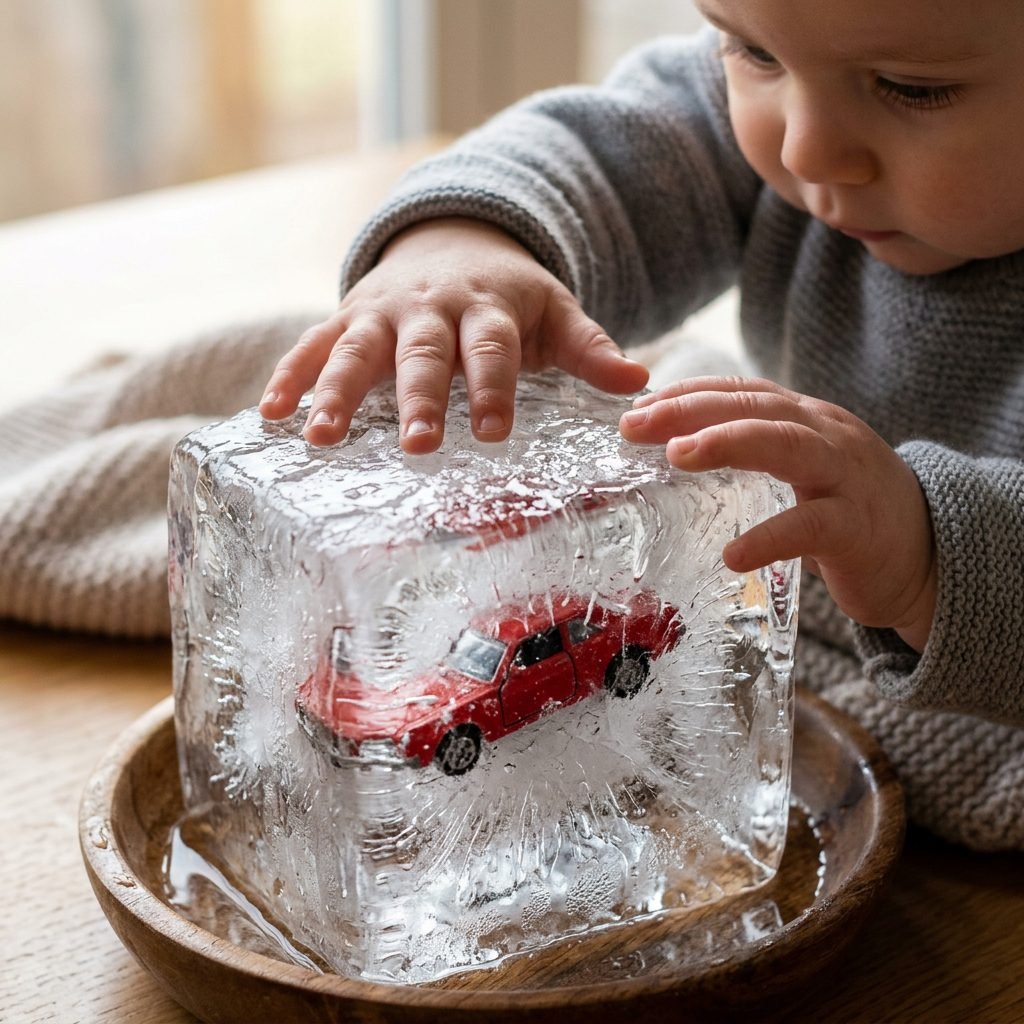
Sensory play is any activity that stimulates your young child’s senses: touch, sight, hearing, smell, and taste. But why is ice specifically so beneficial for those growing neurons?
Cognitive Development and Problem Solving
When a baby or toddler encounters a toy trapped inside a block of ice, their brain immediately goes into problem-solving mode. They think: How do I get to the dinosaur? Why is it hard? Why is it cold? This curiosity is the foundation of scientific inquiry. As they use tools—like a warm washcloth or a small dropper—they are learning about cause and effect in real-time.
Fine Motor Skill Mastery
The ‘rescue’ aspect of this bin requires precision. Whether they are using a pincer grasp to pick up a slippery cube or squeezing a spray bottle to melt the ice, they are strengthening the intrinsic muscles of the hand. These are the same muscles they will eventually use to hold a pencil or button their own shirt. As your sister-doula, I love activities that serve a dual purpose: fun for now, and developmental groundwork for later!
Remember, Mama: Play is the work of the child. When they are poking at that ice, they are essentially ‘working’ on their PhD in physics!
Safety First: Keeping the Rescue Mission Secure
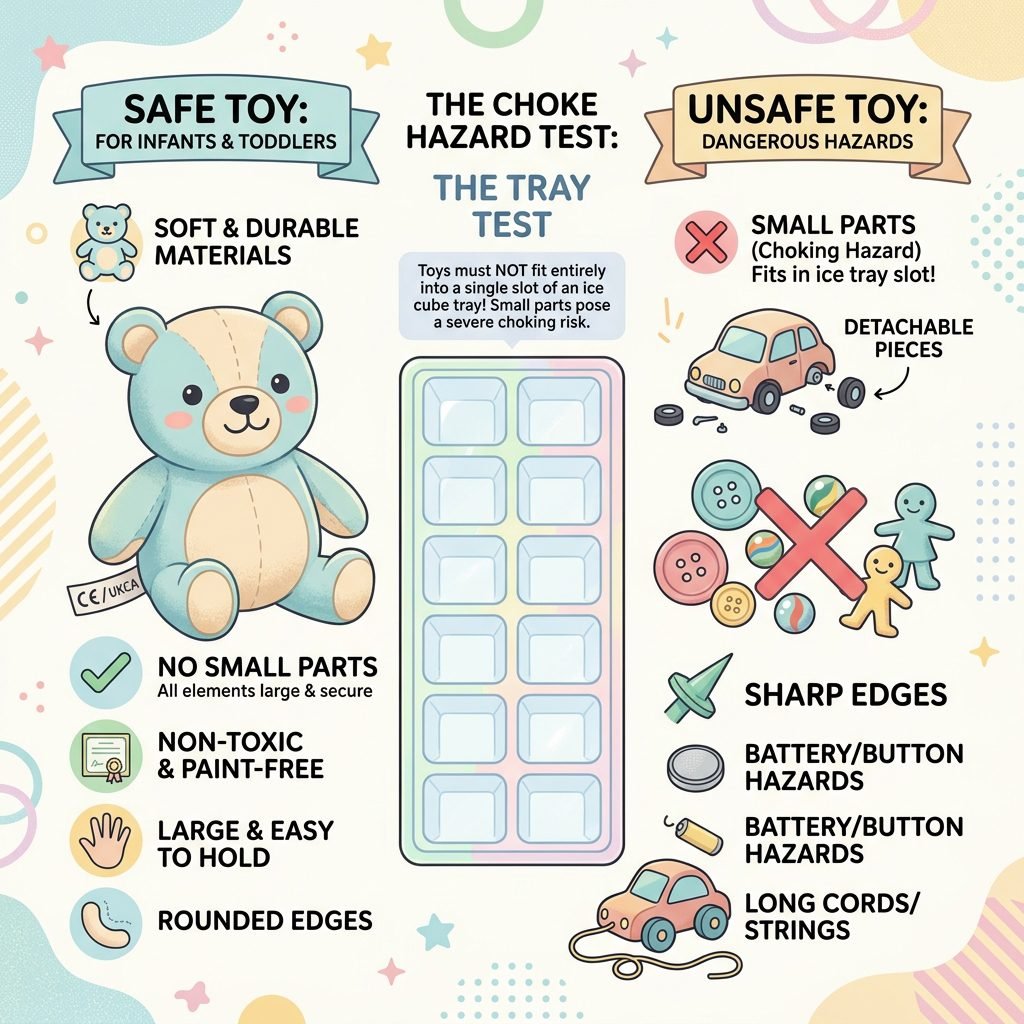
Before we freeze a single cube, we have to talk about safety. Sensory play is wonderful, but it requires a watchful eye and the right materials.
Temperature Sensitivity
Baby skin is much thinner than ours. While ice is great for cooling down, direct contact for long periods can be uncomfortable or even cause ‘ice burn’ if the cube is extremely cold straight from a deep freezer. Always let the ice sit out for 5 minutes before giving it to your child so the surface ‘sweats’ and isn’t sticky-cold.
Choking Hazards and Non-Toxic Choices
The toys you freeze must be age-appropriate. If your baby is still in the ‘everything goes in the mouth’ phase, ensure the toys inside the ice are larger than a toilet paper roll. Also, consider using food-grade dyes or natural fruit juices if you want to color the ice, just in case they decide to take a celebratory lick of their frozen masterpiece.
| Safety Feature | What to Do | Why it Matters |
|---|---|---|
| Toy Size | Use toys larger than 1.75 inches | Prevents choking hazards during play |
| Ice Surface | Let sit for 5-10 mins | Prevents skin from sticking to the ice |
| Water Source | Use filtered or boiled/cooled water | Ensures the ice is clear and safe to taste |
| Supervision | Active 1-on-1 supervision | Water and small parts always require an adult |
The Material List & Budget Breakdown
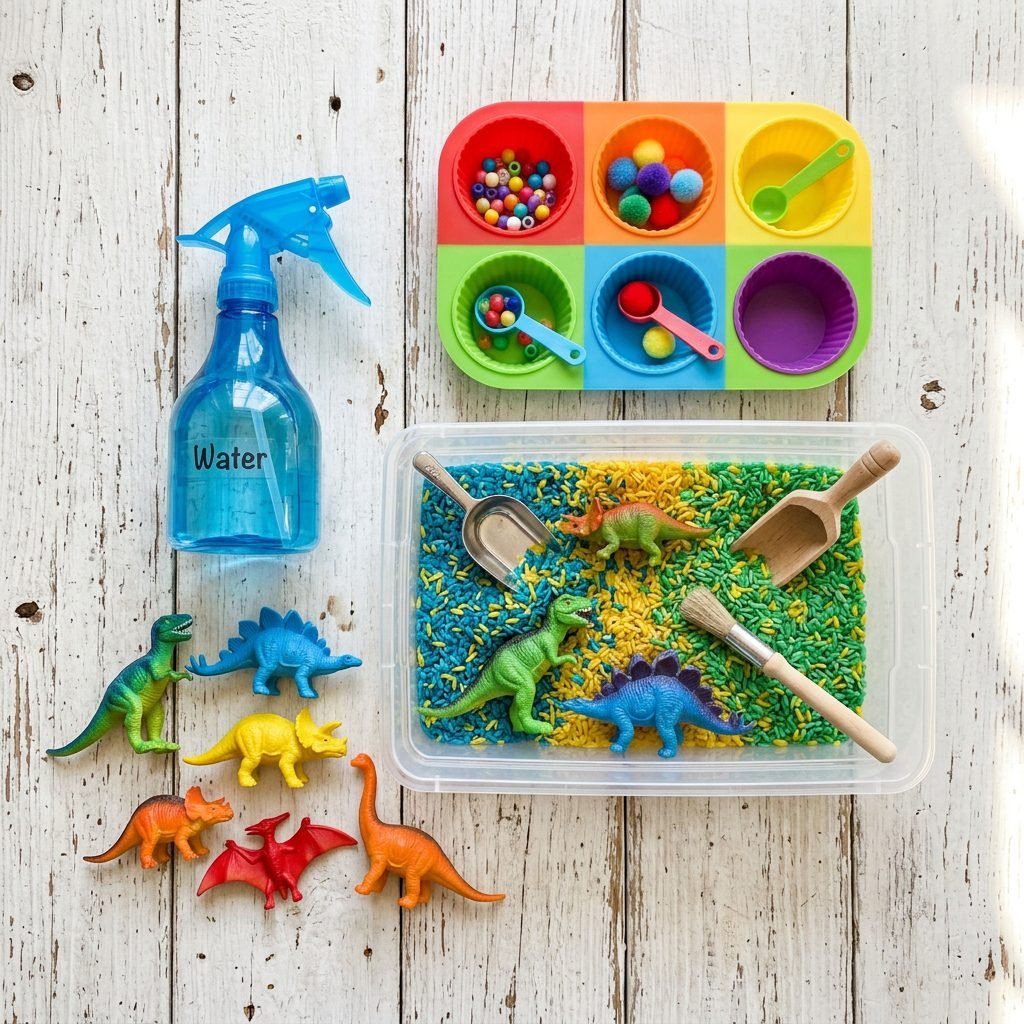
One of the best things about this sensory bin is that it is incredibly budget-friendly. You likely have 90% of these items in your kitchen or nursery right now. Let’s look at what you’ll need to create a high-end sensory experience without the high-end price tag.
Essential Supplies
- A Large Bin: An under-bed storage container or a dedicated sensory table works best.
- Ice Trays or Silicone Molds: Large muffin tins or silicone cake molds create great ‘giant’ ice blocks.
- Waterproof Toys: Plastic animals, toy cars, or large colorful beads.
- The ‘Rescue’ Tools: Spray bottles, warm water in a bowl, salt (for older toddlers only), and wooden hammers.
| Item | Estimated Cost | Alternative / Hack |
|---|---|---|
| Sensory Bin | $5.00 – $15.00 | Use a baking sheet or plastic laundry basket |
| Small Plastic Toys | $1.00 – $10.00 | Freeze large fruit pieces (berries/lemon) |
| Ice Trays | $2.00 | Use empty yogurt containers as molds |
| Spray Bottle | $1.50 | Use a clean peri-bottle from your postpartum kit! |
Pro-Tip: That peri-bottle you got from the hospital? It makes the perfect precision water squirter for melting ice! It’s a great way to repurpose your postpartum supplies.
Step-by-Step: Setting Up Your Frozen Rescue
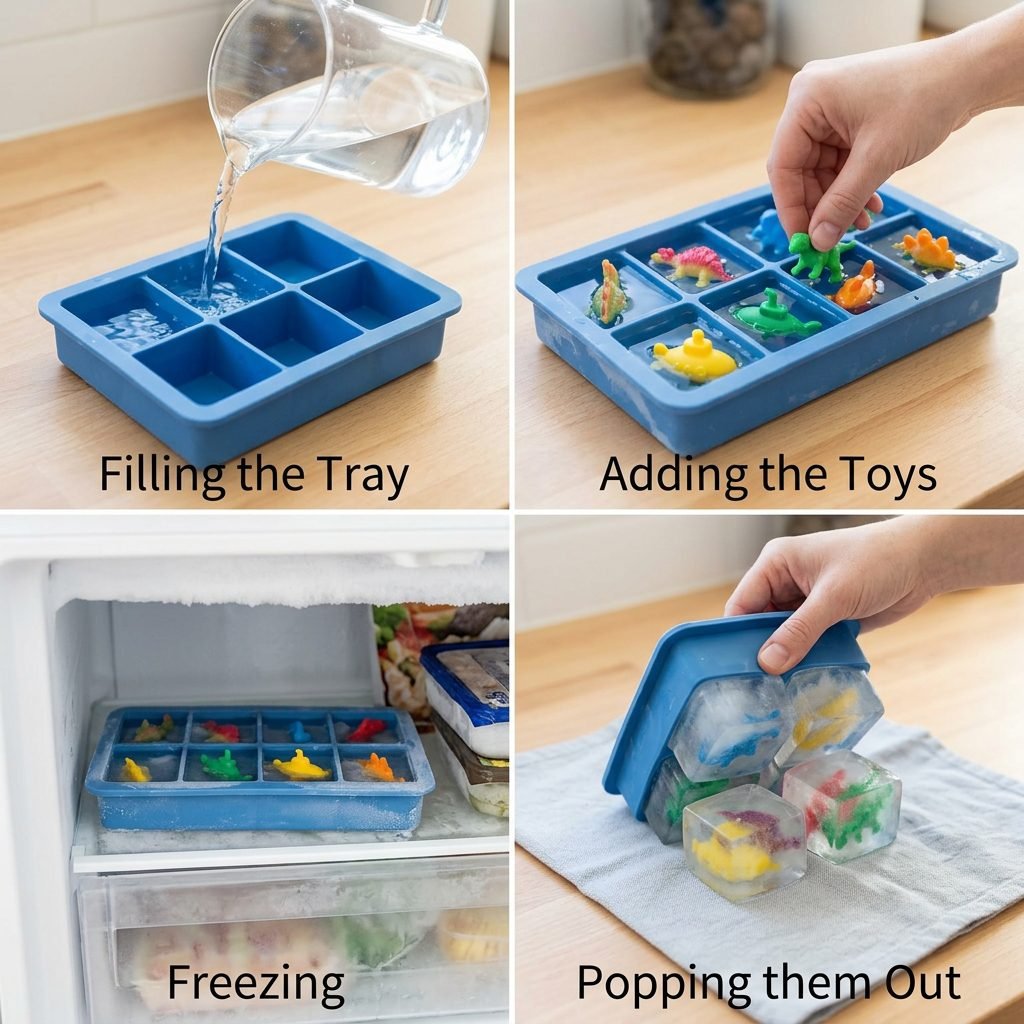
Follow these steps to ensure your ice blocks are clear and your toys are perfectly centered for the ultimate ‘rescue’ mission.
- Layering for Success: Don’t just throw the toys in and fill with water. The toys will float! Instead, fill your mold 1/3 of the way with water and freeze. Then, place the toy on top of the frozen layer, add a little more water to ‘lock’ it in, and freeze again. Finally, fill to the top and freeze one last time. This ensures the toy is in the middle of the block.
- The Reveal: To get the ice out of the molds easily, run the bottom of the tray under warm water for 30 seconds. They should pop right out.
- Prepare the ‘Rescue Station’: Place the ice blocks in your large bin. Surround them with a ‘moat’ of cool water.
- Introduce the Tools: Show your little one how to use the spray bottle or a warm washcloth. Say, ‘Oh no! The lion is stuck in the ice! Can you help him get out?’
Affirmation for Mama: I am providing a rich, educational environment for my child with simple, intentional tools. I am enough, and this play is enough.
Variations for Every Stage: Newborn to Toddler
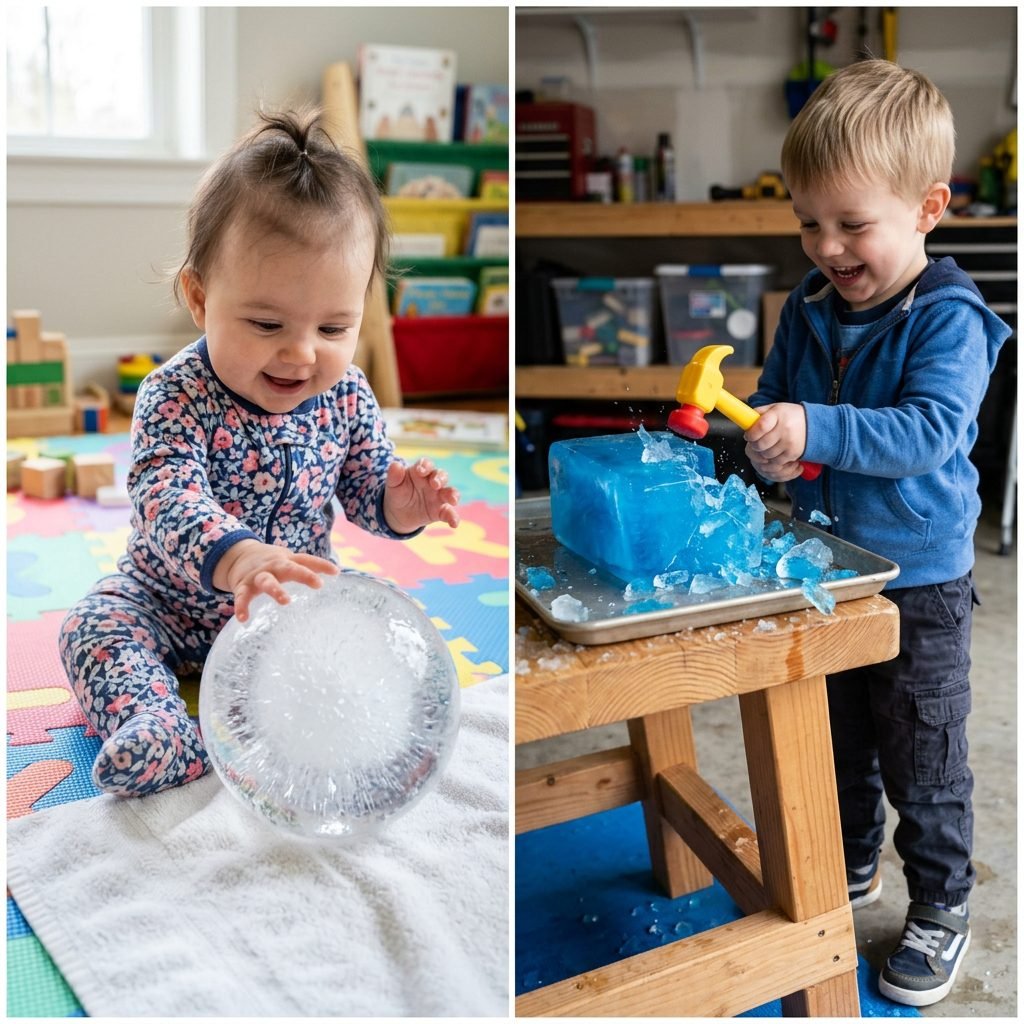
Sensory play isn’t just for three-year-olds. You can adapt this ‘Keep Baby Cool’ method for various developmental milestones.
The High-Contrast Baby (0-6 Months)
For the littlest ones, focus on visual stimulation. Freeze large black and white patterns (laminated) or high-contrast toys inside the ice. They won’t ‘rescue’ them, but they will be fascinated by the way the light hits the ice during tummy time. Always ensure they are on a dry surface and just ‘watching’ the ice from a safe distance or feeling a slightly tempered cube with your hand guiding theirs.
The Sitting Explorer (6-12 Months)
At this stage, it’s all about the sensory ‘thud’. They love to pick up the ice and drop it. Use large, round ice spheres (like the ones for whiskey!) that are too big to fit in their mouths. They will love the slippery texture and the cool sensation on their gums if they are teething.
The Busy Toddler (1-3 Years)
This is the prime age for the ‘Rescue Mission.’ Introduce color themes. Create a ‘Blue Rescue’ with blue-tinted ice and ocean animals, or a ‘Jungle Rescue’ with green ice and tigers. You can even hide ‘treasure’ like large plastic coins or gems.
The Post-Play Cleanup & Organization Hack
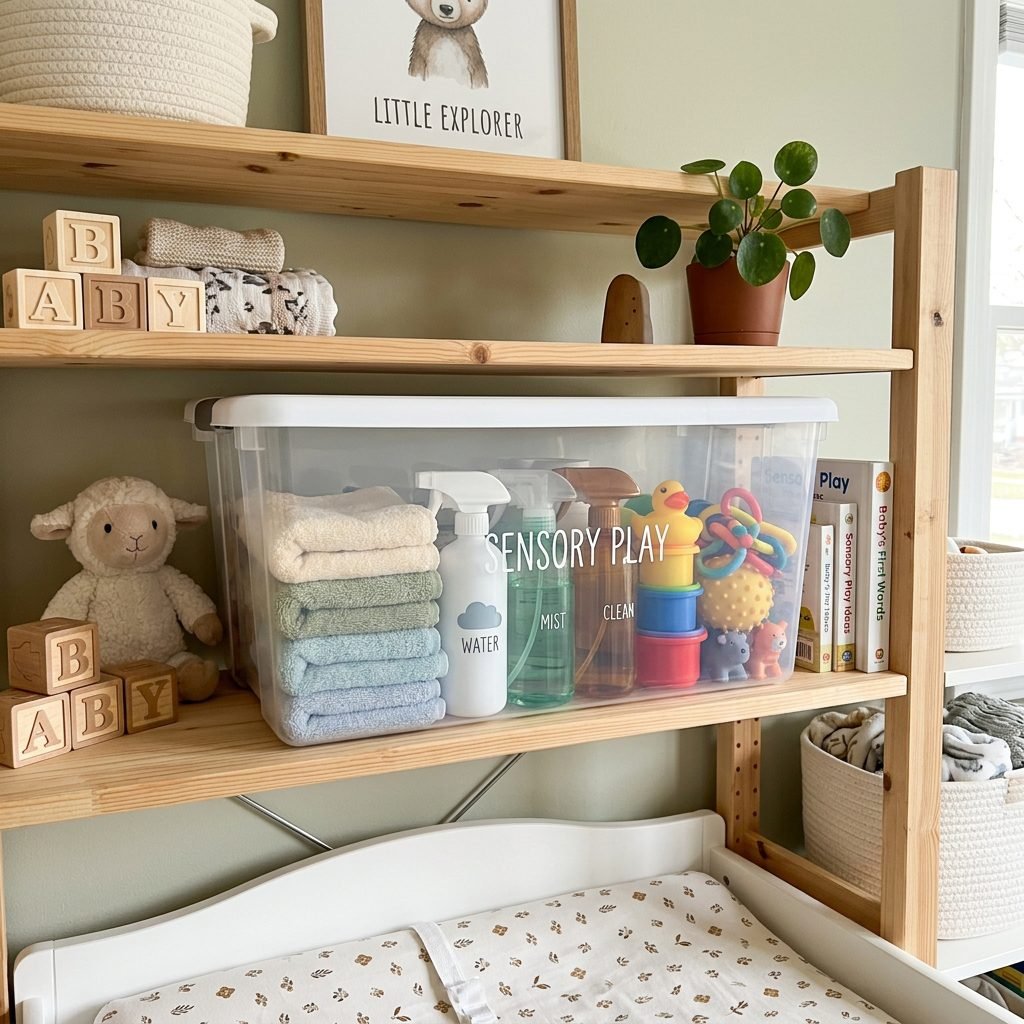
Let’s be real, Mama: water play can get messy. But as an interior organizer, I have a few tricks to keep your home from becoming a swamp.
The ‘Towel Tarp’ Method
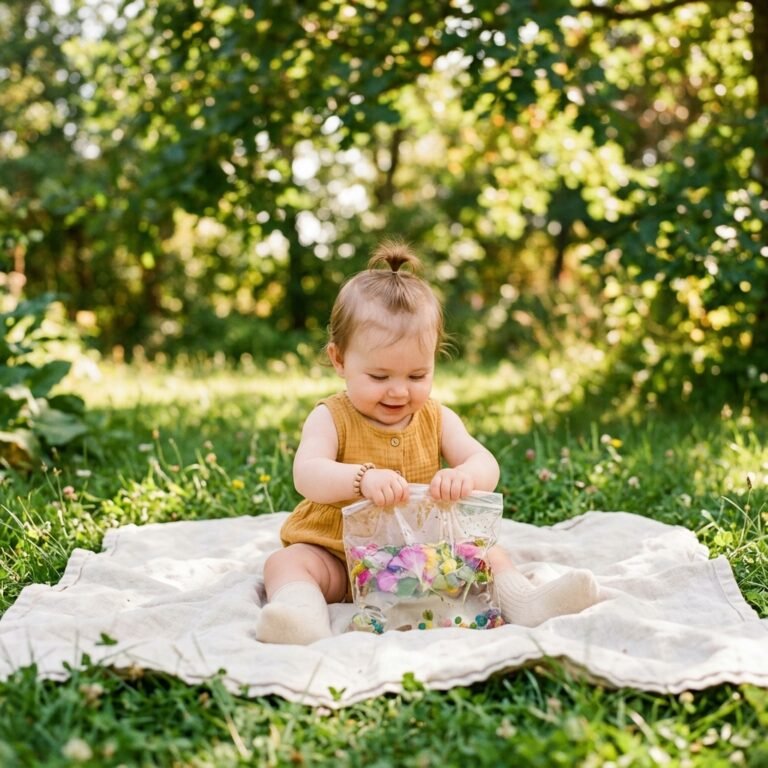
Always place a thick, oversized beach towel (or two!) under the sensory bin. This absorbs the splashes and makes cleanup as easy as throwing the towels in the wash. Better yet, if the weather permits, take this activity outside to the grass or a patio.
Storage Solutions
Once the ‘rescue’ is complete, you’ll have wet toys. Don’t throw them back in the toy bin wet! Use a mesh laundry bag to hold the rescued toys and hang it over the bathtub to drip dry. This prevents mold and keeps your nursery organization on point.
The ‘Wet Zone’ Kit
Keep a dedicated ‘Sensory Kit’ in a stackable IKEA Kallax bin. Include your trays, the spray bottles, and a few dedicated ‘ice toys’ so you can set this up in under 3 minutes the next time a heatwave hits.
Conclusion
Stay Cool and Play On!
The Frozen Ice Cube Toy Rescue is more than just a way to kill time; it’s a beautiful, cooling, and brain-boosting gift you are giving your child. Whether you are navigating the exhaustion of the postpartum period or the high energy of the toddler years, remember that simple activities are often the most profound. You don’t need expensive battery-operated toys to stimulate your baby’s mind—sometimes, all you need is a little water, some freezer space, and your own wonderful imagination.
Stay hydrated, stay cool, and enjoy these precious, messy moments of discovery. You are doing an incredible job, Mama!