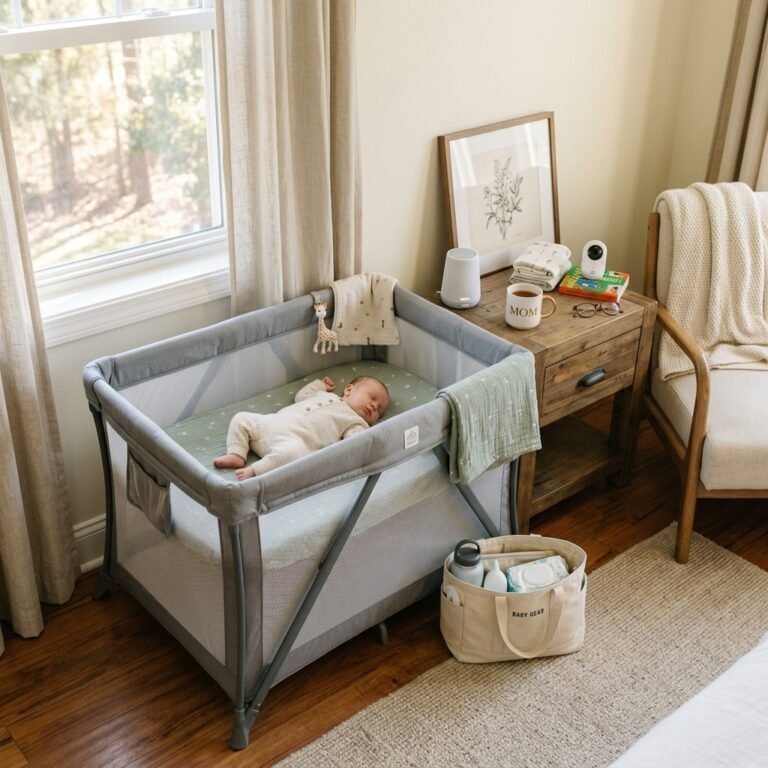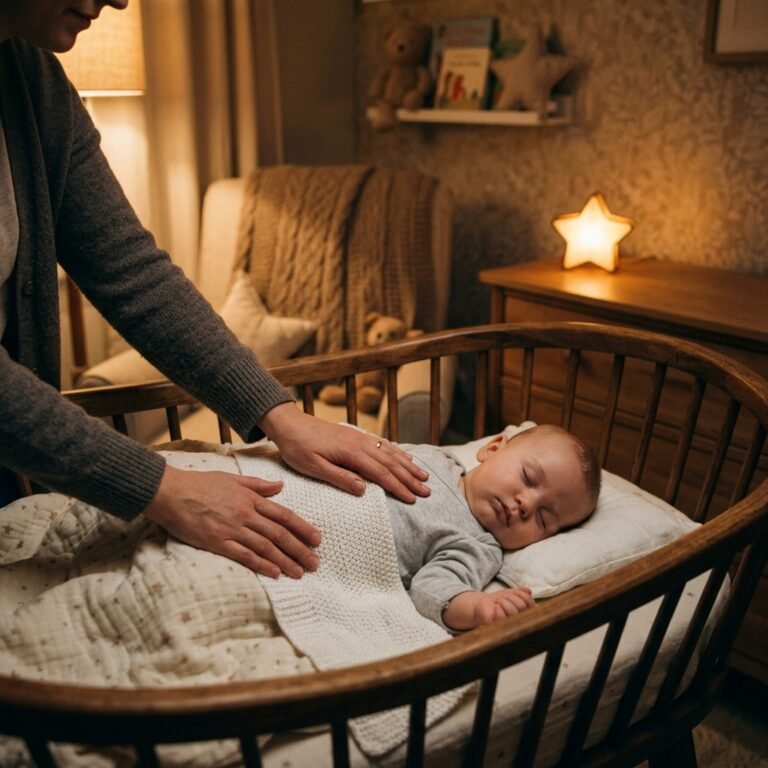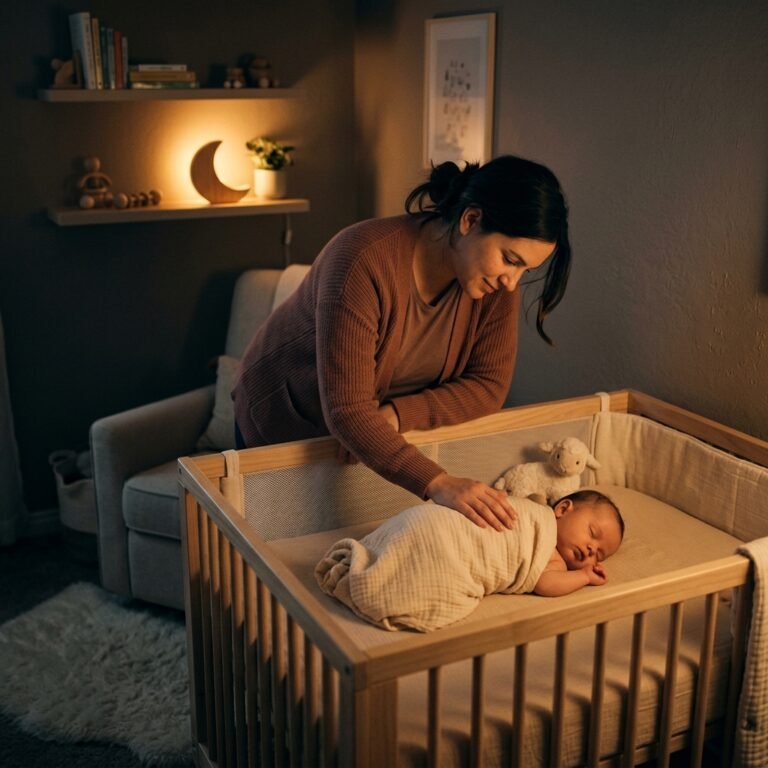
No-Stress Guide: How to Transition Baby From Swaddle to Sleep Sack Cold Turkey
Embracing the Big Move: From Cocoon to Freedom
Oh, mama, I see you. You finally found the rhythm. You mastered the ‘burrito wrap,’ and your little one has been sleeping in that cozy, snug swaddle like a dream. But then, it happens—that first little wiggle, the side-roll, or perhaps they’ve hit that 8-week milestone where the American Academy of Pediatrics suggests we start thinking about a change. The panic sets in: ‘If I unwrap them, will they ever sleep again?’
As a doula and sleep consultant, I’m here to hold your hand through this. Transitioning ‘cold turkey’ sounds intense, like pulling off a giant Band-Aid, but for many babies, it is actually the kindest and fastest way to help them find their new sleep groove. We aren’t just taking away a comfort; we are giving them the gift of movement, safety, and self-soothing. Let’s dive into how we can make this transition seamless, stylish, and—most importantly—stress-free for both of you.
Why ‘Cold Turkey’ is Often the Best Route
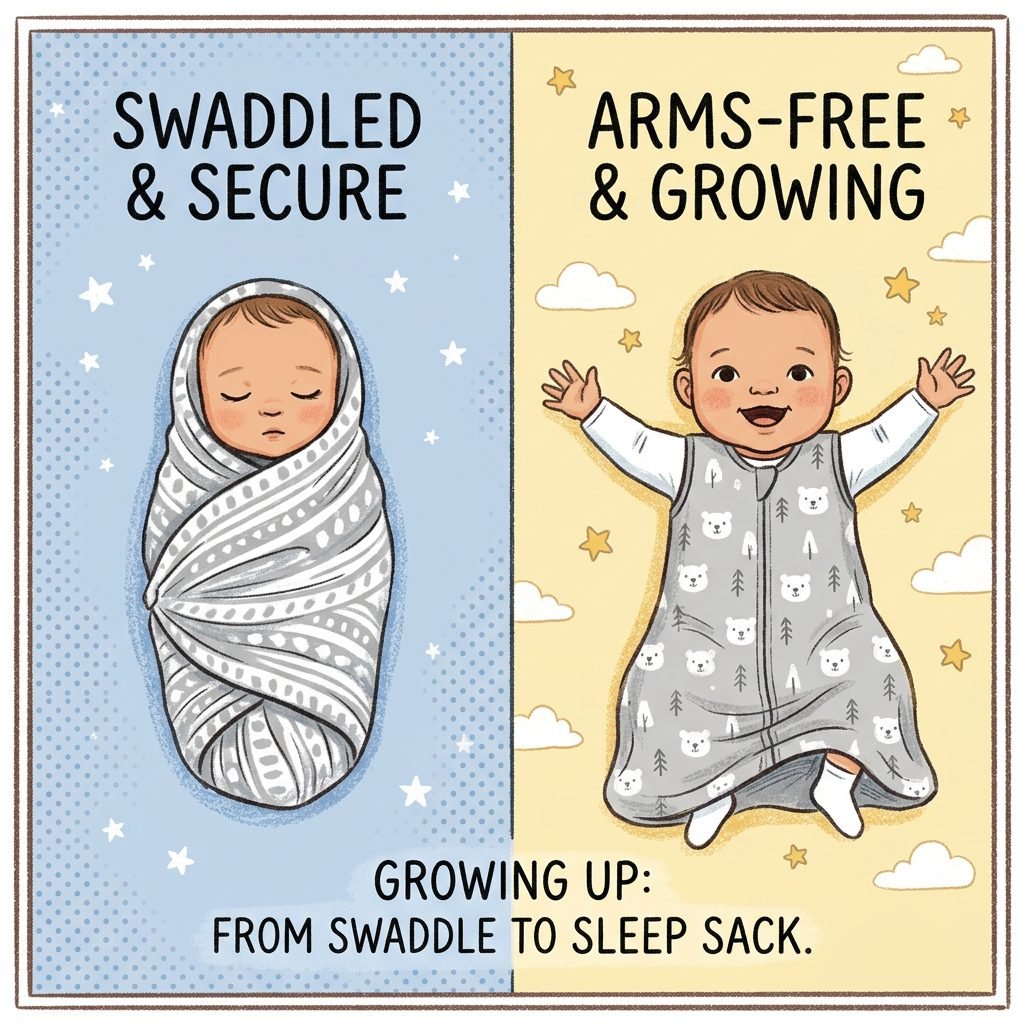
While some parents prefer a gradual approach (one arm out for a few nights, then two), the cold turkey method is frequently the most successful because it eliminates confusion. Babies are incredibly smart; when we change the ‘rules’ of sleep every two nights, it can lead to more frustration and longer crying spells. By moving straight to a sleep sack, you set a clear, new boundary for sleep.
Gradual Transition vs. Cold Turkey: The Reality Check
| Method | Pros | Cons |
|---|---|---|
| Gradual (One Arm Out) | Feels less scary for parents; slower change. | Can prolong the ‘startle reflex’ wake-ups; baby gets frustrated with one limb free. |
| Cold Turkey (Straight to Sack) | Faster adjustment (usually 3 nights); clearer sleep associations; safer for rolling. | Initial 24-48 hours can be rocky; more ‘startle’ movements at first. |
When we go cold turkey, we are respecting the baby’s need for consistency. We are saying, ‘This is how we sleep now, and you are safe.’ It’s about building confidence in their ability to sleep without being pinned down. Remember, once that baby shows signs of rolling, the swaddle is no longer a comfort—it’s a safety hazard. Safety always trumps a few extra minutes of sleep.
The ‘Ready to Fly’ Checklist: When to Make the Move

Timing is everything. If you wait until your baby is fully rolling onto their tummy in the middle of the night, you’ll be making this transition under high stress. We want to be proactive, not reactive. Here is how you know it’s time to retire the swaddle for good.
The Safety Signs You Can’t Ignore
- The Side-Lying Position: If you find your baby waking up on their side, they are minutes away from a full roll.
- The Breakout Artist: If your baby is consistently fighting their way out of the swaddle, they are telling you they want more room to move.
- The 8-Week Mark: Many pediatric experts suggest transitioning by 8 to 12 weeks, as the Moro (startle) reflex begins to fade and the risk of rolling increases.
- Decreased Sleep Quality: If they are suddenly waking up more often and seem ‘restless’ in the wrap, they might be craving the ability to self-soothe with their hands.
“The swaddle is a bridge to the fourth trimester, but the sleep sack is the gateway to independent sleep. Trust your baby’s development; they are ready for the next level of freedom.”
Step-by-Step: Your First Night Without the Swaddle

Preparation is the antidote to anxiety. Before you put them down for that first ‘unwrapped’ night, ensure the environment is optimized for success. We want to minimize all other distractions so they can focus on their new arm-freedom.
The Cold Turkey Game Plan
- Optimize the Environment: Ensure the room is dark (blackout curtains are your best friend) and the white noise is consistent. This masks the sound of their own movements.
- Choose the Right Sleep Sack: Pick a sleep sack that has a bit of weight or thickness to it (within safety guidelines) to provide a gentle ‘hug’ around the torso.
- The ‘Pre-Sleep’ Cuddle: Spend an extra 5-10 minutes doing skin-to-skin or a calm rocking session. This fills their ‘attachment tank’ before the big change.
- The Layering Secret: Since their arms will be exposed, ensure they are wearing long-sleeved pajamas underneath the sack if the room is cool.
- The ‘Wait and See’ Rule: When they startle and wake up, wait 2-3 minutes before rushing in. They need a moment to realize they can move their arms back to a comfortable position.
| Action | Why it Works |
|---|---|
| White Noise | Drowns out the sound of ‘startle’ flails. |
| Long Sleeves | Keeps arms warm since they aren’t tucked in. |
| Consistent Routine | Signals ‘sleep’ regardless of the outfit. |
The Style & Science of Sleep Sacks: TOG and Fabrics

Not all sleep sacks are created equal, mama! As a stylist and doula, I want your baby to be safe, comfortable, and—let’s be honest—adorable. The most important technical aspect is the TOG rating (Thermal Overall Grade), which tells you how warm the sack is.
Understanding TOG Ratings
| TOG Rating | Room Temperature | What to Wear Underneath |
|---|---|---|
| 0.5 TOG | 74°F – 78°F (Warm) | Short-sleeve bodysuit or diaper only. |
| 1.0 TOG | 69°F – 73°F (Standard) | Long-sleeve cotton pajamas. |
| 2.5 TOG | 61°F – 68°F (Cool) | Fleece pajamas or layered cotton. |
Look for breathable fabrics like organic cotton, bamboo, or woolino. These help regulate temperature, which is vital because an overheated baby is a restless baby. Ensure the neck opening is snug enough that it won’t slide up over the baby’s face, but loose enough for comfort. Pro-Tip: Buy two! One will always be in the wash after a midnight diaper leak.
Troubleshooting the First 72 Hours

The first night might be rough. The second night might be ‘interesting.’ But by the third night, most babies have integrated their new reality. If you hit a snag, don’t give up! Consistency is your superpower.
Common Challenges & Doula Solutions
- The ‘Windmill’ Arms: If your baby is hitting themselves in the face, try a sleep sack that is slightly snugger around the chest. This provides a ‘grounding’ sensation.
- Short Naps: Naps are harder than night sleep. If they only sleep for 20 minutes, don’t stress. Focus on the nighttime transition first, and the naps will eventually follow.
- The ‘Cold Hands’ Panic: It is normal for a baby’s hands to feel cool to the touch. Check their chest or the back of their neck for a true temperature reading. If the chest is warm, they are fine!
The 3-Day Adjustment Timeline:
| Day | Expectation | Your Focus |
|---|---|---|
| Day 1 | Frequent wake-ups; startle reflex is high. | Patience and extra soothing. |
| Day 2 | Baby is tired; may settle faster but still wake. | Stick to the routine exactly. |
| Day 3 | The ‘New Normal’ begins to click. | Celebrate the progress! |
Conclusion
You’ve Got This, Mama!
Transitioning from the swaddle is a major milestone in your baby’s first year. It marks the end of the ‘newborn’ phase and the beginning of their journey toward more active, independent sleep. While the cold turkey method requires a bit of bravery on your part, the reward is a safer sleep environment and a baby who knows how to use their hands to soothe themselves back to sleep.
Be kind to yourself during these few days. Drink the extra coffee, ask your partner for help with the soothing rounds, and remember that this temporary disruption is building a foundation for years of safe sleep. You are doing an incredible job, and soon, you’ll be watching your little one stretch out their arms in total comfort, sleeping soundly in their beautiful new sleep sack. Sweet dreams!