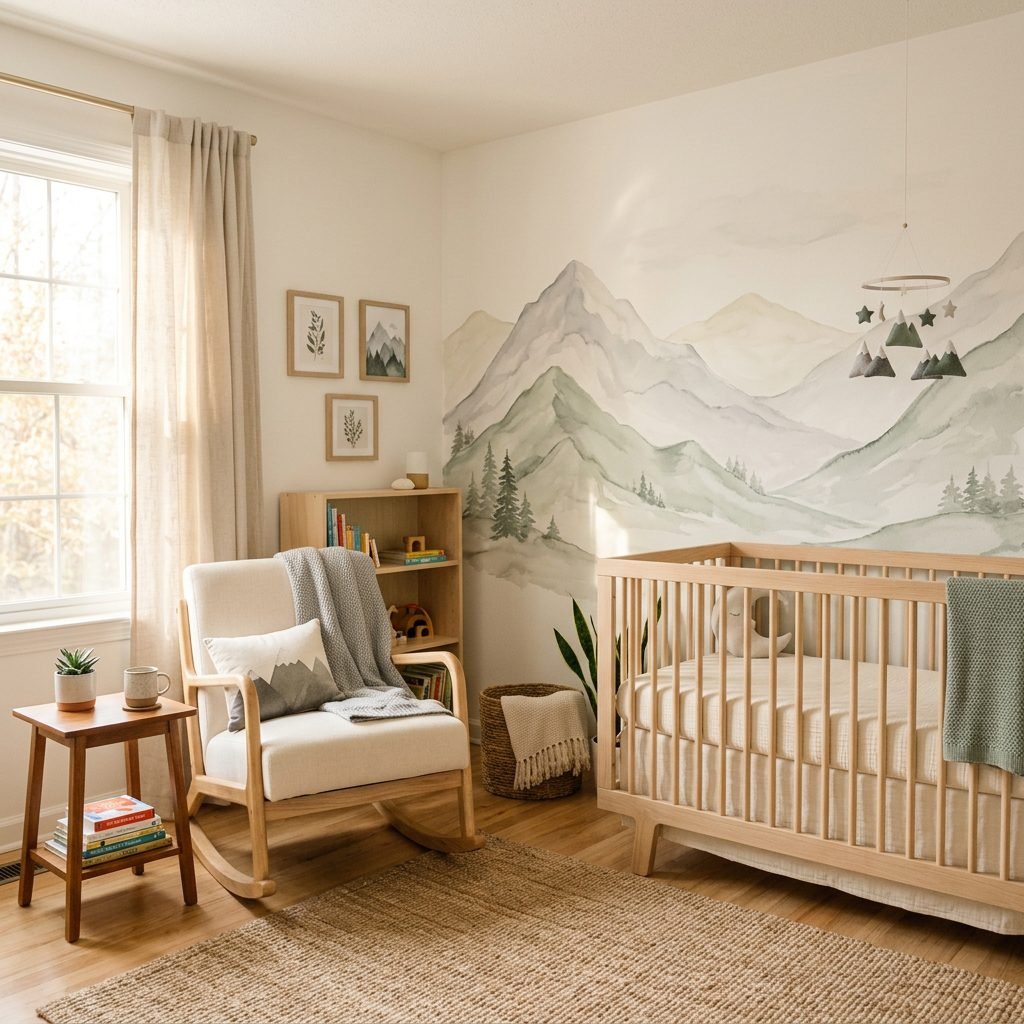
Modern Nursery on a Budget: DIY Minimalist Scandinavian Mountain Mural Tutorial
Hello there, sweet mama. If you are reading this, you are likely in the thick of the ‘nesting’ phase, that beautiful, sometimes frantic, but deeply instinctual period where every fiber of your being wants to prepare a perfect sanctuary for your little one. As a doula, I have sat in many nurseries, and I can tell you that the most peaceful spaces aren’t the ones that cost thousands of dollars—they are the ones created with love, intention, and a touch of your own magic. The Scandinavian mountain mural is a favorite of mine because it combines minimalist aesthetics with high-contrast visual stimulation for your baby, all while being incredibly budget-friendly. Today, we are going to walk through this project together, step-by-step, ensuring you stay comfortable, safe, and inspired. Grab a glass of red raspberry leaf tea, put your feet up for a moment, and let’s dream up your baby’s first view of the world.
I am creating a space of peace and wonder for my baby. Every brushstroke is a welcome home.
The Philosophy of the Scandi Mountain Aesthetic
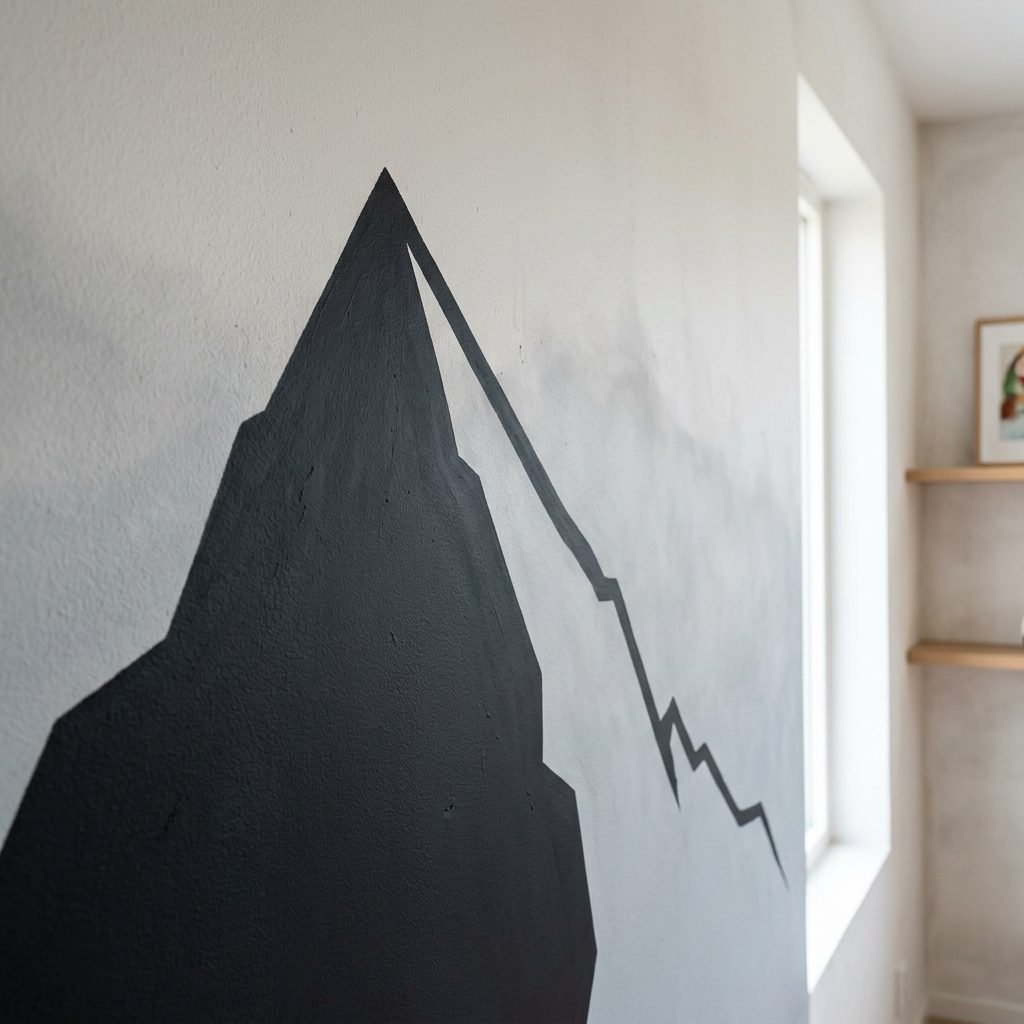
Why mountains? In the world of pediatric development and doula care, we often talk about the importance of ‘soft fascination.’ A Scandinavian mountain mural provides gentle geometric shapes that help a newborn’s eyes learn to focus without the overstimulation of bright, chaotic patterns. The minimalist approach uses muted, earthy tones—think sage greens, soft greys, and warm terracottas—which are known to lower cortisol levels for both mama and baby.
Visual Benefits for Newborns
- High Contrast: Even in muted colors, the sharp lines of the ‘peaks’ against a lighter sky provide the contrast newborns crave.
- Depth Perception: Layering different shades of mountains creates a sense of depth that encourages visual tracking.
- Calming Environment: A neutral palette supports better sleep hygiene as the baby grows.
Budget Breakdown & Materials List
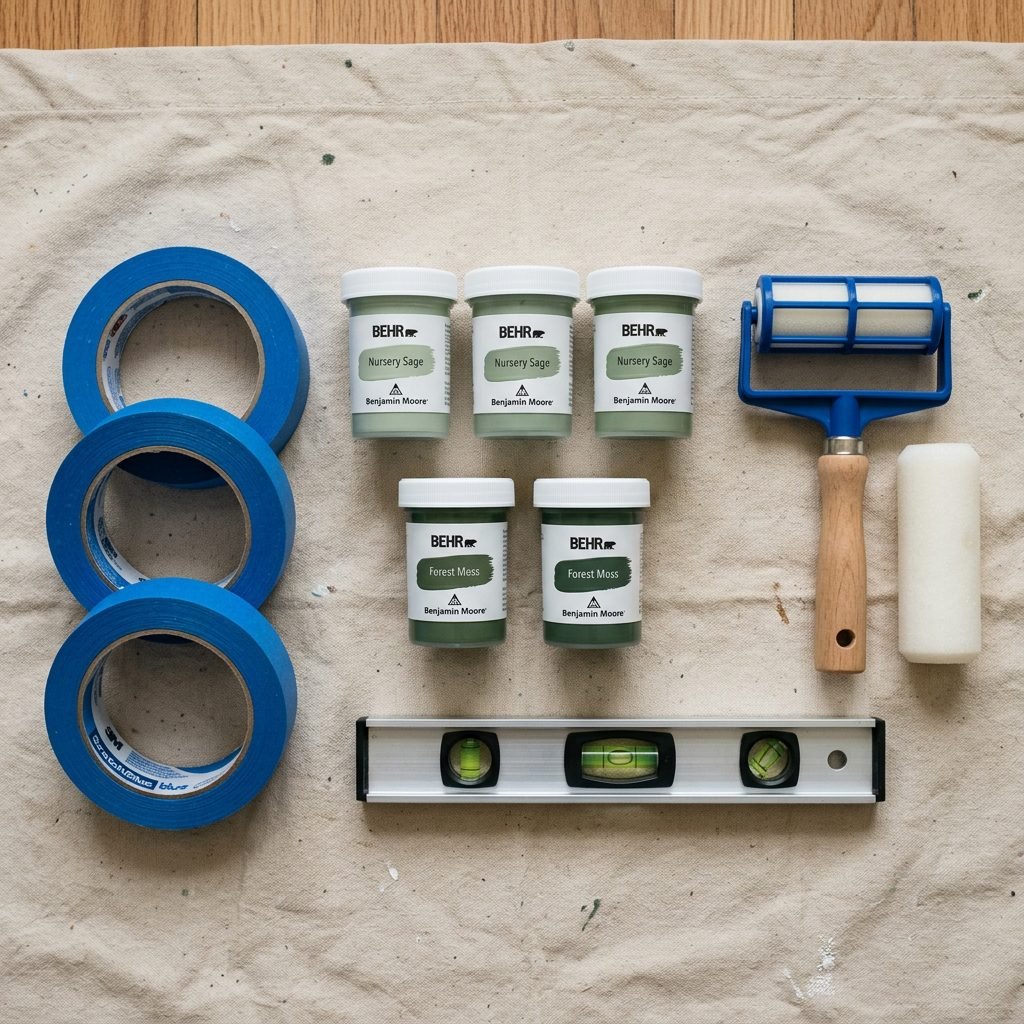
Mama, you don’t need a professional painter for this. We can achieve a high-end look for under $60. The key is using ‘sample’ sizes of paint—since you only need a small amount for each mountain, buying full gallons is a waste of your hard-earned money. Here is exactly what you need to gather before you start.
| Item | Approximate Cost | Why You Need It |
|---|---|---|
| Painter’s Tape (Delicate Surface) | $7.00 | To create those crisp, sharp mountain peaks without peeling your base paint. |
| 3 Paint Samples (Low-VOC) | $18.00 | Choose three graduating shades of one color (e.g., Light, Medium, and Dark Grey). |
| Small Foam Rollers & Trays | $12.00 | Provides a smooth finish and is light enough to handle without arm fatigue. |
| Drop Cloth or Old Sheets | $0.00 | To protect your floors (and your sanity!). |
| Level or Laser Level | $15.00 | To ensure your ‘horizon’ line doesn’t look like it’s sliding off the wall. |
Total Estimated Cost: $52.00. Compare that to designer wallpaper which can cost upwards of $400 for a single accent wall!
Safety First: Painting While Pregnant
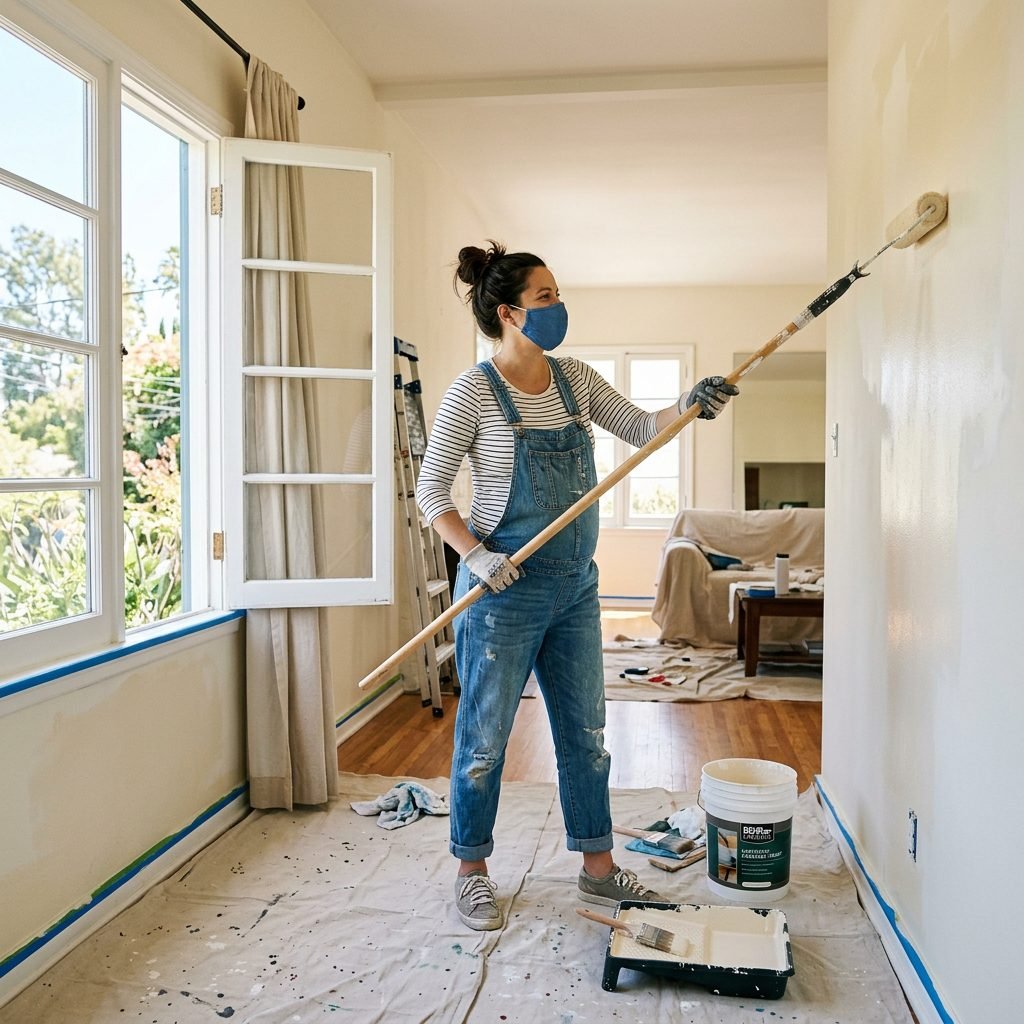
As your doula and nurse advocate, your health is my priority. Painting while pregnant is generally safe, but we must follow strict safety protocols to protect you and your growing babe. Your body is doing the hard work of growing a human; let’s not overtax it.
The Golden Rules of Pregnancy Painting
- Zero-VOC Paints Only: Ensure your paint is labeled ‘Zero-VOC’ or ‘Low-VOC.’ Volatile Organic Compounds are the chemicals that cause that ‘new paint smell’ and can be harmful if inhaled in large quantities.
- Ventilation is Key: Keep all windows open and use a box fan to pull air out of the room. If you feel even slightly lightheaded, walk away immediately.
- Ergonomics & Breaks: Do not stand on ladders if your balance feels ‘off’ due to your shifting center of gravity. Use an extension pole for the rollers. Set a timer for 20 minutes of work followed by 10 minutes of rest with your feet elevated.
- Hydration: Keep a large bottle of water nearby. Painting is a workout!
Listen to your body. If your back aches or your belly feels tight, it’s time to stop for the day. The mountains will wait for you.
Step-By-Step: Mapping and Painting Your Peaks
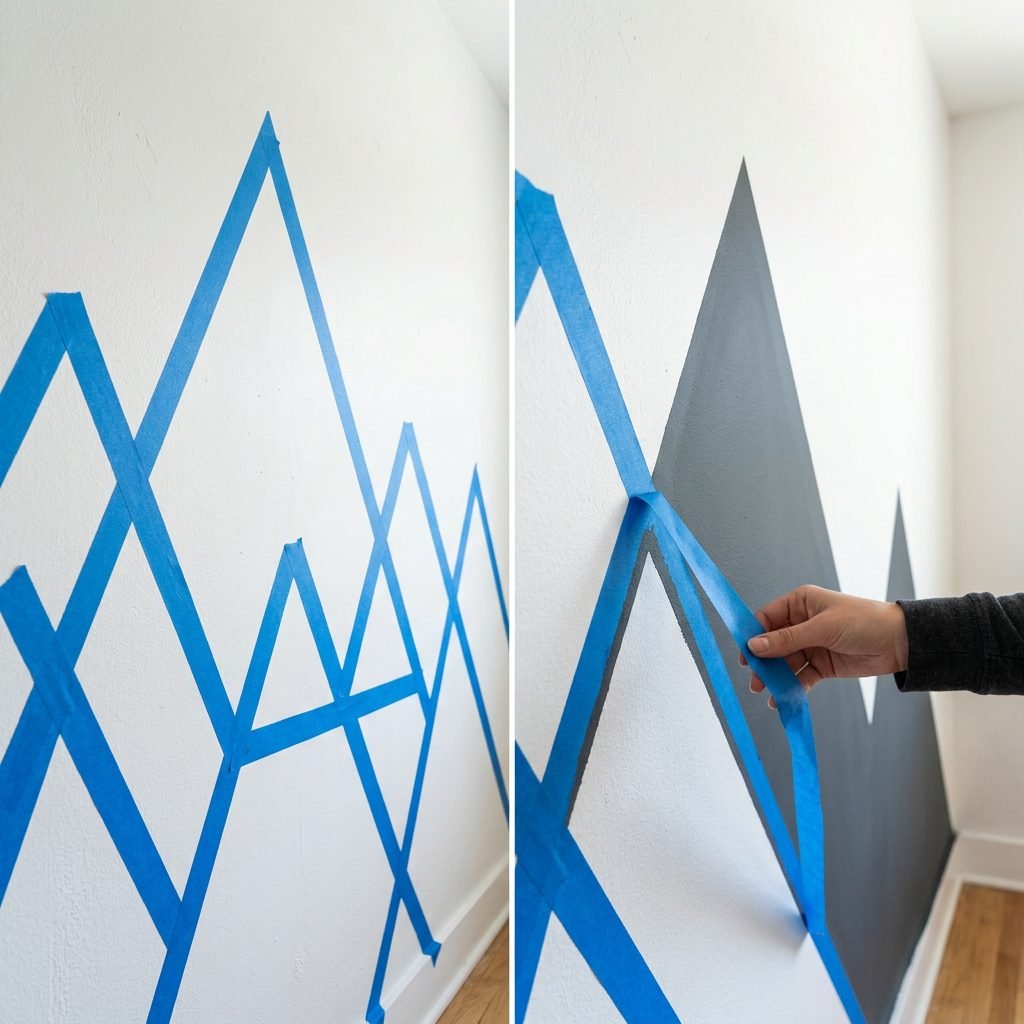
Ready to see the magic happen? This process is surprisingly therapeutic. We are going to use the ‘overlapping’ method to create depth. Follow these steps for a flawless finish.
Step 1: Prep the Canvas
Wipe down your wall with a damp cloth to remove dust. Ensure your base wall color (usually a white or cream) is completely dry. Pro-Tip: If you just painted the base coat, wait at least 48 hours before applying painter’s tape.
Step 2: Tape Your Mountains
Using your painter’s tape, create large triangles of varying heights. Don’t worry about being perfect—nature isn’t perfect! Aim for an odd number of peaks (3 or 5) as this is more pleasing to the eye. For a professional look, let some mountains overlap others.
Step 3: Seal the Tape
This is the secret hack! Take a little bit of your base wall color and paint over the edges of the tape. This ‘seals’ the tape so that when you apply your mountain colors, they won’t bleed underneath. Let this dry for 30 minutes.
Step 4: Painting the Layers
Start with your darkest color for the ‘front’ mountains and your lightest color for the ‘distant’ mountains. Apply two thin coats rather than one thick one. This prevents drips and ensures an even finish.
Step 5: The Big Reveal
Wait until the paint is tacky but not bone-dry to pull the tape. Pull at a 45-degree angle for the crispest lines you’ve ever seen. It is the most satisfying feeling, mama!
Styling Your Scandi Sanctuary
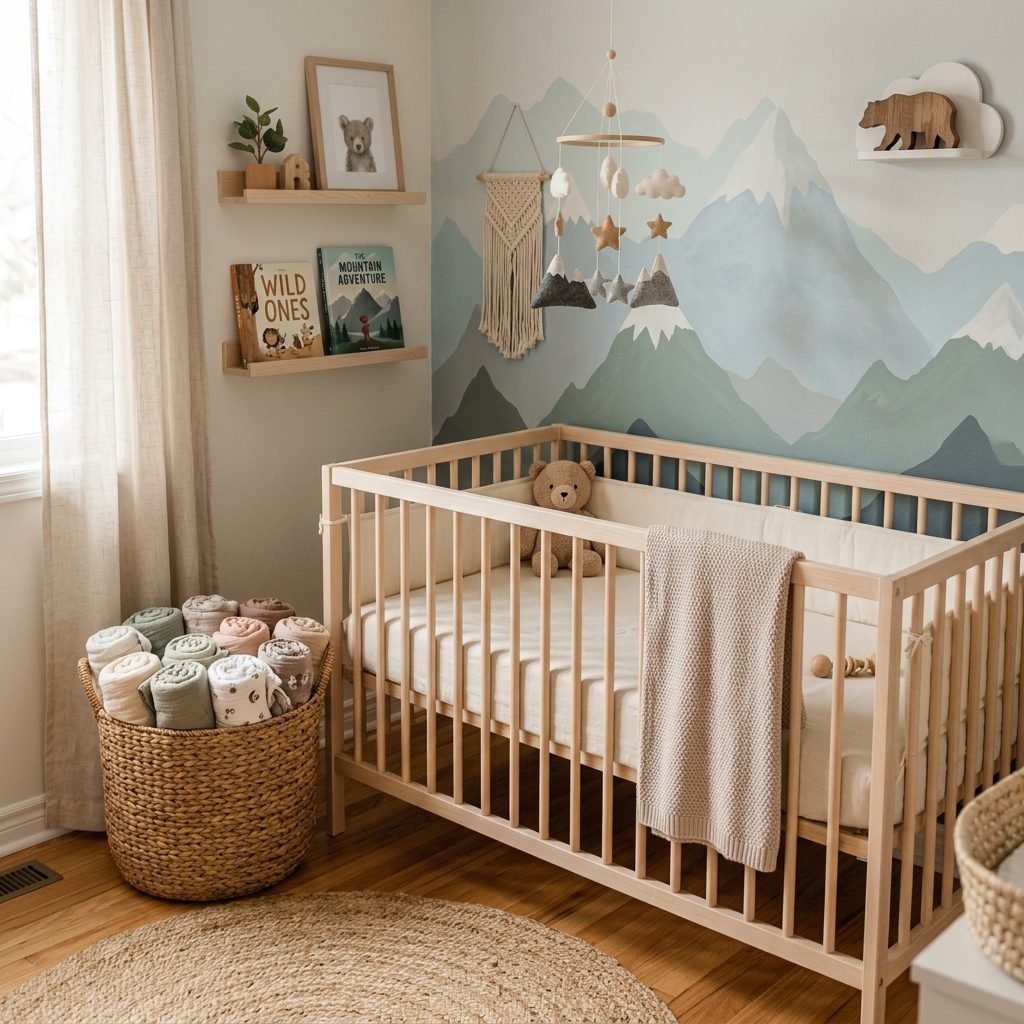
Now that your focal point is complete, let’s talk about the finishing touches. A Scandinavian nursery is all about functional minimalism and natural materials. We want to complement your mural, not distract from it.
The Texture Matrix
| Element | Material Suggestion | Vibe |
|---|---|---|
| Textiles | Muslin, Linen, Knitted Cotton | Soft, breathable, and cozy. |
| Storage | Seagrass or Wicker Baskets | Adds warmth and hides the diaper clutter. |
| Greenery | Faux Eucalyptus or Snake Plant | Brings the ‘outdoors’ in without the maintenance. |
| Lighting | Warm LED strips or Paper Lanterns | Soft glow for those 2 AM feedings. |
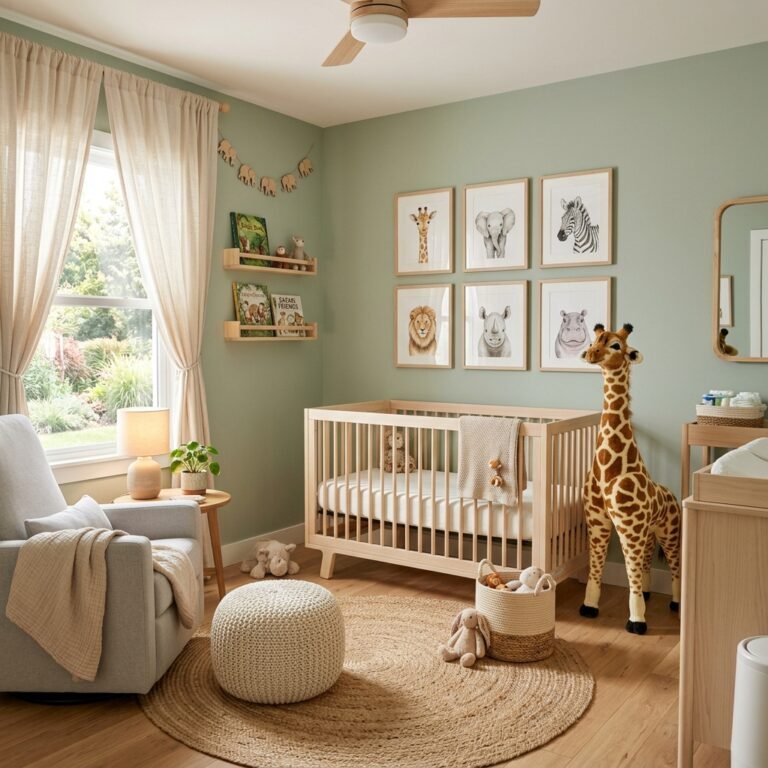
Keep your furniture lines simple. A light wood (like birch or pine) crib looks stunning against a mountain backdrop. Avoid heavy, dark Victorian-style furniture which can make the room feel cramped. Remember, the goal is a space that feels like a deep breath.
Conclusion
There you have it, mama—a custom, designer-inspired nursery that didn’t break the bank and allowed you to channel all that wonderful nesting energy into something tangible. Your baby’s first room is more than just a place to sleep; it’s the backdrop for your first cuddles, those quiet midnight feedings, and the many ‘firsts’ to come. By choosing a minimalist mountain theme, you’ve created a timeless, grounding space that will grow with your child. Take a moment to sit in your nursery chair, look at what you’ve created, and breathe in the peace. You are doing an incredible job, and your little one is so lucky to have a mama who cares so much about their world. Happy nesting!