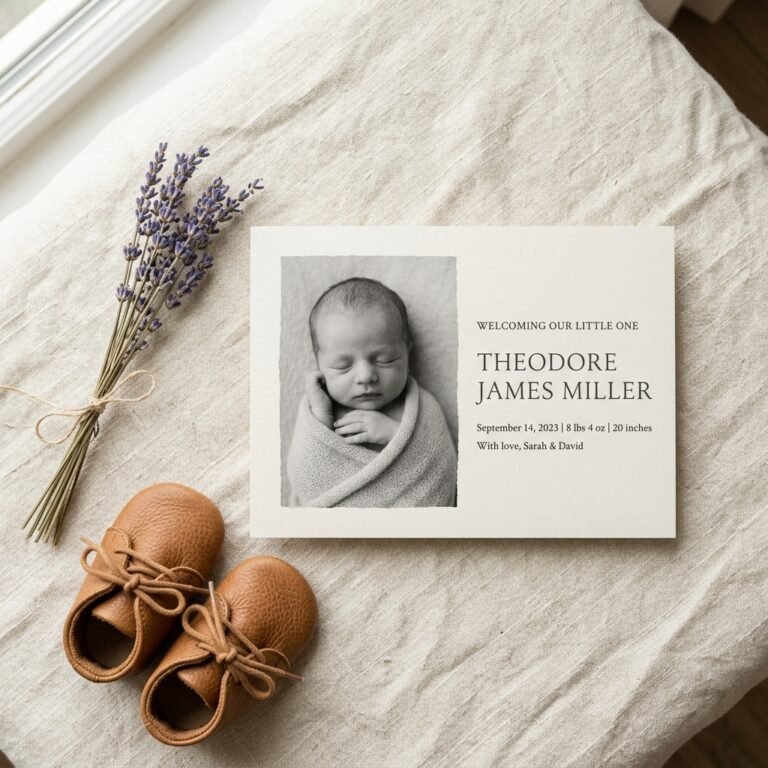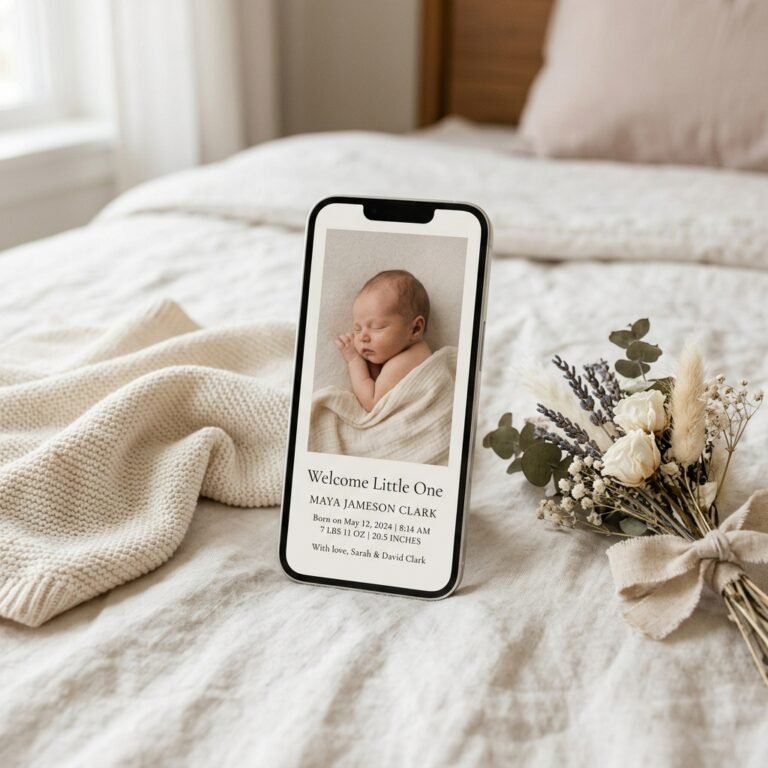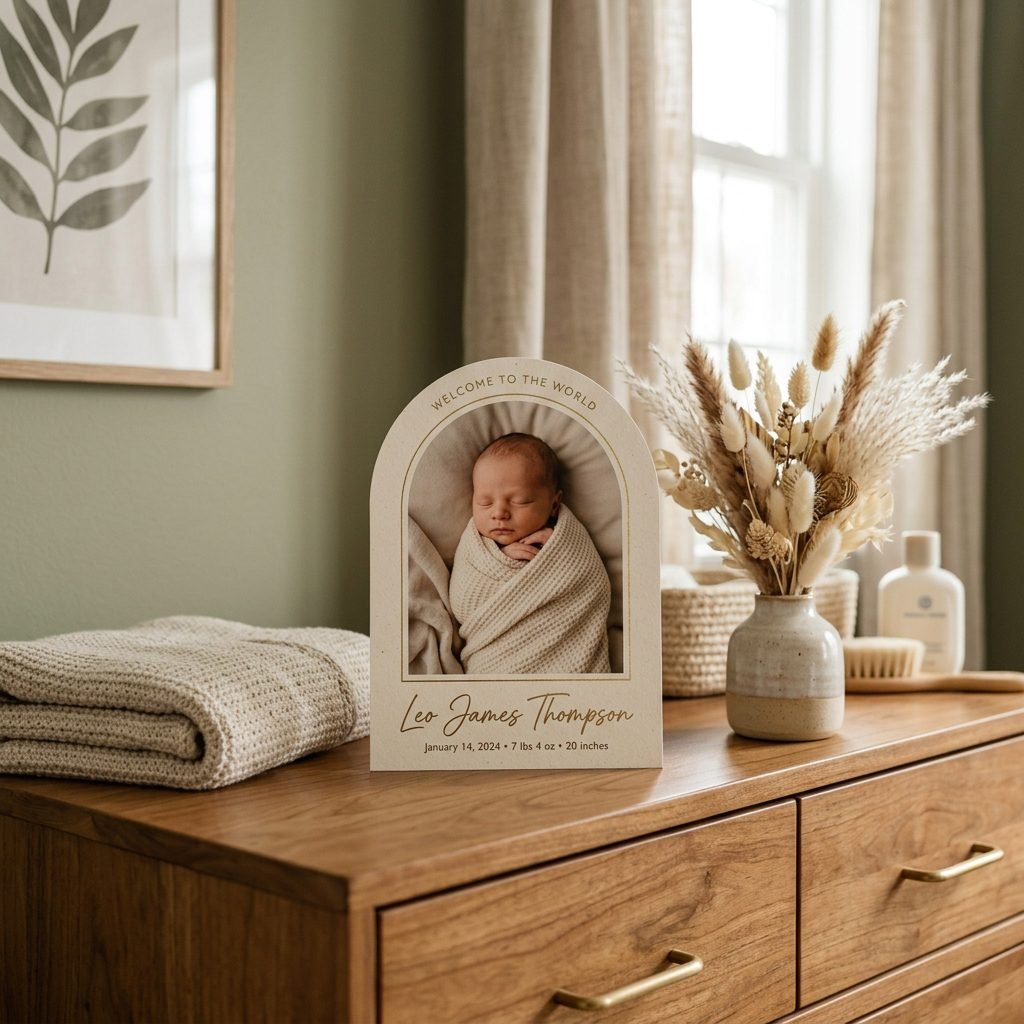
The Modern Arch-Shaped Birth Announcement Cards You Can Easily Edit and Print
Oh, sweet mama, take a deep breath. You’ve done the incredible work of bringing a new soul into the world, and now you’re in that hazy, beautiful, milk-scented bubble of the postpartum days. I know your heart is overflowing, and you want to share your joy with the world in a way that feels as special as your little one. But let’s be honest—you’re likely operating on three hours of broken sleep and your brain feels a bit like mush. You want something elegant, modern, and high-end, but it needs to be simple enough to do while your baby naps.
Enter the arch-shaped birth announcement. This isn’t just a trend; it’s a design statement that symbolizes a portal, a new beginning, and a soft, organic aesthetic that perfectly matches the tenderness of a newborn. As a doula and a lover of all things organized and stylish, I’ve seen how much pressure mamas feel to get the ‘perfect’ announcement out. My goal today is to take that weight off your shoulders. I’m going to show you how to skip the expensive boutique designers and create your own professional-grade, arch-shaped cards that will have your friends and family asking, ‘Where did you order these?!’
We are going to dive deep into the world of digital templates, paper weights that feel like a dream, and the little styling secrets that make a DIY project look like a thousand-dollar commission. Let’s get creative, mama.
Why the Arch Shape is the Ultimate Choice for Modern Mamas
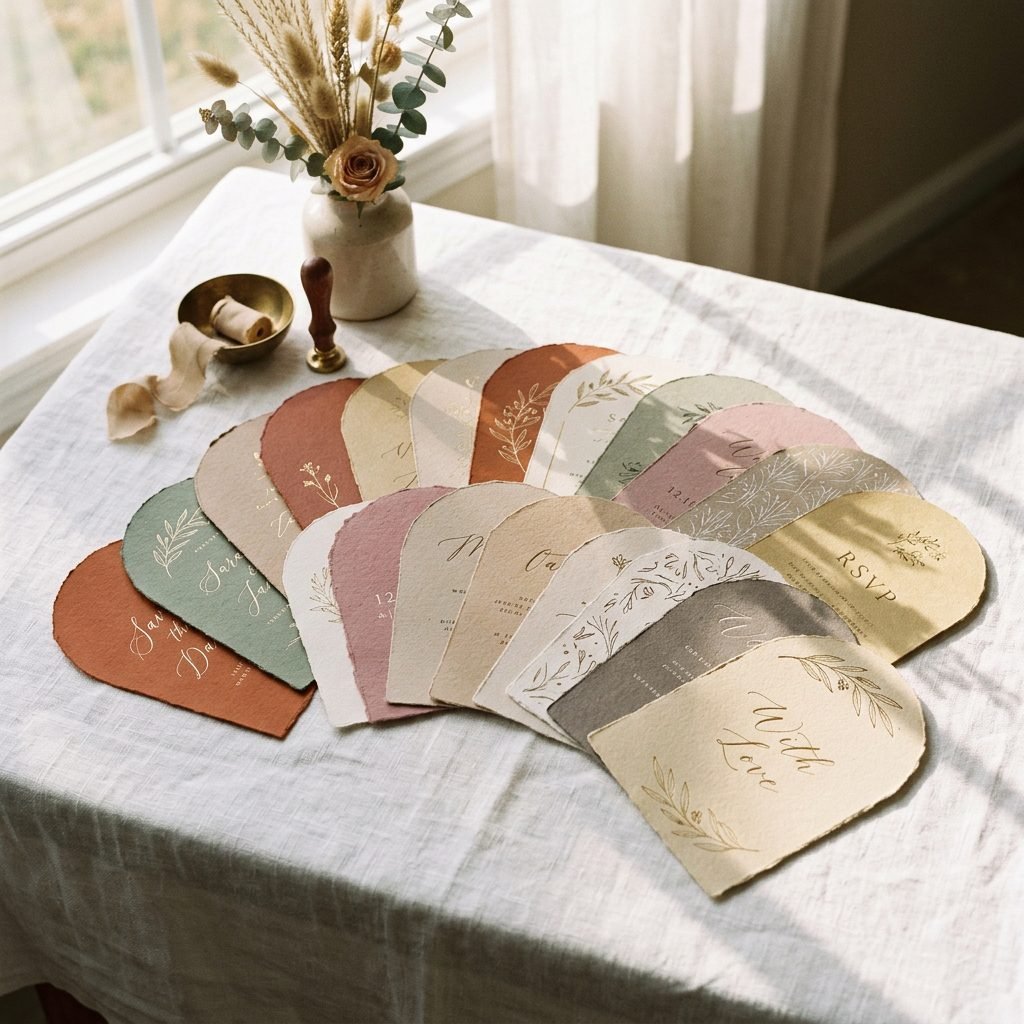
The ‘arch’ or ‘cloisters’ shape has taken the design world by storm, and for good reason. In a world of sharp corners and rigid rectangles, the arch offers a sense of softness and flow. For a birth announcement, this shape is deeply symbolic. It represents the transition from one life to another—the gateway of birth that you just walked through with such strength.
The Aesthetic Appeal
From an interior design perspective, arches draw the eye upward, creating a sense of space and elegance. When your loved ones place this card on their mantel or fridge, the unique silhouette stands out immediately. It feels intentional and curated. If you’ve spent months perfecting a boho, minimalist, or Scandinavian nursery, the arch announcement is the perfect stationary extension of that style.
Benefits of the Arch Silhouette:
- Organic Feel: Mimics the natural curves of motherhood and infancy.
- Visual Interest: Breaks the monotony of standard mail.
- Versatility: Works beautifully with both portrait and landscape photography.
- Timelessness: While trendy now, the arch is a classic architectural element that won’t look dated in your baby book ten years from now.
Your baby’s arrival is a monumental milestone. Choosing a shape that reflects the beauty and ‘softness’ of this season makes the announcement feel like a keepsake rather than just a piece of mail.
Finding the Perfect Editable Template: Your Digital Starting Point
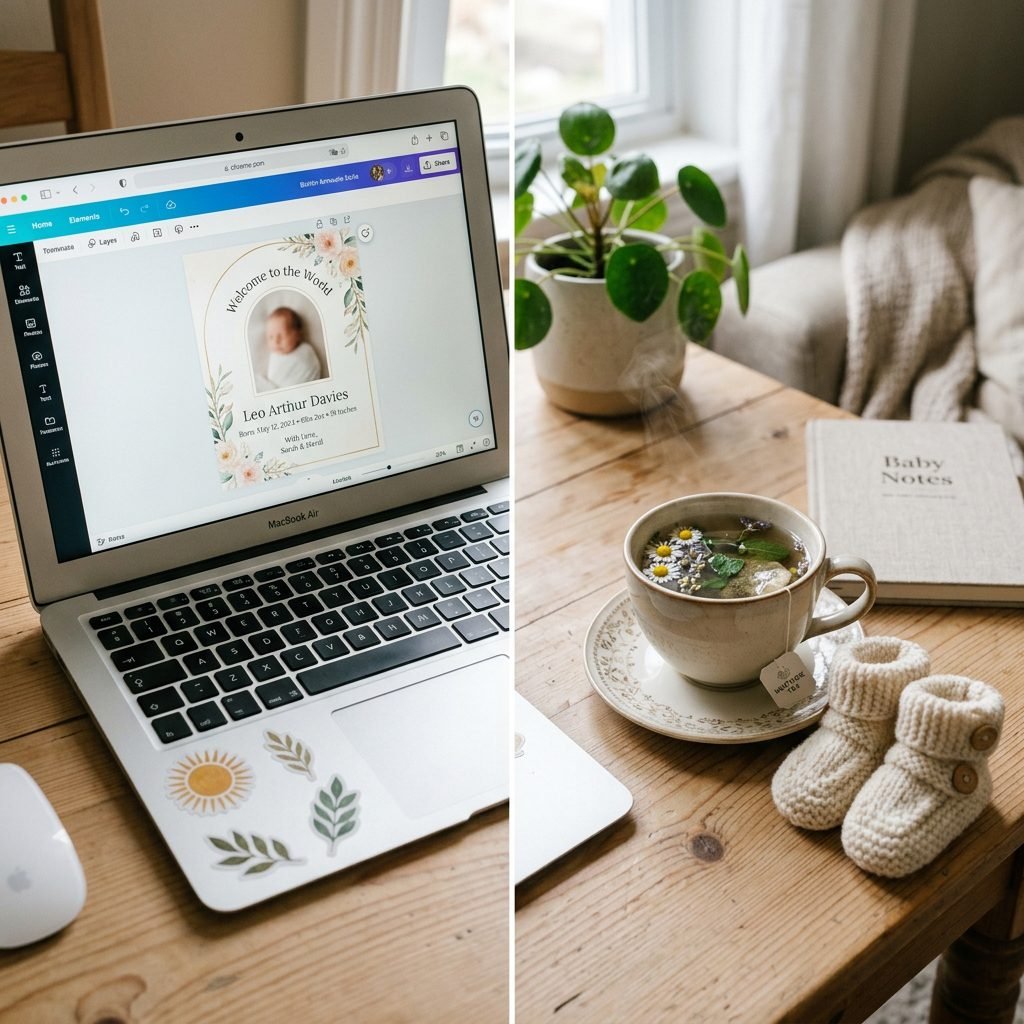
You don’t need to be a graphic designer to create these. The secret lies in using high-quality editable templates. Platforms like Etsy, Creative Market, and Canva are gold mines for these designs. When you’re searching, look for ‘Arch Birth Announcement Template’ or ‘Die-cut effect birth announcement.’
What to Look for in a Template
Not all templates are created equal, mama. Since you’ll be printing these yourself or using a local print shop, you need a file that is user-friendly. Look for templates that use Templett, Corjl, or Canva. These platforms allow you to edit directly in your browser without downloading any fancy software.
Essential Template Features:
- High Resolution: Ensure the final export is at least 300 DPI (dots per inch) for a crisp print.
- Bleed Lines: This is a small extra margin around the edge that ensures your design doesn’t get cut off during the trimming process.
- Customizable Colors: You want to be able to match the background color to your baby’s swaddle or the tones in your photo.
- Font Options: Look for modern serifs or delicate scripts that feel high-end.
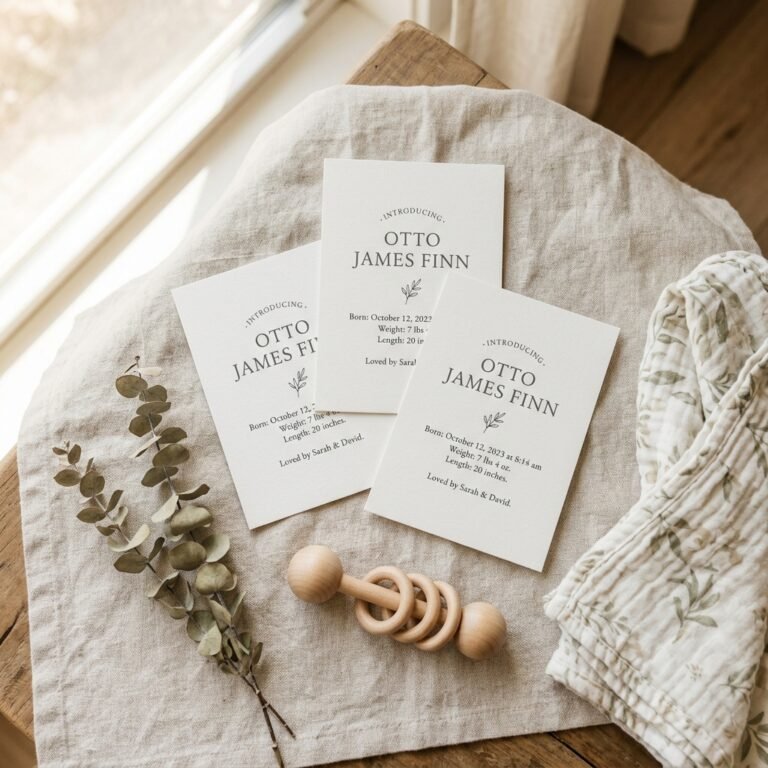
When you purchase a template, you’re usually buying the layout. You’ll be able to swap the placeholder photo for your own, change the name, birth weight, time, and date. It’s the ‘cheat code’ to professional branding for your baby!
The Step-by-Step Guide to Customizing Your Announcement
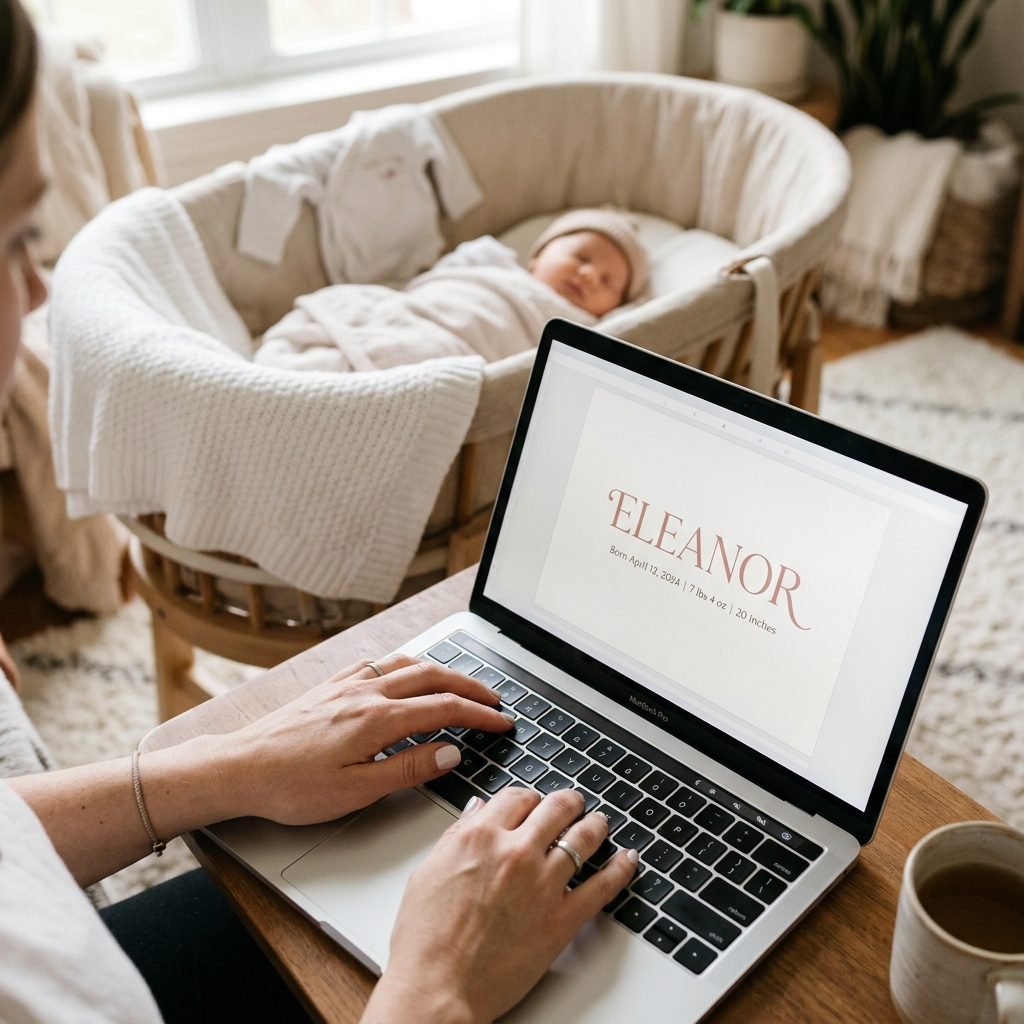
Now for the fun part! Let’s walk through the process of making that template your own. Remember, we want this to be stress-free, so take it one step at a time.
Phase 1: The Photo Selection
The photo is the heart of the card. Choose a high-resolution image with natural lighting. Avoid using photos with heavy filters or dark shadows. A simple photo of your baby on a neutral sheet or in your arms works best. If you’re using an arch template, try to center the baby’s face so it isn’t too close to the curved top edge.
Phase 2: The Editing Process
- Upload your photo: Drag and drop your favorite newborn shot into the template.
- Adjust the Arch: Ensure the ‘arch’ mask is correctly positioned over the photo.
- Enter the details: Double-check the spelling of the name, the birth date, and those precious stats (weight and length).
- Choose your palette: Stick to 2-3 colors max. A neutral background with a contrasting font color is always a winner.
- Save and Export: Save your work as a PDF Print file. This is the highest quality for physical printing.
Affirmation: I am creating a beautiful memory for my family. This process is a celebration of my baby, and I am doing a wonderful job.
If you find yourself getting overwhelmed by font choices, just remember: Simplicity is the ultimate sophistication. A clean, easy-to-read font will always look more ‘expensive’ than a cluttered one.
Printing and Cutting: How to Get That Pro-Finish at Home
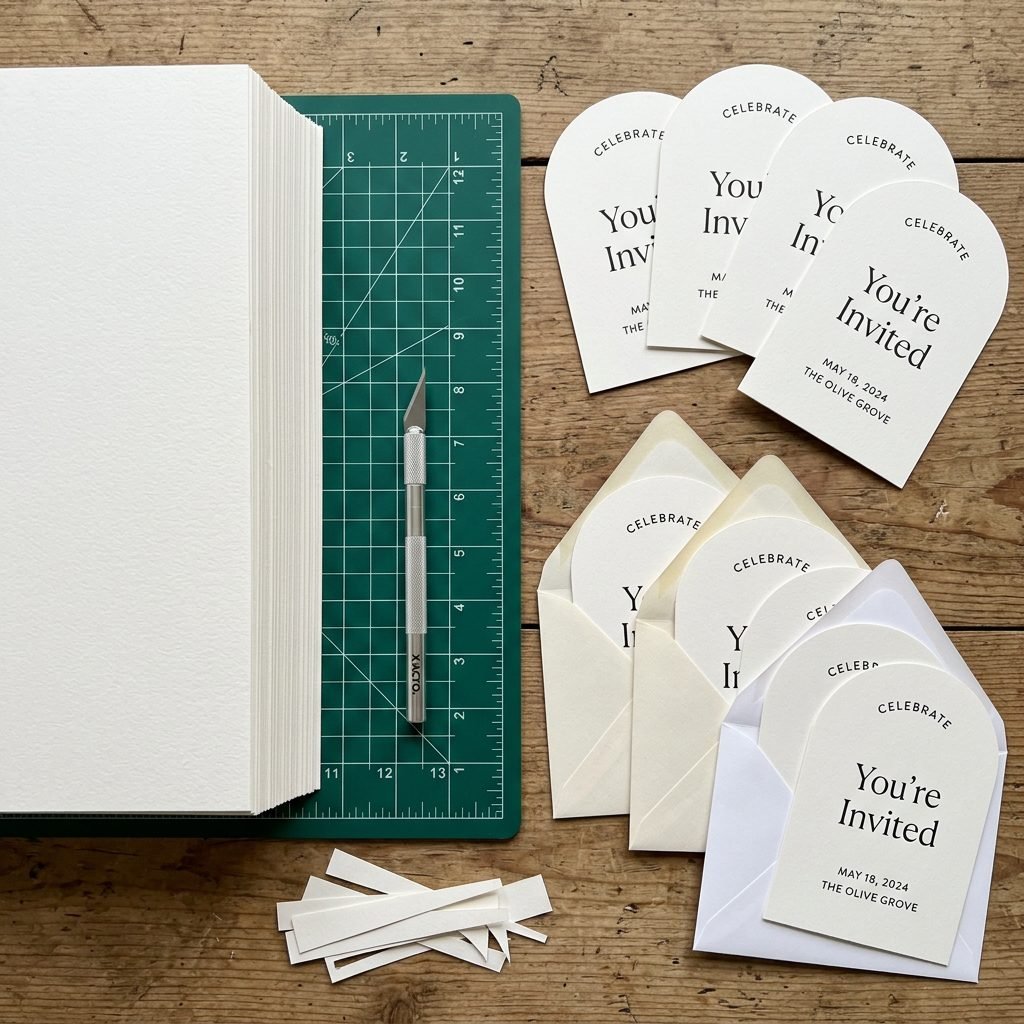
This is where the magic happens. To get that ‘arch’ look, you have two options: you can print on rectangular cardstock and cut the arch yourself, or you can use a professional printer that offers die-cutting. For the DIY mama, we’re going to focus on the hand-cut or craft-cutter method.
Paper Selection is Everything
Don’t use standard printer paper! You want something with ‘heft.’ I recommend 110lb or 120lb cardstock. This weight feels substantial in the hand and won’t curl at the edges. Look for finishes like ‘Eggshell,’ ‘Linen,’ or ‘Matte.’ Avoid glossy paper, as it can look cheap and pick up fingerprints easily.
DIY Cutting Tools:
- Precision Scissors: For those with a steady hand.
- X-Acto Knife and Cutting Mat: Best for clean, sharp lines.
- Cricut or Silhouette: If you’re a crafty mama, you can upload your arch shape and let the machine do the precision cutting for you!
- Corner Rounder: If you decide to keep the rectangle but want a ‘soft’ look, a corner rounder tool is a lifesaver.
If cutting 50 cards sounds like a nightmare (I hear you!), you can print your design through a service like Prints of Love or Zazzle. Many now offer the arch shape as a standard die-cut option, saving you hours of labor.
Budget Breakdown: DIY vs. Professional Boutique
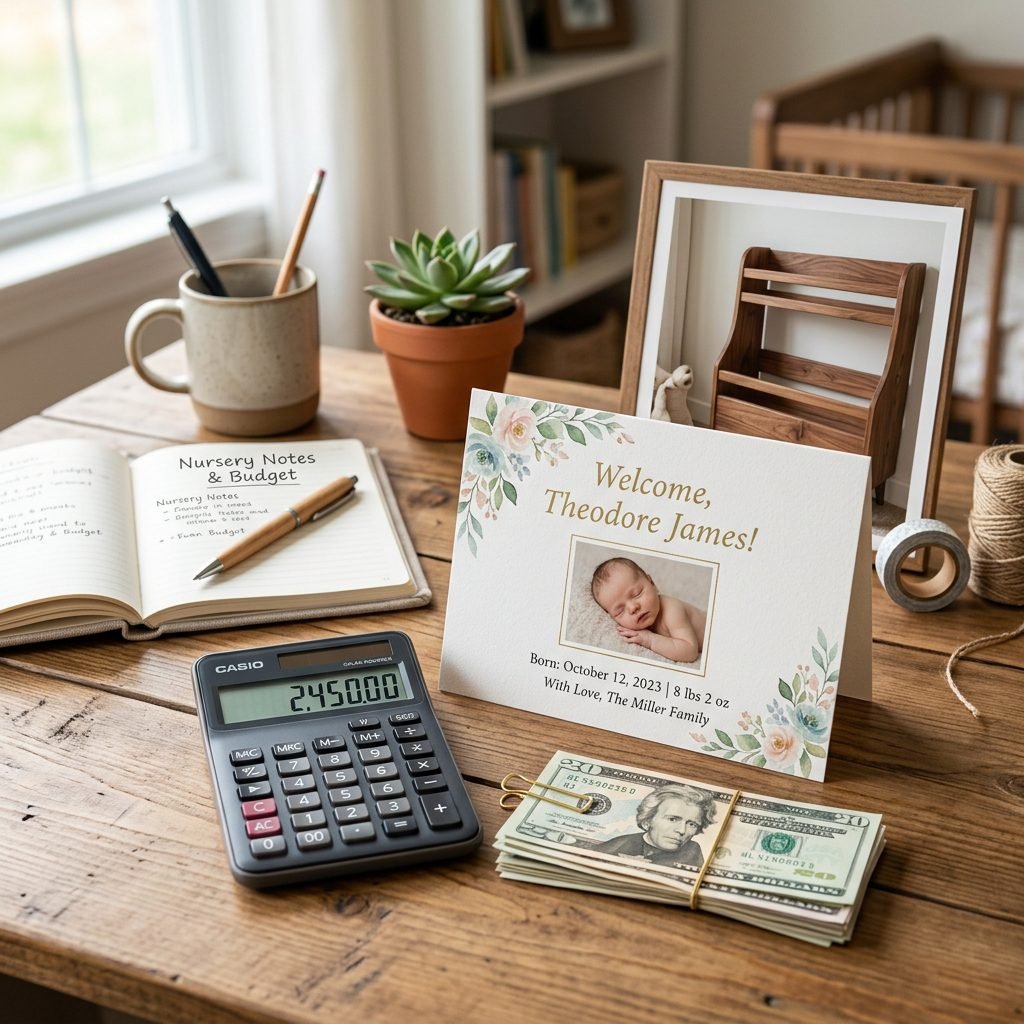
Let’s talk numbers, mama. Having a baby is expensive, and while we want the best, we also want to be smart with our nesting budget. Here is a comparison of what you can expect to spend for 50 announcements.
| Feature | DIY (Print & Cut at Home) | Online Custom Printer | Boutique Designer |
|---|---|---|---|
| Template Cost | $10 – $15 | Included | $100+ (Design fee) |
| Paper & Ink | $20 – $30 | $75 – $120 | Included |
| Envelopes | $15 (Bulk) | Included | Included |
| Labor | 2-3 Hours (Cutting) | 0 Hours | 0 Hours |
| Total Est. Cost | $45 – $60 | $75 – $150 | $250 – $500+ |
As you can see, the DIY route can save you hundreds of dollars that could be better spent on those organic bamboo sleepers or a much-needed postpartum massage. By doing the ‘work’ of cutting and printing yourself, you’re able to afford much higher-quality paper than you would get at a budget commercial printer.
Styling Your Newborn for the Announcement Photo
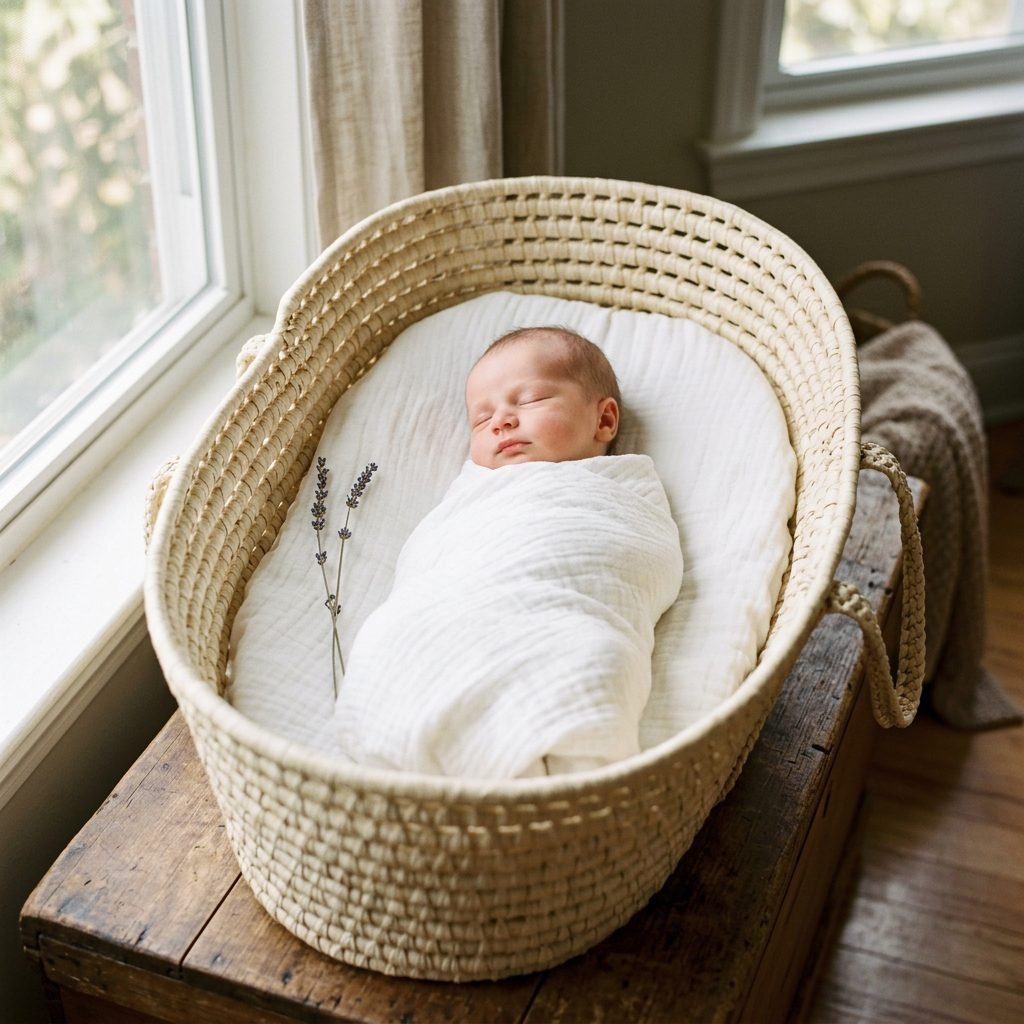
Since the arch shape is so modern and clean, your photo styling should match. As a doula, I always recommend keeping the baby comfortable and calm during their ‘photo shoot.’ Happy babies make for the best photos!
Tips for a ‘Studio’ Look at Home:
- The ‘Golden Hour’ Rule: Take your photos near a large window about 1-2 hours after sunrise or before sunset. Turn off all overhead lights to avoid yellow tones.
- Neutral Palette: Use whites, creams, tans, or soft pastels. This keeps the focus on your baby’s delicate features.
- Texture over Pattern: Instead of a busy floral print, choose a chunky knit blanket or a muslin swaddle. Texture adds depth without being distracting.
- The Angle: Stand on a stool and look directly down at the baby (the ‘flat lay’ shot) or get down at eye level while they are on their back.
Props that Work with Arches:
Since the arch is a geometric shape, adding organic elements to the photo creates a beautiful contrast. Think about placing a single dried flower near the baby, or using a woven Moses basket. These elements frame the baby perfectly within that arched silhouette of the card.
Conclusion
Mama, whether you spend hours hand-cutting every curve or you simply hit ‘order’ on a pre-made template, the result is the same: a beautiful celebration of the life you created. These arch-shaped announcements are more than just paper; they are the first formal introduction of your little one to your community. They are a keepsake that will live in baby books and on grandparents’ fridges for years to come.
Don’t strive for perfection—strive for connection. If the edges aren’t perfectly straight or the photo is slightly off-center, it doesn’t matter. What matters is the love that went into sharing your news. You are doing an incredible job, and your baby is so lucky to have a mama who cares about the little details. Now, go pour yourself a fresh glass of water, snuggle that baby, and enjoy this creative process!
Medical Disclaimer: This content is for informational and creative purposes only and does not constitute medical advice. Always consult with your healthcare provider or a pediatrician for any concerns regarding postpartum recovery or newborn health.