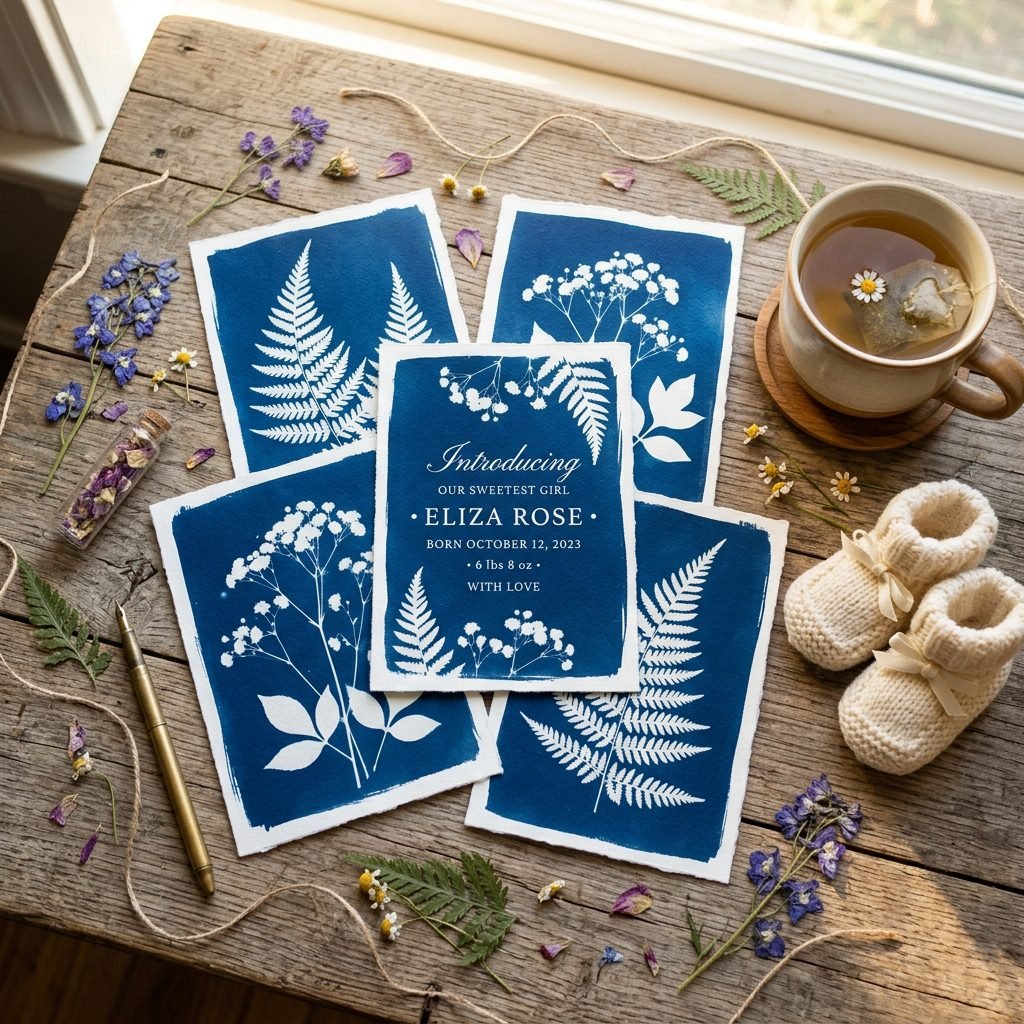
How to Make DIY Botanical Cyanotype Birth Announcement Cards at Home
Oh, mama, there is something so incredibly magical about the nesting phase, isn’t there? Whether you are in the final, glowing weeks of your third trimester, meticulously organizing the nursery closet, or you are deep in the tender, cozy days of postpartum recovery, the desire to create something beautiful to celebrate your new baby is a feeling as old as time. Welcome to your safe, creative haven. Today, we are going to explore a breathtakingly beautiful, surprisingly simple, and deeply meaningful project: making DIY botanical cyanotype birth announcement cards right at home.
If you haven’t heard of cyanotype before, prepare to fall in love. Also known as sun printing, this historic photographic printing process produces stunning, rich indigo blue and crisp white images using nothing but sunlight and water. It is the perfect craft for expectant and new mothers because it is incredibly forgiving, requires minimal setup, and forces you to step outside, take a deep breath of fresh air, and partner with nature. There are no complicated machines, no harsh fumes, and no stress—just you, the sun, and the delicate silhouettes of nature celebrating your little one’s arrival.
Take a deep breath, drop your shoulders, and remember: This is not about achieving Pinterest-perfect symmetry. This is about creating a tangible, heirloom-quality keepsake that tells the story of your baby’s birth, infused with the actual sunlight from their first days on earth.
In this comprehensive, sisterly guide, we will walk through everything you need to know to create these stunning announcements. From foraging for the perfect botanical elements in your backyard to mastering the sun-exposure process, we will cover it all with ease, comfort, and style in mind. Grab a cup of red raspberry leaf tea, settle into your favorite nursing chair, and let’s bring this beautiful vision to life.
The Magic and Meaning of Sun Printing
Before we dive into the supplies and steps, let us take a moment to appreciate why cyanotype is such a beautiful medium for birth announcements. As a doula and a fellow mother, I always encourage families to find ways to slow down and connect with the profound transition of bringing a child into the world. Cyanotype does exactly that. The process was actually pioneered in the 1840s by Anna Atkins, a botanist who used it to document ferns and algae. It is rooted in nature, patience, and the gentle passage of time.
When you create a cyanotype, you are capturing a literal shadow. You place an object—like a delicate sprig of eucalyptus, a tiny pressed daisy, or even your baby’s newborn hospital hat—onto light-sensitive paper. When exposed to the ultraviolet rays of the sun, the paper reacts, turning a deep, vibrant Prussian blue, while the area blocked by your object remains a pristine, angelic white. It is a literal representation of bringing light into the world.
For postpartum mothers, this craft is exceptionally gentle. You do not need to sit hunched over a sewing machine or stare at a glowing computer screen for hours designing digital graphics. The active hands-on time is incredibly short, making it easy to accomplish during a newborn’s nap window. Plus, the sensory experience of watching the paper change color in the sun, and then swishing it through a bath of cool water to reveal the final image, is deeply therapeutic and grounding.
Gathering Your Supplies: A Stress-Free Checklist
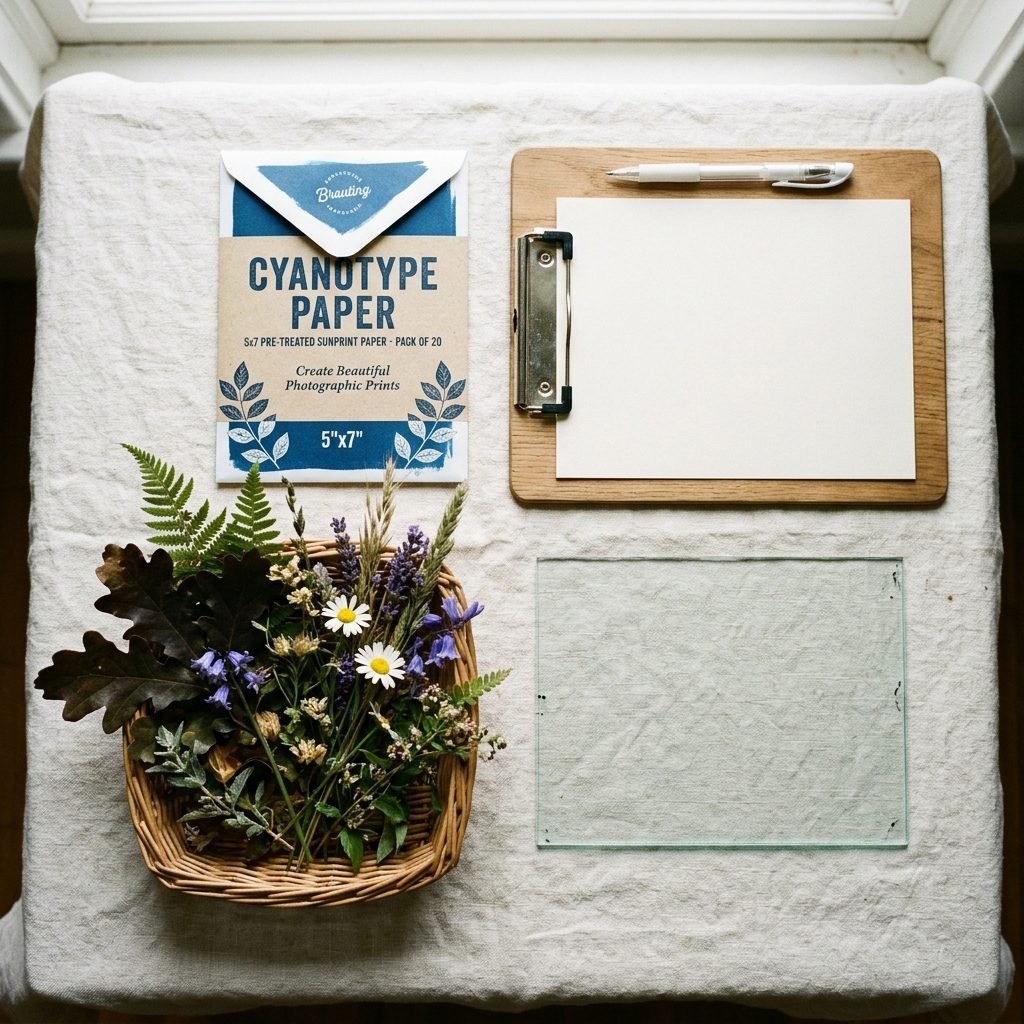
Let’s get practical, mama. One of the best things about this project is how accessible and budget-friendly it is. While traditional cyanotype involves mixing two liquid chemicals, I highly recommend that expectant and newly postpartum mothers opt for pre-treated cyanotype paper. It completely eliminates the need to handle chemicals, ensuring a 100% safe, non-toxic, and mess-free experience. If you are crafting with older siblings, pre-treated paper is perfectly safe for their little hands to help with, too!
Below is a comprehensive breakdown of the materials you will need to create your DIY botanical birth announcements, along with a gentle budget estimate. You likely already have several of these items resting in your home.
| Material / Item | Purpose in the Craft | Estimated Cost |
|---|---|---|
| Pre-Treated Cyanotype Paper (5×7 size) | The canvas for your announcements. Pre-cut sizes save you time and effort. | $15 – $20 (Pack of 30) |
| Botanical Elements & Keepsakes | To create the silhouettes (ferns, baby’s breath, ultrasound printouts, tiny socks). | Free (Foraged) or $5 |
| A Piece of Clear Glass or Acrylic | To press the botanicals flat against the paper so the wind doesn’t blow them away. | $0 (Repurpose from a picture frame) |
| A Sturdy Backing Board | Cardboard or a clipboard to support the paper and glass while carrying it outside. | Free (Use an old shipping box) |
| A Shallow Basin or Tray | For the water bath to rinse and set the final print. | Free (Use a baking dish) |
| Calligraphy Pen or Custom Stamp | To add the baby’s birth stats (Name, Date, Weight, Length) after drying. | $10 – $25 |
When selecting your paper, look for heavy-weight watercolor paper if you plan to send the originals in the mail. If you plan to make one perfect print and scan it to print digitally for the masses, any standard pre-treated sun print paper will work beautifully.
Foraging & Selecting Your Botanical Elements
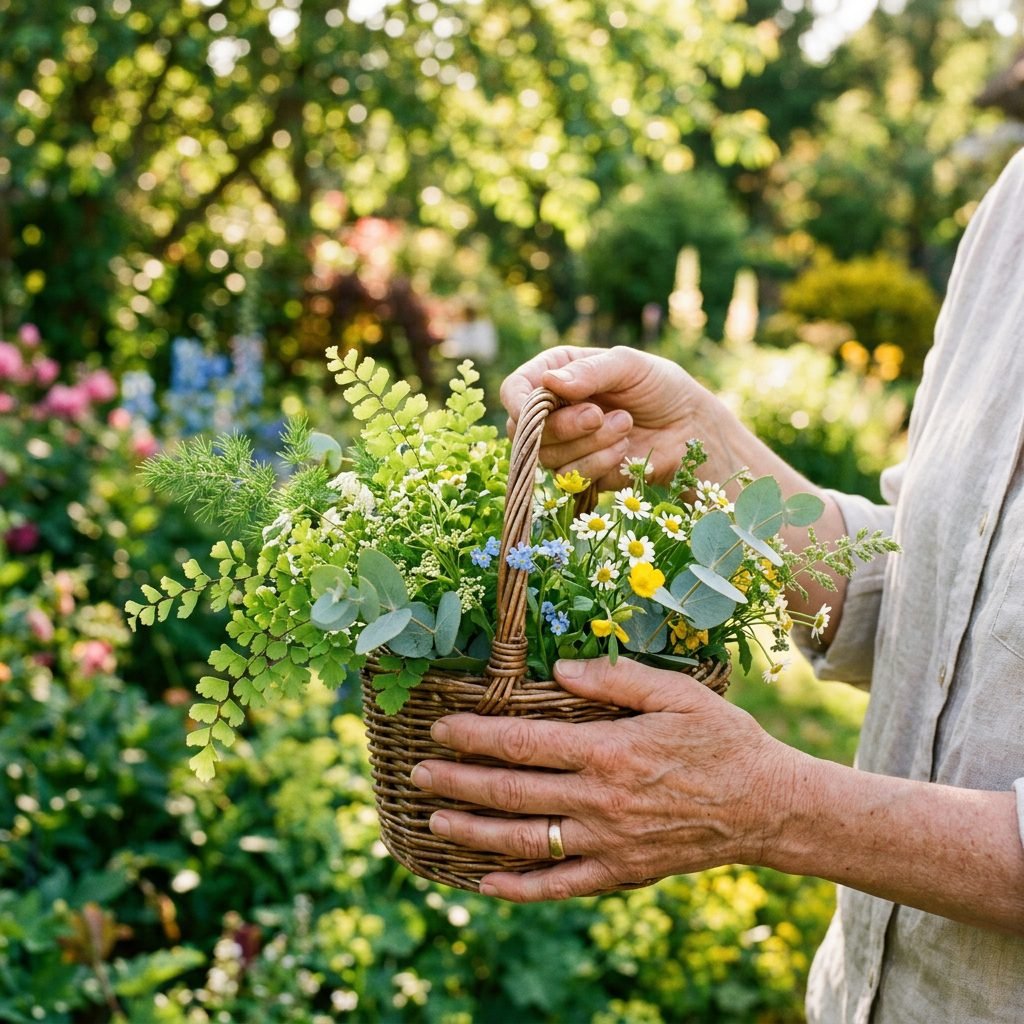
Now comes the truly creative and soul-nourishing part: choosing the elements that will adorn your baby’s announcement. This is a wonderful opportunity to step outside, breathe in the fresh air, and connect with the season in which your baby was born. If you have a spring baby, look for delicate cherry blossoms or tiny wildflowers. For a summer baby, vibrant ferns and Queen Anne’s lace create stunning, intricate silhouettes. Autumn babies pair beautifully with distinct maple leaves, while winter babies might be represented by elegant cedar or pine sprigs.
Choosing the Best Botanicals for Crisp Prints
When selecting your foliage, keep in mind that cyanotype captures the opacity and shape of the object. Flowers with very thick centers (like a whole rose) will just look like a large white blob because the light cannot pass through them. Instead, you want to look for items with delicate, recognizable outlines and varying levels of translucency.
- Ferns & Fronds: The absolute gold standard for cyanotypes. Their intricate leaves create breathtaking, lacy patterns.
- Baby’s Breath: Perfectly themed for a birth announcement and creates a beautiful, starry-night effect.
- Pressed Pansies or Daisies: Pressing flowers in a heavy book for a few days before printing ensures they lay completely flat, resulting in crisp, sharp edges.
- Eucalyptus: Creates a modern, boho-chic aesthetic with its distinct, rounded leaves.
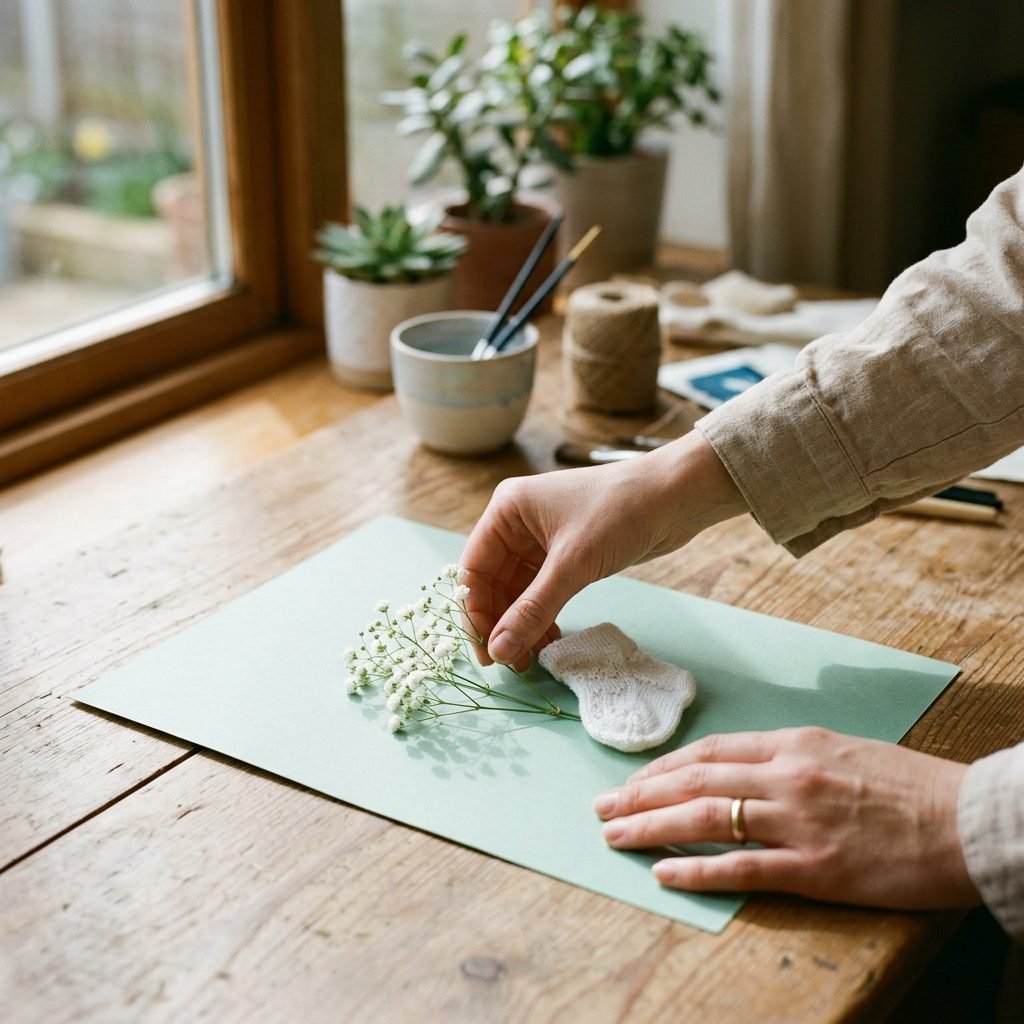
Doula Tip: Think outside the garden! I have seen mothers use the silhouette of their baby’s first ultrasound, a tiny knitted newborn bootie, or even a wooden cutout of the baby’s name alongside the botanicals. The juxtaposition of nature and baby keepsakes is incredibly touching.
Step-by-Step: Crafting Your Birth Announcements
Alright, sweet friend, it is time to make some magic. Choose a day with clear, bright sunlight. The stronger the UV index, the faster and deeper your prints will develop. If it is a cloudy day, do not worry—you can still sun print, it will just take a bit longer. Set up your workspace indoors, away from direct sunlight, to arrange your design before taking it outside.
- Prepare Your Setup (Indoors): Lay your sturdy backing board or clipboard flat on a table. Carefully remove one sheet of pre-treated cyanotype paper from its light-proof bag. Place it on the board with the chemically treated side (usually a pale yellow-green color) facing up.
- Arrange Your Design: Gently place your foraged botanicals, pressed flowers, or baby keepsakes onto the paper. Take your time here. You might want to leave a blank space in the center or at the bottom where you will later write the baby’s birth statistics.
- Secure the Glass: Once you are happy with your arrangement, carefully place your clear glass or acrylic sheet directly on top. This presses the botanicals flat against the paper, ensuring crisp lines, and prevents a sudden gust of wind from ruining your masterpiece.
- Step into the Sun: Carry your sandwiched board outside and place it in direct, unshadowed sunlight. You will almost immediately see the pale green paper begin to change color, shifting to a muddy bronze or greyish-blue. This is completely normal! Leave it in the sun for 5 to 15 minutes, depending on the sun’s intensity.
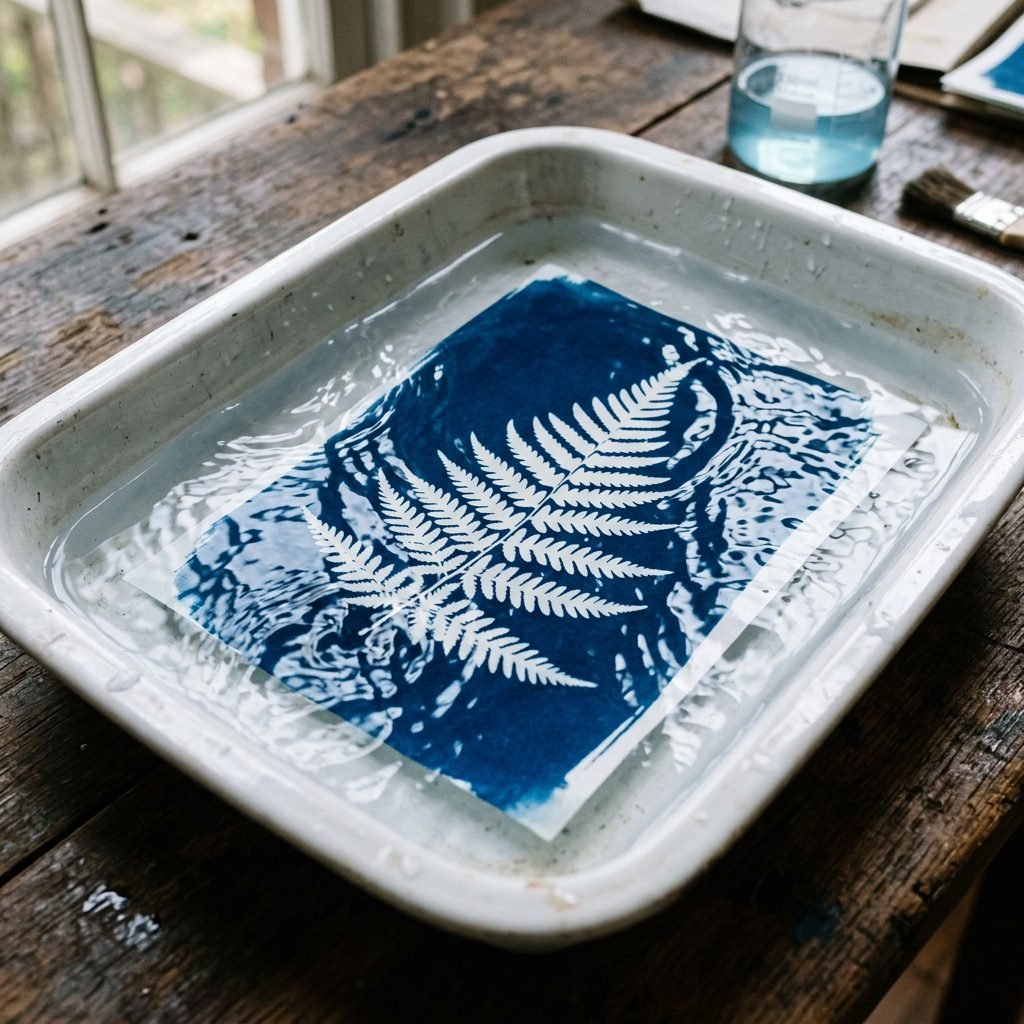
- The Water Bath Reveal: Bring the board back indoors. Remove the glass and botanicals. Quickly submerge the paper into a shallow basin of cool tap water. Agitate the water gently for about 3 to 5 minutes. You will watch the magic happen before your eyes: the muddy background will wash away to reveal a stunning, deep indigo blue, and the shadows where your plants were will become a brilliant, crisp white.
- Dry and Flatten: Hang the paper on a clothesline with a peg, or lay it flat on a clean towel to dry. As it dries and oxidizes over the next 24 hours, the blue will deepen even further. Once completely dry, you can press it inside a heavy book to flatten any curled edges.
Sisterly Reminder: If your first print doesn’t come out perfectly, give yourself grace. The sun is a wild, natural element, and part of the beauty of cyanotype is its unpredictability. Each print is a completely unique, one-of-a-kind piece of art.
Adding the Birth Details & Finishing Touches
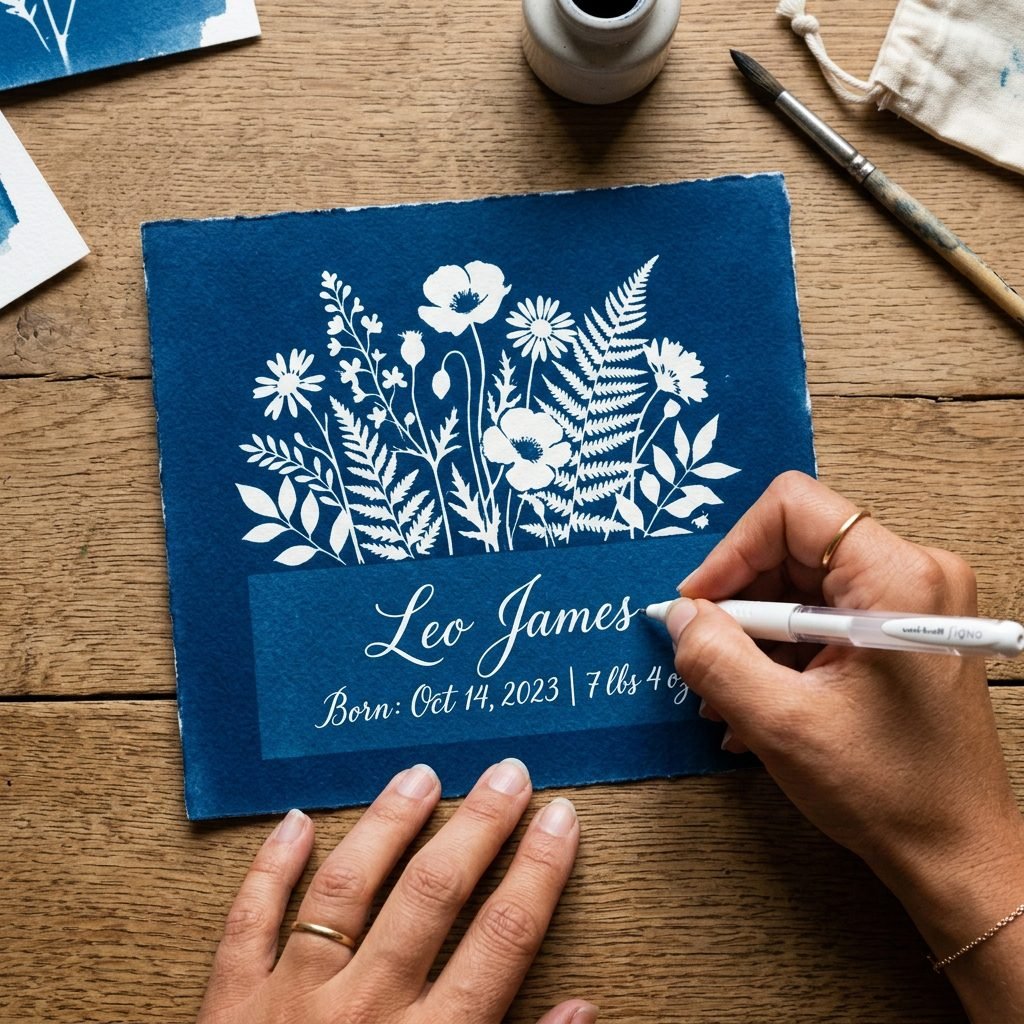
Your beautiful indigo botanical prints are dry, flat, and looking like miniature works of art. Now, it is time to transform them from botanical prints into official birth announcements. You have a few lovely options here, depending on your energy levels and how many cards you need to send out. Remember, comfort and ease are our top priorities during the postpartum period.
Option 1: The Hand-Lettered Heirloom
If you only plan to make a handful of announcements for immediate family and grandparents, handwriting the details is deeply personal. Using a fine-tip gold, silver, or crisp white gel pen, write your baby’s beautiful new name, birth date, time, weight, and length in the blank spaces you left between the botanical silhouettes. The metallic ink against the deep matte blue of the cyanotype is breathtakingly elegant.
Option 2: The Custom Stamp
For a more uniform look that saves your hand from cramping, order a custom rubber stamp from an artisan on Etsy. Have the stamp designed with your baby’s name and a blank template for the stats. You can use a white ink pad to stamp directly onto the blue cyanotype paper. It looks incredibly professional while maintaining that handmade, rustic charm.
Option 3: The Digital Hybrid (Best for Large Batches)
If you have a large extended family and friends list, making 50 individual sun prints might feel overwhelming. Instead, make one perfect master print. Once it is dry, scan it into your computer at a high resolution. You can then use a free, user-friendly design program like Canva to overlay elegant white typography with all of your baby’s birth details. From there, you can easily send the design to a local print shop or an online card printer. You get the authentic, handmade look of the cyanotype with the convenience of modern printing. Plus, you can frame your original master print for the nursery!
Conclusion
Creating these botanical cyanotype birth announcements is more than just checking a task off your baby prep list; it is a mindful, grounding practice that honors the incredible journey you have just been on. As you watch the sun transform the paper, and the water reveal the delicate white silhouettes, I hope you feel a deep sense of pride in the beautiful life you have grown and the art you are creating. Whether you send out five hand-crafted originals or fifty digitally printed copies, your family and friends will be receiving a piece of your heart, wrapped in the timeless beauty of nature.
Embrace the little imperfections, the blurred edges, and the varying shades of blue. They are reflections of motherhood itself—wild, natural, unpredictable, and profoundly beautiful. Congratulations on your sweet new arrival, mama. You are doing a wonderful job.